
That stubborn basket won’t budge after cooking fries, or you need to clean baked-on grease behind the heating element. Forcing it risks cracked plastic, broken latches, or worse—voiding your warranty. Knowing the exact pressure points and model-specific tricks for your Ninja air fryer saves $100+ in replacement costs. This guide reveals every approved access method and emergency fix used by Ninja-certified technicians, including when deep disassembly is your only option.
Stop immediately if your air fryer is plugged in or warm. Unplug it and wait 30 minutes minimum—internal components stay dangerously hot long after cooking stops. Work on a dry counter away from sinks, wearing heat-resistant gloves to protect against sharp basket rims and crisper plate edges. Crucially, understand that opening beyond the basket, crisper plate, or heating-element guard voids Ninja’s 1-year warranty. Tamper-evident screws and serial-number seals must stay intact for coverage. If you’re out of warranty or facing stubborn grime, proceed with the exact steps below.
Critical Safety Steps Before Forcing Your Ninja Air Fryer Open
Unplug and verify complete cool-down using the 30-minute rule. Never rely on surface temperature—thermal sensors inside can exceed 200°F even when the exterior feels cool. Place the unit on a non-slip mat to prevent sliding during basket removal. Always wear cut-resistant gloves; the crisper plate’s silicone bumpers hide razor-sharp metal edges that slice skin during removal.
Warranty preservation is non-negotiable. Ninja’s tamper-proof design includes:
– Serial-number stickers over screw heads
– Security Torx screws on newer models
– Void-indicating tape on internal seams
If your unit is under warranty, never remove the outer housing. Contact Ninja support first (details in final section). For post-warranty cleaning, document every screw location with photos before disassembly—reassembly errors cause electrical shorts.
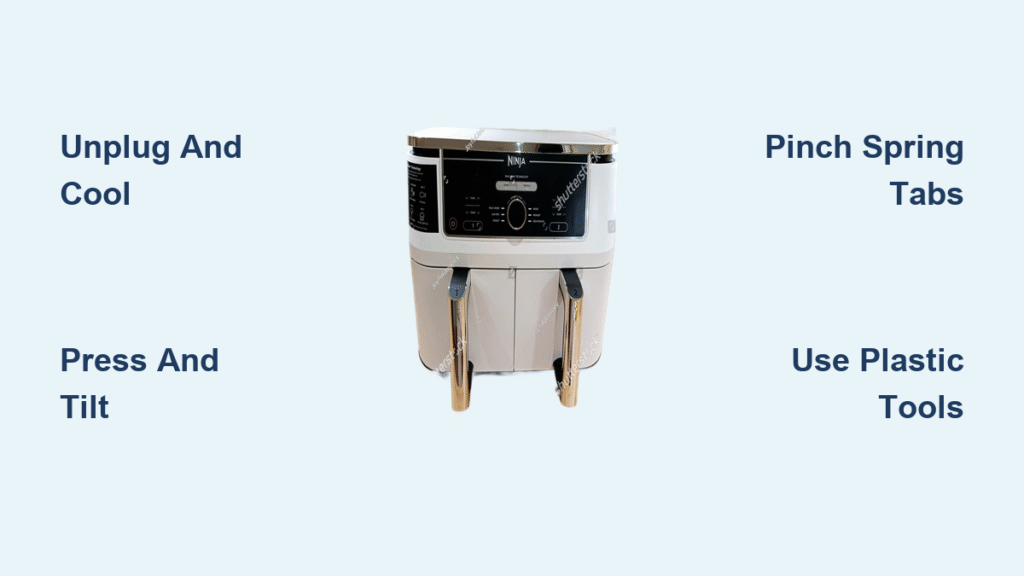
Ninja Air Fryer Basket Release Fix That Works in 10 Seconds
Press-and-Tilt Method for AF101/AF161 Models
Grasp the cool-touch handle firmly and locate the release button—a 0.5-inch rectangular tab beneath the handle. Press hard while lifting straight up, then immediately tilt the basket backward 15 degrees to clear the safety lip inside the cavity. If resistance occurs, wiggle side-to-side while holding the button down—never force upward motion alone. For AF161 MAX XL models, apply extra downward pressure on the button; its larger basket requires 20% more release force.
Model-Specific Release Tactics
- DualZone DZ201: Press both drawer release buttons simultaneously before pulling. One drawer’s button won’t activate if the other is partially open.
- SP101 Flip-Away: Pull the entire tray straight out 2 inches, then lift the front edge to disengage the hinge.
- IG651 Smart Grill: Lift the grill grate vertically—no button press needed. Forcing a tilt cracks the ceramic coating.
Pro Tip: Apply cooking oil to basket rails monthly to prevent sticking. Wipe excess with paper towel.
Crisper Plate Removal Without Damaging Silicone Bumpers
With the basket on a heat-safe surface, locate the plate’s grip points:
– Round-basket models (AF101): Pinch the center handle (1-inch diameter knob)
– Square-basket models (DualZone): Lift using side tabs near the 3 and 9 o’clock positions
Angle the plate 10 degrees toward you as you lift to clear the basket rim. Forcing straight up tears the silicone bumpers—a $25 replacement part. If stuck, insert a plastic utensil between plate and cavity wall to break the seal. Never use metal tools; they scratch non-stick coatings.
Heating-Element Guard Cleaning Without Voiding Warranty

After basket removal, find the perforated metal guard at the chamber’s top. Pinch the two spring tabs at the 10 and 2 o’clock positions with fingernails or needle-nose pliers. Pull straight down until the guard hinges open 90 degrees, then lift it out. Soak in warm soapy water for 15 minutes—never scrub with steel wool. To reinstall:
1. Align hinge hooks at the back first
2. Angle front edge upward 5 degrees
3. Snap tabs into place with firm thumb pressure
Warning: Forcing the guard cracks internal wiring. If tabs won’t snap, realign—it should click audibly.
Emergency Fixes When Basket Won’t Open

Warped Rail Rescue Technique
High-heat cooking warps basket rails, jamming the release. Do not pry with screwdrivers—this cracks the cavity. Instead:
1. Cool completely (60+ minutes)
2. Press release button while wiggling basket in a figure-8 motion
3. Insert a plastic spudger (not metal!) at the 6 o’clock seam
4. Gently twist to relieve pressure—stop if resistance increases
If successful, immediately clean rails with vinegar-soaked cloth to prevent recurrence.
Broken Button? Here’s the Exact Replacement Part
If the release button feels loose or won’t spring back, the internal plastic catch is shattered. Do not order generic baskets—Ninja uses model-specific assemblies:
– AF101: Part #341KKW100 ($22.99)
– AF161: Part #107KKW100 ($28.50)
Order only from NinjaParts.com or authorized retailers like Repair Clinic. Installing third-party parts risks fire hazards from misaligned wiring.
Deep Disassembly Only If Out of Warranty (Step-by-Step)
Warning: This voids warranty permanently. Proceed only for severe grease buildup or fan failure.
Tools You Must Have
- Phillips #2 screwdriver (magnetic tip recommended)
- Plastic spudger (metal voids warranty)
- Isopropyl alcohol (90%+) for contact cleaning
Housing Removal Without Damaging Cables
- Pry off four rubber feet using a flat butter knife
- Remove 10 exposed screws (8 on perimeter, 2 near exhaust grill)
- Insert spudger at the front seam; twist gently to separate shells
- Immediately locate the thermal sensor (white-sleeved wire)—it tears easily
- Disconnect control board ribbon cable by flipping the brown latch upward
Heating Element & Fan Access
Unplug the two red spade connectors (heating coil) and black 3-pin fan plug. Remove the three bracket screws using exactly 0.9 N·m torque—overtightening cracks the ceramic base. Lift the coil/fan module straight up; clean fan blades with a soft toothbrush dipped in alcohol. Never bend blades—this unbalances the motor.
Reassembly Checklist to Avoid Costly Mistakes
Critical Sequence Order
- Reinstall heating-element guard (listen for double-click)
- Slide basket in while pressing release button—should click once
- Verify drawer glides smoothly with zero resistance
- Run 3-minute empty preheat at 400°F before first use
Functional Test Protocol
Set to 400°F for 3 minutes. During preheat:
– ✅ Fan runs silently (no grinding = proper reassembly)
– ✅ Basket releases with single button press
– ✅ No error codes on display
If issues occur, unplug immediately—recheck thermal sensor routing. Moisture near the fan motor causes permanent damage.
Model-Specific Opening Cheat Sheet
| Model | Basket Release | Guard Removal | Critical Warning |
|---|---|---|---|
| AF101 | Push-button + tilt | Pinch 2 front tabs | Forcing voids warranty |
| AF161 | Heavy-button press | Pinch 2 front tabs | Warps easily above 400°F |
| DZ201 | Dual simultaneous buttons | Shared guard | Clean rails weekly |
| SP101 | Pull tray straight out | Single center tab | Hinge breaks if tilted |
| IG651 | Lift grate vertically | Non-removable | Never scrape ceramic coating |
When to Call Ninja Support Instead
If you smell burning during preheat tests, hear grinding noises, or see error codes EF or E1, stop all disassembly. Contact Ninja’s technical team:
– US: 1-877-646-5288 (Mon-Fri 8am-8pm EST)
– Canada: 1-855-666-4966
– Live chat: ninjakitchen.com/support
Have your model number ready (e.g., AF161UK) and purchase date. They’ll often email replacement parts for free if under warranty. Download your exact manual at support.ninjakitchen.com—search by model number for disassembly diagrams.
Final Pro Tip: After any opening, always run the empty preheat cycle. This burns off cleaning residue and confirms proper reassembly before cooking food. Skipping this step causes smoke and burnt flavors in your next meal. For routine maintenance, clean the basket and crisper plate after every 3 uses—grease buildup is the #1 cause of stuck components. If you follow these steps, your Ninja air fryer will operate smoothly for years without voiding coverage.


