Nothing ruins dinner faster than tossing food onto a cold grill. Whether you’re craving perfectly seared steaks or crispy air-fried vegetables, your Ninja Woodfire Grill needs proper preheating to deliver those restaurant-quality results. The good news? Mastering this crucial step takes just minutes once you know the exact timing and visual cues for each cooking function. Skipping this step leads to uneven cooking, soggy textures, and missed wood-fired flavor—exactly what you bought this premium grill to achieve.
This guide breaks down every preheat requirement, timing trick, and pro technique to transform your grilling game. You’ll discover which functions fire up instantly, why your grill function needs up to 20 minutes, and the single visual cue that tells you “go time” every single time. Stop guessing and start grilling with confidence—your perfectly charred meals begin right here.
Instant vs Preheat Functions
Functions Ready Immediately
Three cooking modes skip preheating entirely: Smoke/Smoker, Dehydrate, and Broil. Select any of these, and your Ninja Woodfire Grill starts working immediately. This instant activation makes sense—these methods rely on gradual temperature changes rather than immediate high heat. When smoking ribs overnight, the slow heat buildup enhances flavor penetration. For quick cheese melts under the broiler, you get instant radiant heat without waiting. Dehydrating fruits or jerky also benefits from starting at lower temperatures immediately. These time-saving modes become your secret weapons for last-minute meals or all-day flavor infusion.
Functions Requiring Preheat Time
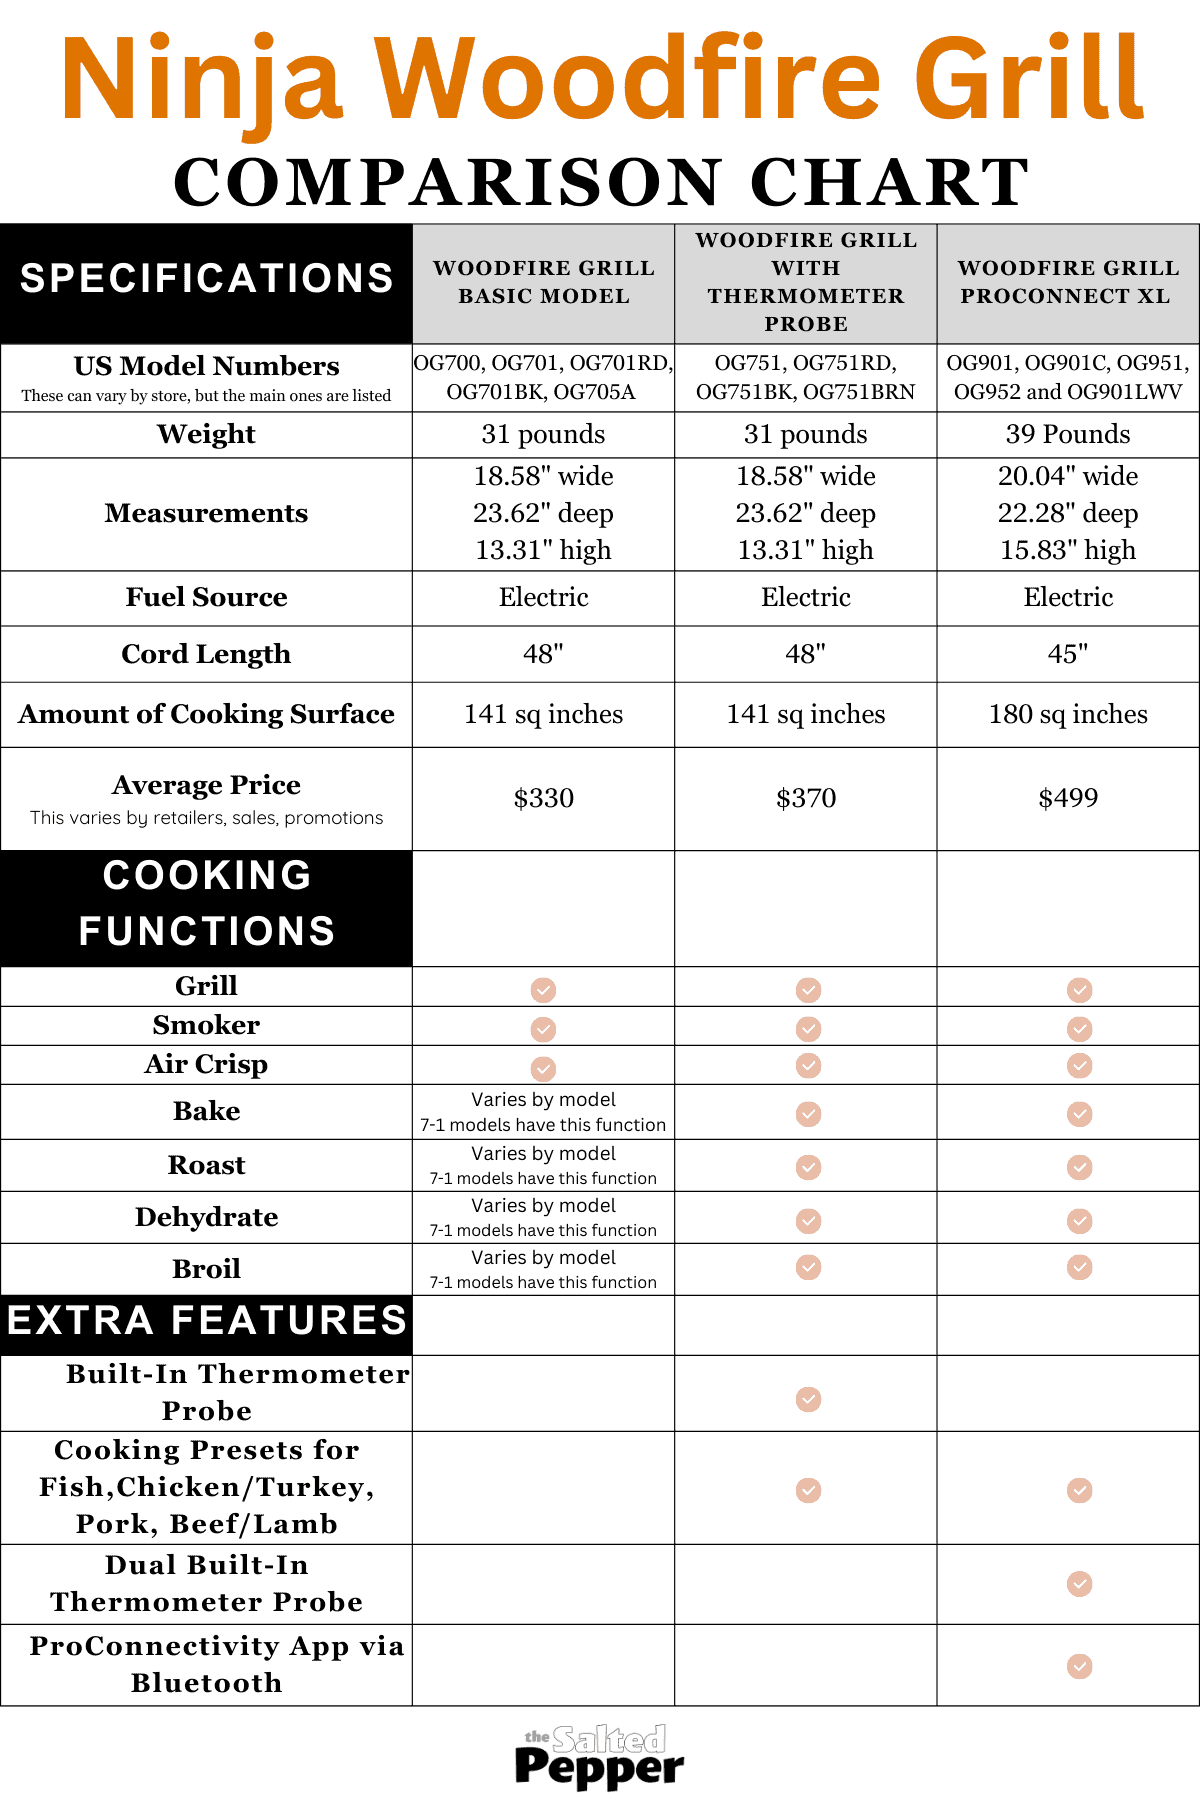
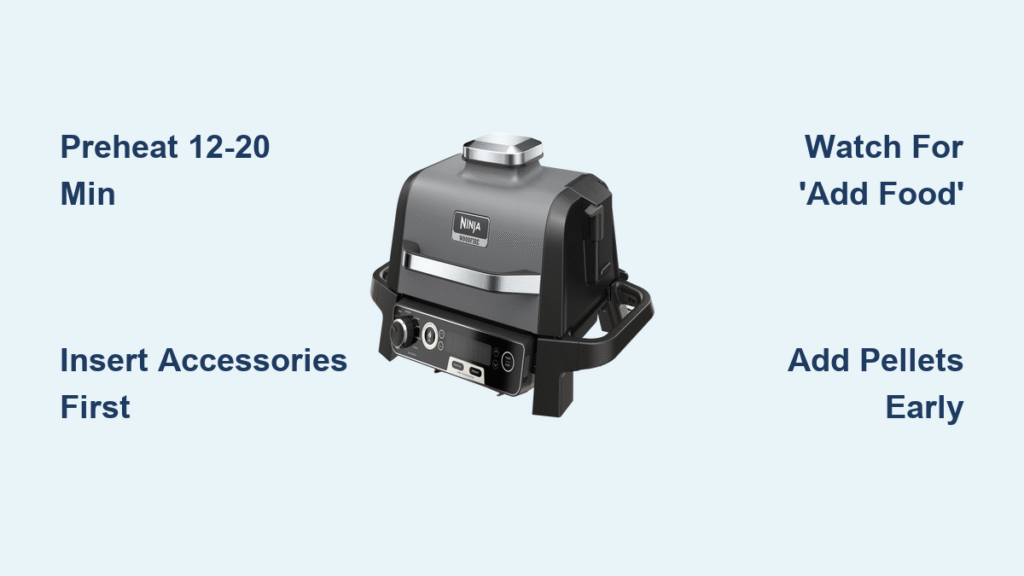
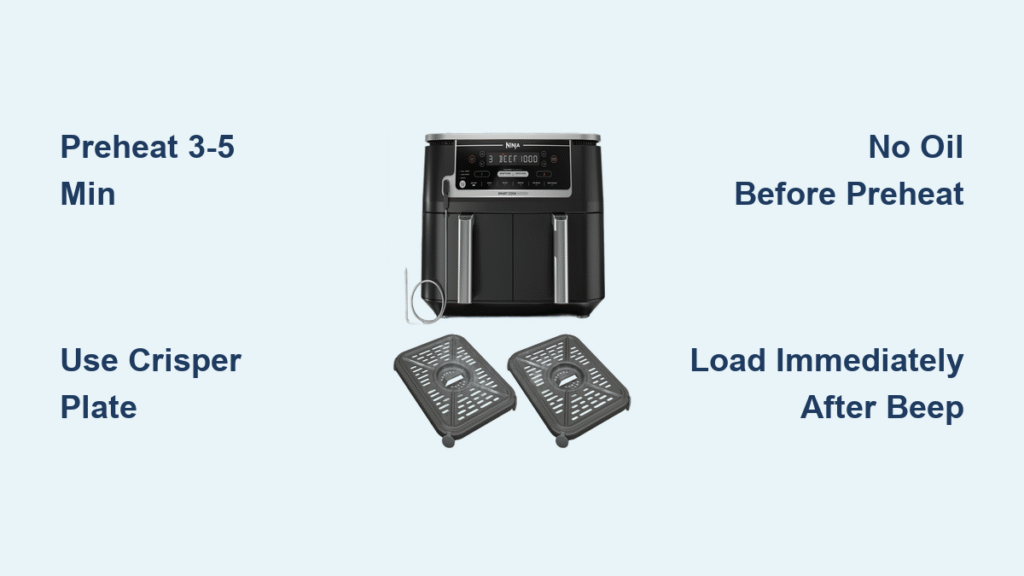
Most cooking modes need dedicated heat buildup for optimal results. Air Crisp, Bake, and Roast demand exactly 3 minutes of preheating—the sweet spot for achieving even heat distribution in the compact cooking chamber. This short wait ensures the entire cavity reaches consistent temperature before food enters. The Grill function stands alone with its 12-20 minute requirement, varying dramatically based on your outdoor temperature. Unlike other modes, grilling requires intense radiant heat to create those signature sear marks and caramelization. Rushing this phase means gray, unevenly cooked meat instead of restaurant-quality results. Always honor these timing requirements—they’re engineered specifically for your grill’s performance.
Grill Function Preheat Timing

Why 12-20 Minutes Varies
Your grill’s preheat duration hinges entirely on ambient temperature. The Ninja Woodfire Grill must overcome both its internal temperature and the surrounding air to reach searing heat. On a balmy 75°F afternoon, you might hit target temperature in 12 minutes flat. But when outdoor temps dip to 45°F, that same process stretches to 20 minutes. Cold metal components act like a heat sink, absorbing warmth before the cooking surface gets hot enough. This isn’t a flaw—it’s physics. The grill compensates by running longer until the cooking chamber reaches the precise thermal threshold for proper searing. Always adjust your expectations based on the thermometer, not the clock.
Seasonal Adjustments
Winter grilling requires strategic patience. During colder months, factor in an extra 5 minutes to your mental timer to avoid serving lukewarm food. Cold air constantly siphons heat from the unit, forcing the heating elements to work overtime. Summer sessions zip along quickly, often hitting temperature in 12-13 minutes even on moderately warm days. Monitor your grill’s progress through the window—on cold days, you’ll notice slower smoke production during preheat as the unit battles ambient conditions. This seasonal awareness prevents the frustration of opening the lid too soon and losing precious heat. Remember: when it’s chilly outside, give your grill the full 20-minute window for foolproof results.
Standard Preheating Steps
Insert Accessories First
Always place your grill plate, griddle, or crisper basket before starting preheat. These accessories need heating time too—cold metal drops food temperature instantly, creating uneven cooking. The grill plate for steaks should be screaming hot, while your crisper basket needs consistent heat for that perfect crunch. Inserting them mid-preheat wastes valuable minutes as the unit struggles to reheat the cold metal. For best results, position accessories while the grill is still cool to avoid burns. This simple step ensures every surface reaches optimal temperature simultaneously with the cooking chamber.
Optional Smoke Setup
For wood-fired flavor, add pellets during accessory placement. The smoke box benefits from the full preheat cycle, allowing steady smoke production before food arrives. Place wood pellets in the designated smoke box compartment before selecting your cooking function. This timing ensures smoke generation begins immediately as heat builds, maximizing flavor infusion from the first minute of cooking. Skip this step, and you’ll miss the critical early smoke phase where food absorbs the most flavor. Always use Ninja-approved pellets to prevent flare-ups or inconsistent smoke output.
Temperature and Timer Settings
Set your recipe’s specified temperature immediately after selecting the function. The timer deserves special attention—add 3-5 extra minutes to prevent automatic shutoff during longer preheats. This buffer prevents the frustrating “cool-down” that occurs when timers expire mid-preheat. For example, if your recipe says “preheat 15 minutes,” set the timer for 18-20 minutes. The grill won’t shut off prematurely, but you can cancel excess time once “add food” appears. Always program temperature first—this tells the grill how aggressively to heat during preheat. Never set time before temperature, as this confuses the unit’s heating algorithm.
Pro Model Thermometer Setup
Probe Placement Technique
Pro and Pro Connect users gain precision with the built-in thermometer. Insert the probe into your meat’s thickest section, steering clear of bones or fat pockets. Bones conduct heat differently, giving false readings, while fat melts and creates temperature inconsistencies. Push the probe deep enough to measure the core temperature but avoid touching the cooking surface. Connect the probe to the jack before starting preheat—this allows real-time monitoring from the beginning. Proper placement eliminates guesswork, ensuring your meat hits perfect doneness without constant lid lifting.
Temperature vs Time Cooking
These models revolutionize preheating by switching from time-based to temperature-based cooking. Instead of guessing doneness, set your target internal temperature—like 145°F for medium pork chops or “medium-rare” for steak. The grill preheats, then cooks until your exact temperature is reached, eliminating overcooked edges. During preheat, the display shows rising temperatures rather than a countdown. This method accounts for variable factors like food thickness and starting temperature. You’ll never again wonder “is it done?”—the grill notifies you precisely when your target is hit.
Visual and Audio Cues
“Add Food” Display Message
Your definitive preheat signal appears as “add food” on the digital display. This single message replaces timers, buzzers, and guesswork. Whether you’re grilling in 12 minutes or 20, this cue ensures perfect timing every time. No peeking, no prodding—just wait for the words. The display won’t show countdown timers during preheat for accuracy, making this message your only reliable indicator. If you see temperature numbers climbing but no “add food” prompt, the unit is still stabilizing. Trust this system—it’s calibrated to trigger precisely when optimal searing heat is achieved.
Thermometer Model Indicators
Pro users notice no countdown timer when using the thermometer. The display simply shows the target temperature climbing until “add food” appears. This streamlined approach prevents confusion between preheat completion and cooking progress. You might see “135°F” during preheat, but this indicates ambient chamber temperature—not food temperature yet. Once “add food” flashes, add your meat and the thermometer immediately begins tracking internal doneness. This dual-phase system (chamber heat then food heat) is why Pro models deliver consistently perfect results.
Environmental Optimization
Cold Weather Hacks
Extend your grilling season with these cold-weather strategies. Position your grill away from wind exposure—even a slight breeze steals heat and extends preheat times. Consider a grill mat underneath to insulate from cold surfaces. These simple adjustments can shave 3-4 minutes off winter preheats. On freezing days, preheat with the lid closed but leave the drip tray slot open for 2 minutes to allow initial smoke circulation before sealing completely. Never place the grill near snow piles or wet surfaces that increase heat absorption. These tweaks make cold-weather grilling as reliable as summer sessions.
Efficiency Maximization
Plan your entire cook session during preheat time. Season meats, chop vegetables, and prepare sauces while the grill reaches temperature. This multitasking transforms “waiting time” into productive prep time, making 20-minute preheats feel like minutes. Set up your plating area and gather serving utensils. For smoke sessions, use this window to monitor pellet levels through the viewing window. Treat preheat time as active preparation—not downtime. You’ll finish cooking faster overall and avoid the scramble that ruins meal timing.
Common Preheating Mistakes

Skipping Accessory Preheating
The biggest rookie error involves adding accessories after preheating. Cold grill plates instantly drop temperature 50-75°F, requiring another 5-7 minute recovery period. Always insert accessories during the initial preheat cycle for consistent results. This mistake causes uneven sear marks and steamed rather than seared food. If you forget, restart the preheat cycle—don’t risk compromising your meal. Remember: the grill surface must be hotter than the food to create instant sear reactions.
Timer Miscalculations
Setting exact recipe times often backfires. The grill’s auto-shutoff triggers when timers expire, even during preheating. Add those crucial extra minutes—better to cancel excess time than restart a cold grill mid-cook. Many users set “15 minutes” for grill function but get interrupted, returning to a cooled unit. Program conservative times initially, then adjust as you learn your grill’s patterns. This habit prevents wasted pellets and ruined dinners.
Pellet Timing Errors
Adding wood pellets after preheating wastes smoke potential. Pellets need 2-3 minutes to begin steady smoke production. Add them during accessory placement to maximize wood-fired flavor from the first minute of cooking. Late-added pellets create inconsistent smoke rings and uneven flavor. For best results, use fresh pellets stored in airtight containers—damp pellets smolder poorly during preheat.
Maintenance During Preheating
Clean Contact Points
Use preheat time to wipe battery contact points with a dry cloth. Clean connections ensure consistent power delivery, especially important during extended preheats in cold weather. This 30-second step prevents mid-cook power fluctuations that disrupt temperature stability. Focus on the main power terminal and any auxiliary ports. Never use liquids—residual moisture causes short circuits. Regular maintenance here extends your grill’s lifespan significantly.
Visual Inspection
While waiting, quickly inspect the grill grate for residue buildup. A clean surface ensures proper searing and prevents old flavors from tainting fresh food. Use a brass brush to remove stubborn debris before preheating starts. Check the drip tray slot for obstructions that could cause flare-ups. This proactive check catches minor issues before they become major problems during cooking.
Mastering how to preheat Ninja Woodfire Grill transforms from guesswork into precision timing with these techniques. Remember: immediate functions for smoking and broiling, 3 minutes for air crisp modes, and 12-20 minutes for grilling based on temperature. Watch for the “add food” message, always preheat accessories, and factor in seasonal adjustments. Never skip pellet placement during setup or neglect timer buffers. These fundamentals ensure every meal emerges with professional-grade results—crispy exteriors, juicy interiors, and that coveted wood-fired flavor signature. Your perfectly seared dinner starts long before food hits the grill; it begins with this critical preheat ritual done right.

