
That stubborn crumb tray hiding beneath your Ninja air fryer is more than just an annoyance—it’s the secret culprit behind your smoke-filled kitchen and unevenly cooked fries. When grease and food debris accumulate in this critical component, your air fryer’s performance plummets, triggering smoke alarms and leaving your chicken wings disappointingly soggy. But here’s the good news: removing your Ninja air fryer crumb tray properly takes less time than preheating your appliance, and it’s the single most effective maintenance task you can perform.
Most users make the critical mistake of yanking the tray out immediately after cooking or forcing it when it’s stuck, which damages the delicate release mechanisms. This guide reveals the exact removal process tailored to your specific Ninja model, whether you own a popular AF101 drawer style or a DT251 bottom-access unit. You’ll discover the precise cooling times that prevent burns, the hidden release tabs most people miss, and the cleaning techniques that make reinstallation seamless. By following these steps, you’ll transform a dreaded chore into a quick routine that extends your air fryer’s lifespan and keeps your meals perfectly crispy.
Identify Your Ninja Model Before Starting
Grab your model number immediately—it’s printed on the silver label at the back or bottom of your unit. This critical detail determines whether you’re dealing with a slide-out drawer system or a dedicated bottom-access tray, and using the wrong technique could damage your appliance.
Drawer-Style Models (AF101, AF161, AF300)
These popular models integrate the crumb tray inside the main cooking drawer. The tray sits flush against the bottom, often mistaken for a permanent fixture. Look for small release tabs tucked along the inner sides near the front—these are the secret to effortless removal. The AF161 Max XL requires extra care due to its larger capacity and heavier tray when full of grease.
Bottom-Access Models (DT251, DT201)
Countertop oven-style Ninjas position the crumb tray directly beneath the cooking chamber. These models feature a thin rectangular slot with a tiny handle designed for quick removal without disturbing your food. The DT251 has ball-bearing slides that require steady pressure rather than forceful pulling to avoid derailing the mechanism.
Dual-Zone Models (DZ201)
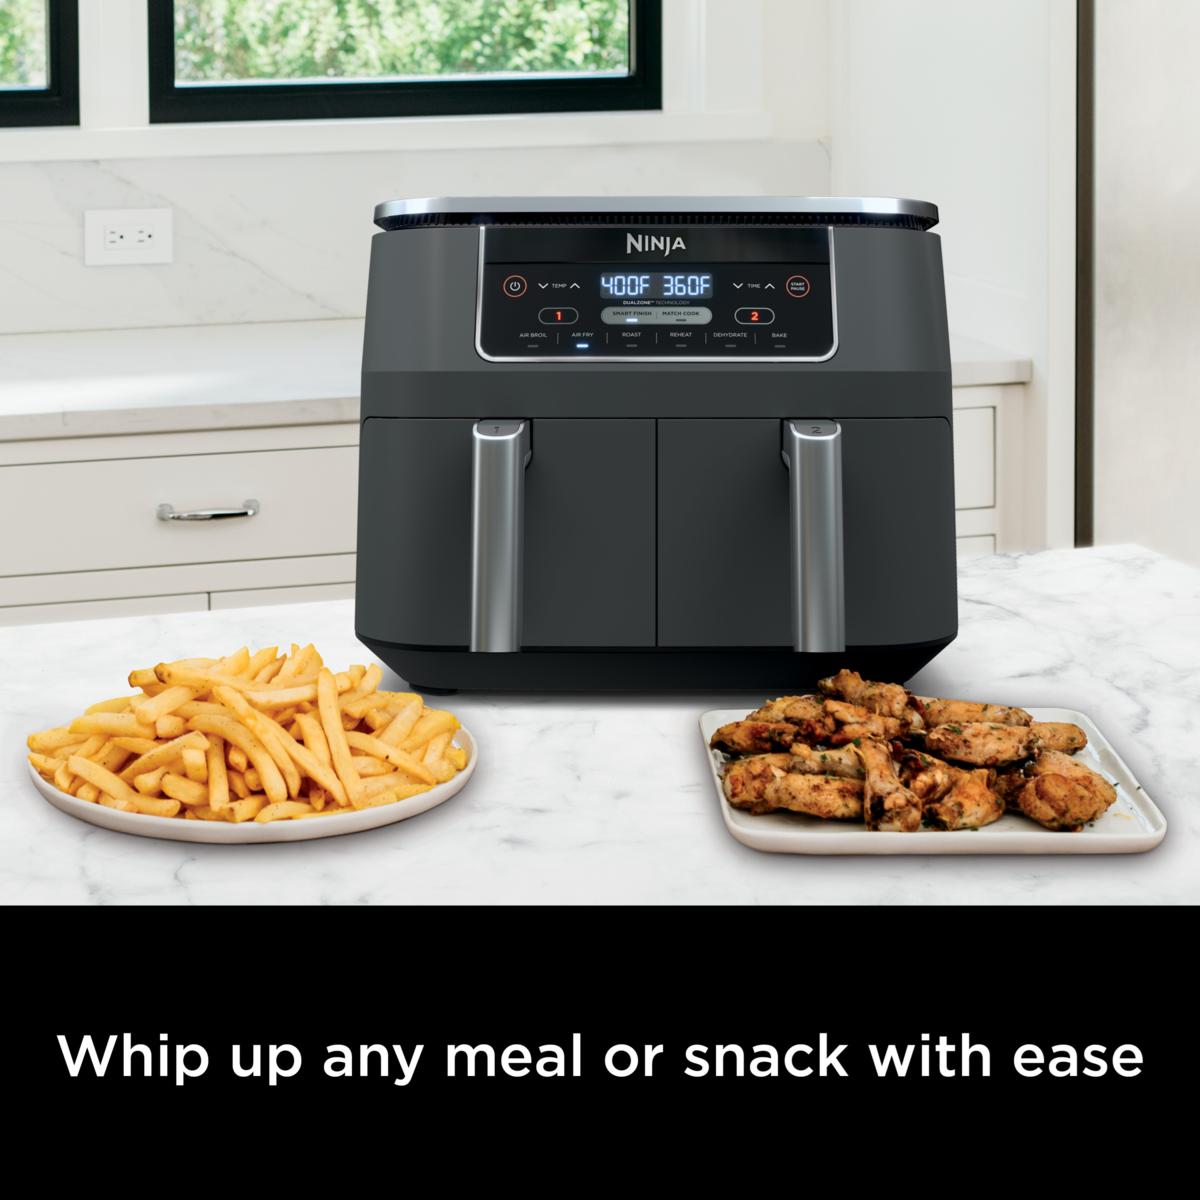
Double cooking zones mean double the trays. Each compartment has its own crumb catcher, typically color-coded or labeled Zone 1 and Zone 2. Never interchange these trays—they’re calibrated for specific airflow patterns, and swapping them creates uneven cooking and potential smoke issues. Always remove trays one at a time to prevent confusion during reinstallation.
Critical Cooling Period Requirements
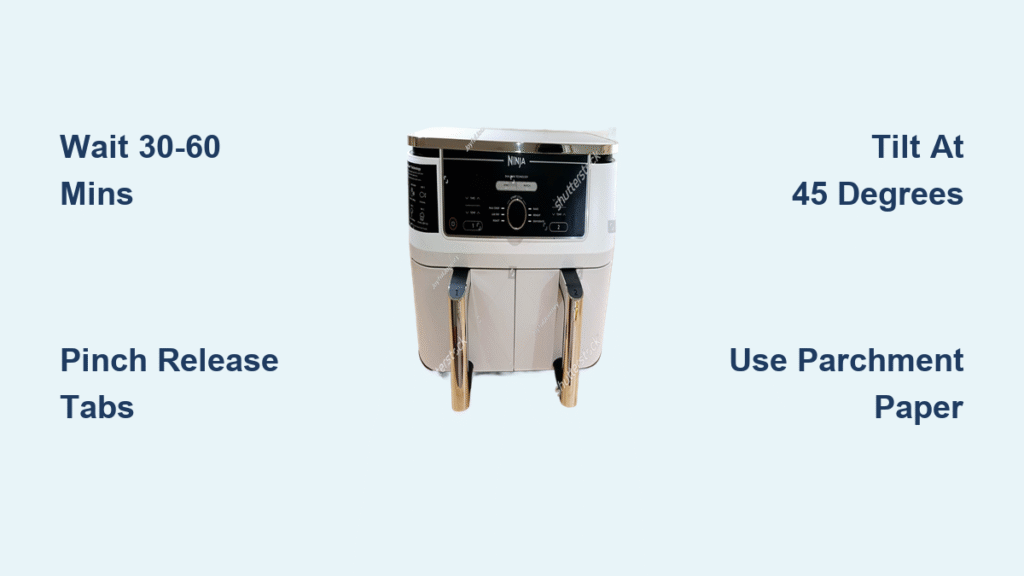
Wait exactly 30-60 minutes after cooking before attempting removal. Metal components retain heat longer than you realize, and that crumb tray functions as a heat sink filled with hot oil. Test the exterior casing—if it’s still warm to the touch, give it another 10-15 minutes. Patience here prevents serious burns and avoids warping the tray from thermal shock.
Accelerated Cooling Techniques
- Open the drawer slightly to increase airflow around hot components
- Remove the cooking basket to expose more surface area for faster cooling
- Direct a fan toward the unit (never use water or ice directly on the appliance)
Warning: Even “lukewarm” trays can contain oil hot enough to cause second-degree burns. When in doubt, wear oven mitts—they’re not optional safety gear but essential insurance against painful accidents.
Remove Crumb Tray from Drawer Models Correctly
Power Down Sequence
- Press the power button to shut off the unit completely
- Unplug from the wall outlet—this crucial step prevents accidental reactivation
- Slide the drawer out completely until it reaches its natural stopping point
Release Tab Technique
Locate the small plastic tabs protruding inward along the inner sides of the drawer near the front. Pinch these tabs toward each other while simultaneously lifting the front edge of the tray. The tray should tilt downward at approximately 15 degrees, clearing the locking ridge. If tabs feel stiff, gently wiggle the tray side-to-side while applying pressure—the heat exposure over time can make plastic brittle.
Pro Tip: For Ninja AF300 models, you may need to apply slightly more downward pressure on the tabs than other models due to their unique locking mechanism design.
Angle of Removal
Once released, tilt the tray downward at 45 degrees to slide it past the drawer rails. The rear edge has a small lip that catches if you attempt to pull straight out. Think of it like removing a DVD from its case—angle first, then slide smoothly. Forcing it straight out damages the rails and creates future sticking issues.
Extract Bottom-Access Trays Without Damage

Optimal Positioning
Place the air fryer on your kitchen counter edge so the front overhangs slightly. This provides clear sightlines to the tray slot underneath and gives you better leverage. Never lift the entire unit—these models are heavy and awkward, increasing the risk of dropping hot grease.
Proper Handle Grip Method
Hook your index finger through the small metal handle or indentation. Pull straight toward you using steady, even pressure—no jerking motions. The tray rides on precision slides that can derail with aggressive pulling, especially on the DT201 model which has narrower rails.
Essential Support Strategy
As the tray extends three-quarters of the way out, slide your free hand underneath to support the weight. A full tray can weigh 2-3 pounds, and dropping it sends hot grease across your kitchen floor. For the larger DT251 model, use both hands when the tray is more than half extended.
Troubleshoot Stuck Trays Like a Pro
Food Debris Blockage Solution
Use a flashlight to inspect the tray rails thoroughly. French fry fragments and chicken skin love to wedge themselves in the tracks. Dislodge gently with a wooden skewer or chopstick—never metal tools that scratch the non-stick coating. For stubborn debris, try the “wiggle and pull” technique: apply side-to-side motion while simultaneously pulling outward.
Heat Expansion Fixes
If the tray feels glued in place, wait another 15-20 minutes. Metal expands when hot and contracts as it cools—sometimes the tray literally shrinks itself free. For immediate relief, pour a cup of cold water into the sink and place the air fryer base on it (not directly on water) to accelerate cooling of the metal housing.
Warp Detection and Correction
A warped tray creates binding points along the rails. Look for uneven gaps between the tray and housing—if you see daylight where there shouldn’t be any, the tray needs replacement. For minor warping, try the freezer method: place the tray in the freezer for 30 minutes to harden grease, then attempt removal with gentle pressure.
Clean Without Damaging the Non-Stick Coating
Immediate Post-Removal Steps
Shake the tray over your trash can immediately after removal. Hot grease solidifies quickly, making cleanup exponentially harder after 10 minutes. For Ninja Foodi SP101 models, be extra careful as their integrated trays can spill if tilted too far.
Hot Water Protocol
Run the hottest tap water over the tray for 30 seconds before soaking. This liquefies solidified grease before it hardens again. Never submerge the entire tray if your model has electronic components—some smart models contain sensors that water can damage.
Non-Abrasive Cleaning Techniques
Create a paste with baking soda and dish soap for stubborn spots. Apply with a soft sponge using circular motions for 2-3 minutes. Rinse thoroughly—soap residue creates smoke during your next cooking session. For Ninja DualZone models, clean both trays simultaneously to maintain consistent performance.
Warning: Steel wool strips the non-stick coating instantly. Once damaged, the tray becomes a magnet for food particles, creating a vicious cycle of sticking and difficult cleaning.
Reinstall Like a Seasoned Ninja Technician
Precision Alignment Check
Hold the tray at eye level—the front lip should face forward. Installing backward creates gaps that let grease drip into the heating elements, causing smoke and potential fire hazards. The SP101 series has a subtle curve on the front edge that must align with the drawer’s contour.
Secure Slide Test
Push the tray in until you hear a distinct click. This indicates the locking mechanism has engaged properly. Pull back gently to confirm it’s secure—better to discover issues now than mid-cooking when hot food is inside.
Full Operation Verification
Open and close the main drawer completely. Smooth operation without grinding or catching means proper alignment. Any resistance requires immediate reseating—forcing a misaligned tray damages the rails permanently.
Prevent Future Sticking With These Proven Methods
Parchment Paper Liner Trick
Line your crumb tray with air fryer-safe parchment paper before each use. Replace after cooking—zero scrubbing required. Just ensure the paper doesn’t block airflow slots, especially on Ninja Max XL models which have more intricate vent patterns.
Weekly Deep Clean Schedule
Even with parchment, soak the tray in hot, soapy water once weekly. This prevents the invisible buildup that eventually causes sticking and smoke. For heavy users, perform this deep clean after every 3-4 cooking sessions.
Proper Storage Practice
Always keep the tray inserted when the unit’s not in use. Dust accumulation in the rails creates the same problems as food debris, leading to future sticking issues. This simple habit extends your air fryer’s lifespan significantly.
When to Replace Your Crumb Tray Immediately
Critical Replacement Indicators
- Flaking non-stick coating (black specks appearing in your food)
- Visible warping that prevents smooth insertion
- Cracks in the metal or broken handles that compromise safety
- Persistent burnt odors even after thorough cleaning
Genuine Replacement Importance
Only use Ninja-branded replacements. Generic trays often have slightly different dimensions that jam the slide mechanism. While cheaper initially, they cost more long-term when you factor in potential damage to your entire air fryer unit.
Mastering how to remove crumb tray from Ninja air fryer properly is the cornerstone of maintaining peak performance from your appliance. By following these precise, model-specific techniques, you’ll eliminate smoke issues, prevent frustrating sticking problems, and extend your air fryer’s lifespan significantly. Make this quick maintenance task part of your regular cooking routine—just two minutes after each use—and you’ll enjoy perfectly crispy results every time while avoiding costly repairs. Remember, a clean crumb tray isn’t just about convenience; it’s essential for safety, performance, and getting the most value from your Ninja investment.


