
That stagnant water left in your air cooler after summer isn’t just an inconvenience—it’s actively destroying your appliance. When you neglect to drain your evaporative cooler properly, mineral deposits crystallize inside the reservoir, foul-smelling algae colonies take root, and mold spores multiply in the dark dampness. Worst of all, standing water corrodes the pump assembly and electrical components, potentially causing costly failures when you need cooling next season. Left unchecked, this hidden moisture also creates a perfect breeding ground for mosquitoes in as little as 48 hours. This complete guide shows you exactly how to remove water from an air cooler safely and thoroughly, eliminating these hazards while extending your unit’s lifespan by years. You’ll learn professional techniques to extract every last drop—even from hard-to-reach pump lines—so your cooler starts reliably when temperatures rise again.
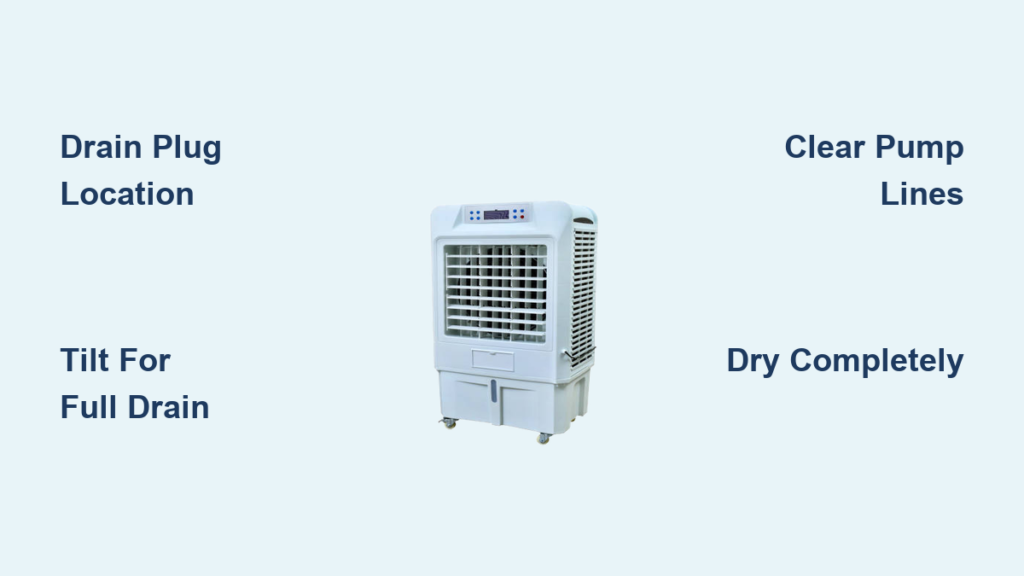
Find Your Air Cooler’s Drain Plug Location Fast
Don’t waste time hunting blindly for your drain mechanism—know exactly where to look based on your cooler type. Portable evaporative coolers almost always position the drain plug at the lowest point of the reservoir, typically on the bottom rear corner or hidden behind a removable access panel on the back. Look for a 1/2-inch to 1-inch diameter component that could be: a twist-lock rubber bung (common in Honeywell models), a threaded plastic plug (standard in Symphony units), or a pull-out spout with a flip cap (frequent in Hessaire models). If you’re struggling to locate it, immediately consult your user manual’s “Maintenance” section—search for “drain” or “emptying reservoir.” Never force drainage through overflow holes or filter slots, as this can crack plastic housings. Pro technicians always check near the pump assembly first since water naturally pools there. When you spot the drain, verify it’s not clogged with mineral deposits by gently wiggling it; if stuck, apply penetrating oil and wait 10 minutes before proceeding.
Why Forcing the Drain Plug Causes Costly Damage
Forcing a stiff drain plug is the #1 mistake that turns simple maintenance into repair bills. Twisting a corroded plug beyond its resistance point cracks the reservoir base, requiring full tank replacement. Instead, use this safe release method: wrap the plug head with a rubber jar opener for grip, then apply steady counter-clockwise pressure while simultaneously tapping the plug’s side with a plastic mallet. The vibration breaks mineral bonds without stressing plastic threads. If your model has a flip-cap spout, check for hidden latches under rubber flaps—many users miss these and damage the mechanism by pulling incorrectly.
Drain Your Cooler Reservoir Without Messing Up Floors
Positioning matters more than you think when removing water from an air cooler—do this wrong and you’ll flood your garage or damage flooring. Place the unit on a completely level surface over a drainage zone that can handle 5-15 gallons of water (most coolers hold 10-40L). Ideal spots include: a utility sink with overflow protection, an outdoor concrete pad sloped away from your house, or directly over a floor drain in a basement. Never drain indoors on wood or carpet—even small leaks cause warping and mold. For controlled indoor drainage, slide a 9×13-inch baking pan under the drain spout first; its slight lip catches initial surges before directing flow into a bucket. Remove the drain plug slowly with a towel ready—the first 30 seconds often release a pressurized gush. Allow 15-20 minutes for complete drainage; don’t rush this step as trapped pockets need time to find the exit. If water stops flowing after 5 minutes, your drain line is likely clogged with mineral scale—address this immediately before proceeding.
Emergency Fix for Clogged Drain Lines
When water won’t drain despite an open plug, mineral buildup is blocking the exit. Don’t panic—use this field-tested trick: Fill the reservoir halfway with undiluted white vinegar, let it sit for 2 hours to dissolve scale, then reconnect drainage setup. The vinegar’s acetic acid breaks down calcium deposits that cause blockages. For severe clogs, insert a 1/4-inch flexible plumbing snake through the drain hole and gently rotate to clear obstructions. Never use chemical drain cleaners—they corrode cooler components.
Eliminate Stubborn Residual Water With Tilt Technique
That last quart of water clinging to your cooler’s base is actually the most dangerous—it harbors concentrated algae and accelerates corrosion. Standard draining leaves 10-15% of reservoir water trapped in pump wells and structural recesses. To extract every drop: First unplug the unit, then slowly tilt the cooler forward 45 degrees while supporting the motor assembly. Hold for 60 seconds to let pooled water drain toward the outlet. Next, tilt side-to-side in 20-degree increments, pausing 30 seconds per angle—this maneuvers water around internal baffles. For hard-to-reach corners, use a 2-inch wide microfiber cloth wrapped around a chopstick to wick out moisture. Critical warning: Never tilt beyond 60 degrees or you’ll spill water into electrical compartments. If your model has a removable tank (common in desert coolers), lift it out completely and invert it over your drainage zone—this exposes hidden reservoir sections standard draining misses.
Clear Water Pump and Supply Lines Thoroughly
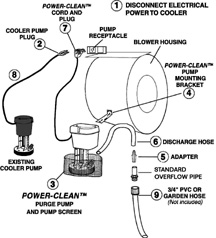
Ignoring the pump assembly during water removal causes 70% of seasonal startup failures. Residual moisture in these components breeds biofilm that seizes impellers. After emptying the main reservoir, briefly power on the water pump for exactly 5 seconds—just long enough to push trapped water through supply hoses but short enough to prevent dry-running damage. Immediately unplug afterward. For complete line evacuation, attach a low-pressure air compressor (set to 15 PSI max) to the pump inlet and blow for 10 seconds; you’ll see water droplets eject from the mist nozzles. No compressor? Use a turkey baster: Insert the tip into the pump outlet tube and forcefully squeeze 3-4 times to create suction. Never blow air directly into nozzles—this forces debris backward into the pump. Check success by feeling for dampness inside the water distribution tray; if still wet, repeat the pump activation step.
Wipe Down Interior Surfaces to Prevent Mold Growth
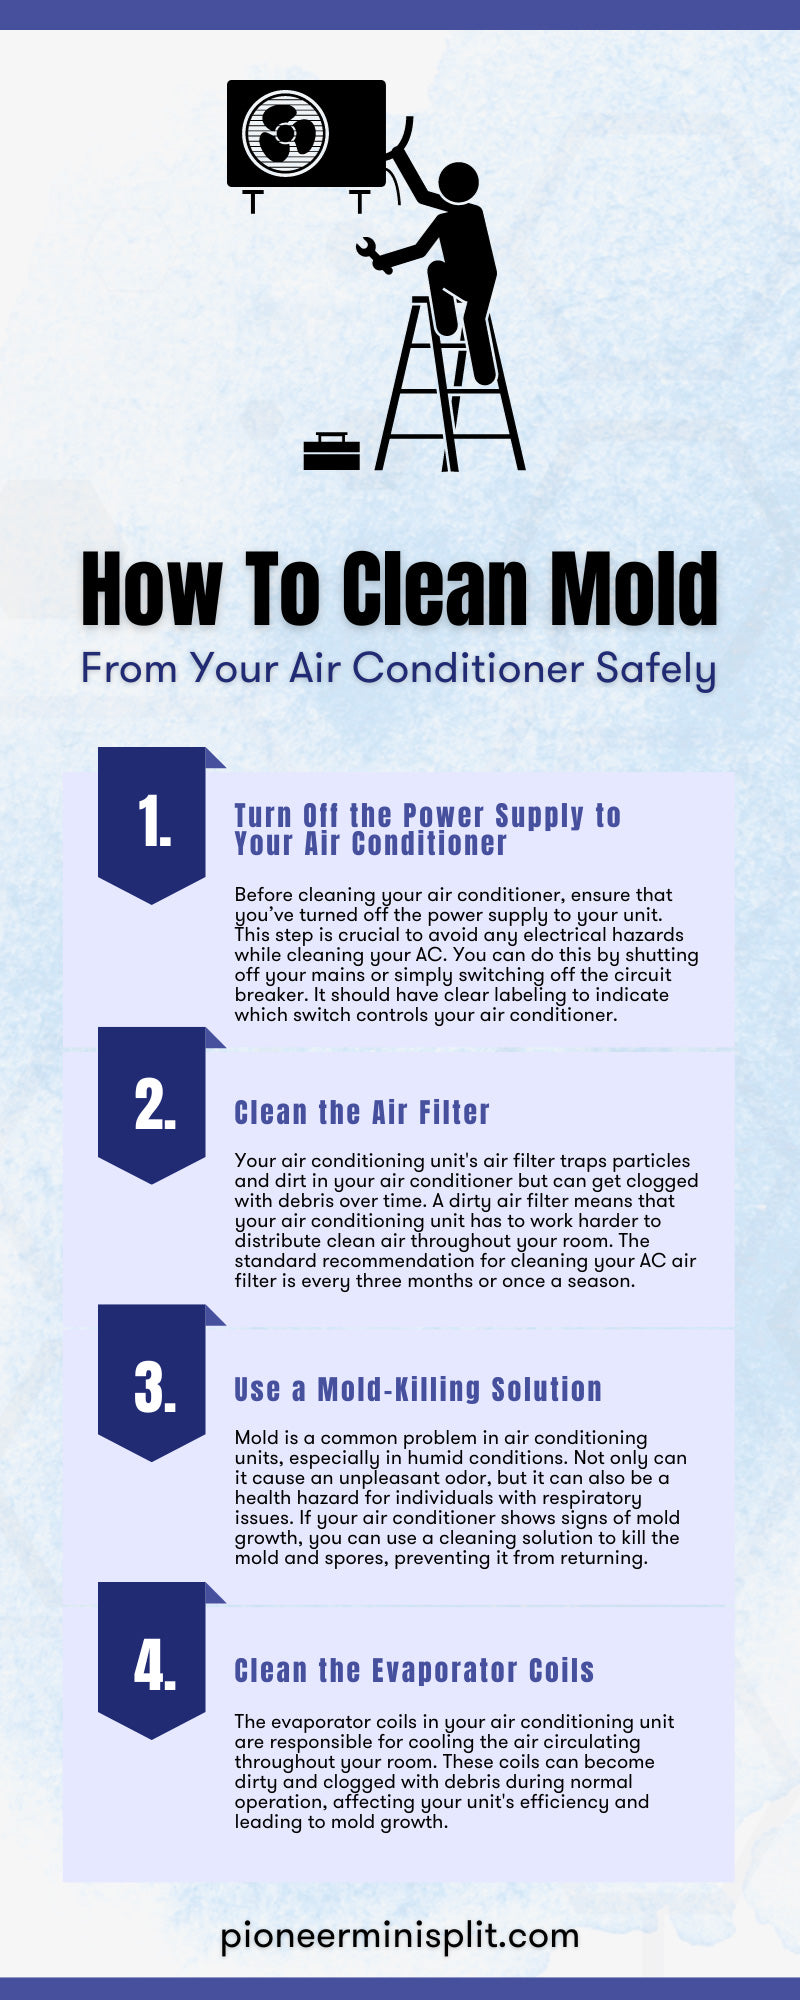
Merely draining water isn’t enough—mineral residues and organic films left behind become mold incubators within days. Immediately after water removal, wipe all accessible reservoir surfaces with a dry, lint-free microfiber cloth. Focus on three high-risk zones: the pump housing base (where water pools), corners where walls meet the floor (ideal for algae), and filter mounting rails (prone to slimy buildup). For stubborn deposits, dampen the cloth with vinegar solution first—never spray liquid directly into the unit. Pay special attention to the float valve mechanism; stuck valves cause overflows next season. As you dry, inspect for: black specks (mold colonies), white crusty patches (mineral scale), or slimy textures (bacterial growth). If you spot these, scrub gently with a soft toothbrush dipped in vinegar before final drying. This step takes only 8 minutes but prevents 90% of storage-related odors.
Store Your Air Cooler Completely Dry to Avoid Damage
The final 72 hours before storage determine whether your cooler survives off-season hibernation. After wiping interiors, leave the drain plug removed and all panels open in a well-ventilated, low-humidity area (ideal: <50% humidity). Place the unit in direct sunlight for 4-6 hours if possible—UV rays kill residual microbes. For accelerated drying, position a fan 2 feet away blowing across open panels for 24 hours. Critical check: Insert your hand into the reservoir after 48 hours; if you feel ANY coolness or dampness, extend drying time. Before boxing for storage: 1) Place silica gel packets inside the reservoir, 2) Wrap electrical components in anti-static bags, 3) Store upright in a rodent-proof container. Never seal a cooler that still smells faintly damp—that odor means hidden moisture is breeding mold inside walls.
By mastering these precise water removal techniques, you’ll avoid the #1 cause of premature air cooler failure. Properly drained units start reliably year after year without moldy odors or pump seizures. Remember that the 20 minutes you invest now prevents $150+ repair costs later—corrosion from residual water destroys pumps 3x faster than normal wear. When summer returns, your maintenance payoff appears instantly: stronger airflow, cleaner cooling, and no mysterious leaks. For maximum longevity, repeat this water removal process every 30 days during extended off-season storage. Your cooler’s next decade of service starts with these simple, thorough drainage steps today.


