
That sudden flicker in your reading lamp or the complete failure of your favorite floor lamp can derail your entire evening. When the socket stops working, you don’t need to replace the entire fixture or call an electrician—most socket issues are DIY-friendly repairs. This guide reveals exactly how to repair a floor lamp socket safely and effectively, whether you’re dealing with a loose connection, faulty switch, or damaged terminals. By the end, you’ll restore reliable lighting to your space while saving $50+ on professional repairs or new fixtures. Let’s get your lamp shining brightly again with proven techniques used by lighting technicians.
Why Your Floor Lamp Socket Fails: Overheating and Loose Wires Explained

Most socket failures stem from two preventable causes: overheating from oversized bulbs and vibration-induced wire loosening. When you exceed the socket’s wattage rating (typically 150W for standard sockets), heat builds up at the terminal screws, melting insulation and creating dangerous arcing. This appears as black scorch marks inside the socket or visible melting on the plastic base. Simultaneously, daily use causes the metal socket shell to gradually loosen from its cardboard insulator sleeve—a problem that worsens when the harp base isn’t properly secured. You’ll notice symptoms like a wobbly bulb holder, intermittent flickering when adjusting the shade, or the switch falling into the socket assembly. Ignoring these signs risks electrical fires, so address them immediately using the diagnostics in the next section.
Critical Safety Steps: Unplugging and Power Verification Protocol
Never skip this step: Before touching any component, unplug the lamp from the wall outlet. This isn’t just advice—it’s your primary defense against shock. For added safety, use a non-contact voltage tester near the socket while plugging/unplugging to confirm no current flows. Hold the tester against the metal socket shell; if it beeps or lights up when plugged in but stays silent when unplugged, you’ve verified the circuit is dead. If testing reveals unexpected current, stop immediately and consult an electrician—this indicates dangerous wiring faults in your home’s circuitry. Remember: Lamp cords lack grounding in many older models, making proper disconnection even more critical. Never assume “off” means safe; always verify with a tester.
Diagnosing Your Non-Working Lamp: Bulb, Cord, or Socket?
Start troubleshooting before disassembly with these targeted checks. First, test the bulb in another lamp—if it fails there too, replace it. If the bulb works elsewhere but not in your floor lamp, proceed to socket diagnosis. With the lamp unplugged, gently wiggle the cord near the plug and socket while slowly rotating the bulb. If light flickers during movement, you’ve found a broken wire at stress points. Next, inspect the socket interior: Shine a flashlight into the threaded base while operating the switch. A healthy socket shows clean brass contacts that move smoothly. If you see blackened contacts, cracked porcelain, or melted plastic, the socket requires replacement. For flickering issues, press the bulb firmly while toggling the switch—if contact improves temporarily, loose wiring is confirmed.
Essential Tools for Floor Lamp Socket Repair: Beyond Basic Screwdrivers
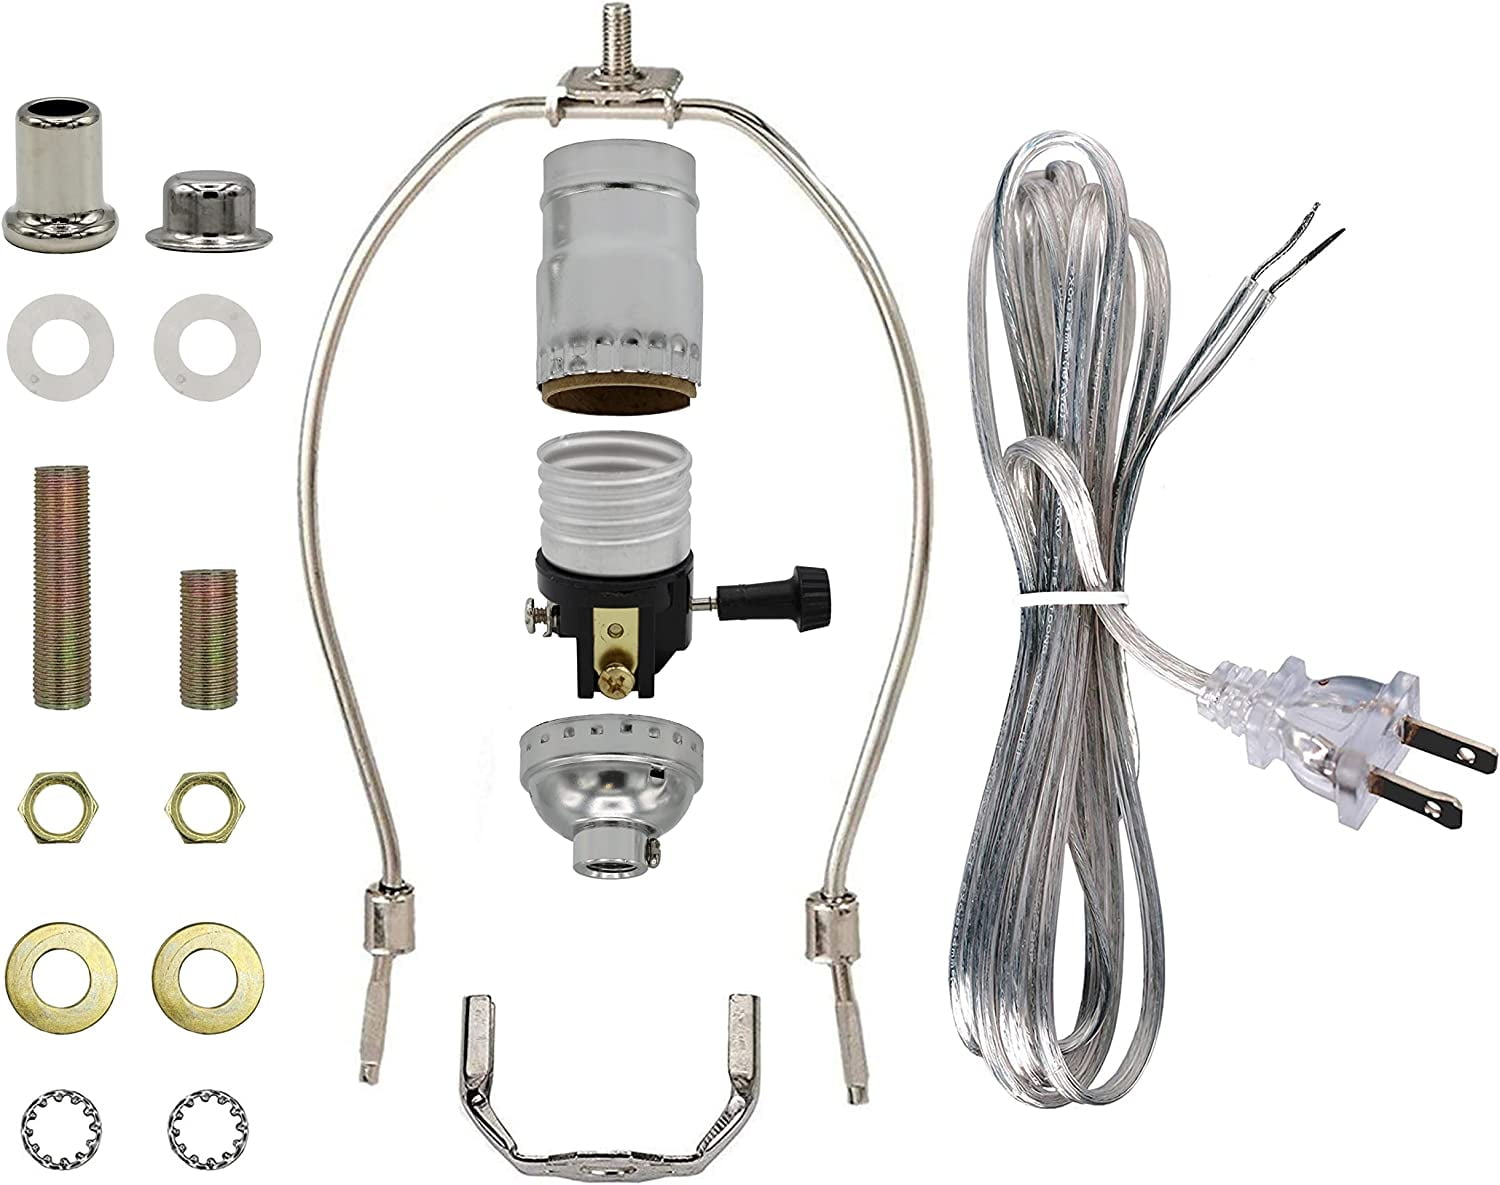
You’ll need these specific tools for efficient repairs:
* Flathead screwdriver (1/8″ width): For releasing socket set screws and prying access holes
* Needle-nose pliers: To safely manipulate wires in tight spaces
* Non-contact voltage tester: Mandatory for power verification
* Wire strippers: For cleanly exposing 1/2″ of fresh conductor if rewiring
* Replacement socket ($3-$8): Match your original’s type (keyed, 3-way, medium base)
* UL knot template (optional): For proper strain relief during reassembly
Avoid using scissors or knives for wire stripping—they nick conductors and cause future failures. Keep a small container nearby for screws; floor lamp disassembly often involves tiny fasteners that easily vanish into carpeting. If your lamp has a 3-way socket, note its specific terminal configuration before disconnecting.
Step-by-Step: Accessing Your Floor Lamp’s Socket Assembly Safely
Removing the Harp and Socket Shell Without Damage
Unplug the lamp and remove the shade, finial nut, and bulb. Locate the two small set screws on the socket’s metal shell—they’re typically 1/4″ apart near the base. Insert your flathead screwdriver and turn them counterclockwise exactly 1/4 turn (do not remove completely). Now grip the switch housing firmly and pull straight upward. The entire assembly—including switch, shell, and insulator sleeve—should slide off the inner socket base. If resistance occurs, gently rotate the assembly while pulling; never force it. For lamps without visible set screws, look for a small access hole near the neck. Insert your screwdriver tip and press inward while pulling the shell upward to release the internal clip.
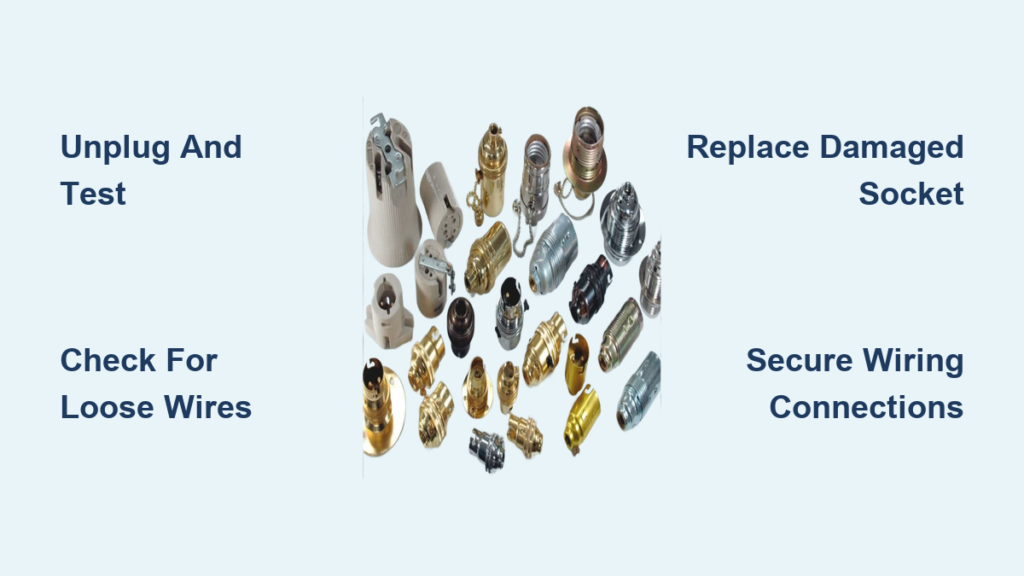
Identifying Your Socket Type for Correct Replacement
Examine the exposed base: Most floor lamps use medium-base (E26) sockets with either a push-through switch (common in torchiere styles) or a side toggle switch. Note any stamped markings like “120V 660W” or “3-WAY.” If replacing, bring the old socket to the hardware store—variations in thread pitch and terminal spacing matter. Measure the threaded stud length (typically 1.5″-2″) and confirm whether your socket uses solder tabs or screw terminals. Mismatched replacements cause improper fit and dangerous gaps.
Fixing Loose Socket Shells: Tightening Without Replacement
A wobbly socket housing is the most common non-electrical failure. After removing the metal shell as described, you’ll see the cardboard insulator sleeve surrounding the inner socket. At its base, locate the central threaded stud. Hold the insulator sleeve steady with one hand while turning the socket cap (the bulb-holding portion) counterclockwise with your other hand until it’s hand-tight against the stud. Reinstall the metal shell by sliding it down over the insulator, then snug the set screws just enough to prevent rotation—over-tightening cracks plastic components. Test by screwing in a bulb; it should feel solid with no play.
Rewiring a Damaged Floor Lamp Socket: Terminal Connection Protocol
Correct Wire Attachment for Safety and Function
When reconnecting wires, absolute precision matters. Identify the lamp cord’s conductors: The smooth/ribbed wire (hot) connects to the brass terminal screw, while the ribbed/plain wire (neutral) attaches to the silver screw. Never reverse these—doing so creates shock hazards when changing bulbs. Strip exactly 1/2″ of fresh insulation from each wire end using strippers. Form a clockwise hook with needle-nose pliers and secure under the terminal screw, ensuring no stray strands escape. The hot wire must connect to the terminal linked to the center contact (the small metal dot at the socket’s bottom). After tightening, tug gently on each wire—they shouldn’t move.
Strain Relief: Preventing Future Wire Pull-Out
Before final assembly, create a UL knot inside the base to prevent cord stress. Untie any existing knot, then: 1) Cut 4″ of slack above the socket base 2) Form a loop in the cord 3) Pass the free end through the loop to create a knot 4) Pull tight against the socket base. This absorbs tension when the lamp is moved. Without this, repeated pulling will loosen terminal connections within months.
When to Replace the Entire Socket: Melting and Burn Mark Red Flags

Discard and replace sockets showing these irreversible damage signs:
* Visible melting or warping of the plastic base
* Black carbon deposits inside the threaded shell
* Cracks in porcelain insulators exposing metal parts
* Pitted or eroded brass contacts that won’t make solid connection
Never attempt to clean or repair these—compromised insulation risks fire. When installing a new socket, match the original’s switch type and wattage rating. Transfer wires one at a time from old to new socket, verifying hot/neutral placement. For 3-way sockets, note the three terminals: Common (hot), Low, and Medium. Incorrect wiring causes bulbs to fail instantly at certain settings.
Reassembling Your Floor Lamp: Harp and Shade Alignment Secrets
Reassembly order is critical: First slide the harp saddle sleeve (metal ring) onto the socket base, then position the harp legs into the saddle’s slots. Press the saddle firmly downward until it seats against the socket shell. Install the finial nut hand-tight—overtightening cracks ceramic sockets. For shades, ensure the fitter sits flat against the harp saddle without tilting. If the shade wobbles, loosen the finial, adjust the harp position, and retighten. A properly assembled lamp shows zero movement when you gently twist the shade.
Testing Your Repaired Lamp: The Low-Wattage Safety Protocol
Never skip this test sequence: 1) Plug in using a 40W-equivalent LED bulb 2) Turn on for 30 seconds 3) Feel the socket—any warmth is acceptable, but heat is dangerous 4) Operate the switch 10 times to check consistency. If flickering occurs, recheck terminal tightness. If the bulb doesn’t light, verify hot/neutral wiring. Only after passing this test should you install your regular bulb. Monitor the socket for 5 minutes during first full-power use—discontinue immediately if you smell burning or see sparks.
When to Call an Electrician: Dangerous Signs You Must Not Ignore
Stop work and call a professional if you encounter:
* Brittle, cracked, or frayed wiring anywhere along the cord
* Blackened insulation inside the lamp base
* Visible arcing (blue sparks) during testing
* Any tingling sensation when touching the lamp
* Lamps with built-in dimmers or multiple sockets
These indicate systemic electrical faults beyond socket repair. Similarly, antique lamps with cloth-wrapped wiring require specialist handling due to degraded insulation. When in doubt, unplug and call an electrician—the $75 service call beats a $10,000 house fire.
By mastering these techniques, you’ve transformed from frustrated lamp owner to confident lighting technician. Remember that 90% of socket failures stem from loose connections or oversized bulbs—regular maintenance prevents most issues. Every six months, unplug your lamp and check for loose set screws and wire connections. Always use LED bulbs matching or below the socket’s wattage rating (e.g., 60W max socket = 9W LED bulb). Keep this guide bookmarked for future fixes, and share your success with friends struggling with flickering lights. Your lamp isn’t broken—it’s just waiting for your expert touch.


