
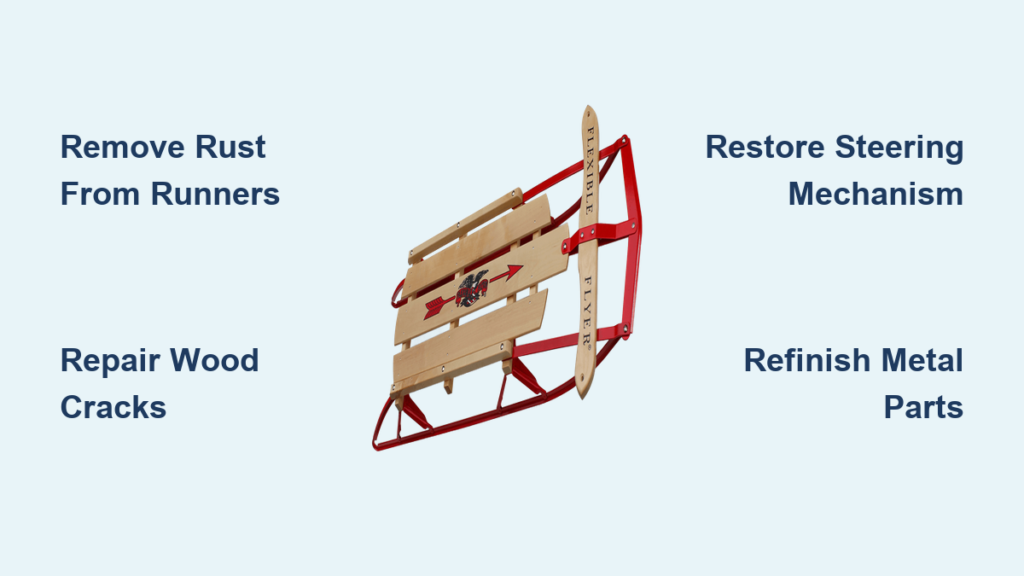
That rusty Flexible Flyer leaning in your garage isn’t just forgotten winter gear—it’s a time capsule of childhood joy waiting to be revived. When your vintage sled’s runners screech instead of glide and the wood feels rough under mittened hands, it’s time for restoration. How to restore a flexible flyer sled transforms a weathered relic into a reliable snow companion, preserving decades of family memories while ensuring safe, smooth rides down snowy hills. Whether you’re rescuing a family heirloom or restoring a flea market find, this guide delivers actionable steps to tackle rust, wood damage, and mechanical issues. You’ll learn to assess critical damage points, execute professional-level refinishing, and reassemble components for authentic steering action—all without breaking the bank or needing specialized workshop experience.
Spotting Critical Damage in Your Flexible Flyer’s Wood Deck
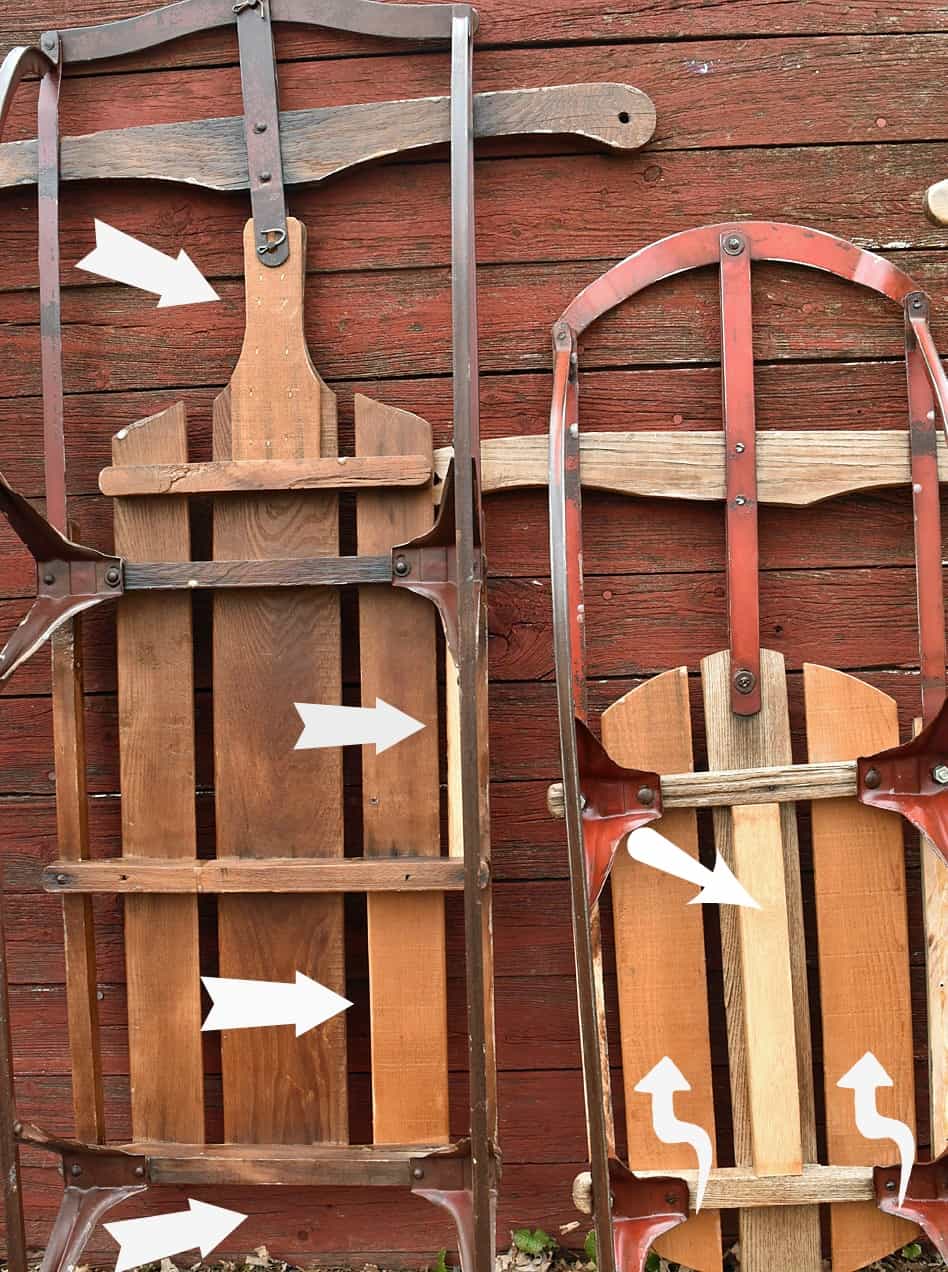
Before touching tools, your first mission is diagnosing structural vulnerabilities in the wooden components. Ignoring deep cracks or rot now guarantees mid-ride failures later. Grab your sled in daylight and run hands along both the deck surface and runner undersides, feeling for soft spots that indicate wood decay. Pay special attention to stress points where metal brackets attach—these areas commonly develop hairline fractures from years of flexing. For visible damage, check if cracks span multiple slats; single-slat fractures are repairable, but interconnected splits often require complete deck replacement. Don’t dismiss surface scratches—they’re cosmetic—but deep gouges that expose raw wood beneath the finish demand immediate attention to prevent moisture intrusion. If you spot white, powdery residue (efflorescence), that’s moisture trapped in the wood signaling urgent drying and sealing.
Why Surface Scratches Don’t Require Major Intervention
Most superficial marks disappear during sanding without structural repairs. Focus energy only on damage penetrating beyond the top 1/8 inch of wood where integrity is compromised.
When Wood Replacement Becomes Necessary
If cracks exceed 3 inches in length or connect multiple slats near stress points, replacement is safer than repair. Vintage Flexible Flyers used specific hardwoods like hickory or ash—replicate this with similarly dense woods for authentic performance.
Diagnosing Metal Runner Failure Points Before Restoration
Your sled’s steel runners dictate its glide performance, but decades of salt and snow exposure create hidden threats. Start by inspecting for pitting—small rust craters that weaken metal thickness. Press a fingernail into suspicious spots; if it catches, that’s pitting requiring aggressive treatment. Next, check runner curvature where they attach to the deck; any flattening here destroys the signature Flexible Flyer steering action. Test structural integrity by applying gentle upward pressure on runner ends—if they flex more than 1/2 inch, the metal has fatigued and needs reinforcement. Finally, examine all rivets and bolts securing runners to the wood. Rust-jacked fasteners (where corrosion expands metal) must be drilled out completely before reassembly.
Critical Steering Mechanism Wear Indicators
Wobble in the crossbar or grinding during turns reveals worn pivot points. If the steering T-bar moves more than 1/4 inch laterally without turning runners, internal bushings need replacement.
Choosing Between Showroom Finish vs. Working Restoration
Your restoration philosophy shapes every decision from paint removal to hardware selection. For museum-quality results preserving original decals and patina, expect 20+ hours of meticulous work using chemical strippers and hand-rust removal. This approach maintains historical value but offers minimal corrosion protection for active use. Alternatively, a working restoration prioritizes function over originality: stripping all finishes, replacing compromised parts, and applying modern weatherproofing. You’ll lose some vintage charm but gain a reliably safe sled that withstands generations of use. Most hobby restorers choose the middle path—preserving original wood grain while applying protective finishes invisible to casual observers. Whichever path you take, document original hardware placements with photos before disassembly; this prevents reassembly nightmares later.
Essential Safety Gear for Sled Restoration Work

Skipping proper protection turns restoration into a hazard zone. Always wear ANSI-rated safety glasses when sanding or drilling—metal fragments fly unpredictably during rust removal. Combine these with N95 respirators during paint stripping or sanding to avoid inhaling toxic particles. Cut-resistant gloves are non-negotiable when handling rusted runners with sharp edges. Work outdoors or in ventilated spaces when using chemical strippers or solvents; Flexible Flyer restoration involves volatile compounds that cause dizziness in enclosed areas. Keep a first-aid kit within arm’s reach for common workshop injuries like splinters or pinched fingers. Never compromise on safety to save time—rushing through how to restore a flexible flyer sled projects causes more damage than the original deterioration.
Must-Have Tools for Wood and Metal Restoration
Your success hinges on having the right tools before starting. For wood work, you need 80- to 220-grit sandpaper (both sheets and an orbital sander), plastic scrapers to avoid gouging, and clamps for holding repairs. Metal restoration demands a wire wheel attachment for your drill, 0000-grade steel wool for final polishing, and penetrating oil for frozen fasteners. Critical specialty items include Evapo-Rust or vinegar for chemical rust removal, and spar urethane for waterproof wood finishing. Skip cheap hardware store paints—invest in rust-inhibiting metal primer and enamel formulated for outdoor use. Pro tip: Label all disassembled parts in zip-top bags with masking tape tags; it prevents confusion when reassembling complex steering mechanisms.
Budget-Friendly Alternatives for Rare Tools
Don’t own a drill-mounted wire wheel? A handheld wire brush works for light rust. No chemical stripper? Boil water with baking soda for paint removal on small metal sections.
Step-by-Step Disassembly Without Losing Critical Parts
Begin disassembly by photographing the entire sled from multiple angles. Then systematically remove components starting from the steering mechanism: loosen the handle clamp bolt, then detach the T-bar from the crossbar. Next, remove runner attachment hardware—typically six to eight bolts per side—placing each in labeled containers. If rivets resist removal, apply penetrating oil and wait 24 hours before attempting extraction. When separating runners from the deck, support the wood to prevent cracking at attachment points. Keep all original fasteners unless severely corroded; reproductions rarely match vintage specs. Document unusual configurations like staggered bolt lengths with quick sketches. This meticulous approach ensures your how to restore a flexible flyer sled project avoids the #1 frustration: missing parts during reassembly.
Removing Decades of Grime from Wooden Components
Start wood cleaning with dry methods before introducing moisture. Use stiff-bristled nylon brushes to dislodge packed dirt from grain cracks, working parallel to wood fibers. For stubborn residue, apply mineral spirits to rags (never directly to wood) and gently wipe surfaces. Avoid power washers—they saturate wood and cause warping. When addressing old finishes, choose chemical strippers over sanding for delicate areas; apply gel stripper thickly, cover with plastic wrap, and wait 20 minutes before scraping. Always sand with the grain using progressively finer grits—begin at 100-grit for heavy buildup, finishing at 220-grit for smoothness. Wipe dust from sanding with tack cloths, not damp rags, to prevent premature wood swelling.
Repairing Cracks and Gouges for Structural Integrity
Address wood damage in this sequence: clean cracks with compressed air, apply wood hardener to compromised areas, then fill voids with two-part epoxy filler. For hairline cracks, inject thin wood glue and clamp overnight—excess glue wipes clean with mineral spirits before drying. Deep gouges require multi-stage filling: apply epoxy filler slightly proud of the surface, let cure, then sand flush. Never use polyester auto body filler on wood—it lacks flexibility and cracks under stress. When repairing splits near edges, reinforce with hidden hardwood dowels drilled perpendicular to the crack. After repairs, condition the entire deck with boiled linseed oil before final finishing to equalize moisture absorption.
Eliminating Rust from Steel Runners Without Pitting
Rust removal demands patience—aggressive methods destroy thin runner metal. Soak runners overnight in Evapo-Rust solution (or vinegar-water mix), then scrub with brass brushes. For persistent spots, use drill-mounted brass wire wheels at lowest speed; steel brushes remove too much metal. Never sandblast vintage runners—their thin gauge (often under 1/16 inch) warps under pressure. After rust removal, neutralize metal with baking soda solution before drying completely. Check for hidden corrosion inside hollow runner tubes by inserting a flashlight; treat internal rust with rust converter applied via funnel. If pitting remains after cleaning, assess depth—shallow pits (<0.01 inch) won’t affect performance, but deeper ones require metal filler.
Refinishing Metal Parts for Rust-Proof Performance

Proper metal finishing prevents immediate re-rusting. After thorough drying, apply rust-inhibiting primer like Rust-Oleum Stops Rust within 2 hours of cleaning. Spray in thin, even coats—hold can 10 inches from surface, overlapping passes by 50%. Let primer cure 24 hours before topcoating with enamel formulated for outdoor metal. For authentic Flexible Flyer red, mix Rust-Oleum Protective Enamel 7713 (Gloss Cardinal Red) with 10% gloss black. Apply two topcoats minimum, sanding lightly with 400-grit between coats. Never skip the clear coat—add a final layer of Krylon Fusion All-In-One for UV protection. Critical tip: Mask wood-to-metal joints with painter’s tape to prevent paint bridging that restricts runner flexing.
Restoring Smooth Steering Mechanism Function
The signature Flexible Flyer steering relies on three components: the T-bar, crossbar, and pivot bushings. Clean all parts with degreaser, then inspect bushings for compression—they should rebound when squeezed. Replace hardened rubber bushings with neoprene equivalents for longevity. Reassemble with dry lubricant (like graphite powder) on pivot points—never use oil, which attracts snow and grit. During reassembly, tension the steering bolt just enough to eliminate wobble while allowing smooth turning. Test by mounting the sled on blocks and moving the handle through full arc; resistance indicates over-tightening. Properly restored, the mechanism should return to center position automatically when released on flat ground.
Reassembly Secrets for Perfect Runner Alignment
Misaligned runners cause dangerous veering during rides. Before final tightening, position the sled on a flat surface and slide thin shims under low spots to level the deck. Attach one runner loosely, then use a string line from nose to tail to align the second runner parallel within 1/8 inch tolerance. Torque bolts in a star pattern to avoid warping—start at 15 inch-pounds, wait 10 minutes, then final tighten to 25 inch-pounds. Test steering by lifting the front and turning the handle; both runners should pivot simultaneously without binding. Apply marine-grade grease to all wood-to-metal contact points to prevent squeaking and wood wear. Final validation: push the assembled sled across concrete—it should track straight without drifting.
Restoring your Flexible Flyer sled isn’t just about fixing wood and metal—it’s reviving decades of winter joy with every repaired runner and smoothed slat. By following this precise how to restore a flexible flyer sled methodology, you’ve transformed a rusty relic into a reliable snow machine ready for generations of sledding adventures. Remember to store your restored sled elevated off concrete floors in a dry space, and apply paste wax to runners before each season’s first snow. For ongoing care, wipe down metal components after use and touch up any chips in the finish immediately. Your restored Flexible Flyer now stands ready not just as transportation down snowy hills, but as a tangible piece of history connecting past and future winters—one smooth glide at a time.


