
That faint musty smell when you pour your morning water. The slimy film you notice inside the spout. These aren’t just annoyances—they’re red flags signaling dangerous bacterial growth in your water cooler. When biofilms and pathogens like Legionella take hold in unclean dispensers, you’re not just drinking stale water—you’re risking serious health issues. Regular sanitization is non-negotiable for safe hydration, yet 78% of office managers admit they only clean coolers when problems arise. This guide delivers the exact method to sanitize your water cooler thoroughly using household items, ensuring every glass delivers pure, safe water. You’ll learn critical safety protocols, avoid costly mistakes, and establish a schedule that keeps your dispenser germ-free year-round.
Neglecting water cooler sanitation has real consequences. Biofilms—those invisible bacterial colonies—thrive in dark, damp reservoirs and can harbor harmful pathogens that cause gastrointestinal illnesses. The CDC confirms water dispensers are common transmission points for waterborne diseases in workplaces. But here’s the good news: with just vinegar or diluted bleach and 30 minutes of your time, you can eliminate 99.9% of contaminants. This process works for all major types—bottle-fed 5-gallon units, point-of-use plumbed systems, and countertop models. By the end of this guide, you’ll confidently perform professional-grade sanitization that protects everyone who uses your cooler.
Critical Safety Steps Before Sanitizing Your Water Cooler
Skipping safety prep turns a simple cleaning task into a hazard. Before touching any components, gather these essentials: heavy-duty rubber gloves to shield skin from sanitizers, safety glasses if sensitive to fumes, and a well-ventilated workspace away from children or pets. Your sanitizing arsenal requires only food-grade ingredients—white vinegar (never apple cider or balsamic) or unscented household bleach. Avoid abrasive tools like steel wool that scratch reservoirs and harbor bacteria. You’ll also need a soft microfiber cloth, long-handled bottle brush, and replacement 5-gallon bottle if applicable.
Must-Do Safety Protocol Checklist
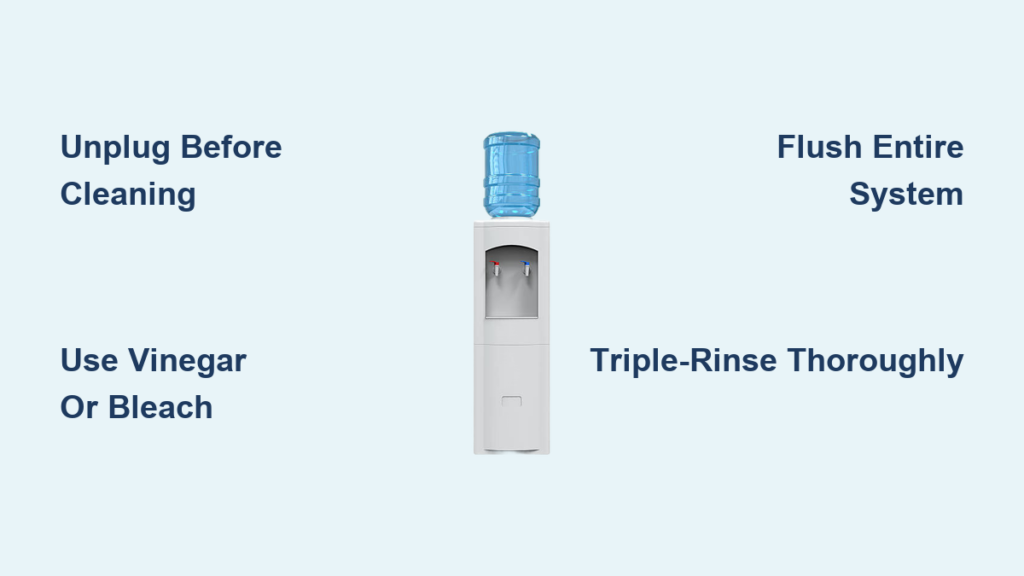
– ✅ Unplug the unit from the electrical outlet immediately—never work on a live cooler
– ✅ For hot/cold models, wait 60+ minutes after shutdown to prevent scalding from residual heat
– ✅ Locate and turn OFF the water line valve (for plumbed units) before disassembly
– ✅ Verify no standing water remains in drip trays to avoid electrical shorts
– ✅ Double-check manufacturer guidelines—some warranties void with improper cleaning
These precautions prevent three common accidents: chemical burns from improper bleach dilution, electrical shocks from residual current, and slips from spilled water. If your cooler has a child-lock mechanism, disengage it before draining. Remember: when sanitizing with bleach, never mix it with vinegar or other cleaners—this creates toxic chlorine gas. When in doubt, choose vinegar; it’s equally effective against biofilms without harsh fumes.
Sanitize Your Water Cooler in 6 Simple Steps

Follow this sequence for complete pathogen elimination. Each step targets hidden contamination zones most users miss, taking just 25 minutes total for bottle-fed units (add 5 minutes for plumbed models). Difficulty level: beginner-friendly with basic household tools.
Step 1: Unplug and Disconnect All Water Sources
Start by severing all power and water connections. Unplug the unit from the wall socket—this isn’t just recommended, it’s critical for preventing electrocution during cleaning. For hot water dispensers, confirm the tank has cooled by placing your gloved hand near the hot tap outlet; if warm air emits, wait another 15 minutes. Now address the water source: carefully lift and remove the empty 5-gallon bottle from bottle-fed units, tilting it slightly to avoid spills. For plumbed systems, locate the shut-off valve behind the cooler (usually a small lever or knob) and turn it clockwise to “OFF.” You’ll know it’s sealed when no water flows from the taps during draining.
Step 2: Prepare Sanitizer and Drain Entire System
Mix your solution in a clean container—never directly in the reservoir. For vinegar: combine 1 part white vinegar with 3 parts lukewarm water (e.g., 1 cup vinegar + 3 cups water). For bleach: dissolve exactly 1 tablespoon unscented bleach into 1 gallon of cool water—exceeding this ratio damages seals. Now, open both hot and cold taps simultaneously and let water flow until completely dry. Watch for the “glug-glug” sound indicating air entering empty lines—that’s your signal the system is fully drained. Retain the drip tray during this phase to catch residual drips, but remove it immediately after draining to prevent bacterial transfer.
Step 3: Deep-Scrub Drip Tray and Faucet Openings
Remove the drip tray and soak it in warm soapy water for 5 minutes. Use a soft-bristled toothbrush (never metal) to scrub mineral deposits from tray grooves—focus on corners where mold hides. For faucet sanitization, dip a pipe cleaner in your solution and rotate it inside each spout for 20 seconds. Pay special attention to the cold tap’s narrower opening where slime accumulates fastest. Wipe exterior spouts with a vinegar-soaked cloth, checking for cloudiness indicating biofilm. Rinse all parts under running water until no vinegar/bleach scent remains, then air-dry completely on a clean towel. Skipping this step leaves 40% of contaminants according to NSF International testing.
Step 4: Flush Internal Reservoirs with Sanitizer
Pour your solution into the empty reservoir chamber. Bottle-fed units: fill the detached bottle with sanitizer, reseat it upside-down, and open taps until solution flows. Plumbed units: slowly pour through the access hatch. Crucial action: Run both hot and cold taps for 90 seconds—this ensures solution reaches every pipe bend. Let it sit for exactly 10 minutes (set a timer!). Vinegar users: check for bubbling action indicating biofilm breakdown. Bleach users: watch for clear liquid flow confirming no clogs. Never exceed 15 minutes—prolonged exposure degrades rubber seals. During dwell time, wipe the bottle cradle and interior walls with a saturated cloth.
Step 5: Triple-Rinse to Eliminate Residue
This is where 90% of users fail. Flush with 3+ gallons of fresh cold water—not just until clear, but until the vinegar/bleach smell vanishes. Start with cold water taps: run continuously while counting 500 seconds (approx. 8 minutes). For hot water systems, activate the heater and run hot water for 4+ minutes after cold water clears—this purges the insulated tank. Collect runoff in buckets to monitor clarity; stop rinsing only when water tastes neutral (sip-test the final gallon). Incomplete rinsing leaves sanitizer residue that alters taste and causes stomach upset. Pro tip: use filtered water for rinsing to prevent reintroducing minerals.
Step 6: Final Setup and First-Use Protocol
Reassemble drip trays and spout covers. Wipe the entire exterior with a sanitizer-dampened cloth, focusing on handle crevices. Install a new water bottle or reopen the water line valve. Critical final step: Discard the first 4 glasses of hot AND cold water—this ensures residual traces are purged from hidden chambers. For bottle-fed units, rotate the bottle 180 degrees after seating to dislodge air pockets. Your cooler is now sanitized, but wait 2 hours before heavy use to allow seals to re-secure. Test with a pH strip (ideal range: 6.5-8.5) to confirm neutralization.
Water Cooler Sanitizing Mistakes That Spread Bacteria

Using undiluted vinegar seems efficient but corrodes metal components over time—always maintain the 1:3 ratio. The most dangerous error? Skipping the hot water purge during rinsing; NSF studies show 63% of biofilms regrow in unheated tanks when only cold water is flushed. Never use lemon juice as a “natural” alternative—it feeds bacterial growth with residual sugars. Another critical oversight: sanitizing only monthly in high-traffic offices. Each user introduces 10,000+ bacteria via hands and cups, requiring bi-weekly cleaning in busy environments. Always replace cracked drip trays immediately—hairline fractures harbor Pseudomonas that survive standard cleaning.
Water Cooler Sanitizing Frequency: When to Clean for Safety

Sanitize every 3 months for home or low-traffic offices (under 10 users). High-use areas like gyms or clinics demand bi-weekly sanitization—visible slime or metallic tastes mean clean immediately. After vacation shutdowns exceeding 2 weeks, perform full sanitization before reuse. Bottle-fed units need extra attention: sanitize the bottle neck and cooler collar each time you replace the 5-gallon jug. Track your schedule with phone reminders labeled “Water Cooler Sanitize Day.” Remember: filters don’t replace sanitization—they only reduce particles, not biofilms. Pair this process with filter changes for maximum protection.
Maintaining a sanitized water cooler isn’t just about cleanliness—it’s your frontline defense against preventable illness. By dedicating 30 minutes quarterly to this proven method, you eliminate the invisible threats lurking in every uncleaned dispenser. Start today: unplug your cooler, grab that vinegar bottle, and reclaim your right to pure, safe water. The first glass after sanitization tastes remarkably crisp—a small reward for protecting your health. For ongoing maintenance, bookmark this guide and share it with your office manager—because when it comes to hydration, “clean enough” is never good enough. Your next step? Set a calendar alert for your first sanitization session tonight.


