
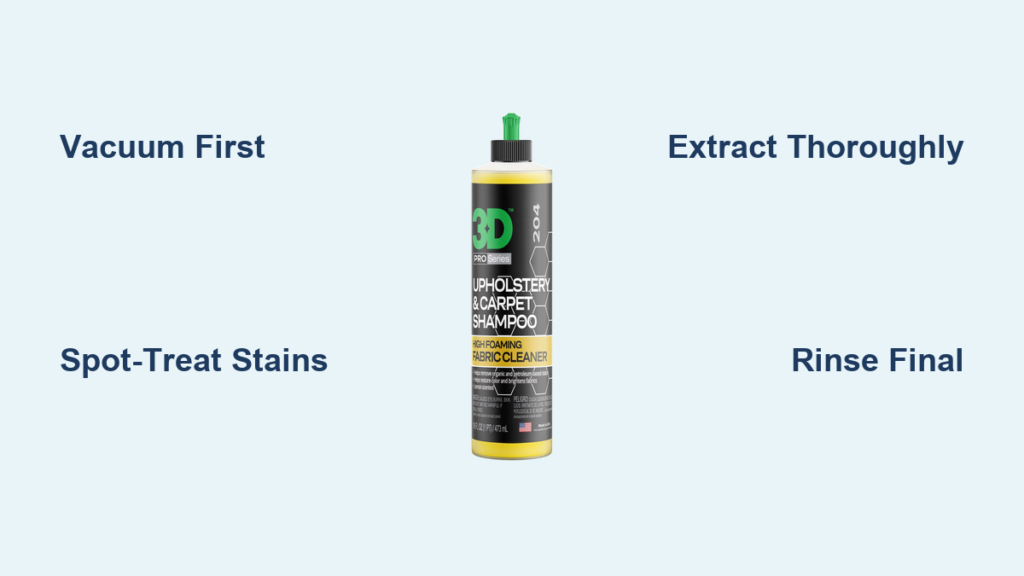
That coffee spill that turned into a permanent stain? The mysterious smell that won’t quit after your dog rode shotgun? You’re not stuck with dirty car seats. Shampooing car upholstery properly is the only way to eliminate deeply embedded dirt, stubborn stains, and lingering odors that vacuuming can’t touch. Skip this critical step, and you’re just moving surface grime around while trapped contaminants keep your interior looking dingy and smelling stale. In this guide, you’ll discover the exact 7-step process professional detailers use—including the extraction technique that prevents mold—and learn which $20 cleaner tackles pet accidents better than expensive brands. Get ready to transform threadbare, stained seats into a showroom-fresh cabin without costly professional services.
Why Proper Upholstery Shampooing Beats Quick Fixes
Most drivers make the critical error of spot-cleaning with household products or using excessive water, which actually accelerates fabric deterioration. True shampooing combines targeted agitation with industrial-strength extraction to pull contaminants out of the fiber core—not just redistribute them. Without this dual action, dirt and cleaning residues create a sticky matrix that attracts more grime, making seats dirtier faster. You’ll recognize this failure when your “cleaned” seats feel stiff or develop dark rings around stains. The right technique removes the root cause of discoloration while preserving fabric integrity, extending your interior’s life by years. Always verify your seat’s cleaning code (W, S, W/S, or X) first—found on tags under seats or in your manual—to avoid irreversible damage.
Essential Tools That Actually Work for Home Detailers
Skip the rental unit rental—these targeted tools deliver pro results:
– Portable extractor (Bissell Little Green or McCulloch MC1275): Non-negotiable for suction power. Full-size units risk oversaturation in tight car interiors.
– Upholstery attachment with rotating brush: Creates the agitation needed to dislodge dirt without fraying fibers.
– Stiff-bristled brush: Only for pre-treating heavy debris like mud (never use on dry fabric).
– White microfiber cloths: Prevent dye transfer during stain treatment.
Avoid these common tool mistakes:
– Using household carpet shampooers (wrong pH for auto fabrics)
– Substituting paper towels for microfiber (leaves lint residue)
– Skipping the plastic scraper (gum or wax requires gentle lifting before cleaning)
The 7-Step Shampoo Process That Prevents Mold and Residue

Step 1: Vacuum Like a Pro (Not Just a Quick Pass)
Start by removing all loose debris with your vacuum’s crevice tool. Focus on seat seams, folds, and under headrests—this is where abrasive grit hides. Run the nozzle slowly in overlapping strokes for 30 seconds per seat quadrant. Critical mistake avoided: Skipping this step grinds dirt deeper during shampooing. If you see dust clouds during vacuuming, repeat until the vacuum exhaust runs clear.
Step 2: Spot-Test and Pre-Treat Stains Correctly

Apply your chosen shampoo concentrate to an inconspicuous area (under seat flap or rear fold). Wait 10 minutes—any discoloration means switching products. For active stains:
– Oil/grease: Cover with cornstarch, wait 15 minutes, vacuum, then apply Dawn dish soap paste.
– Ink: Dab only with 91% isopropyl alcohol on a white cloth—never rub.
– Pet accidents: Blot dry first, then spray enzyme cleaner (TurtleWash Out!) and wait 20 minutes.
Pro tip: Work from the stain’s edge inward to prevent spreading. Test cleaners on seatbacks first—they’re less visible if issues arise.
Step 3: Mix Shampoo Concentrate to Exact Dilution Ratios
Never pour straight concentrate onto seats. For most auto fabrics:
– 1 part shampoo (Folex or Simple Green) to 4 parts warm water
– For enzyme cleaners: 1 part to 2 parts water
Why this matters: Over-concentrated solutions leave sticky residues that attract dirt within days. Under-diluted mixes won’t lift grime. Pour into your extractor’s tank—never use a spray bottle for full shampooing.
Step 4: Agitate Fabric Without Damaging Fibers
Divide seats into 12″x12″ sections. Apply solution in slow, overlapping passes. Then:
1. Use the extractor’s rotating brush attachment in gentle circular motions
2. Focus on high-wear zones (seat bolsters, driver’s thigh area)
3. Apply light pressure—let the brush do the work
Warning: Aggressive scrubbing frays nylon and polyester blends. If fibers pill, you’re pressing too hard.
Step 5: Let Cleaners Dwell for 10-15 Minutes (No Skipping!)
This is where most DIYers fail. Walk away and let the solution sit—this gives enzymes time to break down organic matter. Check progress: Lightly blot a hidden area. If the cloth picks up dirt, wait 5 more minutes. Dark water extraction = success. Clear water too soon = reapply.
Step 6: Extract Until Water Runs Clear (The Mold Prevention Step)
This step makes or breaks your results:
1. Set extractor to maximum suction
2. Pull the nozzle slowly (1 inch per second) across fabric
3. Overlap each pass by 50%
4. Empty and rinse the dirty water tank when half-full
Critical sign: First extraction pass should pull out dark, murky water. If it’s clear immediately, you didn’t agitate enough. Repeat extraction on stubborn areas until runoff is nearly clear—this prevents soapy residue that causes rapid re-soiling.
Step 7: Rinse with Clean Water Only (90% Skip This!)
Fill your extractor tank with plain warm water. Run one full extraction pass over all treated areas. Why pros do this: Removes residual shampoo that attracts dirt. Skipping it means seats look clean today but get dirtier twice as fast next week.
Speed Up Drying and Avoid Musty Smells

Never leave seats damp—mold starts growing in 48 hours. Follow these drying hacks:
– Place 3-4 towels over seats and sit on them to absorb surface moisture
– Position oscillating fans to blow across seats (not directly at them)
– Crack windows 2 inches in dry weather—never use direct sunlight (fades colors)
– In humidity above 60%, run a portable dehumidifier inside the car for 2 hours
Drying time targets: 2-3 hours for seats, 4-6 hours for carpets. Fabric is fully dry when it feels cool to the cheek—not just the surface.
Top 3 Mistakes That Ruin Car Upholstery
1. Oversaturating Fabric (The #1 Error)
Using too much water creates a breeding ground for mold in hidden foam layers. Fix: Extract immediately after each small section—never let seats pool with water.
2. Ignoring Manufacturer Cleaning Codes
W code = water-safe, S = solvent-only, X = dry clean only. Using water on S-coded leather seats causes irreversible stiffening. Check: Look for tags under front seat edges.
3. Skipping the Final Rinse Cycle
Residual shampoo attracts dirt like glue. Proof: Rub a damp white cloth over “dry” seats—if it yellows, residue remains. Always do the clean-water rinse pass.
Maintain That Fresh Detail Longer
Extend time between deep cleans with these habits:
– Weekly: Vacuum seats and crevices with a handheld unit
– Immediately after spills: Blot with microfiber, then apply 50/50 vinegar-water solution
– Monthly: Spray seats with diluted Simple Green (1:10) and extract
– Post-shampoo: Apply Scotchgard Fabric Protector once fully dry
You’ve just learned the exact method that transforms grimy, smelly car interiors into pristine cabins—without professional costs or fabric damage. The key isn’t expensive gear; it’s the extraction technique that pulls dirt out instead of trapping it. By focusing on dwell time, proper dilution, and thorough rinsing, you’ll avoid the sticky residue that makes seats dirtier faster. Start with one heavily soiled seat to test your technique, then tackle the whole interior. In 3 hours, you’ll have seats that look factory-fresh and smell like new—not like chemicals. Grab your extractor, and reclaim your driving experience today.


