Your Ninja blender suddenly struggles with ice. Smoothies come out chunky. That once-fearsome blade assembly now whimpers through frozen fruit. Before you buy an expensive replacement, know this: those premium stainless steel blades can be restored to factory sharpness with the right technique. This guide shows exactly how to sharpen Ninja blender blades safely and effectively. Most users restore professional-grade sharpness in under 15 minutes with basic tools—saving money while extending their blender’s lifespan significantly.
Why Your Ninja Blades Stop Crushing Ice Effectively
Ninja’s high-carbon stainless steel blades stay sharp longer than competitors, but ice, frozen fruit, and nuts gradually round the precise 15-degree cutting edge. You’ll notice symptoms before complete failure: longer blending times, remaining chunks, and that strained motor sound. The Pro Extractor and Total Crushing blade models show wear differently—six-prong assemblies develop uneven dullness while serrated ice-crushing edges lose their bite.
Key indicators your blades need sharpening:
– Ice cubes survive 15-second cycles without becoming snow-like
– Tomato skins remain visible in finished smoothies
– Motor produces that concerning strained sound during operation
– Blade edges appear rounded when inspected at 45-degree angle
– Visible chunks remain after standard blending time
Securing Your Workspace Before Blade Handling
Critical safety setup before disassembly:
– Cut-resistant gloves (Level 5 ANSI/ISEA rated) prevent serious lacerations
– Safety goggles with side shields protect eyes from metal particles
– Rubber mat creates stable non-slip surface for tools and components
– Magnetic parts tray catches tiny screws and washers during disassembly
– Bright directional lighting (1000+ lumens) reveals blade imperfections
Disassembly safety sequence:
1. Unplug blender and verify zero power by attempting to turn on
2. Twist pitcher counterclockwise from base while holding base steady
3. Invert over protected surface—never pry blade assembly loose
4. Allow blade assembly to drop naturally into your gloved hand
5. Rinse under warm water to remove food residue before handling
Pro tip: Place a towel underneath during disassembly—those small components love to bounce!
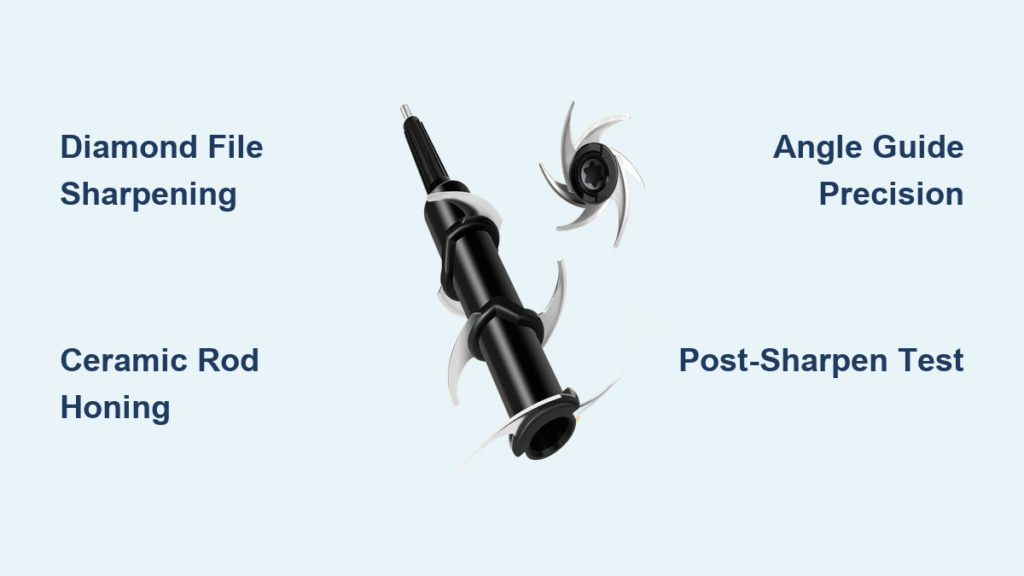
Sharpening Method 1: Diamond File Precision Technique
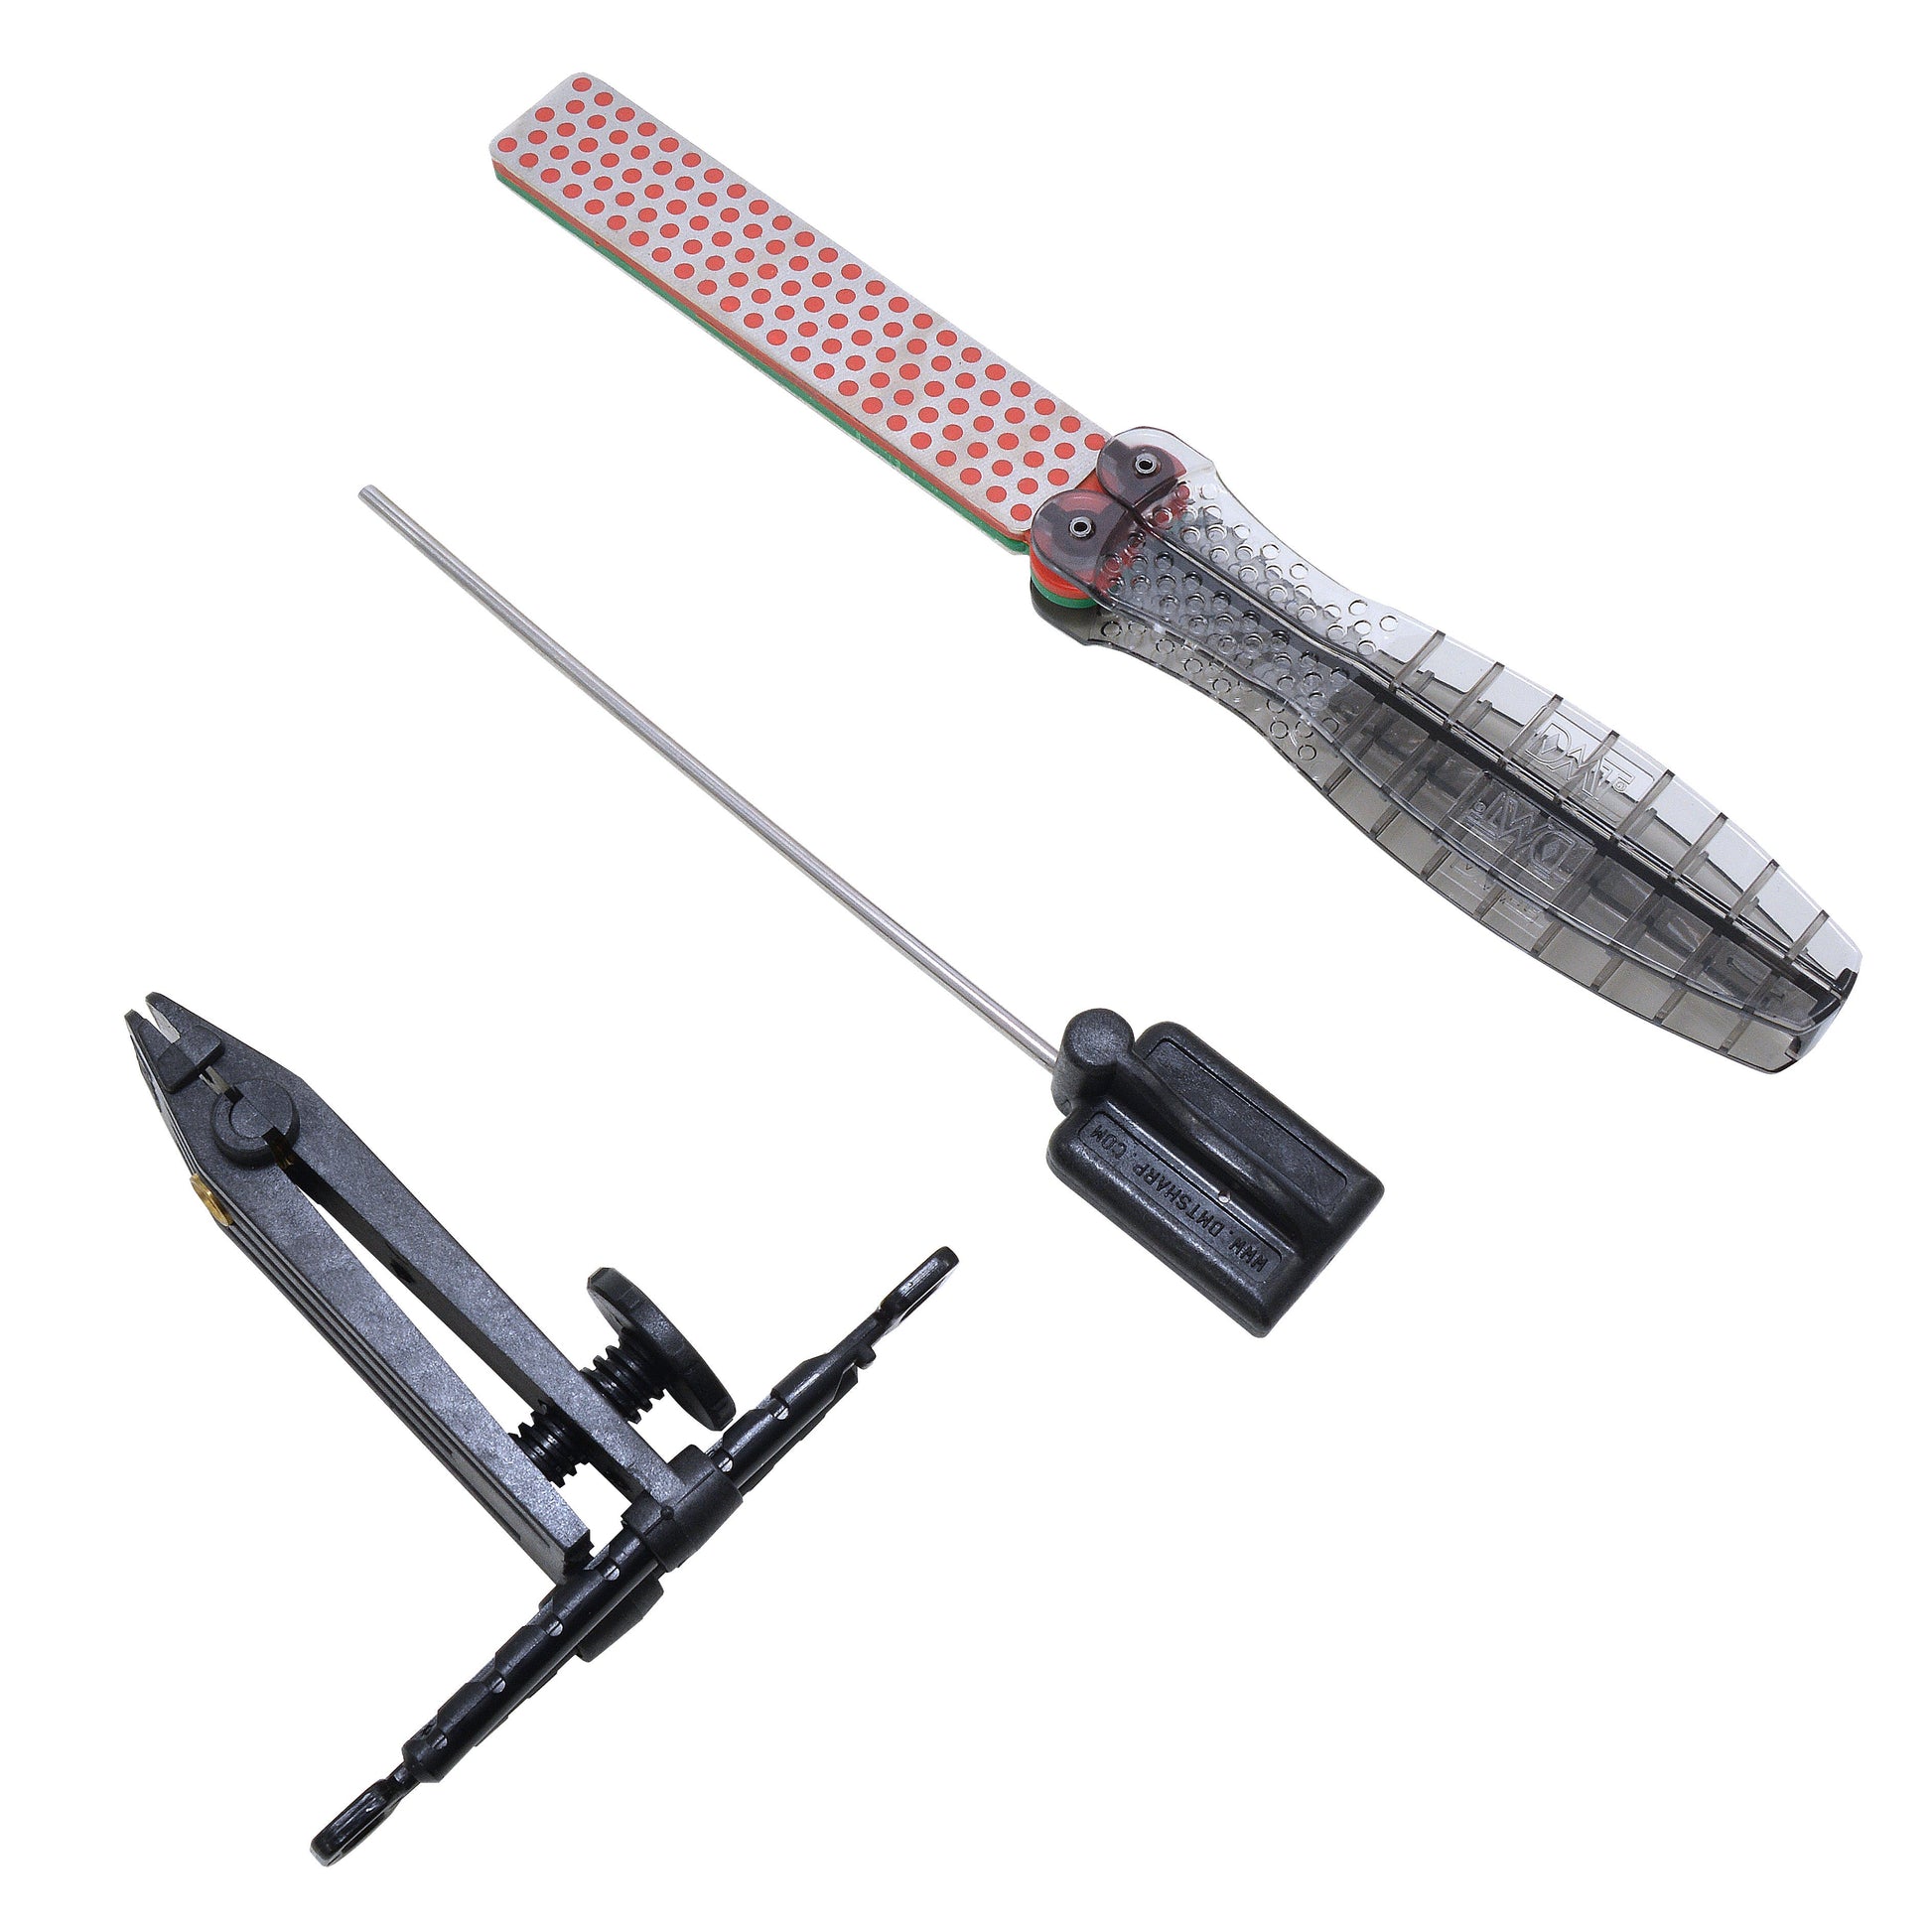
Essential tools for hand sharpening:
– 600/800/1000 grit diamond file set (coarse to fine progression)
– Adjustable blade angle guide (set to 15 degrees for Ninja blades)
– Food-grade mineral oil for lubrication
– Soft-jaw vise with protective padding
– 10x magnification lens for burr inspection
Step-by-step sharpening process:
1. Secure blade assembly in padded vise with cutting edge facing up
2. Apply black marker along blade edge to track progress (wears off where filing occurs)
3. File at exact 15-degree angle using guide—10-12 controlled strokes per section
4. Check for burr formation with magnification—indicates proper edge development
5. Progress through grits reducing stroke count (8-10 for 800-grit, 6-8 for 1000-grit)
6. Remove wire edge with leather strop charged with chromium oxide
Critical mistake to avoid: Never file toward your body—always push away with consistent pressure to maintain angle integrity. Inconsistent angles create weak spots that chip during use.
Sharpening Method 2: Ceramic Rod Maintenance Routine
Perfect for monthly touch-ups between full sharpenings—this method preserves blade thickness while restoring cutting performance.
Proper technique execution:
– Hold 8mm ceramic rod vertically in non-dominant hand
– Position blade at 20-degree angle to rod surface (slightly steeper than sharpening angle)
– Draw blade down rod in smooth, continuous motion
– Complete 5-7 strokes per blade section
– Alternate sides to maintain symmetry
– Test sharpness immediately with paper cutting test
Quick validation: A properly honed blade should slice standard printer paper cleanly without tearing or catching—test along the entire blade length.
Professional Sharpening System Results

The Ninja-specific Blade Sharpener Kit (Model NJ100) delivers consistent results through engineered precision—ideal if you value time over tool investment.
Why it works for Ninja blades:
– Magnetic holder maintains exact 15-degree angle automatically
– Diamond wheels follow proper grit progression (600 for reshaping, 1000 for finishing)
– Built-in water cooling prevents heat damage that ruins temper
– Processing time: just 3-5 minutes per assembly
Optimal usage protocol:
– Secure assembly in magnetic holder with cutting edge facing up
– Activate water cooling flow (50ml/minute prevents overheating)
– Apply consistent 2-3 lbs downward pressure during passes
– Complete 5-7 passes per blade edge
– Switch to finishing wheel for final 3 passes
– Rinse and dry immediately to prevent moisture damage
Post-Sharpening Validation Tests That Work
Three essential performance checks:
Paper slicing test: Blade should cut standard paper cleanly without catching—any tear indicates inconsistent sharpening.
Tomato skin penetration: Sharp blade slices through ripe tomato skin with minimal pressure—no crushing of the flesh beneath.
Ice crushing benchmark: Eight 1-inch cubes should become uniform snow-like texture in 15-second pulse cycle—no visible chunks larger than 1/8 inch.
Pro measure: Target below 200 BESS units (Brubacher Edge Sharpness Scale) for optimal Ninja performance—most achieve 150-180 units with proper technique.
Blade Maintenance Schedule for Maximum Longevity
Monthly maintenance routine:
– Perform ceramic rod honing (5-7 strokes per section)
– Check for nicks or damage during visual inspection
– Apply food-grade mineral oil coating after drying
Quarterly assessment:
– Conduct full sharpness testing protocol
– Determine if full sharpening needed based on performance
– Measure edge thickness if concerned about over-sharpening
Usage limits that preserve sharpness:
– Max 1 cup ice per 24oz container
– Never blend whole coffee beans or unpitted fruit
– Always use pulse function for tough ingredients
– Add adequate liquid (minimum ¼ cup) with frozen items
Troubleshooting Uneven Blade Performance
Blade cuts better on one side?
– Apply marker along edge—areas where marker remains need more attention
– Focus additional strokes on high spots revealed by marker test
– Maintain consistent angle throughout process using guide
Blade appears too thin after sharpening?
– Reduce sharpening frequency—focus on honing between full sharpenings
– Allow natural wear to restore optimal thickness through use
– Consider steeper angle (18 degrees) for future sharpenings
Rust spots after sharpening?
– Soak in white vinegar for 30 minutes to dissolve rust
– Neutralize with baking soda paste
– Dry immediately and apply mineral oil barrier
Cost Analysis: Sharpening vs Replacement
DIY sharpening economics:
– Initial tool investment: $50-150
– Per-sharpening cost: $2-3 (consumables)
– Break-even point: After 5-7 sharpenings
– Best value for blade assemblies over $30 replacement cost
Professional options comparison:
– Authorized service: $25-45, 5-7 day turnaround
– Mail-in services: $15-25 plus shipping, 3-5 day processing
– New blade assemblies: $20-35 (model dependent)
Smart strategy: For expensive blade models (like BL770 series), sharpening pays for itself after just two services.
Emergency Damage Response Protocol
Stop immediately if you notice:
– Cracks in blade metal (replace entire assembly—do not attempt repair)
– Deep nicks requiring metal removal exceeding 0.05mm
– Excessive vibration indicating dangerous imbalance
– Bent or deformed blade tips affecting rotation
First aid essentials:
– Minor cuts: Clean with antiseptic, apply pressure bandage
– Deep lacerations: Seek medical attention immediately—Ninja blades cause severe tissue damage
– Metal splinters: Use sterilized tweezers; monitor for infection
Blade Life Extension Strategies That Work
Advanced preservation techniques:
– Cryogenic treatment after sharpening increases edge retention 25-30%
– Custom angle modifications: 12° for soft ingredients, 18° for hard items
– Performance tracking logs optimize sharpening intervals
Storage best practices:
– Clean immediately after use—never let residue dry
– Apply light coat of food-grade mineral oil before storage
– Store in protective sheath or original container
– Never store wet or with food residue
Sharp Ninja blades transform your blending experience. Whether you choose careful hand sharpening with diamond files or invest in the professional sharpening system, these techniques restore factory performance. Start with ceramic rod maintenance monthly, progress to full sharpening quarterly, and your blades will outlast the motor. The key is consistent maintenance rather than waiting for complete failure—your morning smoothie deserves that satisfying whirr of effortlessly crushed ice. When in doubt about severe damage, contact Ninja support at 1-877-646-5288 for authorized service centers—they’ll preserve both your blades and your warranty coverage.

