
Your paper shredder suddenly starts producing ragged strips instead of clean cuts, leaving you with half-shredded documents and frustration. This common problem happens to every shredder owner eventually, but the solution isn’t as complex as you might think. How to sharpen paper shredder blades properly can restore your machine’s performance in just minutes—without voiding your warranty or risking permanent damage. Most users mistakenly believe they need to replace the entire unit when simple maintenance would solve the issue. In this guide, you’ll discover the manufacturer-approved method to sharpen paper shredder blades safely, recognize when professional help is actually needed, and implement a maintenance routine that keeps your shredder performing like new for years.
Why Your Shredder Suddenly Produces Ragged Paper Strips
Paper dust, adhesive residue from labels, and microscopic burrs accumulate on cutting blades after months of regular use, causing that frustrating jagged shredding effect. Unlike kitchen knives that visibly dull, shredder blades degrade invisibly until performance noticeably declines. The cutting cylinders in modern shredders create clean cuts through precise alignment of interlocking blades—when debris builds up, this delicate balance is disrupted. You’ll notice your machine straining louder than usual, overheating faster, or requiring multiple passes to fully shred documents. These symptoms indicate it’s time for immediate blade maintenance rather than replacement. Ignoring these warning signs accelerates wear, potentially causing irreversible damage to the cutting mechanism that no amount of sharpening can fix.
The Critical Anatomy of Your Shredder’s Cutting Mechanism
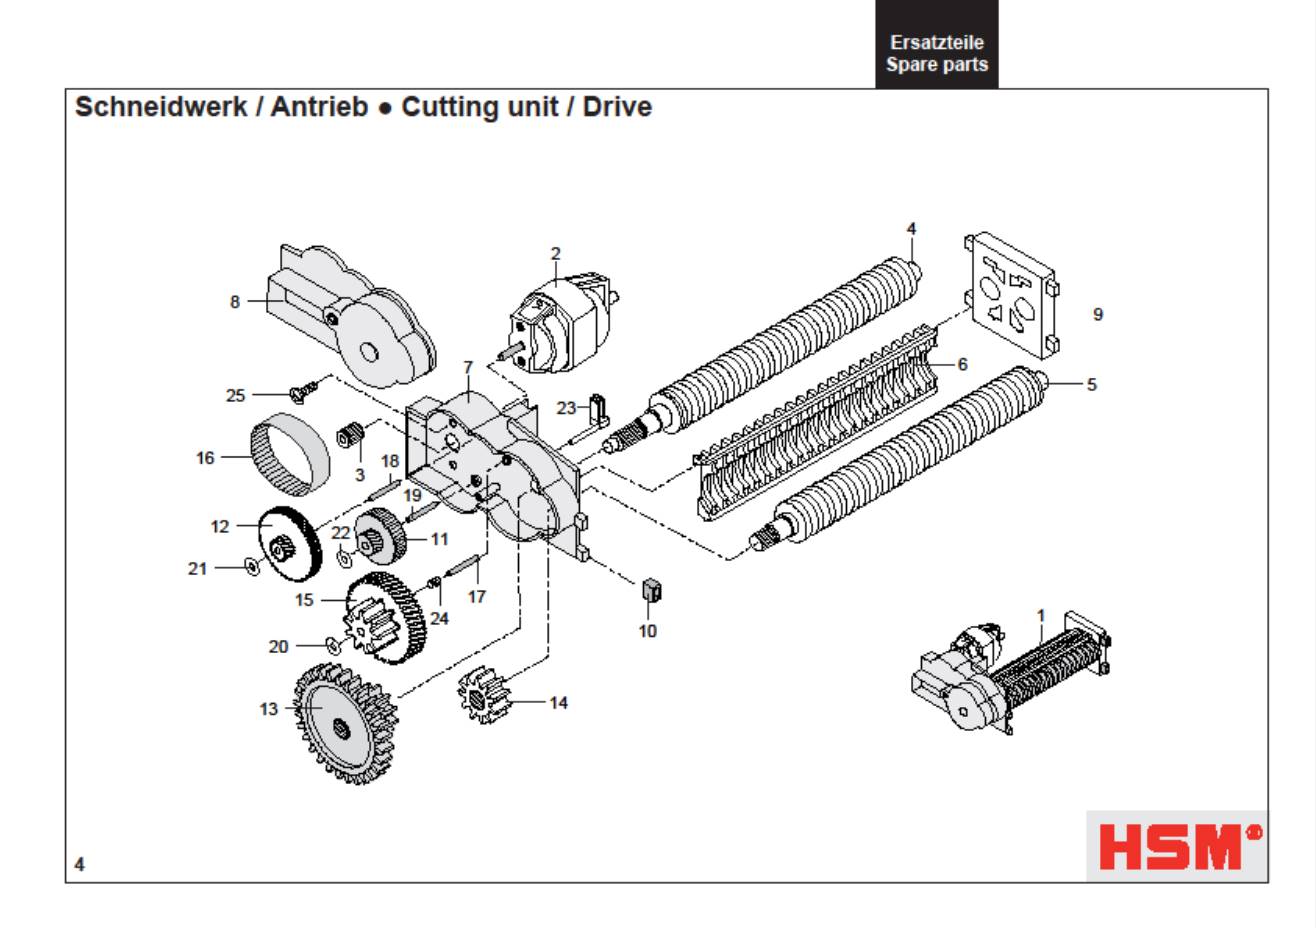
Understanding what happens inside your shredder prevents costly mistakes during maintenance. The cutting head contains precisely calibrated rotating shafts with interlocking blades that slice paper through shear force. These components operate within thousandths of an inch tolerance—any misalignment destroys cutting precision. Most consumer shredders use sealed cutting cylinder assemblies that manufacturers intentionally design as non-serviceable units. Attempting to disassemble this complex mechanism almost always results in permanent damage because the interlocking blades require factory calibration to realign properly. The rotating shaft inside maintains exact positional relationships that hand-reassembly cannot replicate. This is why professional repair shops often charge nearly as much as a new shredder—they must replace the entire cutting assembly rather than individual blades.
What Happens When You Force Open the Cutting Head
Forcing apart the cutting cylinders creates three critical problems: misaligned blade teeth that catch rather than cut paper, damaged drive mechanisms from improper reassembly pressure, and voided manufacturer warranties that exclude disassembly damage. The interlocking blades resemble precision gear systems where even slight misalignment causes immediate performance failure. You might successfully reassemble the unit only to find it produces uneven shreds or jams constantly. The specialized tools required for proper realignment cost more than replacement units, making DIY disassembly economically unwise for 99% of users.
Why You Must Never Disassemble Your Shredder’s Cutting Head
Manufacturers design modern shredders with sealed cutting assemblies specifically to prevent user tampering. The precision engineering required for clean paper cuts demands factory-controlled assembly conditions that home environments cannot replicate. When you attempt to remove cutting cylinders with household tools, you risk bending delicate blade teeth, stripping drive gears, or misaligning the entire mechanism. Even if you successfully reassemble the unit, microscopic misalignments cause accelerated wear that destroys the shredder within weeks. This common mistake voids warranties immediately, leaving you without recourse when the machine fails prematurely. The cutting assembly isn’t designed for field service—it’s engineered as a sealed, replaceable unit that requires specialized tools for proper maintenance.
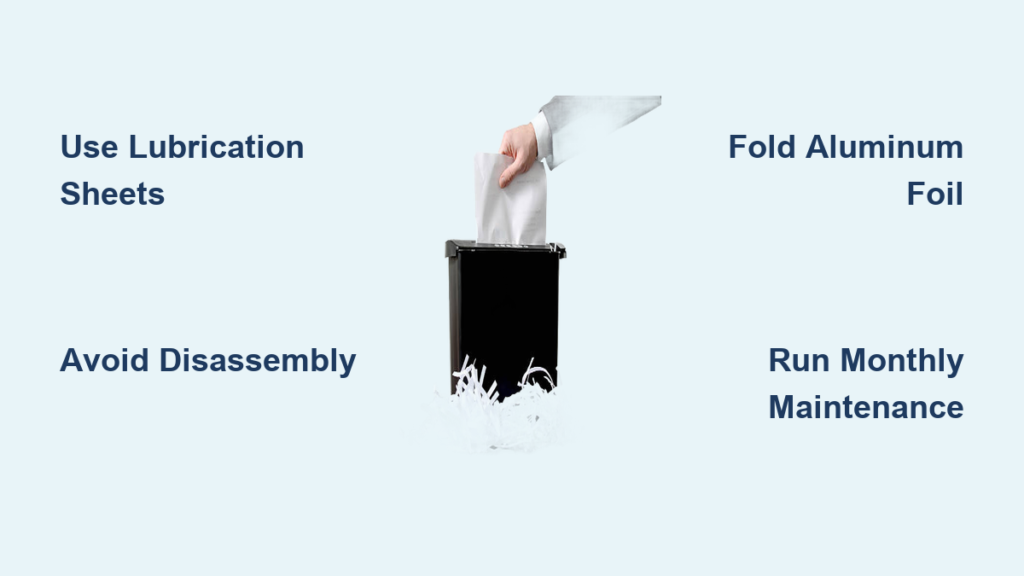
The Only Safe Method to Sharpen Paper Shredder Blades
Commercial shredder lubrication sheets provide the single manufacturer-approved method for sharpening paper shredder blades without disassembly. These specially coated papers contain fine abrasive compounds that gently hone blade edges while removing paper dust buildup. Unlike dangerous DIY methods involving disassembly or metal tools, these sheets work through the shredder’s normal operation, maintaining critical blade alignment. The white coating visible on these sheets contains microscopic sharpening agents that interact with blades during the shredding process. This method simultaneously cleans, lubricates, and sharpens cutting surfaces in one simple operation that takes less than five minutes. No other technique offers this combination of safety, effectiveness, and warranty protection for maintaining your shredder’s cutting performance.
Essential Supplies for Proper Blade Maintenance
- Shredder-specific lubrication sheets: Designed with optimal abrasive levels for your machine’s blade composition
- Canola or vegetable oil (for emergency lubrication): Never use petroleum-based oils that attract dust
- Standard copy paper: For clearing residue after maintenance
- Small container of oil (if using liquid): Prevents over-application that causes paper jams
Step-by-Step: Sharpening Blades with Commercial Lubrication Sheets
Follow this precise sequence to maximize sharpening effectiveness while protecting your machine. Always begin with the shredder unplugged to prevent accidental activation during preparation. First, clear any visible paper jams using reverse mode—never insert tools into the feed slot. Stack two lubrication sheets together for optimal blade contact without overloading the mechanism. Switch your shredder to reverse mode before inserting the sheets, as this direction provides better blade engagement for maintenance. Feed the sheets slowly, allowing the machine to pull them through at its own pace. The shredder will automatically stop when the process completes—never force additional sheets if resistance increases. Finish by running three standard paper sheets through in forward mode to remove any residual compound.
Troubleshooting Common Sharpening Issues
If your shredder struggles with lubrication sheets, first verify you’re using reverse mode as most manufacturers require. Check for partial paper jams that prevent full blade engagement—run in reverse for 10 seconds to clear obstructions. If the machine overheats during sharpening, wait 30 minutes for cooling before retrying with single sheets instead of stacks. Persistent issues after proper sharpening indicate deeper problems requiring professional assessment rather than additional maintenance attempts.
Aluminum Foil Method: A More Aggressive Cleaning Alternative

When standard lubrication sheets fail to restore performance, tightly folded aluminum foil provides stronger cleaning action for moderately dull blades. Fold standard kitchen foil into a 1-inch thick strip by layering it 8-10 times, ensuring no loose edges that could jam the mechanism. Insert the foil strip slowly in auto mode, allowing the shredder to pull it through at its own pace. The foil’s abrasive action removes stubborn pitch buildup that paper-based methods miss. Immediately follow with five standard paper sheets to clear metallic residue—failure to do this causes paper discoloration in future shredding sessions. Limit this method to once every six months as excessive use accelerates blade wear through over-aggressive honing.
4 Preventative Maintenance Habits to Extend Blade Life
Implement these simple habits to dramatically reduce how often you need to sharpen paper shredder blades. Run your shredder weekly even with minimal documents to prevent blade corrosion from humidity exposure. After every 30 minutes of continuous shredding, process one lubrication sheet to maintain blade cleanliness. Never exceed your machine’s sheet capacity—overloading creates uneven blade wear that no sharpening can correct. Store your shredder with silica gel packets nearby to absorb moisture that causes microscopic rust on cutting surfaces. These small actions multiply your shredder’s functional lifespan while maintaining consistent cutting performance.
Warning Signs Your Shredder Needs Professional Service
Certain symptoms indicate sharpening won’t solve your problem and professional intervention is required. If your machine produces consistently uneven shred sizes after proper maintenance, the cutting cylinders have likely become permanently misaligned. Motor overheating within two minutes of operation suggests internal damage beyond blade maintenance. Complete failure to shred even single sheets after multiple sharpening attempts indicates irreparable wear. Strange metallic grinding noises during operation signal broken components inside the sealed cutting assembly. In these cases, contact the manufacturer—attempting further DIY fixes risks creating more expensive damage.
When Replacement Is Better Than Repair for Dull Blades
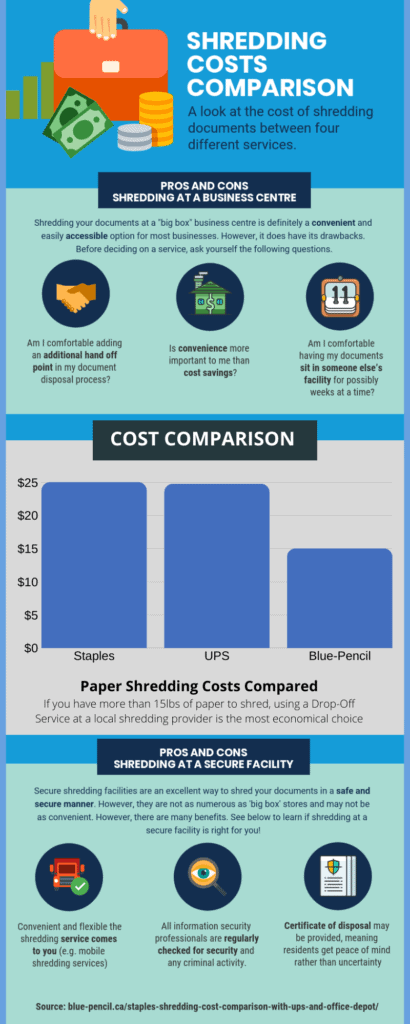
For most consumer shredders under $200, replacement costs less than professional blade servicing. Manufacturers price cutting cylinder replacements at 60-80% of new unit cost because the assembly contains multiple precision components. If your shredder is over three years old, investing in repair rarely makes economic sense given inevitable future failures. Entry-level cross-cut shredders particularly suffer from this cost imbalance—repairing the cutting mechanism often exceeds the machine’s residual value. Evaluate your shredder’s age, original cost, and current performance before pursuing professional service. In most cases, establishing a proper maintenance routine with your new unit prevents premature replacement needs.
Creating Your Paper Shredder Maintenance Schedule
Build these sharpening intervals into your regular routine for optimal performance. Process one lubrication sheet monthly for home office usage (under 5 sheets daily). After shredding credit card statements or photo paper monthly, run an additional maintenance sheet to remove adhesive buildup. Every six months, perform the aluminum foil cleaning method for deeper maintenance. Before storing your shredder for extended periods, run two lubrication sheets through to protect blades from moisture damage. This simple schedule prevents 95% of performance issues that lead users to search for how to sharpen paper shredder blades in emergency situations.
Final Note: Consistent maintenance beats emergency sharpening every time. By incorporating these techniques into your routine, you’ll extend your shredder’s life significantly while avoiding the frustration of poor performance. Remember that proper blade care means using manufacturer-approved methods—not risky disassembly attempts that destroy your machine. When in doubt, consult your owner’s manual for model-specific maintenance recommendations before proceeding with any sharpening procedure.


