
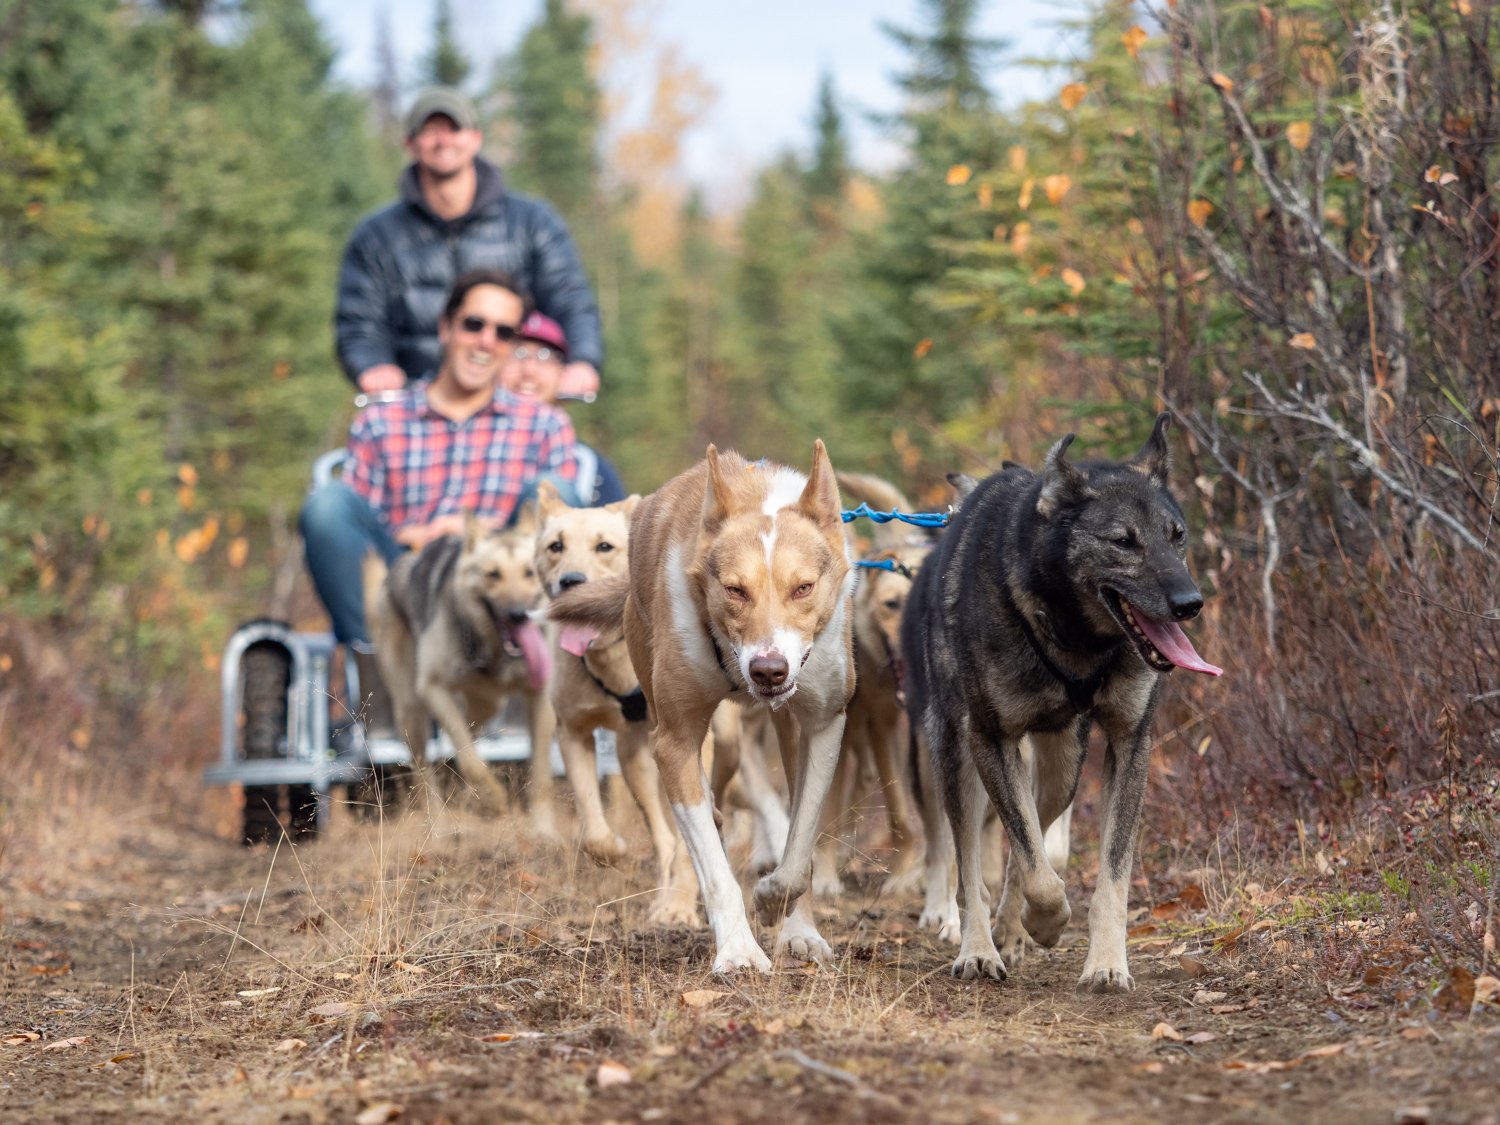
Imagine gliding through silent snow-laden forests, the only sound the rhythmic panting of your canine team and the swish of your sled over fresh powder. Starting a dog sled team unlocks this breathtaking experience, but it demands far more than romanticized visions of snowy adventures. This isn’t a casual hobby—it’s a profound commitment to a historic tradition requiring year-round dedication to elite canine athletes. Forget impulsive decisions; how to start a dog sled team properly begins with respecting the dogs’ welfare above all else. In this guide, you’ll discover the exact steps to build your team responsibly, avoiding costly mistakes that endanger dogs or derail your dreams.
Most beginners fatally underestimate the daily reality: feeding, cleaning, training, and healthcare demands never pause for holidays or blizzards. Your journey must start with humility, recognizing that true mushing knowledge lives in kennels, not textbooks. Without hands-on mentorship, you risk poor dog choices, dangerous training errors, and heartbreaking outcomes. This guide cuts through the myths to show you the sustainable path—from your first volunteer shift to your inaugural trail run—prioritizing canine well-being at every stage.
Why Mentorship Beats Books: How to Find Your First Mushing Teacher

Skipping mentorship is the fastest route to failure in dog sledding. You wouldn’t learn surgery from YouTube videos, and mushing demands equal precision. Real expertise lives in established kennels where daily dog care, training nuances, and emergency protocols are second nature.
Volunteer at a Working Kennel for Real-World Skills
Ditch the “quick start” fantasy and commit to hands-on work. Contact local tour operators or racing kennels and offer to handle grunt work: cleaning runs, thawing frozen water buckets, or preparing meals. This isn’t glamorous—it’s essential. You’ll learn to spot early signs of paw injuries, recognize stress in dogs, and understand why a “tired” team needs immediate rest. Many kennels turn away eager beginners who won’t scrub floors; prove your commitment by showing up consistently for three months. Critical warning: Never handle dogs without supervision—improper harness fitting causes chronic shoulder injuries.
Enroll in an Alaska Mushing Bootcamp This Winter
For accelerated learning, book a 5-day intensive at kennels in Alaska or Yukon. These programs teach what books can’t: how to read trail conditions, adjust gangline tension for icy turns, and execute emergency stops. Expect to practice harnessing drills 50+ times until muscle memory kicks in. Cost ranges $800-$1,500, but it’s cheaper than replacing a chewed sled or treating injured paws from rookie mistakes. Focus on camps emphasizing dog welfare over speed—look for ISDVMA-certified instructors who prioritize canine health metrics.
Build a Lasting Mentor Relationship with an Experienced Musher
Your mentor is your lifeline when problems arise at 2 a.m. during a blizzard. After volunteering, ask thoughtful questions: “What’s your #1 tip for preventing ice balls between paws?” or “How do you adjust nutrition for senior dogs?” Offer value in return—help transport dogs to races or maintain trails. A true mentor won’t sell you dogs; they’ll vet your kennel setup and insist you start with just two proven dogs. Pro tip: Attend Iditarod restarts as a volunteer; top mushers notice dedicated helpers.
Selecting Your First Sled Dogs: Breeds, Temperament, and Where to Buy
Choosing dogs based on looks alone guarantees disaster. Sled dogs are high-performance athletes requiring specific physical and mental traits. Your team’s success hinges on temperament—not pedigree.
Siberian Huskies vs. Alaskan Huskies: What’s Best for Beginners?
Siberian Huskies offer striking looks but often lack the intense drive needed for consistent pulling. Alaskan Huskies (purpose-bred mixes) dominate competitive mushing due to superior endurance and work ethic. For beginners, prioritize Alaskan Huskies from working lines—they’re bred for responsiveness, not conformation shows. Avoid Malamutes; their strength suits freight hauling, not efficient running. Never start with puppies; untrained young dogs overwhelm new mushers. Buy one or two retired racing dogs aged 3-5 years—they already know commands and can mentor newcomers.
The Critical Role of Temperament in Sled Dog Success
Watch dogs during feeding time: a true sled dog ignores food when harnessed, eager to run. Test “on-by” behavior by walking past distractions (other dogs, squirrels); ideal candidates stay focused without pulling. Reject dogs that:
– Refuse to enter harnesses after gentle introduction
– Show aggression during tug-of-war play (a proxy for team dynamics)
– Pant excessively during short walks (indicates poor conditioning)
Your leader must be calm yet decisive—test by having an assistant block the trail; a good leader waits for your “gee” or “haw” command rather than panicking.
Where to Find Proven Sled Dogs (Avoid These Common Mistakes)
Reputable breeders won’t sell to untrained owners. Instead, connect through ISDRA-sanctioned races where retiring mushers rehome dogs. Budget $500-$1,500 per dog—bargain prices signal health issues. Red flags: Sellers who offer “champion bloodlines” without proof of working history, or won’t let you observe the dog pulling. Always get veterinary records showing clean bill of health and parasite prevention. Start with two compatible dogs; adding more too soon creates chaos you can’t manage.
Essential Gear Checklist: From Harnesses to Sleds for Beginners

Investing in proper gear prevents injuries and builds trust. Skimping here risks your dogs’ safety and your credibility in the mushing community.
X-Back Harnesses and Gangline Setup for New Teams
X-back harnesses distribute weight evenly across shoulders—critical for injury prevention. Measure each dog’s girth and back length; ill-fitting harnesses cause sores within 20 minutes of running. For your first team, buy pre-assembled ganglines (main line + tuglines) from sled dog suppliers. Test snaps for smooth release—frozen metal can jam during emergencies. Must-do: Run harnesses through your hands weekly to feel for frayed fibers; replace after 300 trail miles.
Why Every Beginner Needs Dog Booties (and How Many)
Paw protection isn’t optional. Rough ice shreds pads, and salted trails cause chemical burns. Budget for 200+ booties annually—teams chew or lose them constantly. Start with Ruffwear Grip Trex in your dogs’ exact size (measure paw width at widest point). Practice putting them on during calm moments; never force reluctant dogs. Pro tip: Dip booties in melted candle wax to repel ice buildup. Carry 10 extras in your sled bag—paw checks every 2 miles are non-negotiable.
Choosing Your First Sled: Used Basket Sleds vs. Training Rigs
Forget buying new. A used plastic basket sled ($300-$600) handles beginner errors better than fragile composite models. Inspect for:
– Cracks in runners (replaces cost $150+)
– Smooth brake operation (test on gravel)
– Secure handlebar attachments
For dryland training, rent a 4-wheeler rig from a kennel—never use a sled on pavement. This builds command muscle memory safely. Your sled must hold 50+ lbs of gear; undersized models tip dangerously during turns.
Step-by-Step Training Plan: From Puppy Socialization to Team Runs
Training is about communication, not coercion. Rushing this phase creates fearful or disobedient dogs. Patience builds unbreakable trust.
Socialization and Basic Commands: Laying the Foundation
Before harnesses, teach “whoa” (stop) and “hike” (go) using food rewards in your yard. Walk dogs through crowds, traffic, and other animals—they must ignore distractions. At 6 months, introduce harnesses for 10 minutes daily during play. Never force pulling; wait until 12+ months when growth plates seal. End every session with praise, even for small wins.
Dryland Training with a 4-Wheeler: Teaching Commands Safely
Your first 50 training miles should use a 4-wheeler rig, not a sled. Start with one dog:
1. Walk beside them saying “hike” as they pull a light tire
2. Add “gee/haw” turns using voice + leash guidance
3. Introduce “on-by!” when passing other dogs
Gradually add dogs, always placing your calmest dog in lead. Critical: If a dog stops, disengage immediately—never yell. Short sessions (15 mins) prevent burnout.
Building Your First Team: Wheel Dogs, Leaders, and Everything In Between
Start with two dogs: a steady leader and a powerful wheel dog (closest to sled). Position leaders based on natural instincts—test by letting dogs choose positions during group walks. Never force a timid dog into lead. During runs:
– Praise instantly for correct turns
– Stop if dogs cross lines (tangles cause panic)
– End before exhaustion—happy dogs return eager to run
Your team dynamic evolves over 6+ months; adjust pairings weekly based on energy levels.
Your First Trail Run: What to Expect and How to Succeed
Your inaugural snowy run should last 15 minutes max on flat, familiar terrain. Overconfidence causes most beginner accidents.
Short, Familiar Trails Only: Your First 3 Routes to Try
Choose paths you’ve walked repeatedly in summer. Ideal first trails:
– Wide forest roads with minimal obstacles
– Gentle slopes under 5% grade
– Within 1 mile of your vehicle
Check conditions 24 hours prior—soft snow slows beginners, while glare ice demands expert braking. Run during daylight with full phone battery.
Mastering the Snow Hook: Stopping Safely on Your First Run
Your snow hook (anchor) is your lifeline. Practice:
1. Shout “whoa!” firmly as dogs slow
2. Step off sled, plant hook deep into packed snow
3. Hold gangline while dogs settle
Never rely solely on foot brakes—icy conditions require hook deployment. Test hook depth weekly; shallow anchors fail catastrophically. On your first run, stop every 5 minutes to reinforce commands.
Celebrating Small Wins: What Success Looks Like in Early Mushing
True success isn’t distance—it’s your dogs returning eager to run. After your first outing:
– Check paws for cuts or ice balls immediately
– Offer water and rest before unhooking
– Note which commands worked best
If dogs whine to re-harness, you’ve built trust. If they hide from gear, reevaluate your approach. Document every run; patterns reveal subtle issues before they escalate.
Final Note: Starting a dog sled team reshapes your entire life around canine athletes who depend on your judgment. The financial reality—$5,000+ annually for food, vet care, and gear—demands unwavering commitment. Yet when your team glides in perfect sync through moonlit forests, that bond transcends effort. Your next step? Volunteer at a local race this winter. Feel the snow spray, hear the panting symphony, and let experienced mushers see your dedication. This isn’t about owning dogs—it’s about earning the privilege to partner with them. The trail awaits, but only for those who respect its demands.


