
That midnight rustling outside your tent? It’s not just squirrels—it’s your $50 grocery haul about to become a raccoon buffet. Improper food storage ruins more camping trips than rainstorms, causing spoiled meals, dangerous wildlife encounters, and food poisoning that turns your adventure into an emergency room story. When you’re miles from help, knowing how to store food when tent camping becomes as critical as your tent stakes. This isn’t about convenience—it’s about keeping your food cold for 7 days straight while preventing bears from treating your campsite like an all-you-can-eat buffet. You’ll learn exactly how to pack coolers that outlast the ice, create a true “food fortress,” and avoid the #1 mistake that melts ice twice as fast. Let’s turn your next trip into one where you remember the stargazing—not the skunk stealing your breakfast sausage.
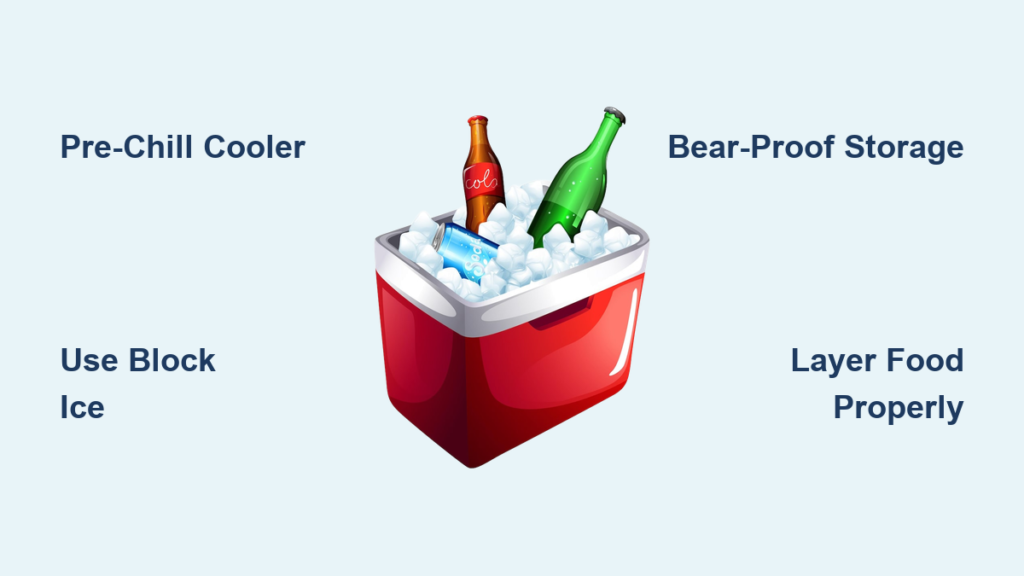
Stop Wasting Ice: The Pre-Chill Protocol That Doubles Cooler Life
Your cooler isn’t a magic box—it’s a battle against physics. Skip pre-chilling, and you’re fighting an uphill war where ice vanishes in hours. This single step transforms a weekend cooler into a week-long food sanctuary.
Why Pre-Chilling Beats Just Adding Ice
Dumping warm groceries into a room-temperature cooler forces ice to cool the entire system instead of just maintaining temperature. That gallon of milk? It’s a 70°F heat bomb. Pre-chilling everything—cooler, food, drinks—means ice only battles ambient heat, not your groceries. In 85°F heat, a pre-chilled rotomolded cooler lasts 7 days; a non-pre-chilled one fails in 3. The math is brutal: every 10°F above 40°F doubles bacterial growth. Keep food below 40°F or discard it after 2 hours (1 hour if over 90°F).
The 24-Hour Pre-Chill System
Follow this exact sequence the night before departure:
1. Cooler Prep: Fill your empty cooler with a 50/50 ice-water slurry. Let it sit 1 hour—this chills the walls and lid gasket. Drain completely and dry with a towel.
2. Food Prep: Store all perishables (meat, dairy, cooked food) in your home fridge overnight. Freeze water in 1-gallon plastic jugs—they’ll become your ice blocks and drinking water later.
3. Container Strategy: Use rigid, waterproof containers (Lock & Lock style). Vacuum-seal raw meat portions and place them in a secondary zip-top bag. Label everything with meal dates (“Day 1 Dinner: Chili”).
Pro Tip: Place a digital thermometer in a glass of water at the cooler’s center. Air temperature lies; water temp shows what your food actually experiences.
Block Ice vs. Cubes: What Survives a Week in the Wild

Cubed ice turns your cooler into a lukewarm soup pit by Day 2. Block ice is the undisputed ice longevity champion—but how you deploy it makes or breaks your trip.
Create Your Ice Longevity System
Step 1: Freeze Smart Containers
Use 1-gallon milk jugs (¼ full of water) for flexible blocks that won’t crack. For the ultimate solution: freeze water in 2-liter soda bottles—they fit perfectly in cooler corners. Avoid glass or metal containers.
Step 2: Pack Like a Thermal Engineer
Forget random ice dumping. Build this “cold sandwich”:
– Bottom Layer: 2 inches of block ice (or frozen jugs)
– Critical Layer: Most perishable items (raw meat, dairy) directly on ice
– Barrier Layer: 1-inch thick closed-cell foam pad (cut from a yoga mat) over food
– Top Layer: Block ice + frozen gel packs, then cover with a pre-frozen towel (“cooler blanket”)
Why foam pads work: They trap cold air below, reducing ice melt by 30%. Without it, every time you open the lid, cold air spills out like water.
Step 3: The Two-Cooler Takedown
For trips over 48 hours:
– Main Cooler: Packed with block ice and Days 3-7 food. Seal with duct tape—open only once daily.
– Day Cooler: Holds pre-portioned meals for the current day. Use cubed ice only here for quick chilling.
Critical Mistake: Draining meltwater. That cold water actually accelerates melting—drain it every 12 hours to keep ice solid.
Bear-Proofing Isn’t Optional: Your Food Fortress Checklist
A cooler is not bear-proof. In Yosemite alone, bears break into 100+ coolers yearly. Your life depends on these protocols.
In Bear Country: The Non-Negotiables
If your park requires bear canisters (Alaska, Rockies, Sierra):
– Use only Interagency Grizzly Bear Committee (IGBC)-certified containers like BearVault 500.
– Store everything scented: toothpaste, deodorant, even empty food wrappers.
– Place canister 100+ yards from tent, downhill, and away from trails.
If hanging food (Eastern US, non-bear-canister zones):
Build the “bear-muda triangle” correctly:
1. Find two trees 15+ feet apart, 100+ yards from camp
2. Throw rope over a branch 12+ feet high
3. Hang food bag 4+ feet below branch, 6+ feet from trunk
Test it: If you can touch it while standing on tiptoes, it’s too low.
Rodent-Proofing for Squeaky Nightmares
Squirrels chew through soft-sided coolers overnight. Defend against them:
– Never store food in tents—even “sealed” granola bars attract mice.
– Place coolers inside hard-sided vehicle trunks (not cabs).
– For backcountry trips, double-bag dry goods in odor-proof Opsak bags inside metal ammo cans.
– Tuck bay leaves into oatmeal containers—natural rodent repellent.
Red Flag: If you hear scratching after hanging food, take it down immediately. Improper hangs fail 90% of the time.
Temperature Control Hacks for Extreme Conditions

Desert heat or alpine chill demands adaptive strategies. Your food’s survival hinges on these tweaks.
Desert Survival: Beat the 100°F Oven
- Cooler Placement: Bury cooler base in sand (6 inches deep)—ground stays 20°F cooler. Cover completely with reflective space blanket.
- Ice Boost: Add 1 cup salt per 5 lbs ice—it lowers freezing point, slowing melt by 25%.
- Dry Goods Trick: Store oats, pasta, and coffee in rigid containers under your car seat—metal heats slower than plastic.
Cold Weather Camping: Prevent Frozen Disasters
Below freezing, your cooler becomes a “warm box”:
1. Insulate with sleeping bags or snow (pack tightly)
2. Place hot water bottles inside to maintain 35-40°F
3. Store eggs in a sock—they won’t freeze solid
Critical: Check thermometer hourly. Food below 32°F spoils slower but becomes inedible ice bricks.
The 7-Day Cooler Packing Blueprint (Works at 85°F)
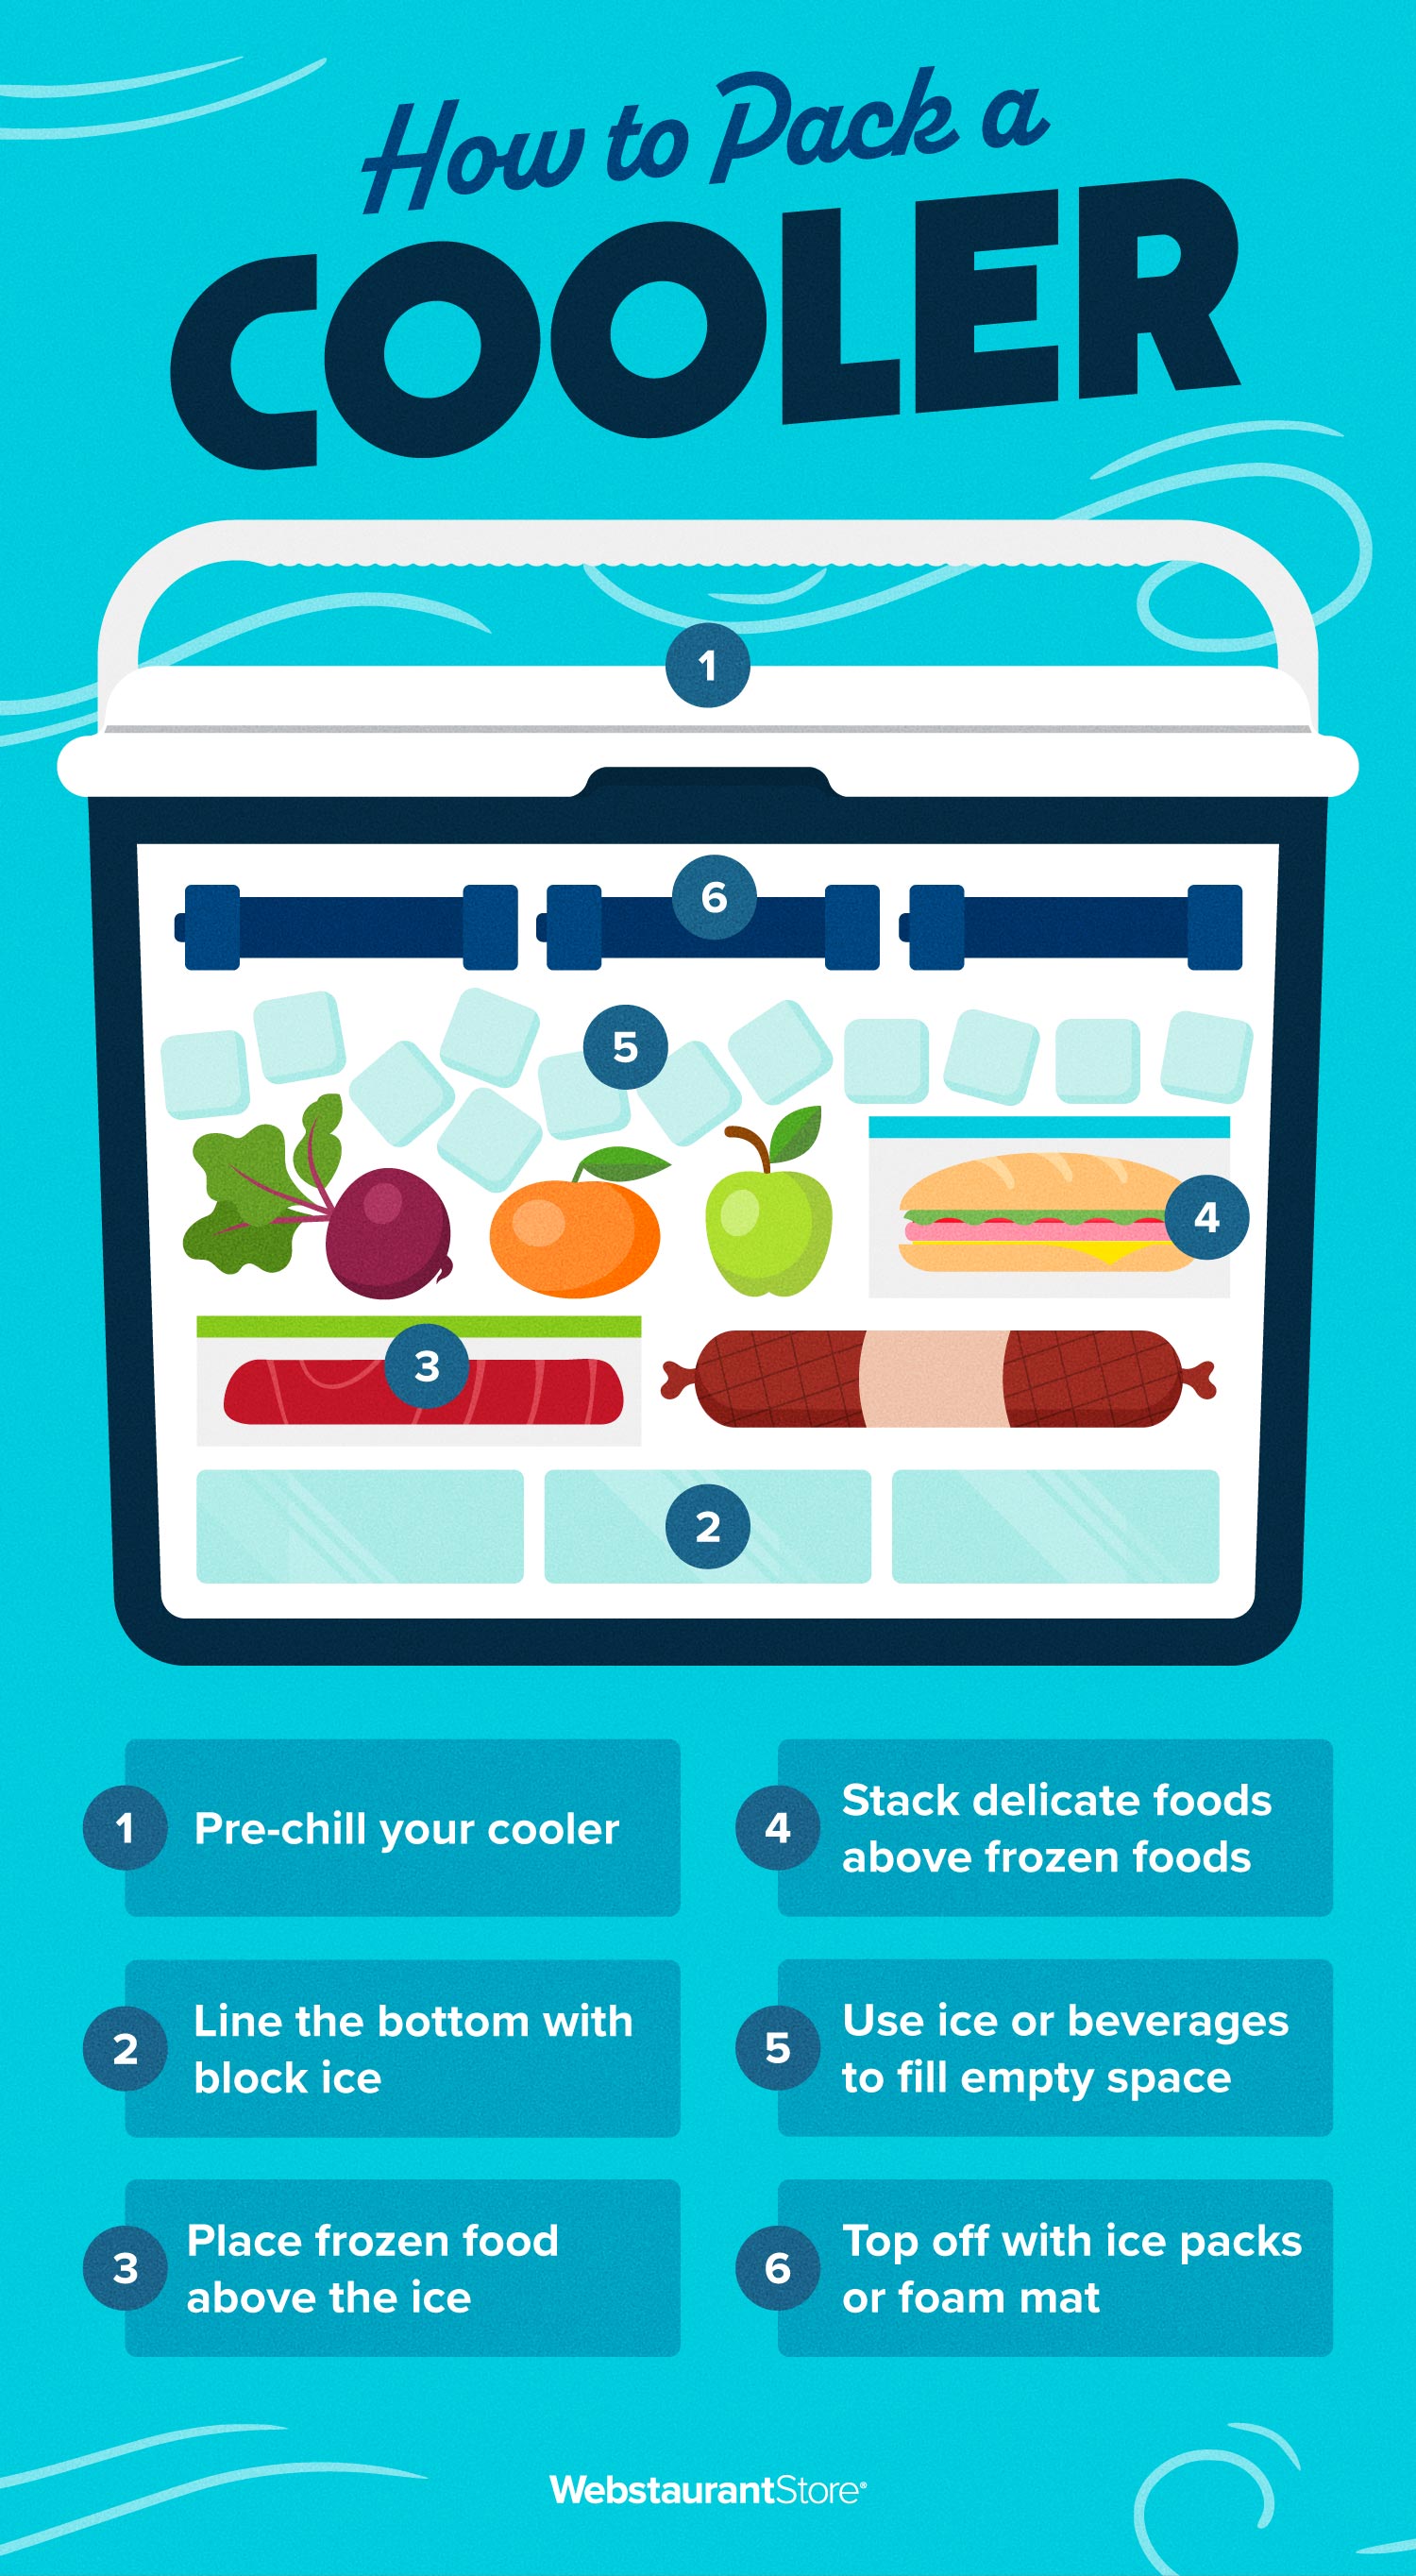
For a 70-qt rotomolded cooler (RTIC 65 style) supporting two people:
– Day -1: Pre-chill cooler; freeze 8x 1-gallon jugs (¼ full)
– Packing Order:
1. Bottom: 2 frozen jugs + 2-inch ice layer
2. Days 5-7 food (frozen stews, meat)
3. Foam pad barrier
4. Days 2-4 food (cheese, veggies)
5. Foam pad barrier
6. Day 1 food (breakfast sausages, fruit)
7. Top: 2 frozen jugs + gel packs + frozen towel
– Day 1-2: Drain meltwater at noon daily
– Day 3: Add 4 new frozen jugs through top layer
Gear You Can’t Skip: Digital thermometer ($10), closed-cell foam sheets (from hardware store), Opsak odor-proof bags. Ditch the $30 “bear spray”—it’s useless if food isn’t secured first.
Why Your Food Spoils (And How to Stop It)
Spoiled food isn’t bad luck—it’s physics you can control. Most campers commit these fatal errors:
The Cross-Contamination Trap
Raw chicken juices leaking onto lettuce causes E. coli outbreaks. Fix it:
– Store meat below produce in cooler
– Use separate coolers for raw meat vs. ready-to-eat food
– Wipe containers with bleach wipe before packing
The “Cooler in the Sun” Death Spiral
Direct sun raises internal temps by 30°F in 1 hour. Always:
– Park cooler in shade of your tent
– Cover with white tarp (not dark canvas)
– Place near water source—evaporation cools
The Organization Fail
Rummaging for ketchup melts ice 5x faster. Do this instead:
– Pack meals in labeled “Day 1,” “Day 2” bundles
– Keep frequently used items in top 2 inches
– Store drinks in separate day cooler
Final Note: Proper food storage when tent camping isn’t about perfection—it’s about stacking small wins. Pre-chill everything, pack like a thermal engineer, and treat every critter as a food-stealing ninja. Do this, and you’ll spend nights stargazing instead of chasing raccoons through the pines. Remember: if you can smell it, they can smell it. Store it right, and your biggest problem will be deciding which trail to hike next. For your next trip, freeze those water jugs the night before—you’ll thank yourself when your steak stays cold on Day 5.


