
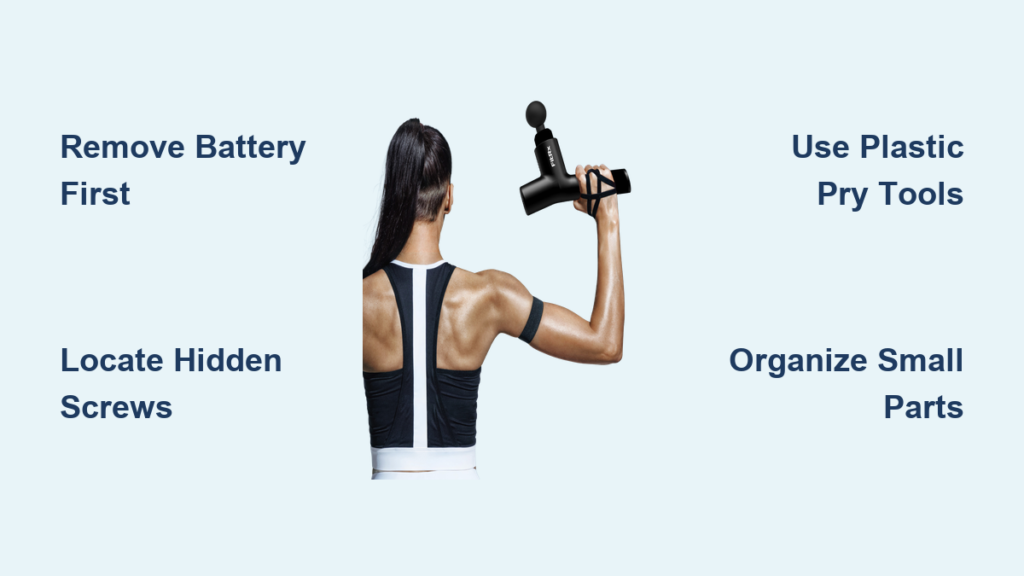
Your FitRx massage gun suddenly stopped delivering that deep tissue relief you rely on after workouts. Maybe it’s making unusual grinding noises, or perhaps the attachments won’t stay secure during use. Whatever the issue, knowing how to take apart your FitRx massage gun properly could save you hundreds in replacement costs and get you back to recovery faster. This comprehensive guide walks you through the precise steps to safely disassemble your FitRx massage gun without causing further damage to internal components.
Unlike generic repair tutorials, this guide focuses specifically on the construction patterns found in FitRx models, addressing common problem areas that lead users to attempt disassembly. Before you grab your screwdriver, understand that opening your device will almost certainly void any remaining warranty—proceed only if you’re comfortable accepting this risk and confident in your technical abilities.
Taking apart your FitRx massage gun requires systematic precision. One misplaced pry tool or overlooked connector can turn a simple cleaning job into a complete replacement scenario. Follow these steps carefully, document each stage with photos, and keep all components organized to ensure successful reassembly and restoration of your recovery essential.
Why Your FitRx Massage Gun Needs Disassembly
Fixing Loose Attachment Connections
When your massage gun attachments wobble or fall out during use, the problem often lies with the internal quick-release mechanism. Disassembling your FitRx allows access to the spring-loaded ball bearings that secure attachments. These tiny components can become clogged with debris or lose tension over time. By taking apart the head assembly, you can clean the mechanism, replace worn springs, or adjust tension to restore secure attachment seating—no more mid-massage interruptions when your bullet head suddenly detaches.
Repairing Unusual Motor Noises
That rhythmic grinding or clicking sound during operation typically indicates internal motor issues. Taking apart your FitRx massage gun reveals whether the problem stems from worn gears, loose components, or foreign objects caught in the percussion mechanism. Many users mistakenly assume motor failure requires complete replacement, but often a simple cleaning of the gear assembly or tightening of mounting screws resolves the issue. Early disassembly at the first sign of unusual noise can prevent minor problems from escalating into catastrophic motor failure.
Critical Safety Precautions Before Opening Your FitRx
Battery Disconnection Protocol
Before touching a single screw, ensure your FitRx massage gun has been powered down and unplugged for at least 90 minutes. Most models use lithium-ion batteries that retain dangerous charge levels even when the device appears off. Locate the battery compartment—typically at the base of the handle—and remove the battery pack if possible. If your model has an internal non-removable battery, verify complete discharge by attempting to power on the device multiple times with long intervals between attempts. Never attempt disassembly with any possibility of electrical current flowing through components.
Workspace Preparation Checklist
Create a dedicated disassembly zone with these essentials: a clean, well-lit surface; a magnetic mat for screw organization; multiple small containers labeled for different component groups; and anti-static wrist straps if available. Lay out all necessary tools within easy reach before beginning. Cover your workspace with a soft microfiber cloth to prevent scratching components. Most importantly, ensure children and pets are completely excluded from your workspace—those tiny ball bearings and springs can become dangerous if swallowed, and your concentration must remain uninterrupted during delicate disassembly steps.
Essential Tools for FitRx Massage Gun Disassembly

Precision Screwdriver Requirements
FitRx massage guns predominantly use Torx T6, T8, and T10 security screws, though some models incorporate Phillips #00 or #0 fasteners. Invest in a quality precision screwdriver set with magnetic tips to prevent screw loss during removal. Never use improvised tools like butter knives or standard flathead screwdrivers—these will strip screw heads, making future disassembly impossible without specialized extraction tools. Keep multiple clean cloths nearby to wipe tools between uses, preventing metal shavings from contaminating sensitive internal components.
Specialized Disassembly Equipment
Beyond basic screwdrivers, you’ll need plastic pry tools designed specifically for electronics disassembly. Metal tools risk short-circuiting components or scratching circuit boards. A set of nylon spudgers in various thicknesses allows safe separation of plastic housing clips without cracking the casing. Include a pair of fine-tipped hemostats for retrieving small springs or ball bearings, and keep compressed air canisters available for gentle dust removal—never blow dust with your mouth, as moisture can damage electronics.
Locating and Removing All External Fasteners on Your FitRx

Hidden Screw Locations Revealed
FitRx cleverly conceals many screws beneath rubberized grips, silicone pads, or under the attachment storage compartment. Before attempting to pry open the housing, meticulously inspect every surface for these hidden fasteners. Common hiding spots include: underneath the rubberized handle grip (peel back carefully), beneath the attachment storage cap at the base, and behind the quick-release button housing. Missing even one screw can cause housing damage when you attempt separation. Use a plastic tool to gently lift rubber components rather than pulling them off abruptly.
Screw Organization System
As you remove each screw, place it immediately in a labeled container corresponding to its location (e.g., “front housing,” “motor assembly,” “battery compartment”). Take timestamped photos after removing each group of screws to document their original positions. Different screw lengths serve specific purposes—reinstalling a longer screw in a shallow hole can puncture internal components. Many FitRx models use identical-looking screws with critical length variations, so proper organization prevents costly reassembly errors.
Proper Technique for Separating FitRx Massage Gun Housing
Plastic Housing Clip Navigation
FitRx housings connect through a series of plastic clips that require specific release sequences. Start at the seam farthest from the power button and work your way around the perimeter. Insert your plastic pry tool at natural seam gaps and gently twist to release each clip—never force the housing apart. Most models have stronger clips near functional components like the power button housing, requiring extra care in these areas. Listen for the distinct “click” of each clip releasing; if you don’t hear this sound after gentle pressure, you’ve likely missed a hidden screw in that section.
Handling Fragile Internal Connections
As the housing separates, watch for ribbon cables or wire harnesses that may still connect the two halves. Don’t pull the housing completely apart until you’ve visually confirmed no internal connections remain. Some FitRx models route wiring through the central seam, making them vulnerable during separation. If you encounter resistance, stop immediately and investigate the cause—forcing separation at this stage commonly severs delicate wiring that’s challenging to repair.
Accessing the Percussion Motor Assembly Safely
Motor Mounting Screw Identification
Once the housing is open, locate the motor assembly typically secured by 3-4 Torx screws. These fasteners often require different screwdriver sizes than the external housing screws. Before removing motor screws, photograph the exact orientation—reinstalling the motor 180 degrees off can cause immediate mechanical failure upon testing. Some FitRx models incorporate vibration-dampening rubber mounts between the motor and housing; note their placement carefully as these small components easily get lost during disassembly.
Gear Train Inspection Protocol
With the motor exposed, check the gear assembly for visible damage, excessive wear, or foreign objects. Apply gentle manual rotation to verify smooth operation through the entire range of motion. Look for stripped gear teeth, particularly on the nylon gears common in FitRx models. If cleaning is required, use isopropyl alcohol and cotton swabs—never petroleum-based lubricants which can degrade plastic components. Replace visibly damaged gears with manufacturer-specified replacements; mismatched gears cause premature failure.
Common Disassembly Mistakes That Damage FitRx Massage Guns

Overlooking Internal Connectors
The most frequent catastrophic error occurs when users disconnect internal components without noting their orientation. FitRx uses multiple polarized connectors that only fit one way—reversing these during reassembly destroys circuitry. Before disconnecting any cable, photograph its exact position and note any alignment markers. Many connectors have tiny latches that must be released before removal; forcing them out without releasing the latch breaks the connector housing.
Mishandling the Battery Assembly
Lithium-ion batteries in FitRx massage guns are particularly vulnerable during disassembly. Never puncture, bend, or expose batteries to extreme temperatures. When disconnecting battery terminals, always lift the connector straight up—side-to-side motion damages solder points. If your battery shows any signs of swelling, stop immediately and dispose of it properly at an electronics recycling center; swollen batteries pose serious fire risks and should never be reinstalled.
Reassembly Tips to Ensure Your FitRx Works After Disassembly
Sequential Reassembly Methodology
Reassemble your FitRx in the exact reverse order of disassembly, but with additional verification steps. Before closing the housing, power on the device briefly to verify basic functionality—only with the battery partially connected for safety. Check for unusual noises, proper attachment seating, and full range of motion through all speed settings. Confirm all buttons function correctly before securing the final housing screws. If any issue appears during this test phase, address it immediately rather than having to repeat the entire disassembly process.
Housing Closure Technique
When joining the two housing halves, align them perfectly before applying pressure. Start by securing one end, then work your way along the seam, pressing firmly but gently to engage all clips. Listen for the distinct “snap” of each clip engaging—missing even one clip creates a weak point that will crack during normal use. After securing all clips, reinstall screws in a crisscross pattern rather than sequentially, applying even pressure to prevent housing warping that causes premature failure.
When to Seek Professional Help Instead of DIY Repair
Recognizing Beyond-Your-Skill Issues
If you encounter damaged circuit board traces, burnt components, or motor windings that appear frayed, stop immediately. These issues require specialized soldering skills and equipment that most DIYers lack. Similarly, if the main control board shows signs of water damage (white crystalline deposits), professional cleaning with specialized solutions is necessary—attempting home repairs often spreads contamination further. When in doubt, consult a professional electronics repair service—the cost of professional repair often remains significantly less than purchasing a replacement massage gun.
Post-Repair Safety Verification
After reassembly, perform a thorough safety check before regular use. Run the device at lowest speed for two minutes, monitoring for unusual heat, smells, or noises. Check for any electrical leakage using a multimeter if qualified to do so. If your FitRx shows any signs of malfunction during this test phase, discontinue use immediately. Remember that improperly reassembled massage guns can pose electrical shock risks or fire hazards—your safety outweighs the convenience of a functioning device.
Taking apart your FitRx massage gun successfully requires equal parts technical knowledge and patience. By following these precise disassembly steps, maintaining meticulous organization, and respecting the device’s engineering, you can address common issues that would otherwise render your recovery tool useless. Always prioritize safety over speed, document each step thoroughly, and know when to call in professional help—your investment in proper disassembly technique pays dividends in extended device lifespan and reliable performance when you need it most.


