
That gritty aftertaste in your morning smoothie? It’s likely trapped residue from yesterday’s green juice wedged under your Ninja’s blade assembly. You’re not alone—nearly 70% of Ninja owners struggle with stubborn buildup that regular rinsing can’t touch. The solution isn’t buying a new blender; it’s knowing exactly how to take apart Ninja blender to clean every hidden crevice. In just five minutes, you’ll transform your machine from grimy to spotless, ensuring every blend tastes fresh and your appliance lasts years longer.
Skipping deep cleaning creates a breeding ground for bacteria and odors that ruin flavors. Worse, accumulated gunk strains the motor and dulls blades prematurely. This guide gives you the precise disassembly sequence for any Ninja model, plus professional cleaning techniques that prevent leaks and extend lifespan. By the end, you’ll confidently handle those razor-sharp blades and eliminate even the toughest kale or nut butter residue.
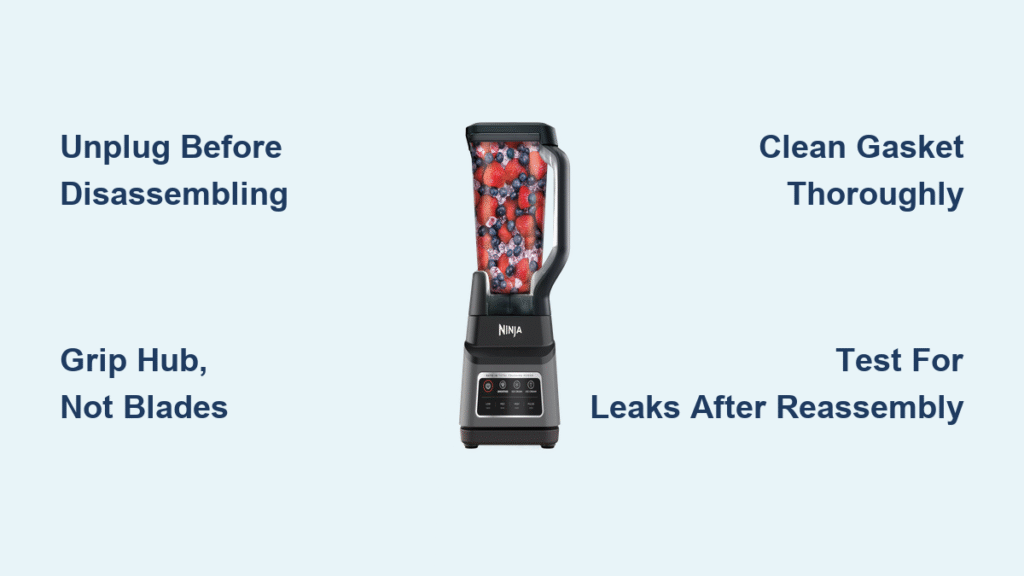
Critical Safety Steps Before Disassembling Your Ninja
Unplug immediately—never skip this step. Blenders can activate accidentally during disassembly if left plugged in, causing severe lacerations from the 300+ RPM blades. Place the unit on a dry counter with bright lighting; you’ll be handling hair-thin blades that demand perfect visibility. Allow any warm contents to cool for 20 minutes—hot plastic expands and cracks when manipulated, while steam creates dangerous splash hazards during blade removal.
Gather these non-negotiable supplies: warm soapy water (not hot), a bottle brush with nylon bristles, microfiber cloths, and cut-resistant gloves. Never use metal tools—they scratch plastic housings and permanently dull blades. If you’ve ever sliced your finger on a “dull” blender blade, you know why gloves are essential; even worn blades retain surgical sharpness at their tips.
Pitcher and Lid Removal Without Damage
Lift Main Pitcher Assembly Correctly
Grasp the pitcher’s handle firmly and lift straight upward—no twisting. Ninja pitchers connect via a gear mechanism that disengages vertically. If stuck, check for dried smoothie residue along the base rim; run a damp cloth around the seam to dissolve buildup. Never pry with utensils—that cracks the plastic gear housing. The pitcher should release with gentle pressure; forced removal misaligns internal components.
Release Locking Lid Safely
Locate the release button (usually front-left) and press while lifting the lid in one fluid motion. For Nutri Ninja cups, twist the lid counterclockwise after pressing the button. Critical: Remove the center cap separately—it traps 80% of hidden residue. Pop it out with your thumb while holding the lid upright to prevent small parts from flying. Never yank lids upward; this warps the locking mechanism over time.
Blade Assembly Extraction Without Injury

Identify Your Ninja Model Type First
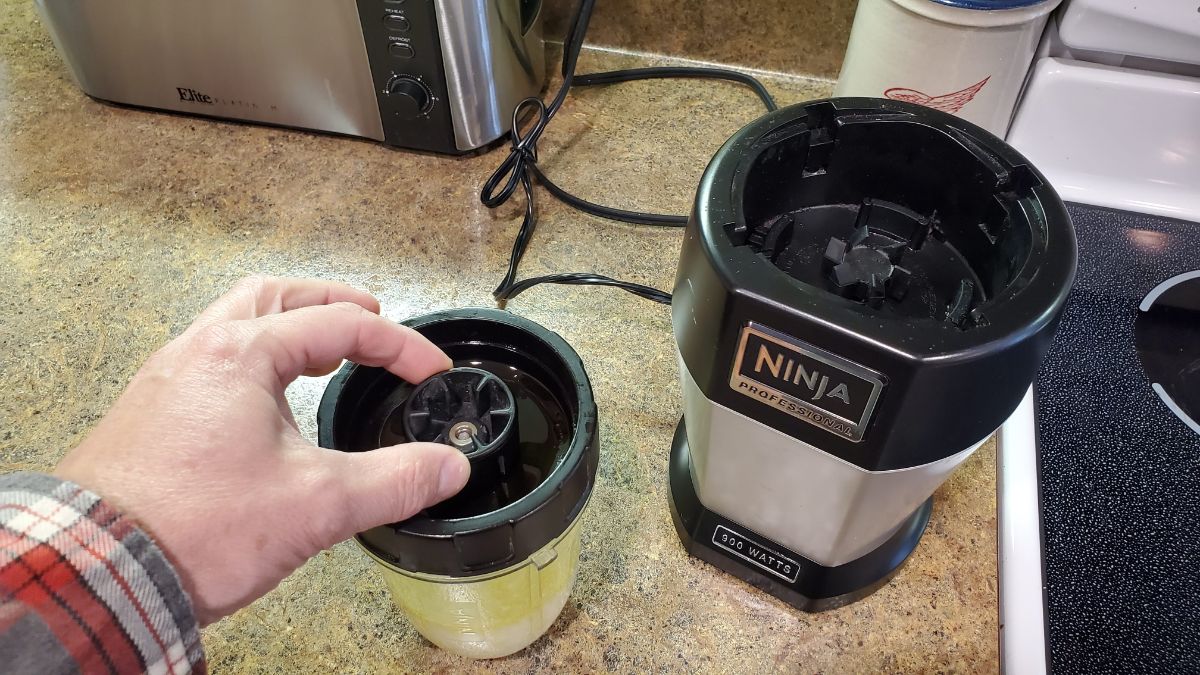
Twist-Lock Models (BL610/BL660): Grasp the plastic center hub only (never blades!) and rotate counterclockwise. Expect firm resistance for the first quarter-turn—this breaks dried residue seals. If stuck, place the pitcher base under warm running water for 45 seconds to expand the plastic.
Lift-Out Models (BL480 series): Pull straight up with steady pressure. These have looser tolerances but still require hub-only handling. If unresponsive, insert a rubber grip pad under the blade assembly and lift—never use screwdrivers.
Handle Blades Like a Surgeon
Those stacked blades slice through skin 3x faster than kitchen knives. Always grip the center hub—the only safe zone. Wear cut-resistant gloves rated ANSI Level A2 or higher; standard dish gloves won’t stop blade penetration. For Nutri Ninja cups, place the blade assembly in the sink before removal—you’ll drop it eventually, and the sink catches flying blades.
Remove Gasket Seal Properly
After extracting the blade unit, peel the rubber gasket from the pitcher base using your fingernail. Note the curved side faces downward—reversing it causes leaks. If stuck, slide a plastic utensil (like a butter knife) under one edge; metal tools nick the seal channel. Inspect for hairline cracks—if light passes through, replace it immediately.
Motor Base Cleaning Without Ruining Electronics
Never submerge the base—water destroys the 1000W motor instantly. Instead, use this 3-step surface protocol:
1. Wipe the gear mechanism with a vinegar-dampened microfiber cloth (1:1 water/vinegar)
2. Clean control panels with a barely-moistened cloth—excess liquid seeps into buttons
3. Remove debris from vents using a dry toothbrush (never compressed air—it forces dust deeper)
Check for sticky residue around the base perimeter weekly. This attracts pests and causes slippage during blending—wipe with rubbing alcohol on a cotton swab.
Deep Cleaning Each Component Thoroughly
Blade Assembly Deep Clean Protocol
Rinse blades immediately after use—dried residue requires 5x more scrubbing. Critical: Soak the assembly upside-down in warm soapy water for 10 minutes. Use a bottle brush to clean between stacked blades where food hides. Pay special attention to the underside cavity—this collects fibrous material like celery strings. For protein powder buildup, blend 1 cup water with 1 tablespoon baking soda for 30 seconds.
Gasket Maintenance That Prevents Leaks
Wash gaskets with non-abrasive soap—dishwasher detergent degrades rubber. Stretch gently to inspect for permanent deformation; replace if it doesn’t snap back. Dry vertically on a rack—laying flat traps moisture causing mold. For stubborn odors, soak in denture tablets for 1 hour.
Pitcher Interior Stain Removal
Cloudy plastic? Soak overnight in 1:3 white vinegar solution—this dissolves mineral deposits. For avocado or turmeric stains, make a paste with baking soda and lemon juice, apply with a soft cloth, and let sit 20 minutes. Never use steel wool—it scratches surfaces that then trap more residue.
Reassembly That Guarantees No Leaks
Component Order Checklist
- Place completely dry gasket on pitcher base (curved side down)
- Insert blade assembly while aligning the hub with gear notches
- For twist-lock models: Rotate clockwise until resistance increases (don’t overtighten)
- Attach lid until you hear two distinct clicks at 180° intervals
- Set pitcher on base—never force it down
Leak Testing Protocol
Fill with ½ cup cold water, secure all components, and run on “Pulse” for 5 seconds. Check three critical zones:
– Where blade assembly meets pitcher base
– Lid seam around the pour spout
– Center cap insertion point
If leaking, disassemble and reposition the gasket—90% of leaks stem from improper gasket alignment.
Model-Specific Disassembly Secrets

Ninja Professional (BL610/BL660)
This 72-ounce pitcher has a tall center shaft requiring two-handed removal. Grip the hub with one hand while stabilizing the pitcher base with the other—sudden release can send blades flying. The lid’s pour spout detaches by pressing both side buttons simultaneously.
Nutri Ninja (BL480/BL482)
Never over-tighten blade bases onto cups—this strips the threads in 3-5 removals. When extracting blades, place the cup upside-down in the sink first. The gasket here is thinner; replace it at the first sign of stretching.
Ninja Foodi Blender (HB152)
Critical: The heating element means no liquid contact with the base. Clean pitcher components only—run the “Clean Cycle” with 1 cup water + 1 tsp soap instead of disassembling the base. The non-stick coating requires bamboo brushes only.
Troubleshooting Stuck Components
Stuck Blade Assembly Fixes
For twist-lock models: Apply rubber grip pads to the hub and base, then rotate counterclockwise with steady pressure. If still stuck, fill the pitcher with hot water (not boiling) for 2 minutes—heat expands the plastic housing. Never use pliers—they crush the hub.
Odor Elimination That Works
Blend this mixture for 60 seconds: 1 cup water + 2 denture tablets + 1 tbsp lemon juice. Let sit 1 hour before rinsing. For persistent smells, soak components in 1:4 hydrogen peroxide solution for 30 minutes—this kills odor-causing bacteria.
Maintenance Schedule for 5+ Year Lifespan
After every use: Rinse pitcher and blades immediately—dried residue takes 10x longer to remove later. Wipe the motor base with a dry cloth to prevent sticky buildup.
Weekly: Perform full disassembly focusing on gasket inspection. Replace gaskets annually—they degrade faster than expected.
Monthly: Check blade sharpness by testing spinach chopping—if leaves shred unevenly, blades need replacement. Inspect pitcher for “crazing” (fine surface cracks) that harbor bacteria.
Your Ninja blender deserves this 5-minute deep clean weekly—it transforms performance and prevents costly replacements. By taking apart your Ninja correctly, you’ll eliminate lingering odors, ensure smooth blending, and extend its life beyond the typical 3-year lifespan. The key is consistency: make this routine part of your kitchen maintenance, and every smoothie will taste as fresh as the first. Start today—your next blend will thank you.


