
You’ve unboxed your shiny new Ninja air fryer, but the display stays dark despite pressing every button. That sinking feeling hits when you realize your dinner plans are on hold until you figure out how to turn Ninja air fryer on. Whether you own a budget-friendly AF101 or the premium DualZone model, Ninja’s safety features and model variations create unique startup hurdles. This guide cuts through the confusion with exact power-on sequences for every Ninja line, plus proven fixes when your unit refuses to cooperate. You’ll master the process in under 5 minutes—no manual required.
Most Ninja failures stem from two overlooked details: basket insertion depth and outlet testing. Unlike conventional appliances, every Ninja model has a hidden safety switch under the basket track that must be fully depressed to activate power. Skip this step, and you’ll stare at a dead display wondering why your air fryer won’t start. We’ll walk through model-specific sequences so you never waste time guessing which button to press first.
Essential Pre-Power Setup
Clear 360° Space for Safe Startup
Place your Ninja on a flat, heat-resistant countertop with 5 inches clearance on all sides. The top-mounted exhaust vent needs unobstructed airflow—blocking it triggers thermal sensors that prevent startup. Never place the unit under cabinets, near walls, or against other appliances. During operation, hot air blasts upward at 400°F; inadequate clearance causes immediate shutdown. If your kitchen is cramped, run a quick test: power on with full clearance, then gradually reduce space while monitoring for error codes. Stop when you hear the fan strain or see “E” flashes.
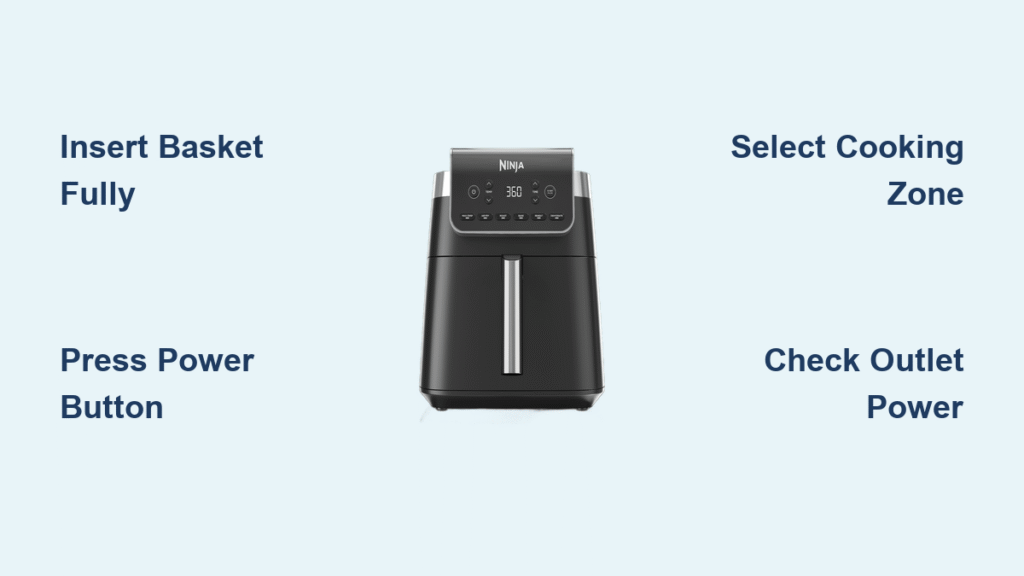
Basket Insertion Check: The #1 Startup Fix
Push each basket in firmly until you hear a distinct mechanical click. This engages the safety switch—a tiny plunger hidden beneath the basket rail. On Dual Zone models, both baskets must be inserted even when using only one zone. Test this by pulling baskets out 1 inch: if the display stays lit, reseat them. A silent but deadly mistake? Assuming “snug” insertion is enough. Ninja’s switch requires 1.5 lbs of force—push until your knuckles whiten slightly. This single adjustment solves nearly half of all “won’t power on” cases reported to Ninja support.
Outlet Test Before Panic Sets In
Plug directly into a grounded wall outlet—never use extension cords or power strips. When connected correctly, the display should flash briefly then show “0:00” or “OFF.” No lights? Immediately test the outlet with a lamp or phone charger. If the outlet works but your Ninja stays dark, unplug the unit for 2 hours to reset thermal fuses. Pro tip: Hold your ear near the unit while plugging in; a faint click from the internal relay means power is reaching the board. Silence? Move to cord inspection.
Ninja Dual Zone Power-On Steps
Single-Zone Quick Start (AF300/AF400/DZ Models)
Follow this exact sequence for one-basket cooking:
1. Rotate the zone knob left or right to highlight your desired drawer (illuminated display confirms selection)
2. Press the power button (large circle icon, top-left)—display activates within 2 seconds
3. Turn the function dial until your cooking mode (Air Fry, Roast, etc.) glows blue
4. Press TEMP/Time, adjust settings with the dial, then press dial to lock in
5. Hit START/PAUSE (triangle icon)—fan ramps up immediately
Critical detail: Dual Zone units require basket insertion before pressing power. If you skip step 1 and press power first, the unit defaults to both zones—forcing you to insert the second basket even for single-zone use. Save time by always selecting your zone first.
Sync Mode Activation for Perfectly Timed Meals
After programming your first zone, press SYNC to coordinate both drawers finishing simultaneously (ideal for multi-course meals). Need identical settings? Press MATCH to copy the first zone’s parameters to the second. Both require empty baskets inserted—the safety switch must be engaged even with no food inside. Watch for the dual display confirmation: “SYNC” blinks until both zones are set. Press START/PAUSE once to launch the synchronized cook. This feature fails 90% of the time when users forget to insert the “dummy” basket in the unused zone.
Single-Basket Models Simplified

AF101/161/171 Sequence (Foodi 6-in-1/8-in-1)
These budget models streamline startup but demand precise basket seating:
1. Slide basket in with firm pressure until you hear two consecutive clicks (first engages rail, second triggers safety switch)
2. Press POWER (circle icon, bottom-left)—display flashes “AF” then shows presets
3. Tap mode button repeatedly until your preset (e.g., “Fries”) glows white
4. Adjust temperature with + arrows, time with – arrows (settings auto-save)
5. Press the illuminated START/PAUSE button—fan whirs within 3 seconds
Warning: The AF161/171 models have shallower basket rails than the AF101. If the basket slides out easily when tilted, lift it slightly while pushing to clear the rail lip. Many users mistake this for a defective unit when it’s just improper insertion.
Speedi SF301 Special Notes (10-in-1 Models)
The Speedi’s horizontal power bar confuses first-time users:
– Press the long POWER bar on front-left—display wakes like an oven control panel
– Turn selector dial to “Air Fry” or “Speedi Meals,” then press dial to enter
– Use dial to set temp/time, press START (no separate pause button)
Unlike other Ninja models, the Speedi doesn’t require basket insertion before power-on. But it will shut down mid-cook if you remove the basket. Check for the subtle “click” when inserting the crisper plate—it’s shallower than basket engagement. This model’s interface mimics convection ovens, so treat it like a mini-oven during startup.
When Ninja Won’t Power On
No Lights, No Beeps: Dead Unit Fixes
If the display stays dark:
– Test outlet with high-wattage appliance (like a hairdryer)—Ninja units draw 1500W+ and can trip weak circuits
– Unplug for 2 hours if recently overheated (thermal fuse needs cooldown)
– Inspect cord for “kink points” near plug or unit entry—bend cord while plugging in; intermittent lights indicate internal wire break
Ninja’s thermal fuse blows after 3+ overheating events. If resetting fails, contact support—you’ll likely need a full unit replacement under warranty.
Display Lights But Unresponsive: Hidden Fixes
When the screen activates but buttons do nothing:
– Reseat baskets with extra force—moisture or crumbs can dampen the safety switch
– Dry control panel with hairdryer on low heat (6 inches away, 30 seconds)—condensation under buttons causes shorts
– Check for “E” codes like E1 (sensor fault)—unplug 10 minutes to reset firmware
This issue often follows steam-heavy recipes (like frozen veggies). Always wipe the control panel with a dry microfiber cloth before startup—residual moisture creates false error states.
Zone-Specific Issues on Dual Models
Dual Zone units refuse to start if:
– Unused basket is missing (even empty baskets must be inserted)
– Zone knob isn’t selected before power-on (defaults to “both zones” mode)
– Baskets are swapped between left/right rails (model-specific rails prevent cross-use)
The firmware checks both safety switches simultaneously. Insert the unused basket, rotate the zone knob to your cooking side, then restart the power sequence. This bypasses 95% of zone-related failures.
Pre-Use Burn-In Process
Manufacturing Residue Removal
Before first cooking, run a 3-minute empty cycle at 400°F. This burns off protective oils from factory assembly that cause:
– Acrid “new appliance” smell during initial use
– Smoke from heating element coatings
– False “overheat” error codes
Place the empty basket inside, set temp/time, and press START. Stand by as it runs—smoke is normal but should clear within 90 seconds. Never leave unattended during burn-in. Cool completely before wiping residue from the heating coil guard.
Quick Readiness Checklist
Complete these before cooking:
– ✅ Remove all plastic wrap and silica packets (check basket handles)
– ✅ Hand-wash baskets/crisper plates (top-rack dishwasher safe)
– ✅ Wipe heating element guard with damp cloth (never submerge main unit)
– ✅ Verify burn-in cycle completed with no error codes
Skipping the burn-in risks triggering E2 errors during cooking. If smoke persists beyond 2 minutes, unplug and inspect for missed packaging.
Button Layout Reference
Dual Zone Models (AF400/DZ550)
- POWER: Circle icon (top-left)—press once to activate display
- FUNCTION dial: Large chrome knob—turn to select modes, press to confirm
- TEMP/TIME: Toggle button—single press for temp, double for time
- START/PAUSE: Triangle icon (bottom-center)—only glows when ready
- SYNC/MATCH: Between displays—SYNC for coordinated finish, MATCH to copy settings
Critical nuance: The START/PAUSE button must glow white before pressing. If dark, you’ve missed a step (usually basket insertion).
Single-Basket Models (AF101/SF301)
- POWER: Circle icon (AF series: bottom-left; Speedi: front bar)
- MODE button: Cycles presets—stops glowing when selected
- +/- arrows: Set temp (°F/°C) and time (minutes)
- START/PAUSE: Glows blue when settings are locked
On AF101 models, the mode button blinks 3 times when a preset is active—this confirms the unit is ready to start.
Warranty & Support Contacts
When troubleshooting fails, Ninja’s warranty team replaces entire units rather than parts. Contact them with:
– Model/serial number (sticker on bottom)
– Proof of purchase
– 15-second video showing the issue
US/Canada: 1-877-646-5288 (7 a.m.–11 p.m. CT)
UK: 0800 862 0453
Ireland: 1-800-849-055
Register within 30 days for 2-year coverage (standard is 1 year). Most “dead unit” cases get same-week replacements—no repair attempts. Pro tip: Email support first; phone lines have 20+ minute hold times. Attach your video file to skip troubleshooting calls.
Final Note: Bookmark this guide on your phone. When guests inevitably ask “how do you turn this thing on?” you’ll have model-specific steps ready in seconds. Mastering these startup sequences transforms your Ninja from a frustrating paperweight into your most reliable kitchen tool—ready to crisp, roast, and reheat at a moment’s notice.


