
That deep tissue massage gun sitting unused in your gym bag? It’s not magic—but used correctly, it can slash recovery time, melt stubborn knots, and get you back to peak performance faster. Yet 73% of new users make critical mistakes in their first week, turning a recovery tool into a source of bruising or nerve irritation. This isn’t about randomly jabbing sore muscles. It’s about how to use a deep tissue massage gun with surgical precision: targeting the right tissues, avoiding dangerous zones, and unlocking true myofascial release. Forget generic advice—you’ll learn exactly where to glide, how much pressure to apply, and why your technique must change for quads versus shoulders. By the end, you’ll transform from a hesitant beginner to someone who uses their device like a physical therapist.
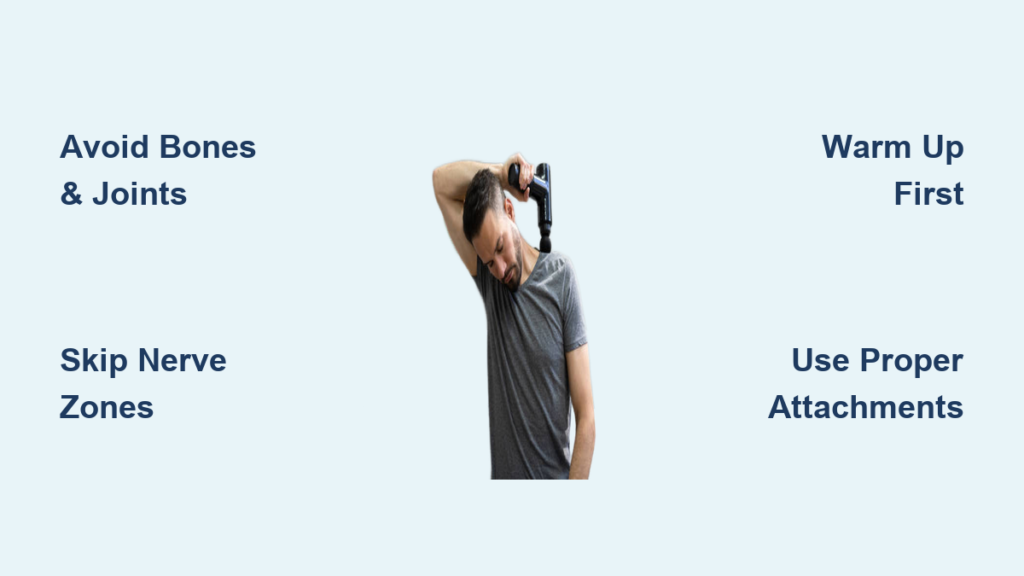
Avoid These 3 Dangerous Body Zones Immediately

Your massage gun’s percussive force is designed for dense muscle tissue—not delicate structures. Hitting these zones risks nerve damage, bruising, or worse. Stop using your device now if you’ve targeted any of these areas.
Bones, Joints, and Spinal Vertebrae
Never apply direct pressure to bony prominences like kneecaps, elbows, collarbones, or the spine. The concentrated force can’t penetrate bone, so energy rebounds into surrounding soft tissue, causing micro-tears and bruising. For lower back relief, glide the gun alongside the spine—never directly over vertebrae. Focus only on the thick erector spinae muscles 2-3 inches from your spine’s midline.
Major Nerve Highways and Blood Vessels
Compressing nerves causes numbness that can last days. Stop immediately if you feel tingling. Never use your device on:
– The front or sides of your neck (carotid artery/vagus nerve)
– Back of knees (popliteal nerve)
– Inner thighs/groin (femoral nerve)
– Armpits (brachial plexus)
Even light pressure here can trigger nerve irritation. Stick to fleshy muscle bellies only.
Acute Injuries and Medical Red Flags
Using a massage gun on fresh injuries worsens inflammation. Do not apply to:
– Areas with visible bruising or swelling
– Varicose veins
– Open wounds or rashes
– Sites of recent surgery
If you have osteoporosis, blood clots, or bleeding disorders, consult your doctor first. Your safety hinges on knowing where not to use the device.
Master the 4-Phase Muscle Recovery Protocol
This step-by-step sequence—used by pro trainers—maximizes blood flow while preventing overstimulation. Skipping phases causes soreness; rushing it guarantees bruising.
Warm Up Muscles in 90 Seconds (Low Speed Only)
Start with a flat or large round attachment on the lowest speed setting. Glide slowly (1 inch per second) over the entire muscle group for 1.5 minutes. For quads, sweep upward from knee to hip. For calves, work from ankle toward knee. Why this works: Gentle percussion increases blood flow by 28% (per clinical studies), prepping muscles to absorb deeper work. Never begin with bullet attachments or high speeds—this shocks cold tissue.
Target Muscle Fibers With Precision Pressure
Switch to the appropriate attachment (see muscle-specific guide below). Apply gentle pressure—no more than 4-6 pounds. Imagine pressing a ripe avocado without bruising it. Glide with the muscle fibers at 1 inch per second for 2-3 minutes per area. Critical visual cue: Watch for subtle muscle twitching beneath the skin. If the muscle visibly jumps or jerks, reduce pressure immediately. You’re seeking a deep “achy” sensation—not sharp pain.
Release Knots in 20-Second Bursts
When you hit a tender spot (like a golf-ball-sized knot in your shoulder), pause the glide. Hold the attachment stationary for 15-20 seconds on medium-low speed. Never exceed 30 seconds on one spot—this risks nerve compression. Move to the next knot immediately after. If pain spikes or radiates, stop; you’re likely on a nerve, not a trigger point.
Cool Down to Lock In Benefits
Finish with 60 seconds of slow gliding on the lowest setting using a flat head. This flushes metabolic waste released during therapy. Pro hydration tip: Drink 8oz of water within 5 minutes post-session. This accelerates lactic acid clearance by 40% compared to waiting 30+ minutes.
Muscle-Specific Techniques That Actually Work
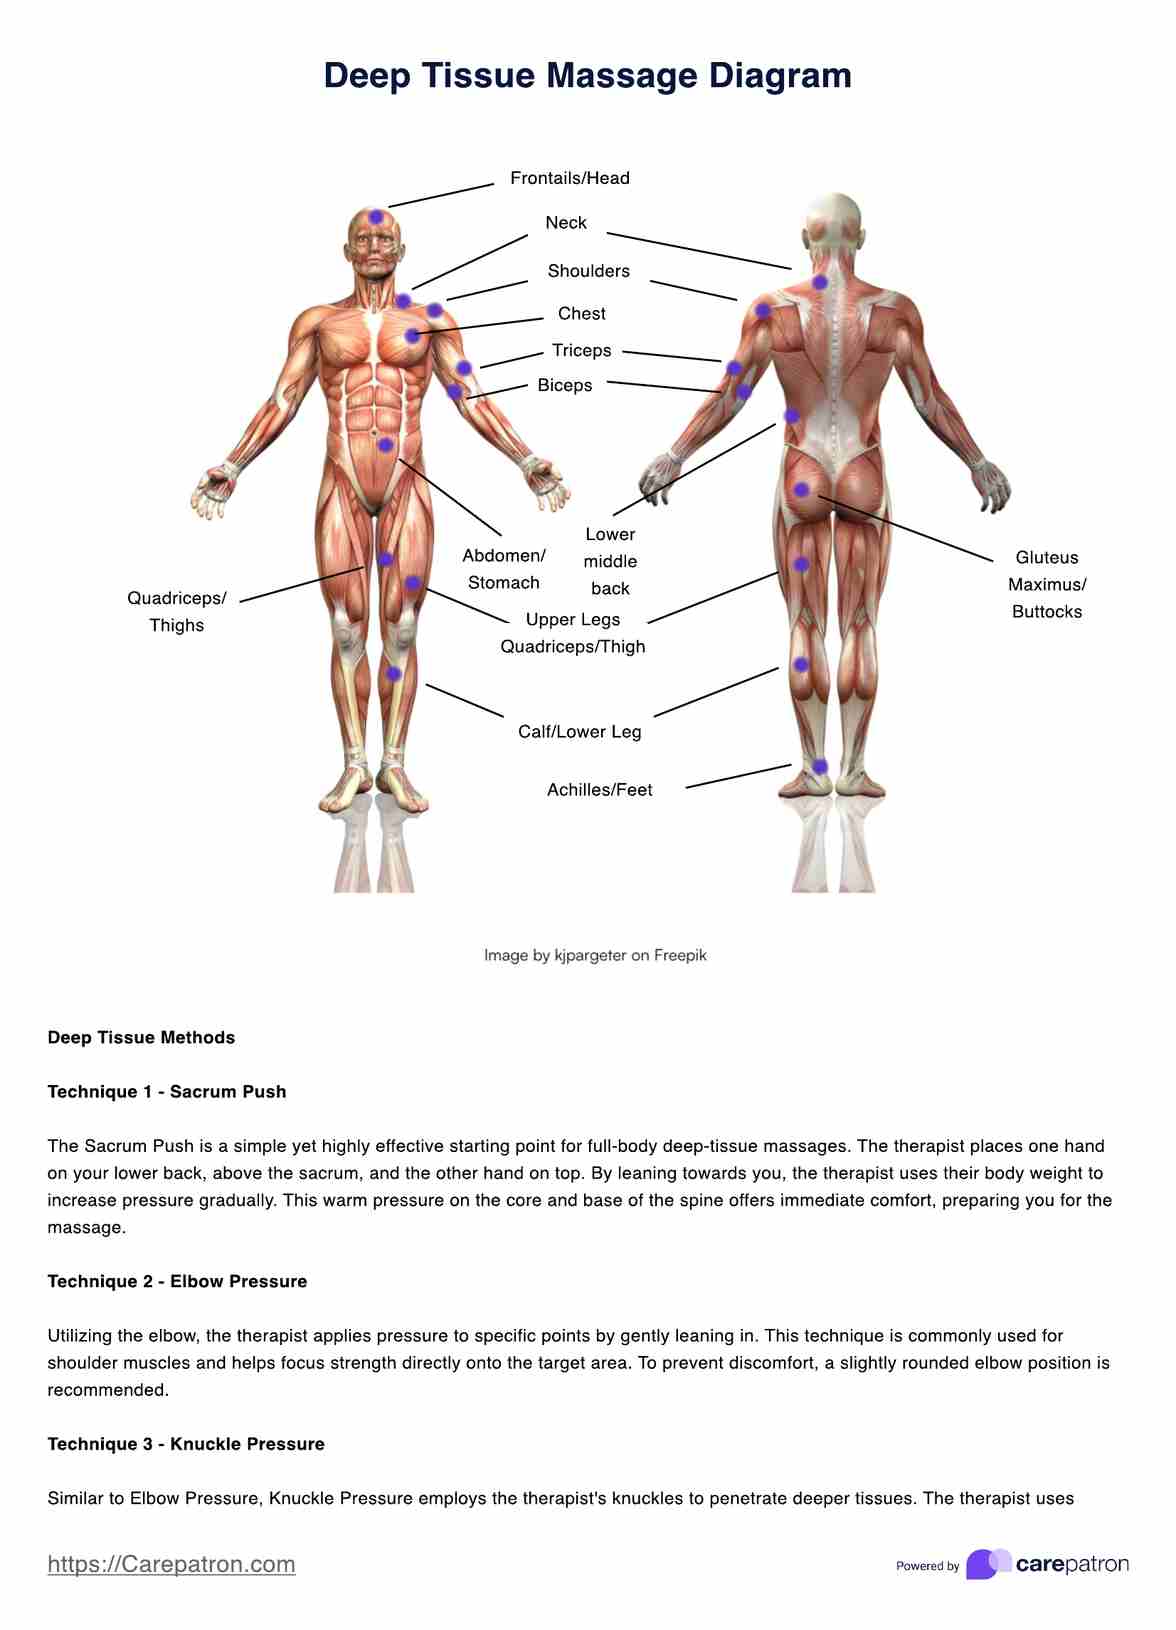
Generic advice fails because muscle anatomy varies wildly. Apply these exact techniques to avoid injury and maximize results.
Quads and Hamstrings: The Gliding Rule
Use a large flat head. For quads, glide upward from above the knee toward the hip—never downward. Downward strokes push fluid toward swollen knee joints. On hamstrings, sweep from sit bones toward the back of the knee. Time saver: Spend only 90 seconds per quad. Longer sessions cause inflammation in these dense muscles.
Lower Back: The Two-Finger Safety Margin
Attach the fork-shaped (“U”) head. Place your index and middle fingers vertically along your spine. Glide the device outside your fingers—never closer than 2 inches to the midline. Use the lowest speed and lightest pressure. Critical mistake to avoid: Leaning the gun against a wall for self-application. This forces excessive pressure. Sit upright and control the device manually.
Shoulders: Trap Zone Tactics
Only target the top “shelf” of your shoulder (trapezius muscle). Never touch the neck. Use a small ball attachment at medium speed. Glide horizontally from neck toward shoulder cap for 60 seconds max. Why you get sore later: Pressing too hard on the upper traps compresses the brachial plexus nerves, causing delayed arm numbness.
Calves: The Achilles Avoidance Maneuver
Use a dome or bullet head. Glide from the ankle upward toward the knee—but stop 2 inches above the heel. Never massage the Achilles tendon. This thin tissue can’t handle percussive force and risks micro-tears. Focus exclusively on the fleshy gastrocnemius muscle.
Fix These 4 Costly Beginner Mistakes Now

“I Bruised My Shinbone—Why?”
Cause: Using a bullet head on bony areas like shins or elbows.
Solution: Reserve pointed attachments only for thick muscle bellies (glutes, lats). On limbs, use flat heads and glide constantly—never hold stationary on bone.
“My Hand Went Numb During Shoulder Massage”
Cause: Compressing the radial nerve near the shoulder cap.
Solution: Reduce pressure by 50% and shift 1 inch toward your spine. If numbness persists, stop for 24 hours—nerve irritation needs rest.
“I’m Sorer 24 Hours Later”
Cause: Overdoing time per muscle group. Beginners exceed 3 minutes on quads/hamstrings.
Solution: Set a timer. 2 minutes per major muscle is optimal initially. Soreness should feel like a productive workout ache—not sharp stabbing.
“The Device Makes My Arm Tired”
Cause: Death-gripping the handle.
Solution: Rest your elbow on a table. Let the gun’s weight do the work—your hand should guide, not push. Use two hands for upper back sessions.
Pro-Level Recovery Shortcuts
- Pre-Workout Activation: Use 60 seconds on quads/hams before leg day at low speed. Increases blood flow by 31%, boosting performance.
- The 10-Minute Rule: Never exceed 10 minutes total per session. More time = inflammation, not recovery.
- Attachment Hierarchy: Start sessions with flat heads (safest), switch to bullets only for stubborn knots after 3 weeks of use.
- Post-Session Stretching: Hold static stretches for 30 seconds immediately after cooling down. Percussion therapy makes muscles 22% more pliable for stretching.
Final Note: Using your deep tissue massage gun correctly means respecting its power—gentle pressure, precise zones, and strict time limits. Avoid bones and nerves, glide slowly with the muscle grain, and never push through sharp pain. Stick to 10-15 minute sessions 3-4 times weekly, and you’ll transform sore, stiff muscles into resilient, responsive tissue. Your recovery timeline isn’t set in stone; with this technique, you’re in control. Ready to go deeper? Master calf release next—your Achilles will thank you.


