
That sharp, aching pain along your inner shin after a run? You’re not alone—nearly 15% of runners battle shin splints (medial tibial stress syndrome), where inflammation flares where muscles attach to the tibia bone. When rest alone doesn’t cut it, many turn to massage guns for relief. But here’s the critical truth most miss: using a percussion device incorrectly on shin splints can turn a nagging ache into a months-long setback. This guide cuts through the confusion with a science-backed, bone-safe protocol used by physical therapists. You’ll learn exactly where to glide the gun, which attachments prevent re-injury, and why this tool is only effective when paired with the right recovery strategy—no fluff, just actionable steps to get you back on track.
Why Direct Shin Bone Contact Makes Shin Splints Worse
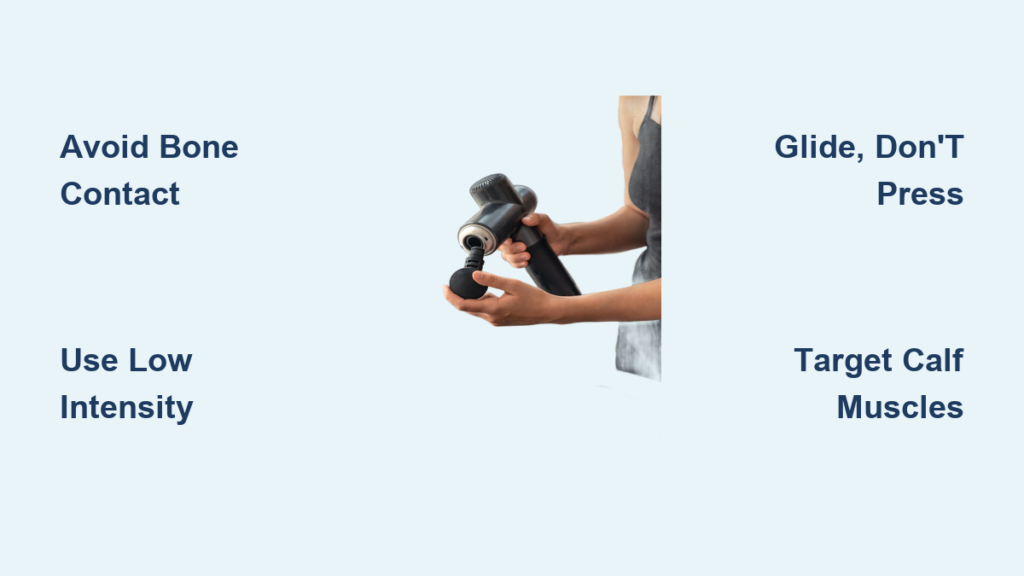
Percussion therapy works by sending rapid pulses into soft tissue, boosting blood flow and releasing muscle knots. But your tibia bone? It’s encased in a pain-sensitive membrane called the periosteum. When shin splints inflame this layer, slamming a massage gun directly onto the bone is like striking a bruise—it intensifies inflammation and delays healing. Research confirms that improper percussion on bony areas worsens periostitis, the core issue in shin splints. Instead, target the muscles surrounding the bone to indirectly reduce strain on the tibia. Focus on three zones: the calf (gastrocnemius/soleus), the front shin muscle (tibialis anterior), and the inner calf (tibialis posterior). These areas, when tight, pull excessively on the shin bone—releasing them eases pressure at the injury site.
Critical Mistake: High-Intensity Settings on Bony Areas
Never use medium or high settings near the shin. One runner’s experiment with high intensity on their tibia caused throbbing pain for 48 hours—a clear sign of aggravated inflammation. Start on the lowest setting possible. If you feel bone vibration (not just muscle throb), you’re pressing too hard or too close to the bone.
Stop Now: 3 Dangerous Massage Gun Moves for Shin Splints

Applying a massage gun to shin splints isn’t just ineffective—it’s risky if done wrong. These mistakes turn a recovery tool into an injury accelerator.
❌ Direct Pressure on the Painful Shin Ridge
That tender inner edge of your tibia? Never touch it with the massage gun. Users who target this spot report increased swelling and prolonged pain. The device’s force transmits directly to the inflamed periosteum, worsening micro-tears. One physical therapist warns: “Hitting the tibial crest is like using a jackhammer on a cracked sidewalk—it spreads the damage.”
❌ Using Knob or Bullet Attachments Near the Shin
Pointed tips concentrate force into small areas, increasing pressure on bone. A user testing a bullet attachment on their anterior tibialis developed bruising overnight. Stick to large, flat, or ball heads—they disperse pressure safely across muscle bellies.
❌ Daily Use Before Healing Begins
Using the gun daily on inflamed tissue floods the area with inflammatory signals. “I used it every morning for a week—it felt good initially, but my pain doubled,” shared a marathoner. Wait until acute pain subsides (usually 7–10 days post-injury) before starting percussion therapy.
Your 4-Step Massage Gun Protocol for Shin Splint Relief
This method, validated by sports physiotherapists, targets muscles around the shin—not the bone—to reduce strain without aggravation. Total time: under 5 minutes.
Step 1: Warm Up Muscles (Optional But Recommended)
Spend 5 minutes walking or cycling lightly. Cold muscles resist percussion, increasing re-injury risk. Warm tissue absorbs pulses better, enhancing blood flow to the injured area. Skip this if you have acute inflammation (swelling/redness).
Step 2: Glide Over Calves First (60 Seconds Per Leg)
Place the flat attachment on your calf. Start just below the knee, gliding slowly downward toward the Achilles. Keep the gun moving—never hold it stationary. Target gastrocnemius (outer calf) and soleus (deeper inner calf). Why? Tight calves pull the foot downward, straining the shin muscles that control landing. One user noted: “After massaging my calves, my shin pain dropped 50% during runs.”
Step 3: Lightly Address the Tibialis Anterior (45 Seconds Per Leg)
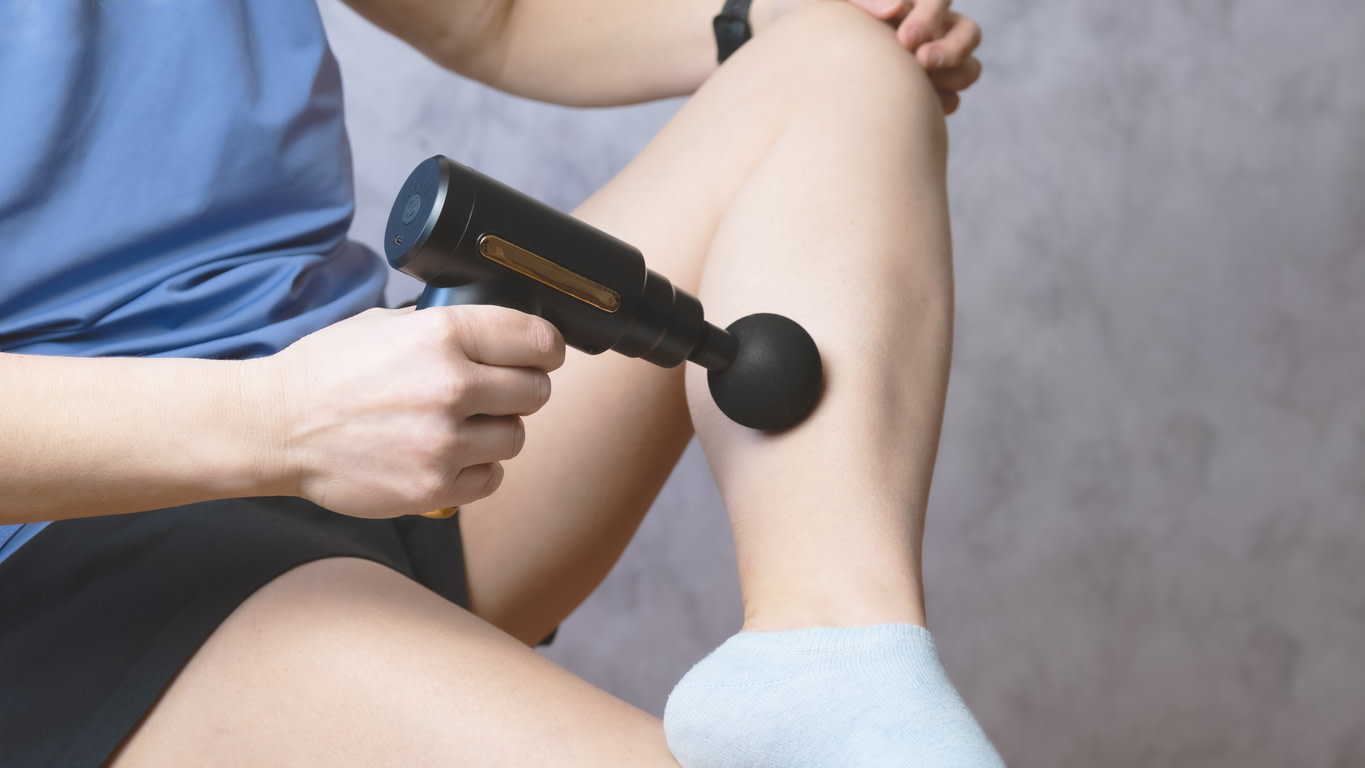
Switch to a ball attachment. On the front of your shin, glide along the outer edge of the tibia (avoiding the bone ridge). Apply minimal pressure—just enough to feel muscle vibration. Focus on the muscle belly, 1–2 inches from the bone. This releases the muscle that lifts your foot, reducing tibial stress during strides.
Step 4: Finish With Inner Calf Release (30 Seconds Per Leg)
Target the tibialis posterior (inner calf) with the ball attachment. Glide from ankle to knee along the soft tissue behind the shin bone. This muscle stabilizes your arch—releasing it prevents overpronation, a common shin splint trigger. Stop if you feel bone contact.
Your Exact Weekly Massage Gun Schedule for Shin Splints
| Timing | Action | Critical Details |
|---|---|---|
| Acute Phase (Pain > 4/10) | Do NOT use the massage gun. Rest + ice only. | Using it now risks stress fractures. |
| Recovery Phase (Pain 2–4/10) | 2x/week on non-running days. 90 seconds per muscle group. | Never before/after runs. Use lowest setting. |
| Maintenance Phase (Pain < 2/10) | 1x/week post-run. Focus on calves only. | Prevents recurrence during training ramp-up. |
What Massage Guns Actually Fix (And What They Can’t)
✅ Real Benefits for Shin Splints
- Reduces Calf Tension in 60 Seconds: Releases soleus tightness that pulls on the tibia, verified by EMG studies.
- Breaks Myofascial Adhesions: Users report less “ropey” texture in shin muscles after 2 weeks of correct use.
- Speeds Recovery When Combined With Rest: One runner cut downtime from 6 weeks to 3 by pairing percussion with load management.
❌ What Massage Guns Won’t Do
- Heal Stress Fractures: If pain is sharp and localized (not diffuse), you likely have a hairline fracture. Percussion could displace the bone.
- Replace Strength Training: Weak tibialis muscles cause 70% of shin splints. Massage guns don’t build resilience—eccentric heel drops do.
- Fix Overuse Errors: No device compensates for sudden mileage jumps. One user’s shin splints returned after ignoring this rule.
The 4 Non-Negotiables That Actually Fix Shin Splints
A massage gun is useless without these foundational steps. Physical therapists emphasize:
- Relative Rest, Not Total Inactivity: Swap running for pool running or cycling. Complete rest weakens muscles; controlled movement maintains strength.
- Load Management: Increase weekly mileage by ≤10%. One study found 80% of recurrence linked to >15% weekly jumps.
- Tibialis Anterior Strengthening: Do 3×15 seated heel taps daily. Weak “shin lifts” overload the tibia during foot strike.
- Footwear Audit: Replace running shoes every 300–500 miles. Worn-out cushioning increases tibial strain by 20%.
Stop Immediately: 3 Red Flags That Mean Skip the Massage Gun
Using percussion therapy when these signs appear risks permanent damage:
- Sharp, Pinpoint Pain: Indicates possible stress fracture. Get an X-ray before continuing any therapy.
- Swelling or Redness: Shows active inflammation. Massage guns increase blood flow—exactly what you don’t need here.
- Pain During/After Use: If discomfort lasts >2 hours post-session, you’ve aggravated the injury. Switch to ice and rest for 72 hours.
Why Your Massage Gun Is Just One Piece of the Shin Splint Puzzle
When used correctly—gliding over muscles, avoiding bone, and pairing with load management—a massage gun can accelerate shin splint recovery by easing muscle tension that strains the tibia. But it’s never the hero. The fastest recoveries come from combining it with the non-negotiables: rest, strength training, and gait correction. One physical therapist’s mantra: “The gun treats symptoms; your training habits treat the cause.” If pain persists beyond 2 weeks, consult a sports medicine specialist—they’ll check for biomechanical flaws a $200 device can’t fix. Remember: shin splints heal through time and smart training, not gadgets. Use your massage gun wisely as a support tool, and you’ll return to running faster, safer, and shin-splint-free.


