
Your quadriceps scream after a tough leg day or long run—tightness, soreness, and that stubborn stiffness that won’t quit. When you use a massage gun on quads, you’re not just soothing surface pain; you’re unlocking deeper recovery by boosting blood flow, smashing adhesions, and accelerating healing in these powerhouse muscles. But skip critical prep steps or target the wrong zones, and you’ll risk bruising or nerve irritation. This guide delivers the exact protocol I use with athletes to safely use a massage gun on quads—transforming painful recovery into proactive muscle maintenance. You’ll learn precise techniques for all four quad muscles, avoid dangerous areas like the femoral artery, and maximize results in under 10 minutes per leg.
Forget generic advice that ignores your quad anatomy. The rectus femoris, vastus lateralis, vastus medialis, and vastus intermedius each demand unique targeting. Done right, using a massage gun on quads slashes DOMS by up to 50% and boosts flexibility within days. Get this wrong, and you’ll aggravate IT band issues or bruise delicate tissue. Let’s fix that now.
Essential Quad Warm-Up Before Massage Gun Use
Cold muscles reject deep percussion therapy. Skipping this 5-minute step turns recovery into injury risk.
Warm up quads with dynamic movement first: March in place for 3 minutes or perform leg swings (10 forward/backward per leg). This isn’t optional—cold quadriceps absorb vibration poorly, increasing bruising risk. Check your skin: No cuts, rashes, or recent injuries. If you have dry skin, apply a pea-sized amount of unscented lotion to reduce friction (never oil—it slips under the gun head). Now power up your device: Start on the lowest setting with the ball attachment secured. Test it against your palm—you should feel rhythmic pulses, not jarring shocks.
Why Skipping Warm-Ups Causes Quad Bruising
- Muscle fibers resist cold percussion: Tight tissue vibrates unevenly, creating micro-tears
- Nerves become hypersensitive: Leading to tingling or numbness post-session
- Femoral artery pressure risk: Cold muscles push the gun deeper toward vascular zones
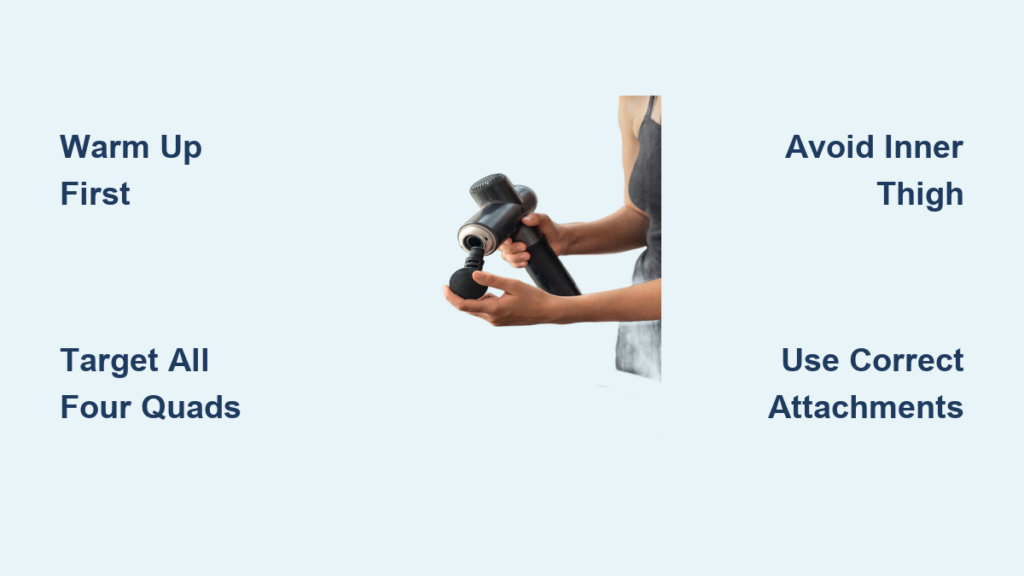
Target All Four Quad Muscles: No Generic Gliding
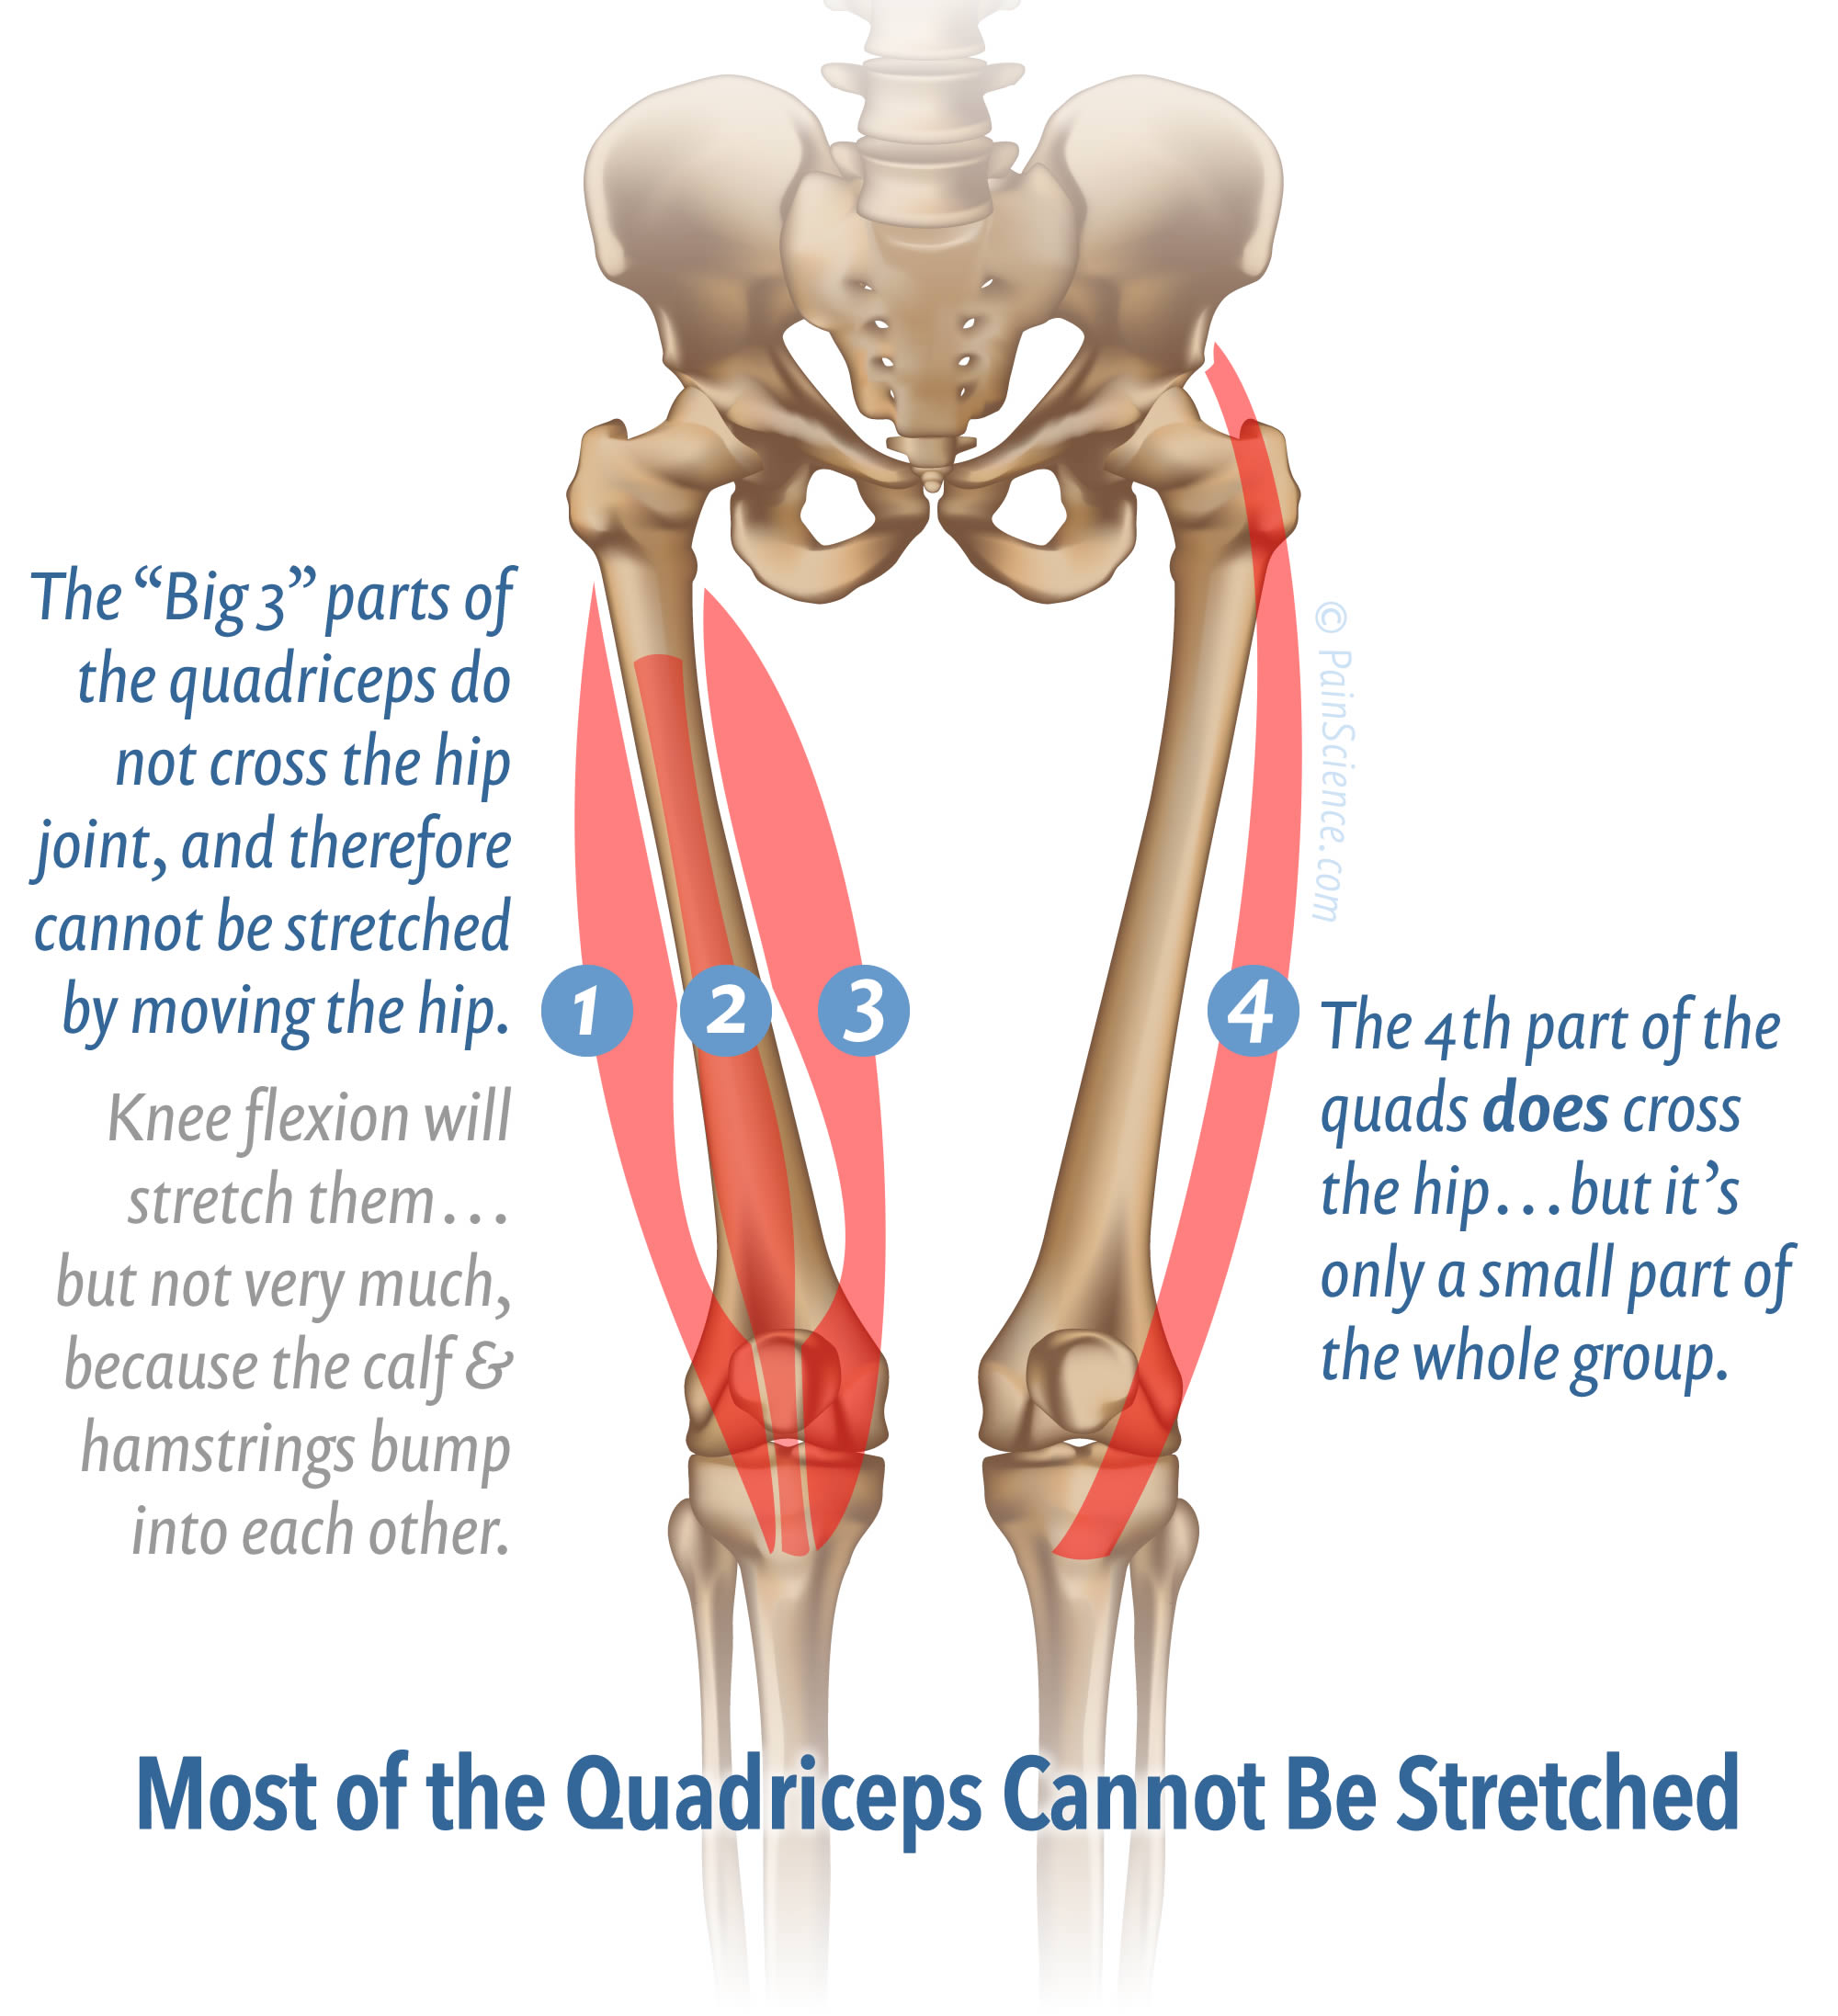
Randomly gliding the gun over your thigh misses 75% of quad recovery potential. Each muscle requires distinct positioning and pressure.
Rectus Femoris: Front-Thigh Powerhouse Technique
Stand holding a wall for balance. Place the ball attachment 2 inches below your hip bone on the front thigh. Glide downward with the muscle fibers toward the knee (never over the kneecap) at 1 inch per second. Apply only enough pressure to dimple the skin slightly—your body weight should do zero work. Pause 10 seconds on any “knot” (a marble-sized hard spot). Repeat for 60 seconds. Visual cue: Stop if skin turns white under the head—this means excessive pressure.
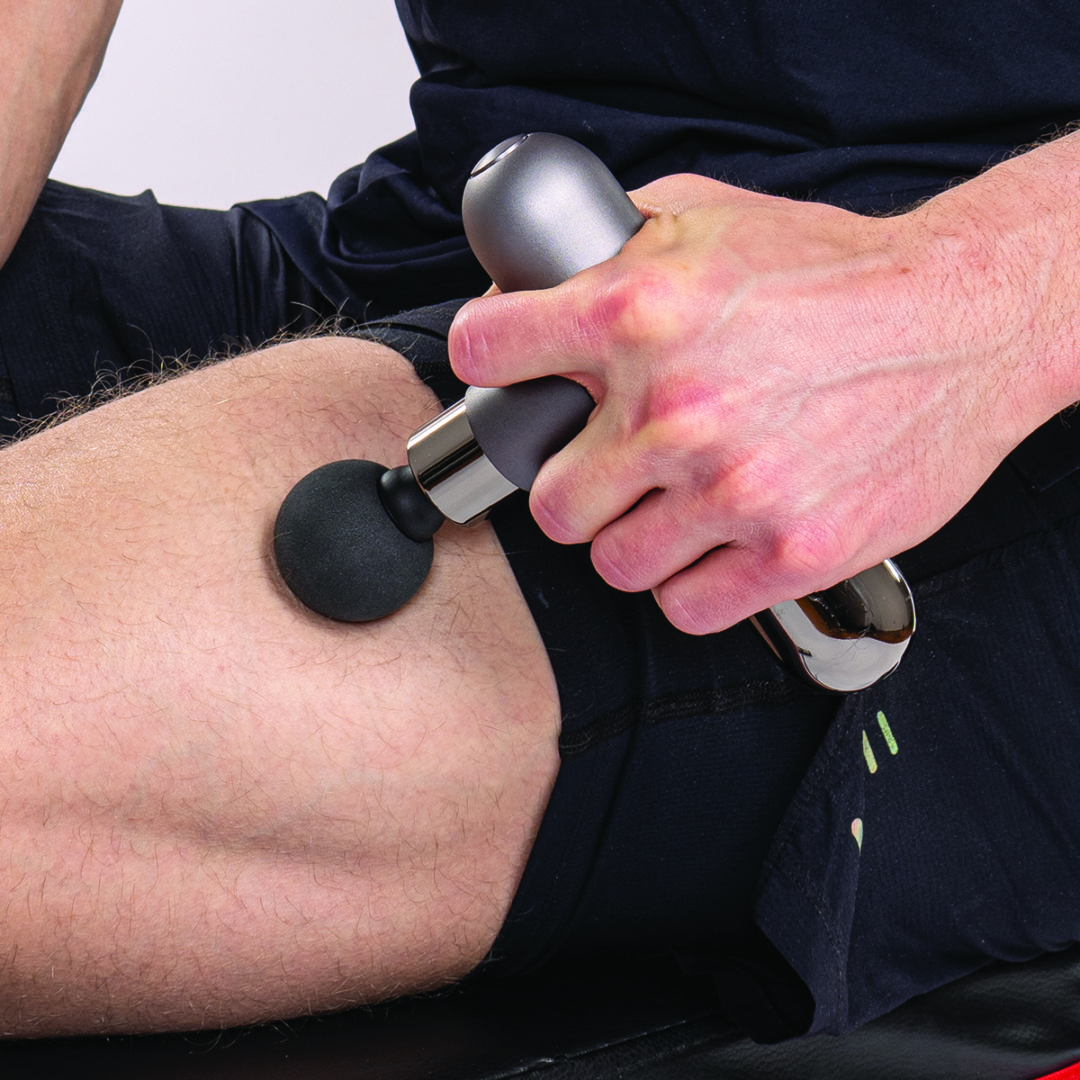
Vastus Lateralis & Medialis: Outer/Inner Quad Precision
For the outer quad (vastus lateralis): Sit sideways on a chair. Glide the gun from hip to knee along the outer thigh ridge. Use the flat attachment here—it covers more surface without digging into IT band tissue. For the inner quad (vastus medialis): Lie on your back with knee bent. Use the round attachment in small circles only on the teardrop muscle above the knee (avoid the groin crease). Never exceed 45 seconds here—this area bruises easily.
Quad-Specific Safety Zones: Avoid These 3 Danger Areas

Your quadriceps hide critical structures that massage guns can damage. Ignoring these guarantees injury.
Never target the front hip bone (AIIS): Where the rectus femoris attaches near the pelvis. Percussion here strains hip flexors—instead, glide below the bony protrusion. Skip the inner thigh near the groin: This houses the femoral artery and nerve bundle. Massage only the muscular “meat” of the inner quad above the knee. Never hit the kneecap: The gun must stay 2+ inches above and below the patella—vibration here compresses knee cartilage. If you feel sharp pain or tingling, stop immediately and move 3 inches away.
Time Limits That Prevent Quad Nerve Damage
- 2 minutes max per muscle group (e.g., 2 min for rectus femoris)
- 7/10 pain threshold: Discomfort should feel like “good pressure”—never sharp or electric
- 1 session per muscle every 24 hours: Overuse causes inflammation
Best Attachments for Quads: Ball vs. Flat vs. Bullet
Your quad recovery fails if you use the wrong attachment. Match the tool to the muscle.
The ball attachment dominates quad work—it contours to the rectus femoris and vastus lateralis for broad coverage. Use it for 80% of your quad session. Switch to the flat attachment only for the vastus medialis (inner quad teardrop) where precision matters. Never use the bullet tip on quads—its narrow point concentrates force into nerves. If targeting a deep knot in the vastus intermedius, use the ball attachment at lowest setting with 5-second pulses (not sustained pressure).
Pre-Workout vs. Post-Workout Quad Protocols
Timing your quad massage gun session wrong sabotages performance or recovery.
Pre-workout (5-10 min before exercise): Use lowest setting for 30 seconds per quad muscle. Goal: Wake up dormant fibers. Critical mistake: Don’t exceed 1 minute total—overstimulation fatigues muscles. Post-workout (15-60 min after exercise): Target medium setting for 2 minutes per muscle. Focus on the rectus femoris first to flush lactic acid. Pro tip: Pair with 30-second static stretches immediately after—this leverages the “window of flexibility” opened by percussion.
3 Quad Massage Gun Mistakes That Cause Bruising
These errors turn recovery into injury—and 90% of users make at least one.
Mistake #1: Pressing too hard on the inner quad: The vastus medialis has thin tissue over bone. Apply zero downward force—let the gun’s weight rest gently. If you see red streaks post-session, you’ve ruptured capillaries. Mistake #2: Ignoring pain signals: Nerve pain feels sharp, shooting, or “electric.” Muscle pain is dull and diffuse. Stop at the first nerve sensation. Mistake #3: Massaging the IT band directly: The IT band is fascia, not muscle. Instead, massage the vastus lateralis underneath it for 45 seconds to relieve tension.
How Long Until Quad Soreness Disappears?
Results aren’t instant—but done correctly, you’ll feel changes fast.
Within 24 hours: Reduced stiffness and improved knee extension (test by trying to touch your heel to your glutes). After 3 sessions: Noticeable DOMS reduction—your quad soreness drops from 8/10 to 3/10 post-workout. Long-term (2 weeks): Consistent use increases quad flexibility by 15-20%, verified by deeper squat depth. If you see no improvement by day 7, you’re likely overusing the gun or missing key muscles. Scale back to 1 minute per quad daily.
Maximize Results: Quad-Specific Post-Massage Routine
Your work starts after turning off the gun. Skip this, and recovery stalls.
Hydrate aggressively: Drink 16oz water within 10 minutes—percussion releases metabolic waste that needs flushing. Perform the couch stretch: Kneel facing a wall, place one foot against it, and sink hips forward for 30 seconds per quad. This leverages the gun’s tissue release for lasting flexibility gains. Wait 2 hours before intense exercise: Muscles need time to rebalance after deep work. For chronic tightness, pair sessions with heat therapy—apply a warm towel for 10 minutes post-massage to boost blood flow.
Final Note: Consistent, precise use of your massage gun on quads transforms recovery—but it demands respect for anatomy. Stick to 2-minute muscle sessions, avoid bony zones, and always pair with hydration and stretching. In just 7 days, you’ll move freer, train harder, and slash soreness. Ready to go deeper? Explore how to safely target hamstrings next to balance leg recovery.


