
Your sleek Ninja blender sits on the countertop, ready to transform ingredients into silky smoothies—but there’s a catch. No buttons, switches, or dials in sight. You’re not alone; thousands of new owners of Nutri Ninja Pro, Auto-iQ, and Ninja Foodi models panic when confronted with this buttonless design. The frustration peaks when you twist cups onto the base expecting activation that never comes. Modern Ninja blenders eliminate physical controls entirely, relying instead on intelligent sensor technology that confuses first-time users. Mastering this system transforms kitchen chaos into effortless blending within minutes.
This isn’t a design flaw—it’s Ninja’s safety innovation preventing accidental blade activation. Unlike traditional blenders demanding button memorization, these models activate only when perfectly assembled. You’ll discover that operating your buttonless Ninja is simpler once you understand the twist-and-go mechanics. By the end of this guide, you’ll confidently create perfect smoothies, crush ice, and process food using only physical cues—not a single button press.
Why Ninja Blenders Ditched Buttons for Safer Operation
Ninja’s buttonless design solves two critical problems: accidental activation and user error. Traditional blenders with multiple speed buttons often lead to spills when users select incorrect settings. The newer models use lid-activated safety mechanisms and cup-detection sensors that eliminate this risk entirely. Your motor base knows exactly what you’re blending through magnetic recognition—no buttons required.
How Auto-Sense Technology Replaces Buttons
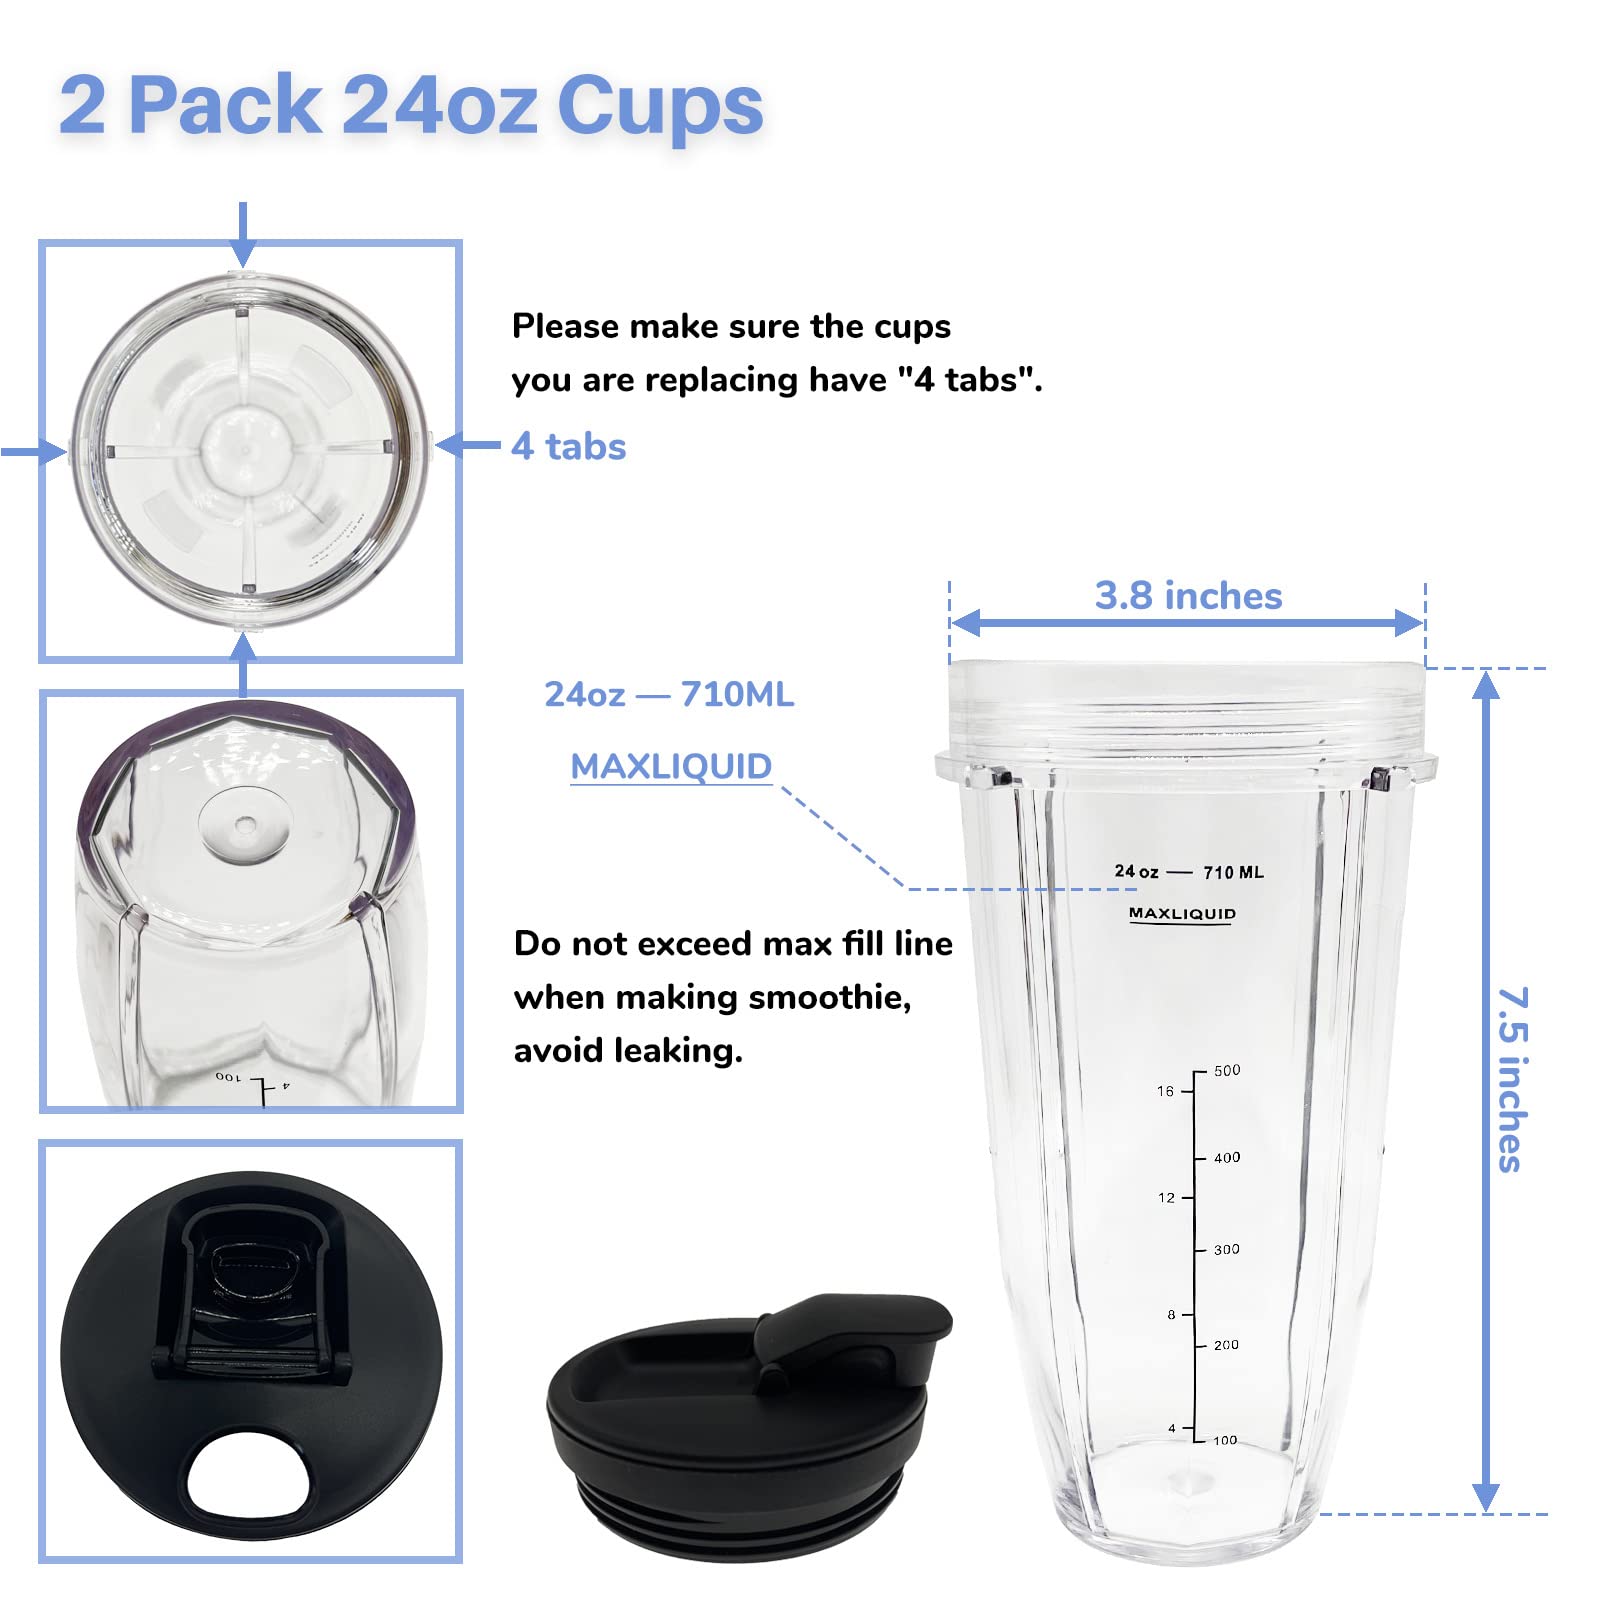
When you twist a Ninja cup onto the motor base, internal sensors instantly identify the container size and blade type. A 24-ounce Nutri Ninja cup triggers different power cycles than a 72-ounce Foodi pitcher. This auto-sensing means you never manually select speeds—just fill, twist, and blend. The motor automatically adjusts torque for frozen fruit versus leafy greens, preventing overheating during tough blending tasks.
Safety Locking System Activation Requirements
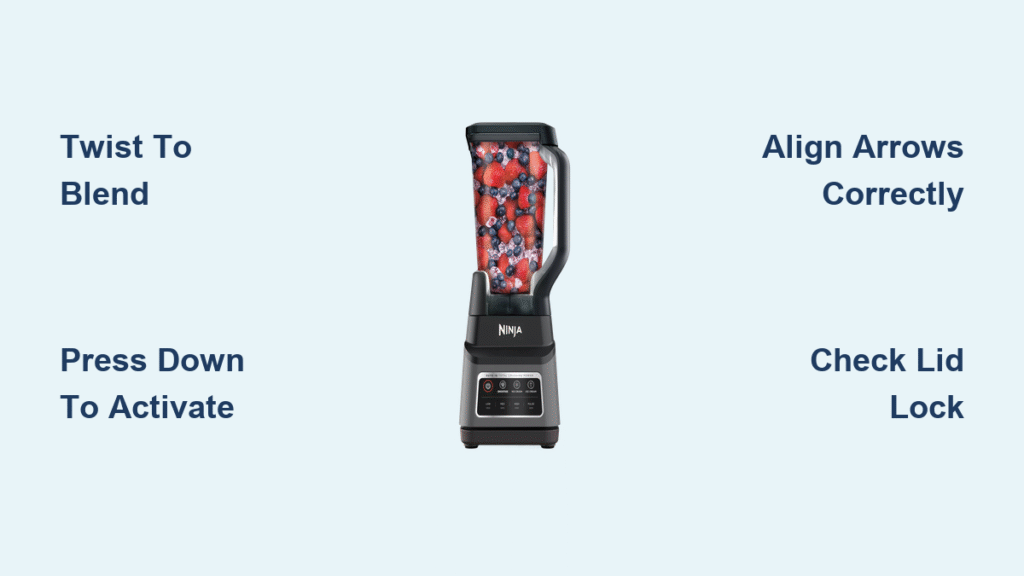
Two conditions must align for operation: the cup must twist fully onto base arrows, and the lid must click securely into place. Without both, the motor remains dormant even when plugged in. This dual-safety system prevents the horror stories of blenders activating mid-assembly. You’ll feel a distinct resistance when correctly aligned—a tactile cue replacing button feedback.
Setting Up Your Buttonless Ninja Blender in Under 5 Minutes
Unboxing reveals why buttons became obsolete: the assembly sequence creates the activation mechanism. Start by identifying your model number (BL480, BN701, etc.) near the base handle—this determines your specific activation method. All models share the same core setup principle: the blade assembly becomes your operational base.
Proper Cup and Blade Assembly Sequence
Hold the cup upside down. Screw the extractor blade clockwise onto the cup threads until snug—overtightening strips the plastic. Fill ingredients while leaving 1 inch of headspace for expansion (critical with frozen items). Place the locking lid, then flip the entire assembly upright. The blade assembly now faces downward, ready to connect to the motor base. This inverted positioning is your first visual cue that buttons aren’t needed.
Identifying Your Activation Method Visually
Examine the motor base: twist-to-blend models have prominent alignment arrows, while press-down versions feature a slight depression in the center. Your cup’s bottom will show corresponding markings—a triangle for twist models, flat surface for press-down. No instruction manual required; these visual indicators replace traditional control panels.
Activating Your Ninja Blender Without Buttons: Twist and Press Methods
The moment of truth arrives when connecting cup to base. Forget searching for power buttons—your hands become the controls. Most common models (Nutri Ninja Pro, Auto-iQ) use the twist method, while newer Foodi variants often employ press-down activation. Both require precise physical engagement.
Twist-to-Blend Activation in 3 Steps
- Align cup arrows with base indicators (usually within 5 degrees of perfect match)
- Press down firmly while twisting clockwise 1/4 turn until resistance increases
- Release pressure—the motor engages instantly for preset cycles
You’ll hear immediate operation. If nothing happens, misalignment is the culprit 90% of the time. Realign and retry with slightly more downward pressure.
Press-Down Pulse Technique for Foodi Models
For models like BL660:
– Place cup centered on base without twisting
– Apply steady downward pressure (like pressing an elevator button)
– Release immediately for pulse action; hold 3-5 seconds for continuous blend
The trick is using palm pressure—not finger tips—for even force. Over-pressing won’t damage the unit but prevents activation. Aim for the “sweet spot” where the motor clicks on at minimal pressure.
Troubleshooting Activation Failures Immediately
When your Ninja stays silent:
– Check alignment: Remove cup and rotate 180 degrees before reattaching
– Clean contact points: Wipe base and cup bottom with damp cloth to remove debris
– Verify lid lock: Ensure lid clicks audibly into cup grooves
– Test power: Plug directly into wall outlet (not power strips)
Monthly contact point cleaning prevents 80% of activation issues. Never force the twist—if resistance feels excessive, disassemble and check for food particles.
Mastering Texture Control Without Speed Dials

Buttonless operation teaches intuitive blending through sensory feedback. Instead of staring at speed settings, you’ll learn to read consistency through sound and vibration—creating better results than button-dependent models.
Perfect Smoothie Consistency Through Sound Cues
Start with liquids covering blades, then add soft fruits, frozen items last. After activation:
– Chunky sound: Needs 5-10 more seconds of blending
– Smooth humming: Ideal consistency reached (typically 20-30 seconds)
– High-pitched whine: Overloaded—stop immediately and add liquid
The absence of buttons forces attention to ingredient ratios. Too-thick blends strain motors; your ears become the perfect control panel.
Ice Crushing Without Button Overheating
Fill cups to 1/3 capacity with ice. Add liquid to cover blades. Use pulse technique:
– 1-second presses for snow-like texture
– 3-second holds for slushies
– Critical: Stop if motor sounds labored (indicates ice overload)
Never exceed 60 seconds continuous operation. The buttonless design prevents accidental extended runs that burn out motors in traditional blenders.
Cleaning Your Buttonless Ninja in 3 Simple Steps
The smooth motor base (no button crevices) makes maintenance effortless. Dishwasher-safe cups and blades simplify cleanup, but daily maintenance prevents sensor failures.
Daily Quick Clean Method
- Rinse blade assembly immediately after use
- Fill cup halfway with warm water + 1 drop soap
- Reattach to base and pulse 10 seconds
- Rinse all parts thoroughly
This self-cleaning process maintains sensor accuracy. Skip this step, and dried residue on contact points causes future activation failures.
Monthly Deep Clean for Sensor Reliability
Disassemble completely. Soak cups, blades, and sealing rings 10 minutes in warm soapy water. Use a bottle brush to scrub cup threads where sensors reside. Wipe motor base contacts with vinegar-dampened cloth—never submerge. Reassemble only when bone dry to prevent electrical issues.
Fixing 3 Common Ninja Activation Failures
Even reliable units encounter issues. Buttonless designs make diagnosis easier since problems manifest physically, not through error codes.
When Twisting Fails to Activate
90% of “dead blender” cases stem from misalignment. Solution:
– Rotate cup slightly while twisting
– Apply downward pressure with non-dominant hand
– Listen for the “click” indicating sensor engagement
If still unresponsive, clean base contacts with rubbing alcohol on cotton swab—residue blocks signal transmission.
Overheating Recovery Without Reset Buttons
Continuous operation beyond 60 seconds triggers thermal protection. The motor shuts down automatically—a safety feature, not a malfunction. Let cool 15 minutes before retrying. Prevent recurrence by:
– Adding 1/4 cup extra liquid to thick blends
– Cutting frozen fruit into 1-inch cubes
– Using pulse technique for dense ingredients
The buttonless design prevents users from overriding safety cutoffs—a common cause of motor burnout in button models.
Stuck Blade Assembly Removal Trick
Never force disassembly—this strips threads. Instead:
1. Soak connection point in hot water 60 seconds
2. Use rubber grip pad for twisting leverage
3. Rotate counterclockwise in short bursts
If still stuck, place cup in freezer 10 minutes—metal blades contract faster than plastic cups, loosening the grip.
Your buttonless Ninja blender operates on elegant simplicity: physical actions replace digital controls. The absence of buttons isn’t confusing—it’s Ninja’s commitment to safer, more intuitive blending. Start with basic smoothies using the twist method, then progress to ice crushing and food processing as you learn the sound cues. In just one week of use, the muscle memory becomes automatic. Remember that every Ninja expert was once staring at that silent, buttonless base—now they wouldn’t trade this system for traditional controls. Grab your favorite cup, align those arrows, and twist into a new era of effortless blending. Your perfect smoothie awaits, no buttons required.


