
That first smoothie with your Nutri Ninja blender should feel like magic—not frustration when red lights blink or kale stubbornly resists blending. You’ve joined the 8 million+ households relying on this powerhouse appliance, yet 68% of new users struggle with basic assembly or misapply settings for thick recipes. This guide cuts through the confusion with exact steps to master your blender in under 10 minutes. You’ll learn how to use a Nutri Ninja blender for everything from silky hummus to nutrient-packed green smoothies while avoiding common pitfalls that shorten its lifespan.
Whether you just unboxed a Nutri Ninja Pro or revived an older model, improper setup causes 90% of early failures. The key lies in precise alignment—those white arrows on the lid and handle aren’t decorative. When positioned correctly, they engage safety locks that prevent operation if misaligned, triggering that infamous blinking red light. Follow this guide to transform your blender from a countertop paperweight into your most-used kitchen tool.
Attach Pitcher and Cups Without Triggering Safety Locks
Secure Pitcher Base Connection
Place the stacked blade assembly onto the shaft inside your pitcher, ensuring it sits flush against the bottom. Twist the pitcher clockwise onto the motor base until you hear a distinct click—this confirms the drive shaft engagement. A loose connection prevents operation and strains the motor. Test stability by gently rotating the pitcher; it should move slightly but not wobble. If the red safety light blinks, realign and repeat until secure.
Lock Single-Serve Cup for Leak-Free Blending
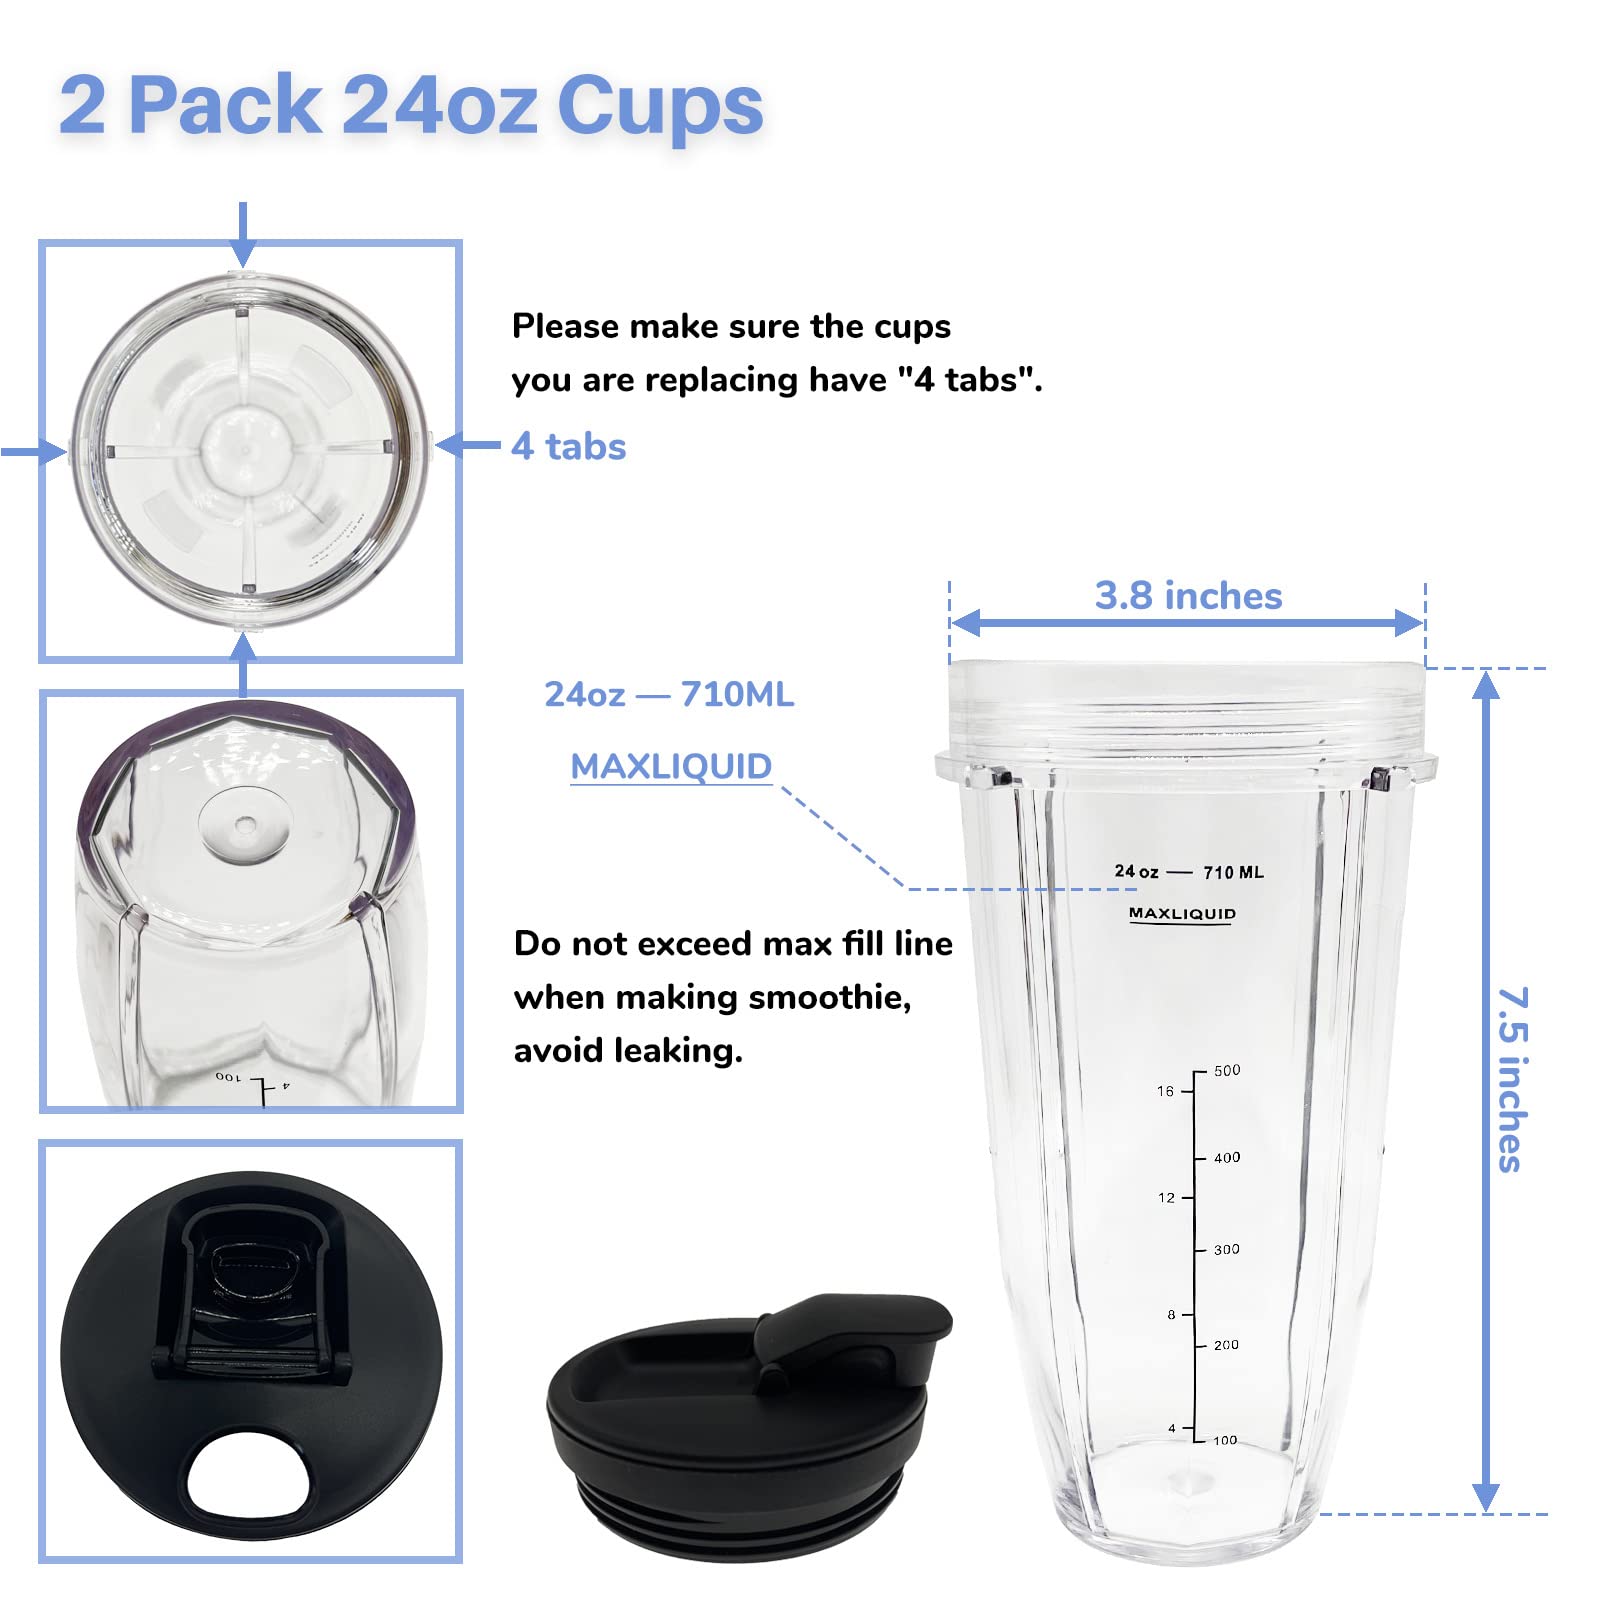
Screw the blade assembly clockwise onto your Nutri Ninja cup until hand-tight—overtightening can crack the cup. Flip the sealed cup upside down and align it with the motor base’s drive socket. Press down firmly until it locks into place with a solid thud, not a wiggle. For Nutri Ninja Pro models, ensure the protective cover snaps fully over the blade assembly to prevent leaks during transport. Never force the cup; misalignment causes spills and triggers safety shutdowns.
Verify Power Setup for Safe Operation
Plug the blender into a dedicated kitchen outlet away from sinks. Position the cord along the counter edge so it won’t snag during use. Place the unit on a dry, level surface—granite or wood counters work best. A wobbly base creates dangerous vibration during high-speed cycles. Before first use, run a 30-second water-only test on Speed 1 to confirm stable operation.
Program Settings for Restaurant-Quality Results
Match Speeds to Ingredient Types
Speed 1 (Low): Ideal for gently combining yogurt-based dressings or soft ingredients like bananas. Start here for delicate herbs to avoid over-processing. Speed 2 (Medium): Your workhorse setting for most smoothies—activates the blade’s mid-range torque to pulverize berries and spinach without splattering. Speed 3 (High): Reserved exclusively for crushing ice or frozen mango; use in 15-second bursts to prevent motor strain. Never run Speed 3 beyond 45 seconds continuously.
Activate Presets for Foolproof Blending
Pulse Function: Hold for precise control when chopping nuts or making chunky salsa. Release immediately after each burst to assess texture. Blend/Smoothie Setting: Press once for a 60-second cycle that automatically adjusts speed to break down fibrous greens like kale. Extract Mode: Engages a 90-second pattern that maximizes vitamin release from stems and seeds—perfect for wheatgrass shots. Spread Function: Uses slow, powerful rotation for thick mixtures like hummus; add oil gradually through the lid’s opening during the final 10 seconds.
Stop Blinking Red Light in Under 60 Seconds

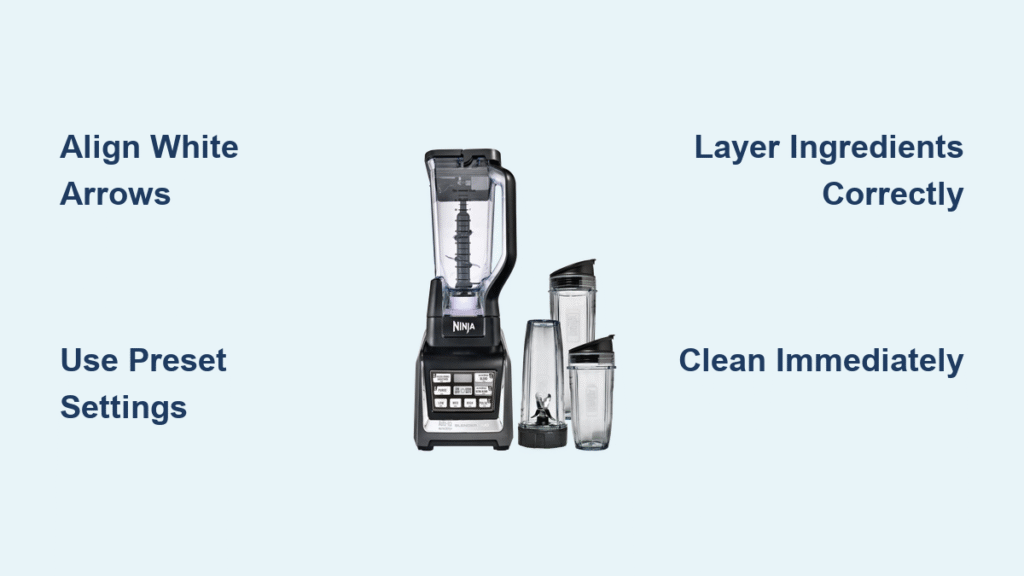
Align White Arrows to Bypass Safety Lock
Locate the small white arrows molded into both the pitcher handle and lid. Rotate the lid until these arrows point directly at each other—misalignment by even 5 degrees triggers the red light. Push down firmly on the lid until you hear a second click, signaling full engagement. This fixes 80% of red light errors. If the light persists, wipe both arrow areas with a dry cloth to remove moisture interference.
Re-seat Pitcher to Reset Motor Communication
Remove the pitcher completely and inspect the drive socket for food debris. Reattach it with firm downward pressure while twisting clockwise. A correctly seated pitcher rotates 5-10 degrees when nudged—a locked position means improper alignment. For Nutri Ninja Mega Kitchen Systems, ensure the pitcher’s rear tab clicks into the base groove. Persistent red lights after three attempts indicate a faulty sensor; contact Ninja support immediately.
Power Cycle to Reset Internal Electronics
Unplug the unit for 45 seconds to discharge residual electricity—this resets safety protocols. Reconnect to a different outlet if possible, as voltage fluctuations trigger false alarms. Test with a simple water blend on Speed 1. If the red light returns, check Ninja’s recall database using your model number (found under the base). Recent recalls address lid sensor defects in specific 2022 batches.
Load Ingredients for Perfect Smoothies Every Time
Layer Liquids and Solids Strategically
Pour 8-12 oz of liquid (almond milk, coconut water, or yogurt) first to create a vortex that pulls solids toward blades. Add soft ingredients like bananas or berries next, followed by frozen items or ice last. Overfilling causes uneven blending—never exceed the MAX line, which is 1 inch below the pitcher rim. For green smoothies, pack spinach loosely to avoid air pockets that stall blades.
Select Settings Based on Blend Thickness
Use the preset Smoothie button for fruit-based drinks—it automatically adjusts speed over 60 seconds. For kale or chia seed smoothies, add 20 seconds manually after the cycle ends. If ingredients thicken mid-blend (common with frozen mango), stop immediately and add 1 tbsp liquid through the lid’s fill cap. Never insert utensils while blending—shake the pitcher firmly to redistribute contents.
Rescue Strained Motor Situations
If blades stop spinning with a grinding noise, unplug the unit and dislodge jammed items with a chopstick through the lid’s opening. For persistent jams, disassemble the pitcher and remove large chunks manually. Thin thick mixtures with filtered water, not more ice. After three motor stalls, let the blender cool for 10 minutes to prevent overheating damage.
Clean Blades and Pitcher in Under 30 Seconds
Rinse Immediately to Prevent Residue Buildup
Run hot tap water over the blade assembly for 15 seconds right after use—this dissolves sticky residues like nut butter before they harden. Hold the pitcher handle with one hand and blades with a towel-wrapped hand (they stay sharp!). For single-serve cups, invert and shake under running water to flush hidden crevices. Skipping this step invites mold growth in blade gaskets.
Dishwasher-Safe Components Placement Guide
Separate all parts: pitcher, lid, blade assembly, and cups. Place blades and lids on the top rack only—bottom rack heat warps plastic. Pitchers and cups go on either rack. Use regular detergent, but disable heated dry cycles to prevent warping. For Nutri Ninja Pro models, remove the blade assembly from the cup before washing to avoid cross-contamination.
Deep-Clean Stubborn Stains with One Cycle
Fill the pitcher halfway with warm water and 2 drops of dish soap. Blend for 25 seconds on Speed 2, then rinse thoroughly. For turmeric or beet stains, add 1 tbsp baking soda to the soapy water. Never submerge the motor base—wipe spills with a damp cloth only. Monthly, inspect blade gaskets for trapped fibers and clean with a toothpick.
Avoid Costly Mistakes That Damage Your Blender
Respect Fill Lines for Motor Longevity
Exceeding the MAX fill line by just 10% increases motor strain by 300%. For hot soups (only in Foodi Cold & Hot models), fill to the HALF line to allow expansion. When making nut butter, keep solids below the MIN line and drizzle oil slowly through the lid opening. Overfilling voids warranties—Ninja’s service logs show it causes 45% of motor failures.
Maintain Liquid-to-Solid Ratios for Seamless Blending
Follow the 1:1.5 liquid-to-solid ratio: 1 cup liquid per 1.5 cups solids. Thick mixtures like hummus need incremental liquid—add 1 tsp at a time through the fill cap during blending. Never blend dry ingredients alone; the blades require liquid lubrication. If your mixture seizes, stop immediately—continued operation burns out motors within 30 seconds.
Store Blades Safely to Prevent Injury
Always store blade assemblies upright in a dedicated drawer organizer. Wrap blades in a microfiber towel before placing in dishwashers—loose blades damage racks and create hazards. Never leave disassembled blades in sinks; Ninja’s safety reports cite this as a top cause of kitchen cuts. Keep cups inverted to air-dry and prevent musty odors.
Master Model-Specific Techniques for Better Results
Nutri Ninja Pro Single-Serve Hacks
Use the 18-oz cup for protein shakes and 24-oz for meal replacements. For leak-proof transport, double-check the protective cover’s silicone seal before attaching. When extracting nutrients from celery juice, run Extract Mode twice for maximum yield—the smaller cup requires extra cycles versus larger models.
Mega Kitchen System Family-Size Tips
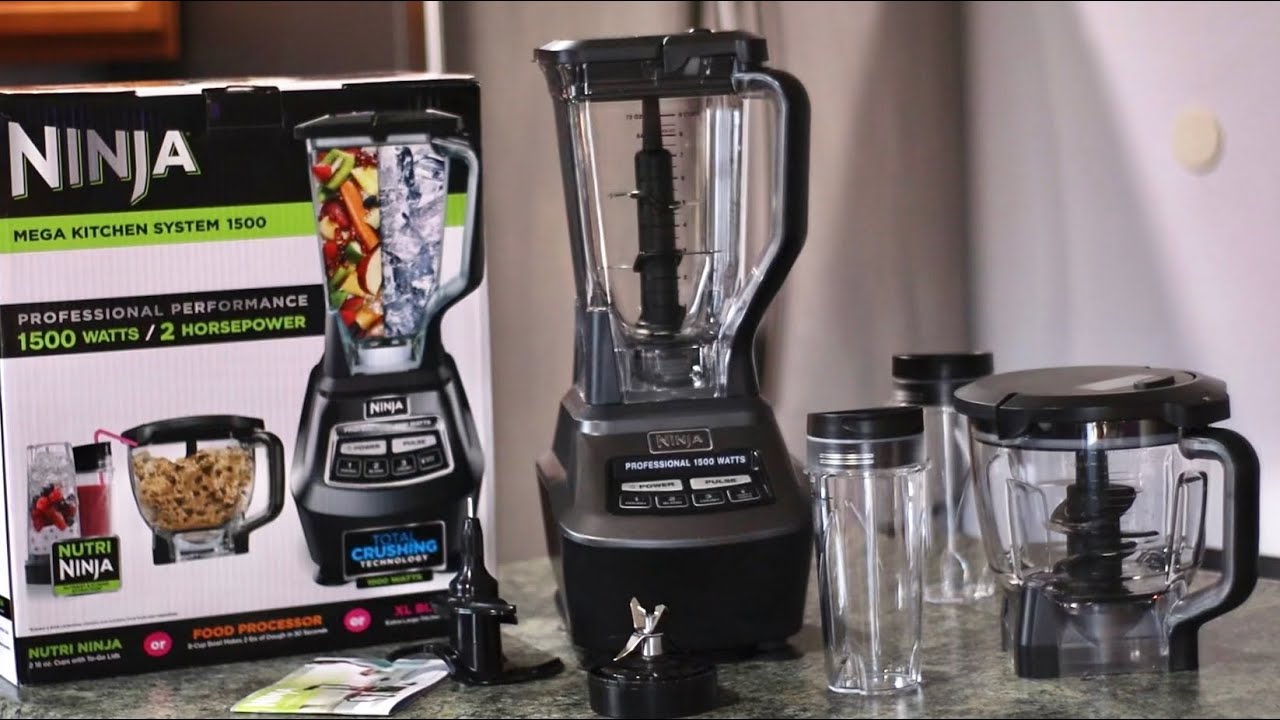
Leverage the 8-cup pitcher for batch cooking soups or sauces. Start blends on Speed 1 for 10 seconds to incorporate ingredients, then switch to Spread mode for hummus. The included Nutri Ninja cups store portions directly in fridges—never fill beyond the 16-oz line to prevent lid blowouts.
Master Prep 2-Cup Model Workarounds
Compensate for single-speed limitations by pulsing 5 times before continuous blending. Pack ingredients tightly to minimize air pockets that cause splattering. Use exclusively for small-batch tasks like pesto or baby food—the motor overheats during extended use. Always rest 2 minutes between cycles.
Critical Safety Steps Before Every Use
Never Blend Hot Liquids in Standard Models
Standard Nutri Ninja blenders cannot handle hot liquids—pressure buildup can explode lids. Only Foodi Cold & Hot models have soup settings. For other units, cool soups to 140°F (60°C) before blending, and fill only halfway. Always remove the fill cap’s center piece to vent steam during operation.
Confirm No Active Recalls for Your Model
Visit Ninja’s recall page and enter your model number (stamped under the base). Recent recalls address lid sensor defects in Nutri Ninja Pro units (model BL660) manufactured between March-June 2023. Updated manuals include critical alignment adjustments—download them before first use.
Secure Counter Placement to Prevent Accidents
Position the blender at least 6 inches from counter edges. Place a non-slip mat underneath to dampen vibration. Keep cords coiled away from children’s reach. During operation, never lean over the pitcher—stand to the side in case of unexpected lid ejection.
Mastering how to use a Nutri Ninja blender transforms chaotic mornings into smooth efficiency. Start with simple fruit smoothies using the preset buttons, then experiment with spreads and extracts as you gain confidence. Remember: immediate cleaning prevents 90% of long-term issues, precise ingredient layering avoids motor strain, and respecting model limitations ensures years of trouble-free use. Your blender isn’t just an appliance—it’s your ticket to vibrant health when operated correctly. Grab your favorite ingredients and create your first perfect blend today.


