
Dust buildup in electronics and hard-to-reach spaces creates frustrating problems. Your keyboard develops sticky keys, your computer overheats, or your camera lens collects particles that degrade image quality. Compressed air dusters offer the perfect solution for these cleaning challenges, but improper use can damage sensitive components or create safety hazards. This guide delivers precise instructions for using canned air effectively while avoiding common mistakes that could ruin your expensive equipment. You’ll learn the exact techniques professionals use to clean electronics safely and maintain optimal performance.
Why Your Electronics Need Proper Air Duster Cleaning Techniques
Electronic devices accumulate dust faster than most people realize, creating serious performance issues. Dust acts as insulation around computer components, causing processors to overheat and throttle performance by up to 30%. Keyboards develop unresponsive keys when debris gets trapped beneath the keycaps. Camera sensors collect particles that appear as dark spots in your photos. Using an air duster incorrectly can push dust deeper into components or even short-circuit delicate circuitry. The right technique ensures you remove contaminants without damaging sensitive parts or risking personal injury from improper can handling.
Critical Safety Measures Before Using Canned Air
Skipping safety precautions with compressed air dusters creates unnecessary risks that could lead to equipment damage or personal injury. These aerosol cans contain propellants under high pressure that behave differently than regular compressed air systems.
Read Manufacturer Instructions Before First Use
Every air duster can carries specific warnings and usage instructions printed directly on the label. These warnings aren’t just legal formalities—they address real hazards associated with that particular formulation. Some dusters contain difluoroethane while others use tetrafluoroethane, each with different properties and risks. Check for any special handling requirements, maximum continuous spray times, and temperature restrictions before your first use. Ignoring these instructions voids any safety guarantees and increases the risk of accidents.
Ensure Proper Ventilation During Operation
The propellant gases in air dusters are heavier than air and can displace oxygen in enclosed spaces. Work in areas with cross-ventilation or near open windows to prevent gas accumulation. Never use canned air in small, sealed rooms or cabinets where gases could build up to dangerous levels. The Occupational Safety and Health Administration reports multiple incidents of asphyxiation from improper canned air use in confined spaces—always prioritize adequate airflow during cleaning sessions.
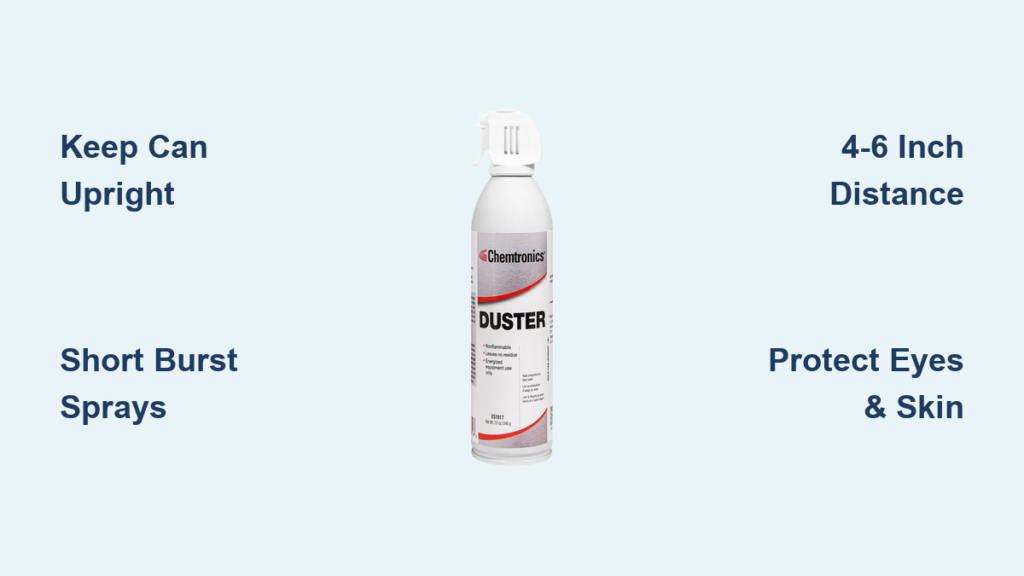
Maintain Upright Can Position at All Times
Holding the can tilted or upside down causes liquid propellant to discharge instead of gas. This liquid freezes on contact with surfaces at temperatures as low as -60°F (-51°C), potentially shattering plastic components or creating condensation that leads to electrical shorts. The distinctive “hissing” sound changes when liquid begins to spray—stop immediately if you hear this. Keep your wrist locked in position to maintain the can’s upright orientation throughout the cleaning process.
Protect Your Eyes and Skin from Extreme Cold
The rapid gas expansion creates dangerously cold temperatures at the nozzle. Direct contact with skin can cause frostbite in seconds, while eye exposure may lead to serious corneal damage. Always wear ANSI-approved safety goggles and keep the nozzle pointed away from your body. The American Academy of Ophthalmology documents multiple cases of eye injuries from improper air duster use—protection isn’t optional when working with these products.
Step-by-Step Air Duster Cleaning Procedure

Following this precise sequence ensures maximum cleaning effectiveness while minimizing risks to both your equipment and personal safety. Each step addresses common failure points that lead to poor results or damage.
Power Down and Prepare Equipment Properly
Unplug all electronic devices and remove batteries before cleaning. For desktop computers, disconnect power cables and wait 10 minutes for components to fully discharge. Clear your workspace of loose papers and small objects that could become airborne projectiles. Position your equipment so dust will blow away from sensitive components rather than deeper inside. This preparation prevents electrical shorts and ensures debris exits the device rather than recirculating.
Perform Initial Test Spray Away from Equipment
Hold the can upright and spray for 1-2 seconds into open space away from your work area. This clears any condensed propellant from the nozzle and confirms proper function. Check that the gas stream remains gaseous (not liquid) and that the can feels stable in your hand. If you notice excessive can cooling or liquid discharge during this test, stop immediately and let the can warm to room temperature before continuing.
Apply Short, Targeted Bursts at Correct Distance
Hold the can 4-6 inches from the surface and use 2-3 second bursts with 5-10 seconds between sprays. This prevents excessive can cooling that reduces pressure and effectiveness. For stubborn debris, decrease distance to 2-3 inches but never closer. Angle the nozzle to direct dust away from sensitive components—always blow dust out of the device rather than across it. Longer continuous spraying causes propellant liquidization that risks equipment damage.
Secure Moving Components During Cleaning
Hold fan blades stationary with a non-conductive tool like a plastic toothpick when cleaning computer components. Spinning fans generate back electromotive force that can damage motherboard components. For keyboard cleaning, turn the device upside down at a 75-degree angle before spraying to allow debris to fall free. Use your free hand to gently shake the device, helping dislodge particles that the air stream can then remove.
Professional Cleaning Techniques for Specific Devices
Different electronics require tailored approaches to achieve optimal cleaning without causing harm. These specialized methods address the unique challenges of each device type.
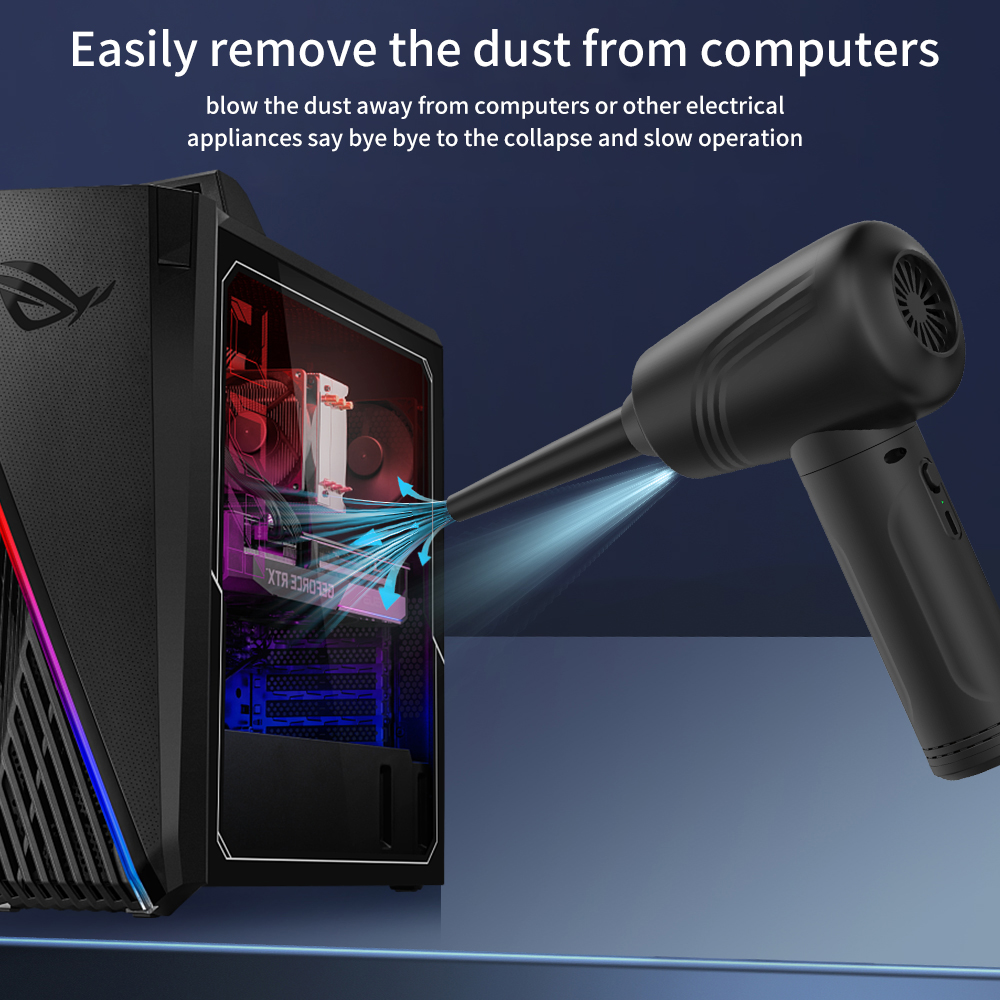
Computer and Laptop Cleaning Protocol
Focus on heat sinks, fan vents, and power supply intakes where dust accumulation causes overheating. For desktop towers, remove side panels for direct access to components. Hold fans still while spraying heat sinks from multiple angles to dislodge trapped particles. Laptop cleaning requires extra care—remove the bottom panel if possible and focus on exhaust vents where dust compacts into solid barriers. Never spray directly into optical drives or USB ports.
Keyboard Cleaning Method That Actually Works
Remove keycaps if possible for thorough cleaning underneath. For membrane keyboards, turn the device upside down and spray at a 45-degree angle while gently shaking. Use short bursts between keys to lift debris, then invert completely to let particles fall out. For mechanical keyboards, use the included straw attachment to target individual switch housings. Follow air cleaning with a soft brush to remove remaining particles before reassembling.
Common Air Duster Mistakes That Cause Damage
Avoiding these frequent errors prevents costly accidents and ensures your cleaning efforts actually improve device performance rather than creating new problems.
Why Continuous Spraying Ruins Your Air Duster Effectiveness
Spraying for more than 5 seconds continuously causes the can to cool excessively, leading to liquid propellant discharge. This liquid freezes on contact with components, potentially cracking circuit boards or creating condensation that causes short circuits. The sudden temperature change can also cause thermal shock to sensitive components. Allow 30 seconds between bursts to maintain optimal can temperature and gas pressure.
The Hidden Danger of Shaking Air Duster Cans
Many users shake air duster cans like regular aerosols, not realizing this mixes the liquid propellant with the gas. This dramatically increases the risk of liquid discharge during use. Unlike paint cans that require shaking, air dusters work best when used without agitation. The liquid propellant settles at the bottom of the can—shaking distributes it throughout the contents, making liquid spray more likely even when holding the can upright.
Preventative Maintenance Schedule for Dust Control
Establishing a regular cleaning routine prevents dust accumulation from reaching problematic levels. For desktop computers in typical home environments, clean internal components every 3-4 months. Laptops require cleaning every 2-3 months due to their compact design and limited airflow. Keyboards benefit from weekly quick cleans with air duster to prevent debris buildup. In dusty environments or homes with pets, increase cleaning frequency by 50%. Proper maintenance extends device lifespan by preventing heat-related component failures.
Final Note: Proper air duster technique protects your valuable electronics while maintaining optimal performance. Always keep the can upright, use short bursts, and follow device-specific cleaning methods for best results. When in doubt about cleaning sensitive equipment, consult the manufacturer’s maintenance guidelines before proceeding. Regular dust prevention extends the life of your electronics and prevents costly repairs or replacements down the line.


