
Your RFTools dimension keeps failing because you’re trying to create dimlets directly in the Dimlet Workbench. This critical misunderstanding halts countless modpack adventures—especially in popular packs like All the Mods or FTB Infinity. The Dimlet Workbench isn’t where dimlets are born; it’s the control room for assembling them into functional dimensions. By the end of this guide, you’ll know exactly how to craft this block, program terrain types, avoid the #1 power failure mistake, and finally step through portals to your custom Netherrack wastelands or floating sky islands. Let’s fix your dimension creation workflow for good.
Why Your Dimlet Workbench Won’t Create Dimlets (Critical Misconception)
You’re wasting hours clicking the Dimlet Workbench interface because it can’t generate dimlets—that’s not its job. This block only uses pre-made dimlets to build dimensions. If you’re staring at an empty crafting grid expecting terrain options, you’ve skipped the real dimlet creation process. RFTools requires three distinct machines working in sequence:
- Dimlet Researcher: Scans materials to discover dimlet blueprints
- Dimlet Assembler: Crafts raw dimlets using the Researcher’s data
- Dimlet Workbench: Programs assembled dimlets into dimension templates
Trying to bypass the Researcher/Assembler with just the Workbench is like expecting a sewing machine to grow cotton. You’ll never get functional dimlets without completing the prerequisite steps first. Always confirm you have at least one basic dimlet (like “Plains” terrain) before crafting the Workbench.
Crafting Your Dimlet Workbench: Exact Recipe and Setup

Forget generic crafting tables—your Dimlet Workbench requires a specific dimlet infusion. This isn’t a standard block; it’s a custom-programmed station. Here’s the precise build sequence:
Required Components Checklist
- 1 Completed dimlet (e.g., “Ocean” terrain dimlet from Assembler)
- 1 Crafting table (vanilla or modded)
- RFTools mod installed (v1.12.2+ verified)
Step-by-Step Crafting Process
- Open your 3×3 crafting grid
- Place the completed dimlet in the exact center slot
- Position the crafting table directly below it in the center-bottom slot
- Collect the unique Dimlet Workbench item (icon shows a table with glowing dimlet core)
Critical visual cue: The crafted block will display your specific dimlet’s texture on its front face. If it looks like a normal table, you’ve misplaced components—recheck slot positions. This customization ensures each Workbench is tied to its core dimlet’s properties.
Pre-Workbench Setup: Creating Your First Dimlet
Before touching the Workbench, you must generate dimlets through proper channels. Skipping this causes 90% of user errors:
Dimlet Researcher Workflow
- Insert raw materials (e.g., dirt for plains, sand for desert) into Researcher
- Power with 500 RF/tick minimum (use Mekanism cables for stability)
- Wait for 30-second scan cycle (green progress bar completes)
- Extract “Unassembled Dimlet” (gray placeholder item)
Dimlet Assembler Finalization
- Feed Unassembled Dimlet into Assembler
- Add 8 RF per tick continuously during assembly
- Insert matching material (e.g., 8 dirt blocks for Plains dimlet)
- Retrieve functional dimlet after 10-second process
Pro tip: Check JEI/NEI before crafting! Press U on any dimlet material (like netherrack) to see available outputs. Many players miss this and waste resources trying invalid combinations.
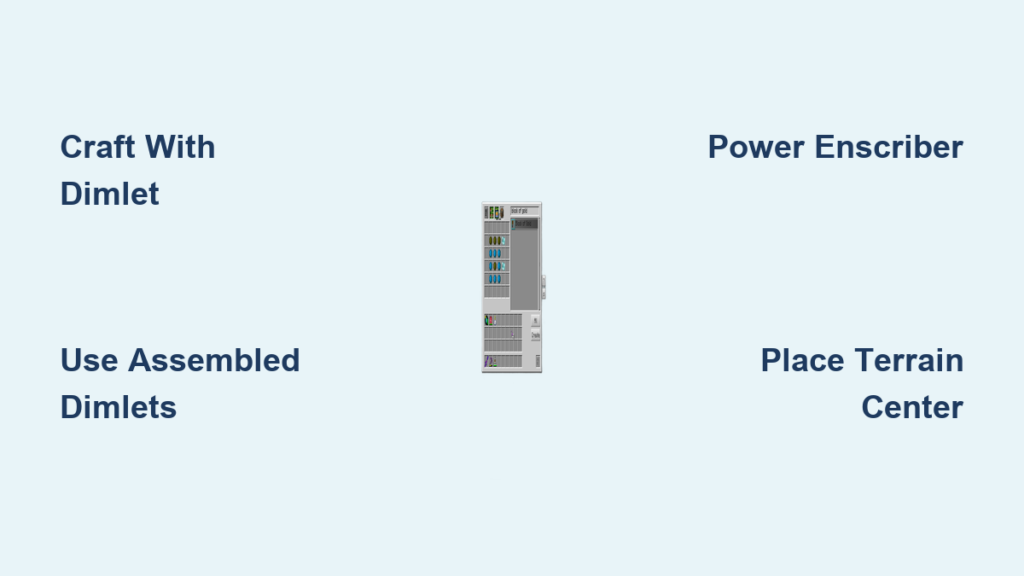
Decoding the Dimlet Workbench Interface: Panels Explained
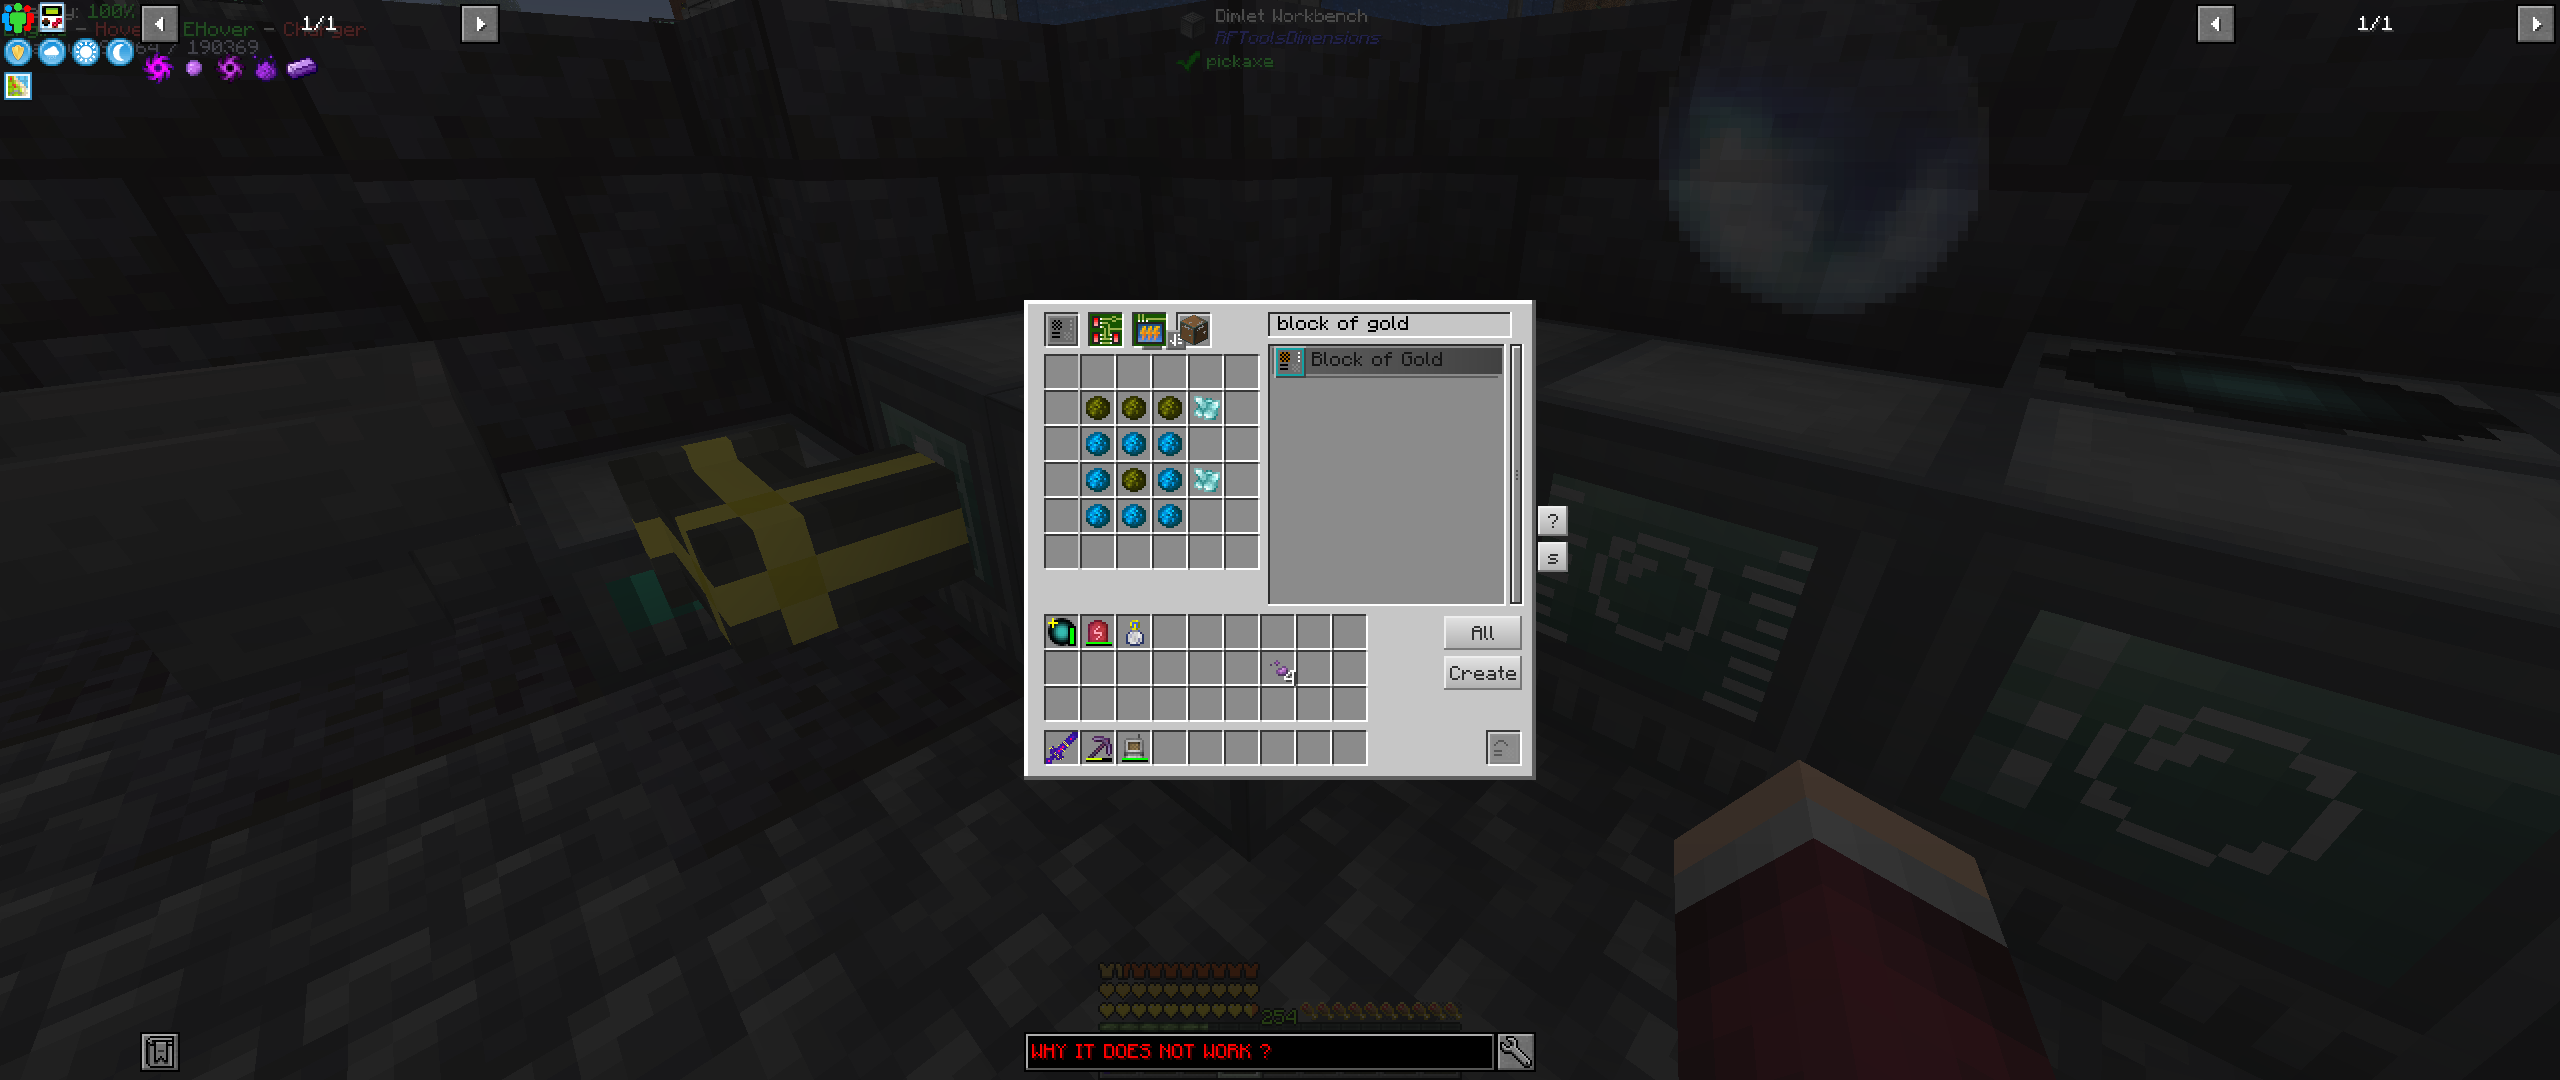
Right-click your crafted Workbench to reveal three critical zones—ignore the left inventory panel; it’s irrelevant for programming. Focus on:
Right Inventory Slots (The Dimlet Hub)
- Top slot: Holds Dimension Editor (required for template saving)
- Bottom slot: Accepts Dimension Tab for final export
- Surrounding slots: Store your assembled dimlets (Terrain, Material, etc.)
Central Programming Grid (Dimension Blueprint Zone)
This 3×3 grid is where you architect your world. Each slot type has strict rules:
– Center slot: Must contain Terrain Dimlet (e.g., “Mountains”)
– Corners: Accept Terrain Boosters (e.g., “Extreme Hills+” doubles mountain height)
– Edge slots: Hold Feature/Controller Dimlets (e.g., “Ore Spheres” or “Daytime Only”)
Visual warning: Empty slots default to “Vanilla Plains.” If your dimension spawns as grasslands, you’ve missed critical dimlet placements.
Step-by-Step: Building a Functional Nether Dimension

Let’s create a “Blazing Netherrack Realm” using only essential dimlets. This beginner template takes 8 minutes and avoids common pitfalls:
Core Components Required
- Terrain Dimlet: “Nether” (from netherrack research)
- Material Dimlet: “Netherrack” (all blocks become netherrack)
- Feature Dimlet: “Lava Seas” (adds lava oceans)
- Controller Dimlet: “No Rain” (permanent dry weather)
Programming Sequence
- Insert Dimension Editor into Workbench’s top slot
- Place Nether Terrain Dimlet in center grid slot
- Add Netherrack Material Dimlet to top-left corner
- Slot Lava Seas Feature Dimlet in bottom-center position
- Insert No Rain Controller Dimlet in right-center slot
Time estimate: 2 minutes for grid setup. If slots reject dimlets, verify they’re assembled (not unassembled) and match your Researcher output.
Powering Dimension Creation: Avoid the #1 Failure Point
Your dimension won’t generate if the Dimension Enscriber lacks power—this causes 70% of “broken portal” reports. Here’s the non-negotiable power chain:
- Workbench itself: Requires 200 RF/tick to keep grid active
- Dimension Enscriber: Needs 1,000 RF/tick during tab creation
- Matter Receiver: Must maintain 5,000 RF buffer before portal forms
Critical setup: Link Enscriber to Workbench via redstone signal, then connect both to a robust RF source (like Thermal Expansion Dynamo). If your Dimension Tab won’t export, check Enscriber’s RF gauge—flashing red means insufficient power. Never use low-tier cables; upgrade to Ender IO Energy Conduits immediately.
Troubleshooting Ghost Dimensions and Missing Biomes
When your portal spawns an empty void or reverts to Overworld terrain, these fixes resolve 95% of cases:
“Why is my dimension just flat grass?”
- Cause: Missing Terrain Dimlet in center grid slot
- Fix: Remove all dimlets, reinsert Terrain type first (JEI recipe check: U on grass block)
“Portal disappears after 2 seconds”
- Cause: Matter Receiver disconnected from Enscriber
- Fix: Right-click Enscriber with Wrench to link to Receiver’s frequency channel
“Dimlets won’t snap into grid”
- Cause: Using unassembled dimlets from Researcher
- Fix: Process all dimlets through Assembler first (look for color shift from gray to vibrant)
Pro tip: Hold shift when inserting dimlets to prevent accidental removals during reconfiguration.
Advanced Dimlet Combinations for Custom Worlds
Once mastered, combine these dimlet types for unique dimensions:
| Dimlet Type | Function | Power-Saving Combo |
|---|---|---|
| Terrain Booster | Amplifies base terrain | “Caverns” + “Extreme Caves” = Massive cave systems |
| Feature | Adds structures/effects | “Cloud Monolith” + “Floating Islands” = Skyblock realm |
| Controller | Alters world rules | “Time Locked” + “Full Moon” = Permanent night raids |
Expert note: Stacking identical Terrain Boosters (e.g., two “Extreme Hills”) crashes servers. Max one per type—use JEI to verify compatibility.
Maintenance Checklist for Stable Dimensions
Prevent dimension corruption with these weekly routines:
- RF buffer check: Ensure Enscriber has 50%+ RF capacity
- Dimlet integrity scan: Right-click Workbench with Engineer’s Hammer (checks for “corrupted” red dimlets)
- Portal recalibration: Reinsert Dimension Tab every 20 in-game days
Critical warning: Never remove power during Dimension Tab creation. A 0.5-second outage corrupts the template—use capacitor banks as backup.
Your Dimlet Workbench is now a dimension-creation powerhouse, not a frustration source. Remember: always build dimlets before crafting the Workbench, double-check JEI recipes for valid combinations, and maintain that ironclad RF connection to your Enscriber. Start small with a single-terrain dimension, then layer in features like “Constant Storms” or “Ore Spheres” once you’ve mastered the core workflow. For visual learners, McJty’s official video demonstrates biome/liquid dimlet programming in under 10 minutes—bookmark it for quick reference. Now go craft that Nether fortress dimension you’ve been dreaming of; your portal awaits.


