
That post-workout soreness or persistent muscle tension doesn’t have to slow you down. Your HoMedics massage gun delivers professional-grade relief right at home when used correctly. Many users struggle with improper technique, leading to ineffective results or even discomfort. This comprehensive guide shows exactly how to use your HoMedics massage gun safely and effectively for maximum muscle recovery. You’ll learn precise attachment selection, proper technique for different muscle groups, and critical safety protocols that most beginners miss.
Proper Pre-Use Setup for Your HoMedics Massage Gun
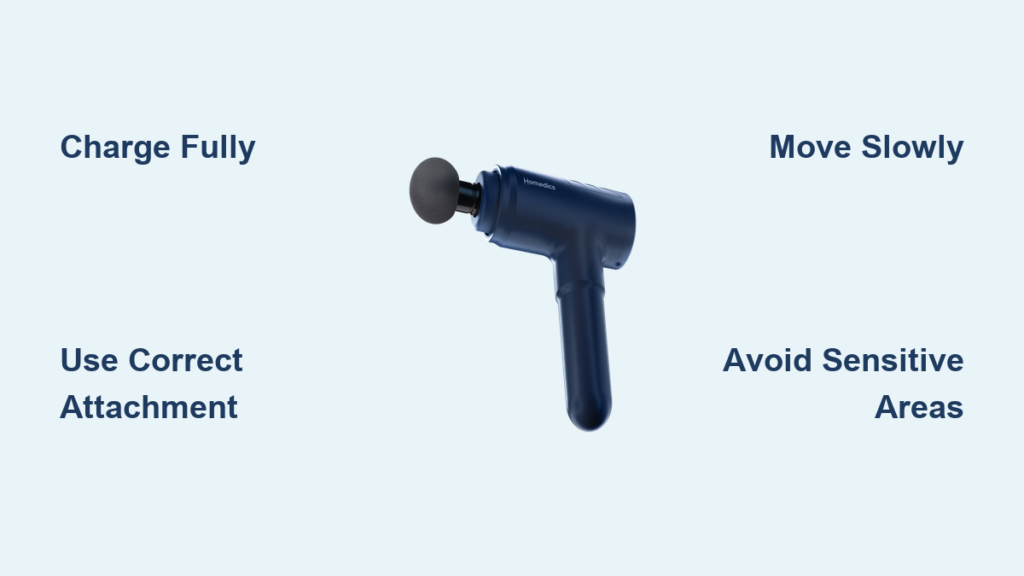
Before you fire up your HoMedics massage gun, proper preparation ensures both safety and effectiveness. Skipping these steps can lead to reduced performance or potential injury.
Fully Charge Your HoMedics Massage Gun Before First Use
Plug in your HoMedics Essential (HHG-307GY) or Therapist Select Elite (HHG-700) using the included USB-C cable and allow 2-3 hours for a complete charge. The LED indicator will turn solid green when fully charged, providing 3-4 hours of continuous use. Never operate your massage gun while charging or near water—a critical safety step many users overlook. For optimal battery health, store your device with a 50% charge if not using for extended periods.
Selecting the Right Attachment for Your Muscle Group
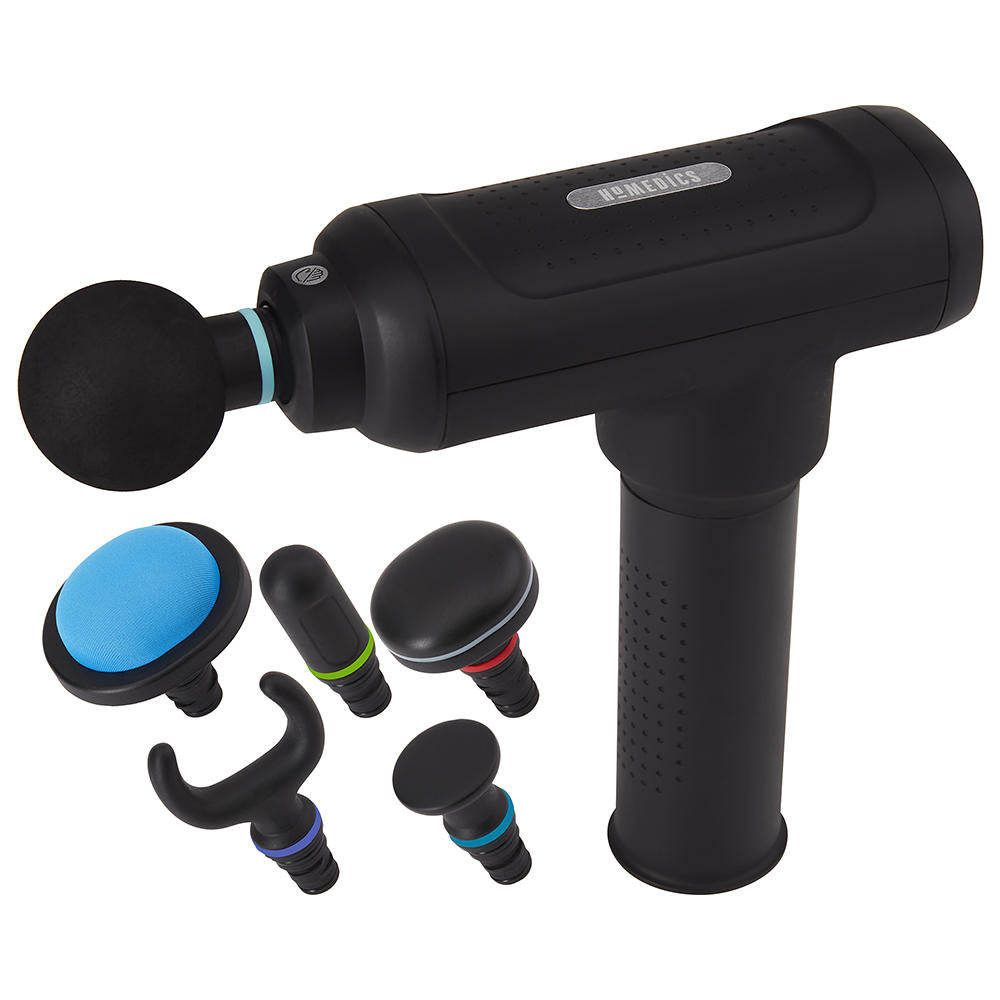
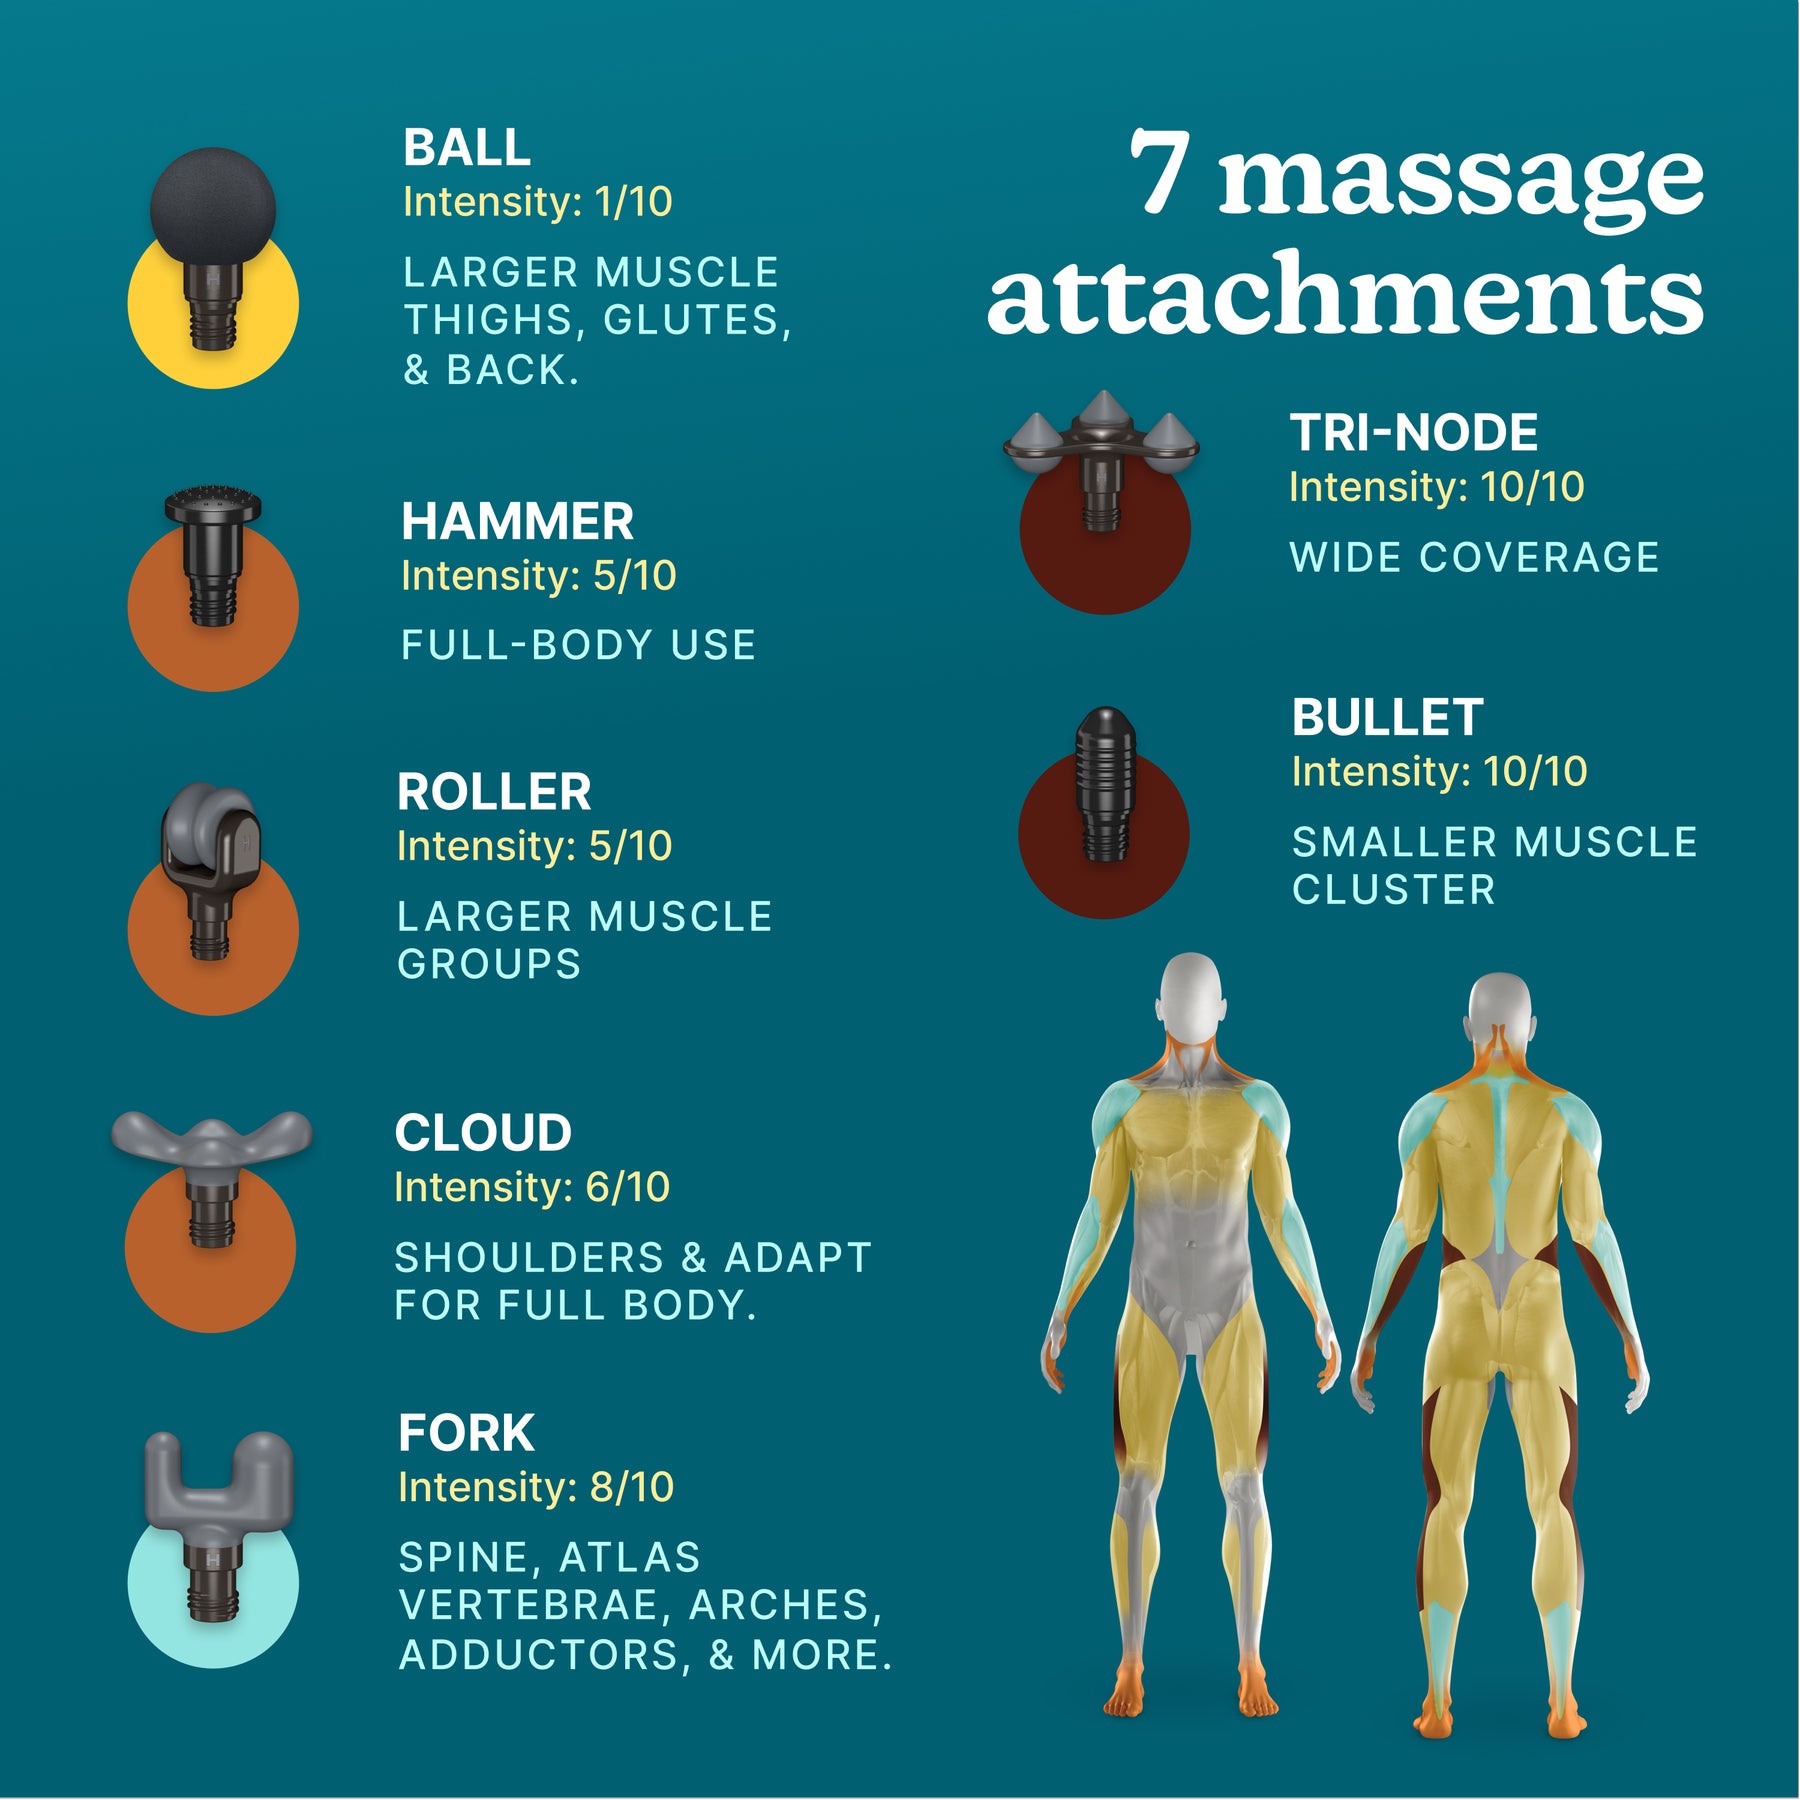
Your HoMedics massage gun comes with multiple attachments designed for specific muscle groups—using the wrong one reduces effectiveness. The Essential model includes four interchangeable heads, while the Therapist Select Elite offers seven specialized attachments:
- Standard Flat Head: Best for large muscle groups like quads or back
- Ball Tip: Ideal for general muscle groups and moderate trigger points
- Cone Tip: Targets deep tissue and precise trigger points
- U-Shaped Head: Perfect for neck and shoulder tension relief
- Fork Tip: Use cautiously along the spine for tension release
Pro Tip: Always match the attachment to your target area—never force a flat head into small spaces or use a cone tip on large muscle groups.
Preparing Your Skin for Optimal Massage Results
Apply a thin layer of massage oil or lotion to the target area to reduce friction and prevent skin irritation. Avoid using your HoMedics massage gun on broken skin, bruises, or inflamed areas. For sensitive skin types, test a small area first with the lowest speed setting before proceeding with a full session. Keep your skin clean and dry before applying any lubricant for optimal results.
Operating Your HoMedics Massage Gun: Step-by-Step
Knowing how to operate your HoMedics massage gun correctly transforms it from a simple gadget into a powerful recovery tool. Many users apply too much pressure or hold the device stationary, reducing effectiveness and potentially causing harm.
Powering On and Selecting the Correct Speed Setting
Press and hold the power button for 2 seconds to activate your HoMedics massage gun. Start at the lowest speed setting (1,200 percussions per minute) regardless of your experience level—your muscles need time to adapt. The Essential model offers 3-5 speed settings while the Therapist Select Elite reaches up to 3,200 percussions per minute for deep tissue work. Increase the intensity gradually only after your muscles become accustomed to the sensation.
Proper Hand Positioning and Movement Techniques
Hold your HoMedics massage gun at a 45-90 degree angle to your skin with light to medium pressure—let the device do the work. Move the gun in slow, circular motions or along muscle fibers for 30-60 seconds per area. Critical mistake to avoid: Never hold the device stationary on one spot for more than 30 seconds, as this can cause bruising or tissue damage. For best results, keep the massage gun moving constantly across the muscle group.
How Long to Use Each Attachment on Specific Muscle Groups
Follow these time guidelines to avoid overuse injuries:
– Large muscle groups (quads, back): 2-3 minutes maximum per area
– Small muscle groups (neck, shoulders): 1-2 minutes maximum
– Trigger points: 30 seconds on, 30 seconds off, for up to 2 minutes total
– Total session time: Never exceed 15 minutes per body area
Visual cue: If your skin turns bright red or develops marks that don’t fade within 15 minutes, you’ve used too much pressure or duration.
Targeted Muscle Group Protocols for Maximum Relief
Different muscle groups require specific techniques for safe, effective treatment with your HoMedics massage gun. Generic application reduces benefits and increases injury risk.
Neck and Shoulder Tension Relief Protocol
Use the U-shaped or ball attachment on the lowest speed setting for neck and shoulder tension. Start at the base of your neck and work outward toward your shoulders, avoiding direct contact with your spine. Spend only 30 seconds on each trigger point and never exceed 2 minutes total on your neck area. Warning: Stop immediately if you experience dizziness, as this indicates improper technique near sensitive areas.
Lower Back Pain Management with Your HoMedics Gun
For lower back relief, use the flat head attachment and work upward from your lower back to mid-back. Move the massage gun in slow, upward strokes along your spine—never directly on the spine itself. Limit sessions to 5-7 minutes maximum at medium intensity. For acute lower back pain, start with just 2 minutes at the lowest setting and gradually increase as tolerated.
Leg Recovery After Intense Workouts
Post-workout, use the flat head attachment on your quads and hamstrings with medium intensity. Apply long, sweeping motions along muscle fibers for 60 seconds per muscle group. For calves, switch to the ball attachment and use gentle pressure—avoid direct contact with the shin bone. Never exceed 10 minutes total per leg for optimal recovery without overstimulation.
Critical Safety Zones to Avoid with Your Massage Gun

Knowing where NOT to use your HoMedics massage gun is as important as knowing proper technique. Ignoring these safety zones can lead to serious injury.
Body Areas That Require Extreme Caution
Never use your HoMedics massage gun on:
– The front or sides of your neck (risk of carotid artery injury)
– Your head, face, or eyes
– Directly on joints or bony prominences
– Over varicose veins or blood clots
– Areas with open wounds, infections, or recent surgery
– If you have a pacemaker or internal medical device
Special populations note: Pregnant women should avoid abdominal use; older adults need reduced pressure due to thinner skin; those with bleeding disorders should consult a doctor first.
Recognizing Warning Signs to Stop Immediately
Stop using your HoMedics massage gun and consult a healthcare professional if you experience:
– Sharp or shooting pain (not just muscle discomfort)
– Numbness or tingling that persists after stopping
– Skin discoloration that doesn’t fade within 30 minutes
– Increased pain lasting more than 2 hours post-treatment
– Swelling or bruising at the treatment site
Pro Tip: Your massage should feel intense but never painful—think of it as a “good hurt” that subsides quickly after stopping.
Maintenance and Care for Long-Lasting Performance
Proper maintenance extends your HoMedics massage gun’s lifespan and ensures consistent performance. Neglecting these steps leads to reduced effectiveness and potential safety hazards.
Cleaning Your HoMedics Massage Gun After Each Use
After each session:
1. Power off and unplug your device
2. Remove all attachments and wipe with a damp cloth
3. Clean attachments with mild soap and water
4. Air dry completely before storage
5. Store in the included case in a cool, dry place
Critical mistake: Never submerge your HoMedics massage gun in water or use harsh chemicals for cleaning—this voids your warranty and creates electrical hazards.
Troubleshooting Common Operation Issues
If your HoMedics massage gun stops working:
– Won’t turn on: Check battery charge and try resetting by holding power for 10 seconds
– Reduced power: Clean attachment connections and ensure proper seating
– Unusual noises: Stop immediately and contact HoMedics support
– Overheating: Allow to cool for 30 minutes before reuse
Pro Tip: For optimal battery performance, avoid leaving your massage gun on the charger continuously—unplug once fully charged.
Final Note: Consistent, proper use of your HoMedics massage gun delivers significant muscle recovery benefits when you follow these specific techniques. Start with shorter sessions at lower intensities, gradually building up as your body adapts. Remember that less is often more—10 minutes of targeted treatment beats 30 minutes of improper use. Clean your device after each use, store it properly, and replace worn attachments to maintain peak performance. For personalized guidance, consult a physical therapist who can tailor protocols to your specific needs and conditions. Your path to faster recovery and reduced muscle tension starts with using your HoMedics massage gun correctly today.


