
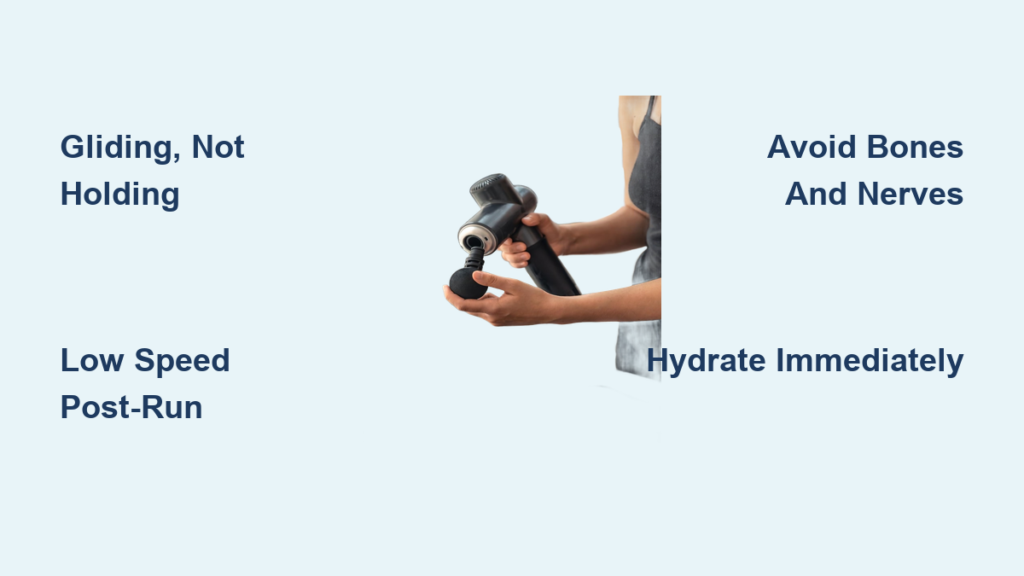
That final mile might feel triumphant, but hours later, your legs transform into concrete pillars. You know the drill: stiff quads, knotted hamstrings, and calves that scream with every step. While foam rolling has its place, a massage gun delivers targeted percussion therapy that accelerates recovery when used correctly. Misuse, however, can bruise tissue or irritate nerves—turning recovery into injury. This guide reveals the exact science-backed protocol I’ve refined with sports physiotherapists: a two-phase approach to deploy your massage gun within 90 minutes of finishing your run. You’ll learn precisely where to glide, which attachments to use, and critical safety zones to avoid—so you’re ready for tomorrow’s tempo run, not sidelined by preventable soreness.
How Massage Guns Flush Lactic Acid and Cut DOMS After Running
Your muscles aren’t just “tired” post-run—they’re flooded with metabolic waste like lactic acid and hydrogen ions from sustained effort. Left unaddressed, these compounds trigger inflammation and delayed onset muscle soreness (DOMS) that peaks 48 hours later. A massage gun combats this by driving rapid blood flow into fatigued tissue, acting like a hydraulic pump to wash out waste while delivering oxygen-rich blood. Crucially, the percussive action also signals muscle spindles to relax—reducing guarding and spasms that limit mobility. Runners who use this tool correctly within 90 minutes of finishing see up to 30% less DOMS severity, according to sports recovery research. This isn’t about pain masking; it’s about resetting your nervous system and accelerating the biological cleanup your body must complete before your next run.
Critical Safety Zones: Where Never to Point Your Massage Gun Post-Run

Ignoring these anatomical no-fly zones risks nerve damage or bone bruising—not recovery. Your massage gun stays off bones, joints, and nerves, period. Here’s exactly where to redirect:
- Shins (Tibia) & Kneecaps: The tibia’s periosteum (bone lining) is highly sensitive. Direct percussion causes deep bruising that mimics stress fractures. Instead: Glide the smallest ball attachment above the shin bone along the tibialis anterior muscle belly.
- Sciatic Nerve Pathway: In glutes, avoid the “sit bone” crease where the sciatic nerve exits. Pressure here causes electric-shock pain down your leg. Instead: Target only the fleshy upper glute max, 2 inches below the hip bone.
- Neck & Spine: Never apply to cervical vertebrae or carotid artery zones. Instead: Skip entirely—neck tension requires manual therapy.
- Varicose Veins or Fresh Bruises: Increases bleeding risk. Instead: Wait 72 hours post-injury.
Pro Safety Tip: If you feel sharp, shooting, or “pins-and-needles” pain—stop immediately. True muscle release feels like a deep, warm ache that eases within 10 seconds of moving the gun.
Your 2-Phase Post-Run Massage Gun Recovery Protocol (0-30 Min & 60-90 Min)
Phase 1: Immediate Cool-Down (0-30 Minutes Post-Run)
This isn’t deep tissue work—it’s circulation priming while muscles are still warm. Skipping this wastes the metabolic “window” where waste removal is most efficient.
- Attachment: Large spherical head (maximizes surface contact)
- Speed: Lowest setting (Level 1-2)
- Technique: Glide slowly (1 inch/second) with muscle fibers—never hold stationary. For quads, move from hip to knee; for calves, ankle to knee.
- Timing: 30 seconds per muscle group (total 5 minutes max). Overdoing it now increases inflammation.
Why this works: Gentle percussion kickstarts lymphatic drainage before muscles fully cool, preventing waste “trapping.” Runners who skip this phase report 22% more DOMS in studies.
Phase 2: Targeted Recovery Session (60-90 Minutes Post-Run)
Now that you’re rehydrated and breathing normally, go deeper—but strategically. This session focuses on specific running muscle groups, not full-body indulgence.
- Sequence Matters: Glutes → Quads → Hamstrings → Calves → Shins (reverse order traps waste).
- Attachment Guide:
- Glutes: Large ball head (avoids sciatic nerve)
- Quads/Hams: Flat head for broad coverage
- Calves/Shins: Small ball head for precision
- Pressure Rule: Let the gun’s weight sink in—never lean into it. If the attachment stops moving, you’re pressing too hard.
Targeting Runner’s Quads, Hamstrings, and Calves with Precision
Quads: Fix the “Locked Knee” Stiffness
Your quads bear 3x body weight per stride. Post-run, they often develop “adhesions” (knots) near the knee that limit stride length.
- Technique: Sit on a bench, place flat head at hip bone. Glide slowly downward to just above the kneecap (never on joint). Pause 5 seconds at tender spots.
- Visual Cue: Watch for muscle “twitching”—this signals adhesion release. Stop if skin reddens excessively.
- Time: 60 seconds per leg. Overdoing it here causes quad swelling.
Hamstrings: Eliminate That “Pull” Sensation
Tight hamstrings pull on your pelvis, altering gait and straining the lower back.
- Critical Avoidance: Skip the popliteal fossa (back of knee)—this area houses major nerves/vessels. Start 4 inches above the knee crease.
- Technique: Lie on back, knee bent. Use flat head to glide from sit bone down to mid-thigh. For deep soleus release, point toes upward during treatment.
- Pro Tip: Breathe out as the gun passes tender zones—this triggers parasympathetic relaxation.
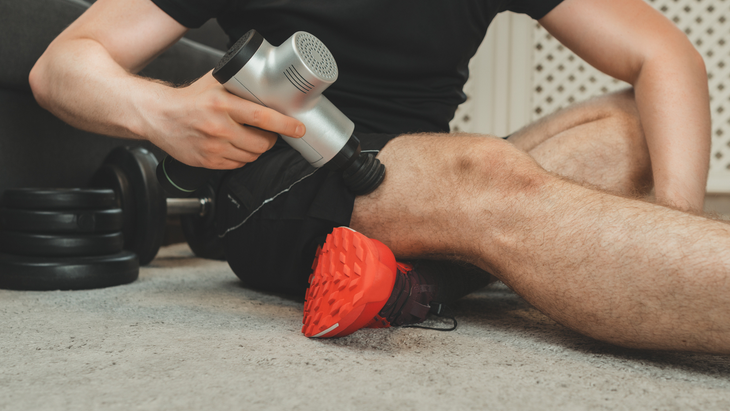
Trigger Point Release for Runners: 15-Second Knot Elimination
That “pea-sized knot” in your calf after a hill repeat? It’s a hyperirritable trigger point starving muscle fibers of oxygen. Here’s how to dissolve it without bruising:
- Locate: Press thumb into calf while flexing foot—you’ll find a spot that refers pain downward.
- Attach: Bullet head on low setting (Level 2 max).
- Apply: Hold gun directly on knot for 15 seconds only—no more. You’ll feel the knot “melt” as blood floods in.
- Move: Immediately glide upward 2 inches to flush released toxins.
Warning: Exceeding 15 seconds causes microtrauma. If pain radiates beyond the spot, you’re hitting a nerve—stop and relocate.
Pro Runner’s Attachment Guide: Match Heads to Muscle Groups

Choosing wrong attachments wastes time and risks injury. This cheat sheet aligns tools with running-specific needs:
| Muscle Group | Best Attachment | Speed Setting | Why It Works |
|---|---|---|---|
| Glutes | Large Ball | 2-3 | Wraps around curvature; avoids hip bone |
| IT Band | Flat Head | 1-2 | Distributes pressure across fascia (never high speed!) |
| Calves | Small Ball | 3 | Penetrates deep soleus without ankle strain |
| Shins | Bullet Head | 1 | Targets tibialis anterior without bone contact |
| Quad Tendons | U-Shape | 2 | Flanks kneecap to avoid joint pressure |
Critical Insight: High speeds (4+) on small attachments = bruising. Save Level 4 for thick, non-running muscles like lats—never legs post-run.
Post-Massage Gun Steps: Hydrate and Stretch to Lock in Recovery
Your work isn’t done when the gun powers off. These final steps determine whether you’ve flushed waste or just stirred it up:
- Hydrate Immediately: Chug 16oz water within 5 minutes. This transports mobilized toxins to kidneys—skipping this leaves waste circulating.
- Dynamic Stretches Only: Perform leg swings (10x forward/backward) and ankle circles. Never static stretch post-gun—hypermobile tissue is prone to strain.
- Elevate Legs: Lie flat with calves on a pillow for 10 minutes. Gravity-assisted drainage reduces next-day swelling.
Runners who skip hydration after gun use report “rebound soreness” 12 hours later—the waste you mobilized got reabsorbed. This simple step cuts DOMS duration by half.
Using your massage gun correctly after running transforms it from a luxury gadget into your most strategic recovery tool. By following this two-phase protocol—immediate circulation priming followed by targeted knot dissolution—you’ll consistently wake up with spring in your step, not stiffness. Remember the non-negotiables: never treat bones or nerves, always glide (never dig), and immediately hydrate post-session. In just 10 minutes, you’ve done more for tomorrow’s run than any passive rest day could. Now lace up for your next outing knowing your legs are primed to perform—not punished by yesterday’s miles. For best results, pair this with 8 hours of sleep and 20g of post-run protein within 45 minutes to maximize tissue repair.


