
You just finished an intense workout, and your quads feel like concrete. Or maybe you’ve been hunched over your desk all day, and your shoulders are screaming for relief. You grab your massage gun, but then you’re faced with that drawer full of strange-looking attachments—ball, flat, bullet, fork—and you’re not sure which one to use where. You’re not alone. Most people own a massage gun but only ever use one or two attachments, missing out on the full recovery benefits these tools can provide. This guide will show you exactly how to use massage gun attachments properly so you can target specific muscle groups, release stubborn knots, and accelerate recovery without causing injury.
Understanding how to use massage gun attachments correctly transforms your device from a fancy vibrating tool into a precision recovery instrument. Each head serves a distinct purpose, designed to interact with different muscle structures and address specific needs. Using the wrong attachment can mean ineffective sessions or even tissue damage—imagine applying the bullet head directly to your spine or using the flat head on delicate neck muscles. By the end of this guide, you’ll know precisely which attachment to reach for based on your muscle group, pain level, and recovery goals, whether you’re an athlete chasing peak performance, an office worker battling tension headaches, or someone managing chronic pain.
Why Choosing the Right Massage Gun Attachment Matters for Effective Recovery
Selecting the proper attachment isn’t just about comfort—it directly impacts your therapy’s effectiveness. Different heads create varying pressure distributions that interact uniquely with muscle fiber orientation and density. The ball attachment spreads force across a wider area ideal for large muscle groups, while the bullet concentrates energy into a tiny spot perfect for trigger points. Using the wrong head means you’re either not reaching deep enough tissue or applying excessive pressure to sensitive areas. Most users make the critical mistake of using high intensity on all attachments, not realizing each requires different pressure levels and techniques. Your recovery time, pain reduction, and mobility improvements depend significantly on matching the right attachment to your specific muscle needs.
How to Identify Your Muscle Type Before Selecting an Attachment
Before grabbing any attachment, assess what you’re working on. Large, fleshy muscles like quads and glutes respond best to broader heads, while dense areas like calves need focused pressure. Delicate zones near joints or bones require softer attachments. Ask yourself: Is this a large muscle group (use ball or cushioned head)? Do I feel a specific knot (use bullet head)? Am I working near the spine (use fork attachment only)? This quick assessment prevents common errors like using the flat head on the neck or applying excessive pressure with the bullet head. Remember—more intensity isn’t better when you’ve selected the right attachment for the job.
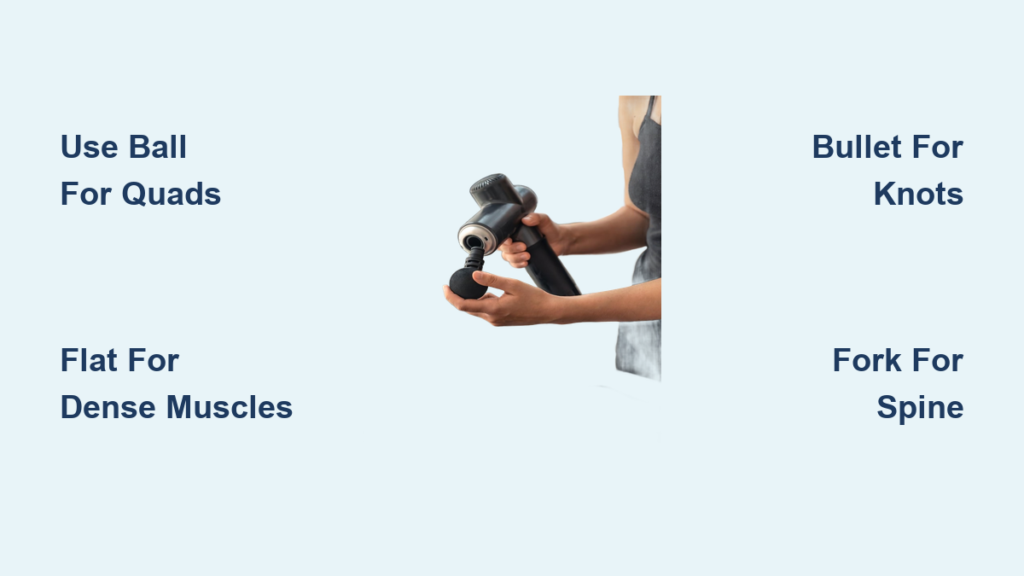
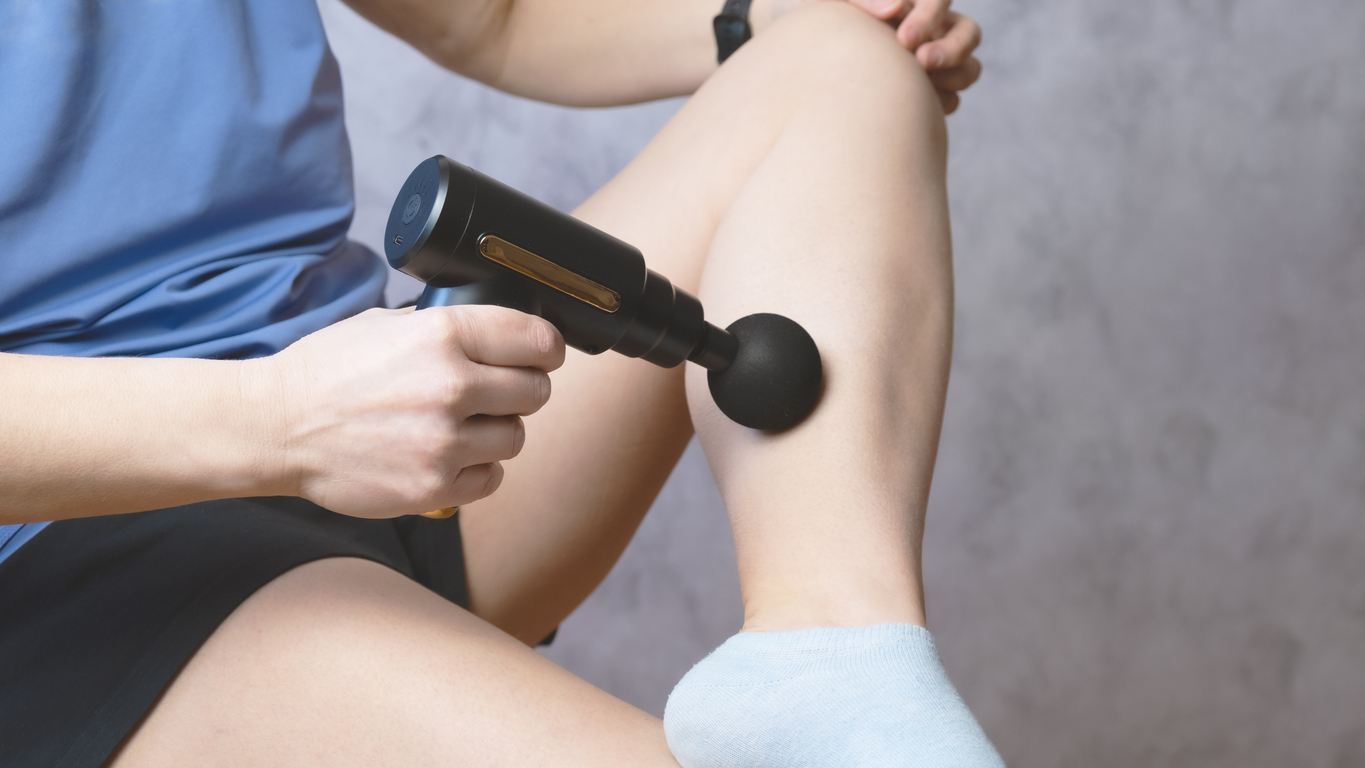
Ball Attachment: Your Versatile Go-To for Major Muscle Groups
The ball attachment delivers the perfect balance of broad coverage and firm pressure that makes it the most frequently used head in your kit. Its rounded, semi-soft design conforms to muscle contours while providing enough penetration for effective therapy without bruising tissue. Unlike harder attachments, the ball head glides smoothly over muscle bellies, making it ideal for warming up before exercise or promoting circulation after intense activity.
When to Reach for the Ball Head Instead of Other Attachments
Choose the ball attachment when working with substantial muscle groups like quadriceps, hamstrings, lats, or glutes. It’s your best option for general warm-ups before workouts—spend 30 seconds per muscle group at medium speed to increase blood flow. Post-workout, use it for 60 seconds on each major muscle to reduce DOMS (Delayed Onset Muscle Soreness). Never use it on bony prominences like knees or elbows, and avoid direct spinal work. The ball head becomes ineffective when targeting specific trigger points—you’ll need the bullet head for those precision jobs.
Step-by-Step Technique for Maximum Effectiveness with the Ball Attachment
Start at the lowest speed setting and gradually increase as your muscles warm up. Apply moderate pressure—not so light that it tickles, but not so hard that you tense up. Move the gun in slow, deliberate strokes along the muscle fiber direction (not against it), spending no more than 15 seconds in any single spot. For quadriceps, work from hip to knee; for hamstrings, from glutes to calves. If you find a tender spot, reduce speed and gently circle the area for 10 seconds before continuing. Pro tip: Pair ball attachment use with deep breathing—inhale as you move toward the heart, exhale as you move away—to enhance circulation benefits.
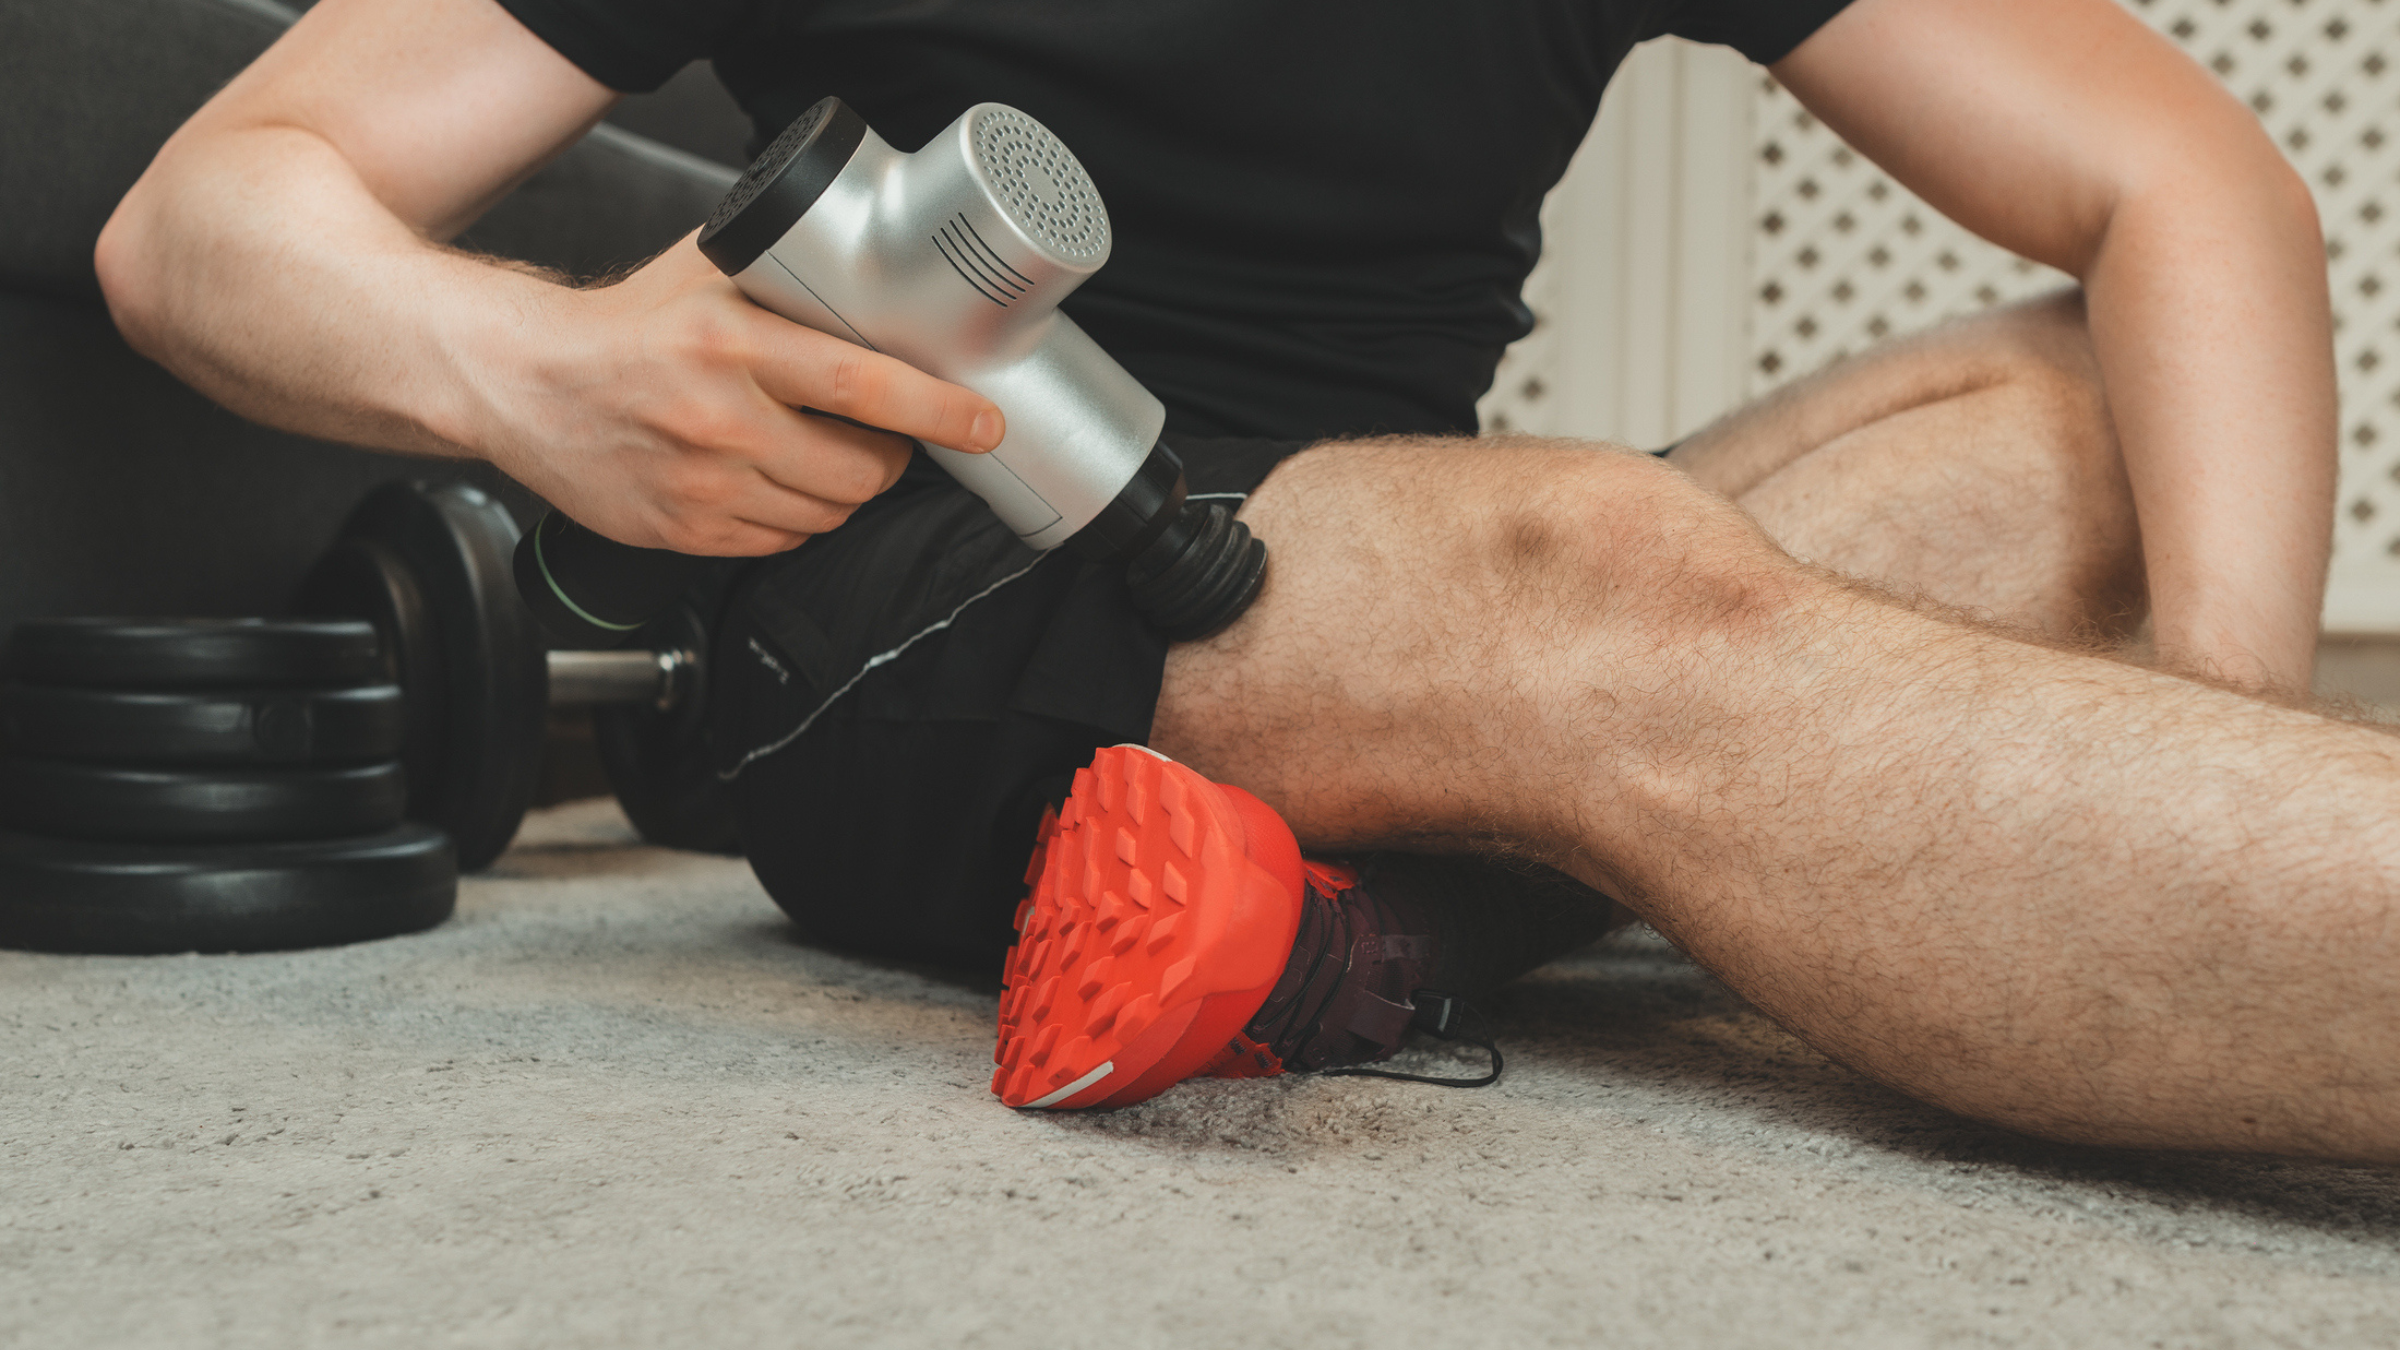
Flat Head Attachment: Precision Power for Dense Muscles
The flat head delivers concentrated pressure that penetrates deeper into muscle tissue than the ball attachment, making it essential for stubborn, dense areas that resist standard treatment. Its rigid, broad surface transfers maximum percussive force directly into the muscle belly, breaking up adhesions in areas like calves, quadriceps, and glutes where tissue compaction commonly occurs.
Critical Situations Where the Flat Head Outperforms Other Attachments
Reach for the flat head when dealing with chronically tight calves that feel like steel cables, rock-hard glutes after long runs, or quadriceps that won’t loosen despite stretching. It’s particularly effective for athletes with high muscle density who find the ball head too gentle. Never use it on the neck, spine, or any bony areas—the concentrated force can cause bruising or nerve irritation. If you experience sharp pain rather than deep pressure sensation, immediately switch to the ball attachment.
How to Apply the Flat Head Without Causing Tissue Damage
Position the flat head perpendicular to the muscle surface, applying firm but not excessive pressure. Start with 10-second intervals on each problematic area before moving to adjacent sections. For calf tightness, work from ankle toward the knee in overlapping sections. When targeting glutes, sit on a stable surface to maintain control and prevent accidental slipping. Crucial warning: Always keep the gun moving—holding it stationary for more than 15 seconds can cause microtrauma to muscle fibers. Reduce speed if you notice skin reddening beyond mild pinkness.
Bullet Attachment: Pinpoint Accuracy for Stubborn Trigger Points

The bullet attachment’s narrow, conical shape concentrates percussive force into a tiny area, making it the only attachment capable of effectively targeting specific trigger points. Its precision allows you to isolate knots in muscles that broader heads would merely glide over, providing relief where you need it most.
When the Bullet Head Is Your Only Effective Option
Use the bullet attachment exclusively for isolated knots in the upper trapezius, rotator cuff, forearms, or along the IT band. It’s indispensable when you can pinpoint a specific “hot spot” causing referred pain. Never apply it directly to bones, joints, or the spine—the concentrated force could damage delicate structures. If you can’t isolate a specific knot, the bullet head will be uncomfortable without providing benefits; switch to the ball attachment instead.
Safe Bullet Head Technique That Actually Releases Knots
Apply minimal pressure—let the gun’s weight do the work rather than pressing hard. Position the tip directly on the knot and activate the lowest speed setting. Hold for 10-15 seconds while taking deep breaths, then move to adjacent tender spots. Imagine “painting” the knot with the tip rather than jamming it in. For shoulder knots, lie on your side to access the area comfortably. Expert note: Combine bullet head work with active movement—gently rotate your shoulder or wrist while applying pressure—to enhance release effectiveness.
Fork Attachment: Safe Spinal Muscle Therapy Without Risk
The fork attachment’s unique U-shaped design straddles the spine’s bony processes, delivering therapeutic percussion exclusively to the paraspinal muscles while avoiding direct spinal contact. This specialized head makes safe spinal work possible where other attachments pose serious risks.
Critical Safety Protocol Before Using the Fork Attachment
Position yourself sitting upright with good posture. Align the fork’s central groove with your spine so the prongs rest entirely on the muscular columns beside your vertebrae—not on the bones themselves. If you feel any bone contact, reposition immediately. Start at the lowest speed setting and move slowly upward from the lower back. Never use if you have spinal conditions like herniated discs or osteoporosis—consult a physical therapist first. The fork attachment should feel like deep, rhythmic pressure on muscles, never bone-on-bone sensation.
Step-by-Step Application for Lower Back Tension Relief
Begin at the base of your spine where the muscles are thickest. Apply light pressure and move the gun upward in 2-inch increments along both sides of the spine. Spend 5-10 seconds at each position before moving up. Focus on areas where you feel tension bands. For upper back relief, lean against a wall for stability and work outward from the spine toward the shoulder blades. Pro tip: Pair fork attachment use with gentle spinal twists during therapy to enhance mobility benefits.
Cushioned and Large Ball Attachments: Gentle Therapy for Sensitive Areas
These softer attachments provide therapeutic benefits without the aggressive intensity of standard heads, making them essential for delicate tissues that would bruise with firmer attachments. The cushioned head’s marshmallow-like texture absorbs impact while maintaining therapeutic vibration, while the large ball offers broader coverage with reduced pressure.
When to Choose Soft Attachments Over Standard Options
Reach for cushioned heads when working on the upper chest, collarbone area, shins, or any bony regions where standard attachments cause discomfort. They’re perfect for post-injury rehabilitation, sensitive skin conditions, or users with low pain tolerance. The large ball attachment shines for full-back sessions where broad, gentle coverage is needed rather than deep penetration. Never substitute these for firmer attachments when deep tissue work is required—they simply won’t provide enough pressure.
Optimal Technique for Maximum Benefit Without Discomfort
Use long, sweeping motions rather than stationary application. For shin splints, glide from ankle to knee at medium speed. When addressing collarbone tension, approach from the muscle side rather than directly over the bone. Start at the lowest speed and gradually increase only if comfortable. Critical tip: If you see significant skin reddening within 10 seconds, reduce speed or switch to an even softer attachment. These heads work best when combined with heat therapy—apply before or after for enhanced results.
Attachment Rotation Strategy for Complete Muscle Recovery
Your most effective sessions combine multiple attachments in sequence rather than relying on just one. Start with the cushioned head for overall warming, transition to the ball head for major muscle groups, then finish with the bullet head on specific problem areas. For full-body recovery, spend 2 minutes per major muscle group using this progression. Always end with the softest attachment to calm the nervous system. Never exceed 2 minutes total on any single muscle group—overuse causes inflammation counterproductive to recovery. Track your sessions in a journal to identify which attachment combinations work best for different activities.
Final Note: Mastering how to use massage gun attachments properly transforms your recovery routine from guesswork to precision therapy. Remember the golden rule: match the attachment to the muscle—not the other way around. Start each session with the ball attachment for general warm-up, then deploy specialized heads only where needed. Your body will respond faster to targeted therapy when you respect each attachment’s specific purpose and limitations. For ongoing effectiveness, clean your attachments weekly with isopropyl alcohol and store them properly to maintain their therapeutic properties. The right technique with the right attachment means less soreness, better mobility, and more time doing what you love.


