
That frustrating “orange peel” texture on your thighs and buttocks affects 80-90% of women at some point in their lives. While cellulite isn’t a health concern, many seek effective ways to minimize its appearance. You’ve probably heard that massage guns can help—but how exactly do you use a massage gun for cellulite to get real results? The truth is, these powerful devices won’t magically eliminate cellulite overnight, but when used correctly, they can significantly improve skin texture and circulation in problem areas. This guide reveals the specific techniques, settings, and routines that actually make a difference in reducing cellulite’s appearance.
Unlike surgical procedures or expensive treatments, a massage gun offers an affordable, at-home solution that works by stimulating blood flow and lymphatic drainage. Many users make critical mistakes that prevent them from seeing results, like using the wrong attachment or pressing too hard. By the end of this guide, you’ll know exactly how to operate your massage gun for cellulite reduction, which areas to target, and how often to use it for visible improvements—all without wasting time on ineffective methods that promise miracles but deliver nothing.
How Massage Guns Actually Affect Cellulite Appearance
Cellulite forms when fat cells push against connective tissue beneath the skin, creating that dimpled appearance. Contrary to marketing claims, your massage gun cannot break down or eliminate fat cells—that’s simply not how percussive therapy works. What it does effectively is stimulate blood circulation and lymphatic drainage in the targeted area through mechanical vibration.
The Science Behind Temporary Cellulite Reduction
When you apply your massage gun to cellulite-prone areas, the percussive action creates temporary micro-stimulations in the connective tissue. This mechanical vibration—called mechanotherapy—encourages fluid movement and may help temporarily soften the fibrous bands that pull skin downward, creating dimples. Think of it like gently kneading bread dough; consistent pressure helps redistribute the material.
Why Blood Flow Matters for Cellulite
Increased circulation brings more oxygen and nutrients to the skin while helping remove waste products and excess fluid. This dual action reduces temporary fluid retention that can make cellulite appear worse, while promoting healthier skin texture over time. For best results, always move the massage gun upward toward your heart to support natural lymphatic drainage patterns.
Why Your Massage Gun Won’t “Break Up” Fat (But Still Helps Cellulite)
Many manufacturers claim their devices can “break up cellulite fat,” but this is misleading science. Cellulite involves structural issues with connective tissue and fat distribution, not something a handheld device can permanently alter. Understanding what your massage gun actually does prevents frustration and sets realistic expectations.
The Temporary Nature of Results
You’ll typically notice the most visible improvement within 24-48 hours after a session, as reduced fluid retention temporarily smooths the skin. However, these effects aren’t permanent—consistent use is required to maintain results. Aim for noticeable improvement after 2-4 weeks of regular treatment when combined with proper hydration and movement.
What Massage Guns Actually Target
Your device works primarily on the superficial layers where cellulite appears, not deep fat deposits. The vibration helps temporarily relax the fibrous septae (the connective tissue bands) that create dimpling when pulled tight. This is why proper technique matters more than power—you’re working with delicate tissue, not deep muscle.
Choosing the Right Attachment for Cellulite Treatment
Using the wrong attachment is the #1 mistake people make when trying to use a massage gun for cellulite. Each head serves a specific purpose, and selecting the appropriate one makes the difference between effective treatment and skin irritation.
Best Attachments for Cellulite-Prone Areas
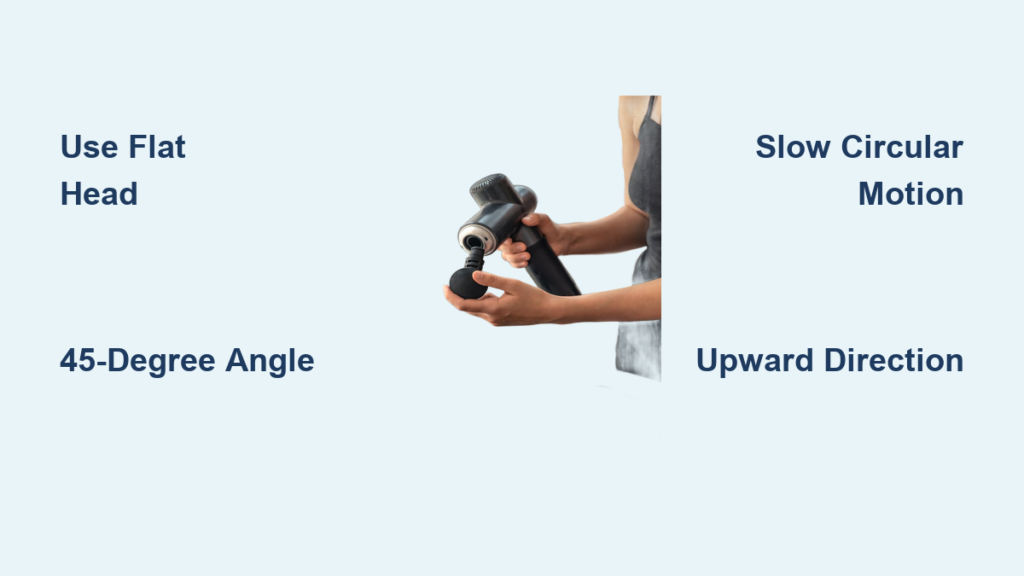
- Flat or Dampener Head: Your go-to choice for large cellulite areas like thighs and buttocks. The broad surface distributes pressure evenly without creating painful pressure points.
- Round Ball Attachment: Works well for the “banana roll” area beneath your buttocks where precision matters.
- Avoid Pointed Attachments: Never use bullet or fork heads on cellulite areas—they concentrate too much pressure on small spots and can damage delicate tissue.
Speed Settings That Actually Work
Start every session on the lowest setting (usually 1-2 out of 10), especially if you’re new to percussive therapy. Gradually increase to a medium setting (3-5) only if needed, but never go beyond medium for cellulite treatment. Higher speeds penetrate too deeply and can actually worsen the appearance by causing inflammation.
Proper Skin Preparation for Maximum Cellulite Reduction
Skipping skin preparation reduces effectiveness and increases your risk of bruising or irritation. Taking just two minutes to prepare properly makes your massage gun session significantly more effective.
Why Lubrication Is Non-Negotiable
Apply a thin layer of massage oil, coconut oil, or specialized cellulite cream before starting. This creates necessary glide—without it, the massage head tugs at skin rather than providing smooth, therapeutic movement. Look for products containing caffeine, which may provide a temporary tightening effect when combined with massage.
The Critical 30-Second Warm-Up
Begin each session by holding the massage gun on the lowest setting against the target area for 30 seconds without moving it. This gently warms the tissue, increases blood flow to the surface, and prepares your skin for deeper treatment. Skipping this step makes the experience uncomfortable and less effective.
5-Step Massage Gun Technique for Smoother Thighs and Glutes
Following these precise steps maximizes your results while preventing common mistakes that sabotage cellulite reduction efforts. Each movement serves a specific purpose in targeting the connective tissue responsible for dimpling.
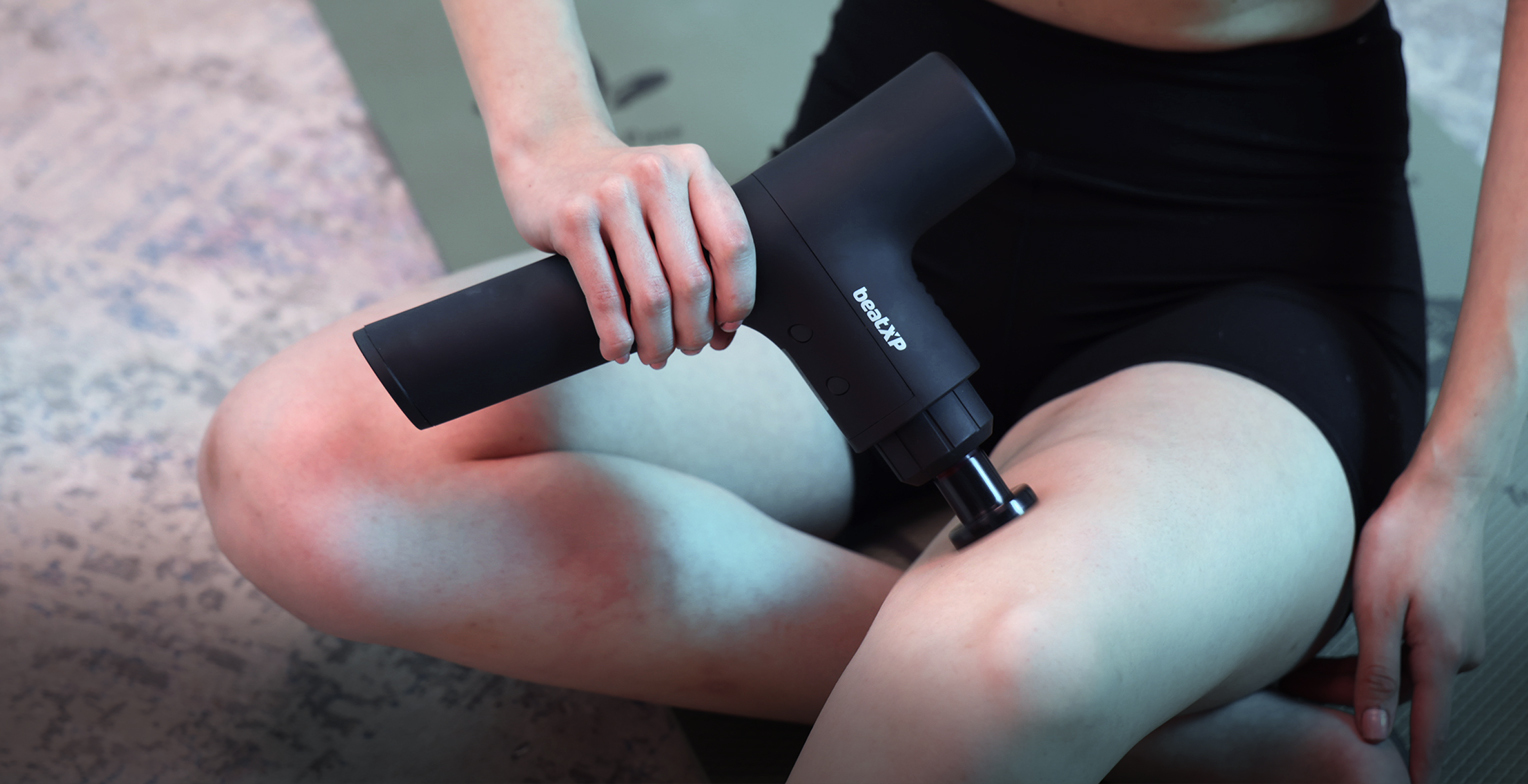
Step 1: Angle Matters More Than Pressure
Hold your massage gun at a consistent 45-degree angle to your skin—not perpendicular. Let the device’s weight do the work; pressing down harder doesn’t increase effectiveness but does increase bruising risk. Your goal is gentle penetration of the superficial tissue layer, not deep muscle work.
Step 2: The Slow Circular Motion Method
Move the gun in slow, deliberate circles about 6-8 inches in diameter. Complete 5-7 circles per section before moving to the next area. This circular pattern better targets the multidirectional fibrous bands that create cellulite dimples compared to straight-line movements.
Step 3: Directional Drainage Technique
Always work from bottom to top—starting near your knee and moving upward toward your hip. This follows your body’s natural lymphatic flow, helping move excess fluid toward drainage points. Spend extra time on areas where fluid tends to pool, like the backs of thighs.
Step 4: Timing Your Treatment Correctly
Limit sessions to 2-3 minutes per major area (one thigh or buttock cheek). Never stay on one spot longer than 30 seconds. Over-treating causes inflammation that actually makes cellulite appear worse temporarily. Set a timer if needed—most people significantly overestimate appropriate treatment duration.
Step 5: Post-Treatment Hydration Boost
Drink 16-24 ounces of water immediately after your session to help flush released toxins and support continued lymphatic drainage. This simple step extends your results by preventing fluid from reaccumulating in treated areas.
Targeting Your Problem Zones: Outer Thighs, Banana Roll & More
Different cellulite areas require specific approaches because of varying tissue density and structure. Using the same technique everywhere wastes time and delivers inconsistent results.
Outer Thigh “Saddlebag” Technique
Use broad, upward strokes with the flat attachment, starting just above your knee. Focus on the outer quarter of your thigh where saddlebags typically form. Spend extra time on the lower portion near your knee, where fluid retention often makes dimpling most pronounced.
Banana Roll Fix: The Underside of Buttocks
This tricky area requires the ball attachment for precision. Use small, slow circular motions directly on the roll beneath your buttocks, never pressing hard. Treat this sensitive area for just 60-90 seconds per side—more can cause discomfort without additional benefits.
Avoid These 7 Common Massage Gun Mistakes for Cellulite Treatment
Most users unknowingly sabotage their results through these preventable errors that either reduce effectiveness or worsen cellulite appearance.
Mistake #3: Treating Immediately After Dry Brushing
Many routines combine dry brushing with massage gun use, but doing them back-to-back irritates skin. Wait at least 2 hours between dry brushing and massage gun treatment to avoid inflammation that increases fluid retention.
Mistake #5: Ignoring Pain Signals
Discomfort is normal, but sharp pain means you’re pressing too hard or using too high a speed. Pain triggers inflammation that counteracts your efforts. If you wince or tense up, immediately reduce pressure or speed.
Realistic Expectations: What You’ll See After 2 Weeks of Regular Use

Understanding the timeline prevents disappointment and helps you stick with an effective routine. Most users see subtle but noticeable improvements when following proper technique consistently.
Week 1: Initial Changes
During the first week, you’ll primarily notice reduced fluid retention and temporary smoothing—especially if you’re well-hydrated. The skin may feel tighter immediately after treatment but return closer to baseline within 48 hours.
Week 2: Building Visible Results
By the second week of consistent use (3-4 sessions), many users report a 15-20% visible reduction in dimpling, particularly when combined with proper hydration and movement. The key is consistency—you won’t see cumulative benefits from sporadic use.
Combining Massage Gun Therapy with Other Cellulite Reduction Methods
Your massage gun works best as part of a comprehensive approach rather than a standalone solution. These complementary practices significantly boost your results.
The Hydration Multiplier Effect
Drinking adequate water (half your body weight in ounces daily) while using your massage gun dramatically improves results. Proper hydration keeps connective tissue supple and supports lymphatic drainage—dry tissue responds poorly to percussive therapy.
Movement After Treatment
Take a 10-15 minute walk immediately after your session to further stimulate circulation and lymphatic flow. This simple step extends your results by preventing fluid from reaccumulating in treated areas.
Final Note: Using a massage gun for cellulite requires proper technique, realistic expectations, and consistency. By following these specific methods—choosing the right attachment, using correct angles and movements, and treating problem zones appropriately—you’ll maximize your results while avoiding common pitfalls. Remember that cellulite reduction is gradual; aim for 3-4 sessions weekly for at least 4 weeks before evaluating results. Combine your massage gun routine with proper hydration, movement, and skin care for the best outcome. While it won’t eliminate cellulite completely, consistent proper use delivers visible smoothing that builds over time—making your investment in both the device and your routine truly worthwhile.


