
That persistent ache deep in your buttock that sometimes shoots down your leg isn’t just “normal” soreness—it’s likely your piriformis muscle crying for attention. When this small but mighty hip stabilizer tightens up, it can trigger sciatic nerve pain that makes sitting, walking, or even sleeping miserable. The good news? Your massage gun can deliver targeted relief to this hard-to-reach muscle if you know exactly where to press and how to use the right settings. In this guide, you’ll discover the precise techniques for applying percussive therapy directly to your piriformis muscle without risking nerve damage or making pain worse.
Most people make the critical mistake of treating their glutes generally without isolating the piriformis, which sits deep beneath larger muscles. Without proper technique, you might waste time massaging the wrong area or accidentally aggravate sensitive nerves. By the end of this guide, you’ll know exactly how to position yourself, select the right attachments, and apply the correct pressure to dissolve piriformis tension in under five minutes—whether you’re recovering from a tough workout, battling sciatica symptoms, or trying to prevent pain before it starts.
Why Your Piriformis Muscle Needs Specialized Massage Gun Treatment
Your piriformis muscle plays a critical role in hip stability and rotation but hides deep beneath your gluteus maximus. When this muscle tightens from prolonged sitting, overuse, or poor movement patterns, it can compress the sciatic nerve that runs underneath or through it—triggering that familiar radiating leg pain. Standard foam rolling often fails because it can’t penetrate deep enough to reach the piriformis, while generic massage gun use on your entire glute area misses the precise trigger points. The key to effective relief lies in targeted percussion that bypasses superficial tissue to address the root cause of your discomfort.
What Makes Piriformis Treatment Different From General Glute Work
Treating the piriformis requires surgical precision compared to broader glute work. While massaging your entire buttock might feel good, the piriformis sits in a specific triangular zone between your sacrum and greater trochanter (the bony knob at the top of your femur). Massage guns work here only when you use focused attachments and controlled pressure—too broad and you’ll miss the target, too aggressive and you’ll irritate nerves. Understanding this muscle’s anatomy prevents the common error of treating symptoms rather than the actual source of your pain.
How Percussive Therapy Targets Piriformis Trigger Points
Percussive massage guns create rapid, rhythmic pulses that penetrate deep tissue layers to break up adhesions in the piriformis. Unlike static pressure from foam rollers, the oscillating motion stimulates blood flow to this often-neglected muscle while simultaneously signaling your nervous system to release tension. When applied correctly to trigger points (knots where muscle fibers have seized up), this technique creates immediate “unwinding” of the muscle, relieving pressure on the sciatic nerve within minutes. The secret lies in holding the gun steady on specific hot spots rather than constantly moving it around.
Precise Positioning for Maximum Piriformis Access

Optimal Position: Modified Seated Forward Lean
Forget lying face down—this position flattens your glutes against the surface, making deep tissue access nearly impossible. Instead, sit on the edge of a sturdy chair with feet flat on the floor. Cross your right ankle over your left knee, creating a figure-4 position. Lean forward slightly from your hips (not your waist), resting your elbows on your right knee. This stretches your piriformis into an accessible position while keeping your spine neutral. You’ll immediately feel the target area become more prominent on your right buttock.
Alternative Position: Stabilized Side-Lying
For those with limited mobility, lie on your left side with both knees bent at 45 degrees. Place your right hand firmly on your right hip bone to stabilize your pelvis. Gently pull your right knee forward toward your chest until you feel a stretch deep in your buttock. This position relaxes surrounding muscles while bringing the piriformis closer to the surface. Place a pillow between your knees for comfort if needed, but ensure your top hip doesn’t roll backward—this alignment is crucial for accurate targeting.
Step-by-Step Piriformis Treatment Protocol
Find Your Exact Piriformis Location in 20 Seconds
Place your fingers on the bony point at the top of your hip (anterior superior iliac spine). Slide directly backward about 2-3 inches toward your spine until you feel the hard ridge of your sacrum. Now move diagonally downward and outward toward the side of your hip—this triangular zone between your sacrum and hip bone contains your piriformis. Press firmly with your fingertips while rotating your bent knee outward—you’ll feel the muscle contract under your fingers. Mark this spot mentally; this is your bullseye.
Warm-Up Technique That Prevents Nerve Irritation
Start with the large ball attachment on the lowest setting (1-2). Apply broad, circular motions over your entire glute area for 90 seconds—not directly on the piriformis yet. Focus on the surrounding gluteus maximus and medius to create a “pathway” through superficial tissue. Keep the gun moving constantly in slow circles, applying only enough pressure to create mild discomfort (3-4/10 on pain scale). This preps blood flow and prevents shocking the sensitive nerve area. Never start directly on the piriformis—this common mistake causes nerve flare-ups.
Targeted Trigger Point Release Method
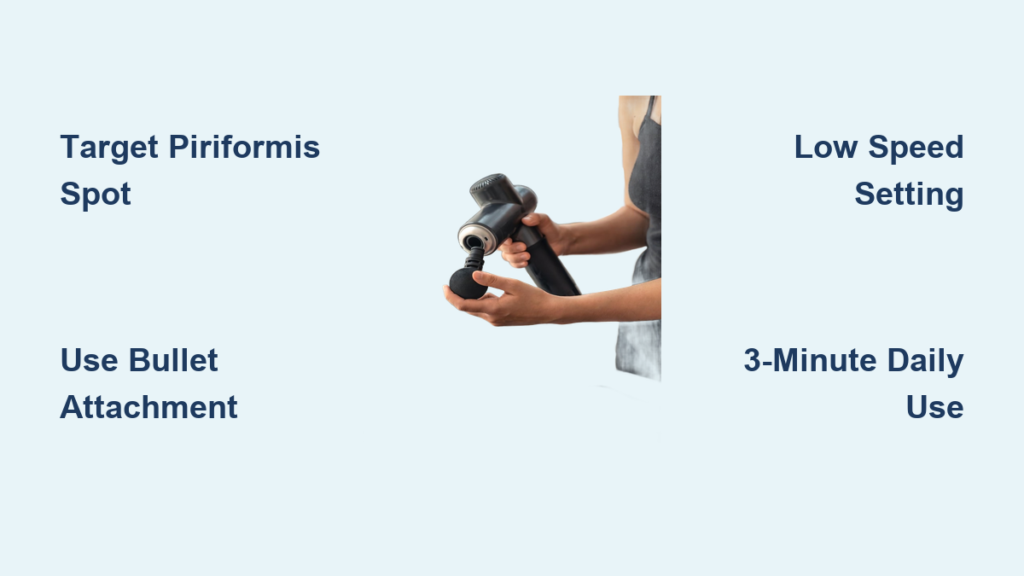
Switch to the bullet attachment at speed setting 2-3. Locate your marked spot and apply the tip with moderate pressure (5-6/10 discomfort). When you hit a trigger point, you’ll feel either intense localized pain or that familiar radiating sensation. Hold the gun perfectly still on this spot for 15-20 seconds—do not move it. You should feel the knot gradually soften under the pulsations. If pain exceeds 7/10 or causes tingling, immediately reduce pressure. Treat 2-3 hot spots for 20 seconds each, max 90 seconds total on the piriformis itself.
Post-Treatment Flushing Technique
Immediately switch back to the large ball attachment at lowest speed. Use long, sweeping strokes from your lower back down through your hamstrings for 60 seconds. This “flushes” metabolic waste released during treatment and prevents next-day soreness. Focus on moving fluid away from the treated area toward your heart—always stroke downward on the back of your leg, never upward. Finish with 30 seconds of gentle stretching: lie on your back, pull your knee toward your opposite shoulder, and hold for 20 seconds.
Critical Safety Adjustments Most Users Miss

Speed Setting Danger Zone for Piriformis Work
Never exceed speed setting 3 on your massage gun for piriformis treatment—higher speeds create excessive vibration that irritates the sciatic nerve. The piriformis responds best to slower, deeper pulses that penetrate without jarring surrounding structures. If you feel any tingling or electrical sensations during treatment, immediately drop to the lowest setting. Quality massage guns have distinct speed increments specifically for delicate areas like this; resist the urge to “go harder” thinking it works better.
Pressure Gauge: How to Measure Correct Force
Apply only enough pressure to create mild-to-moderate discomfort (5-6/10)—never pain that makes you hold your breath. Test your pressure by placing your free hand over the gun: you should feel distinct pulses but still comfortably maintain contact. For most users, this equals 3-5 pounds of force—less than you’d use for quadriceps but more than for neck work. If you leave red marks or bruising after treatment, you’ve used excessive pressure that could inflame the muscle further.
Piriformis-Specific Attachment Guide
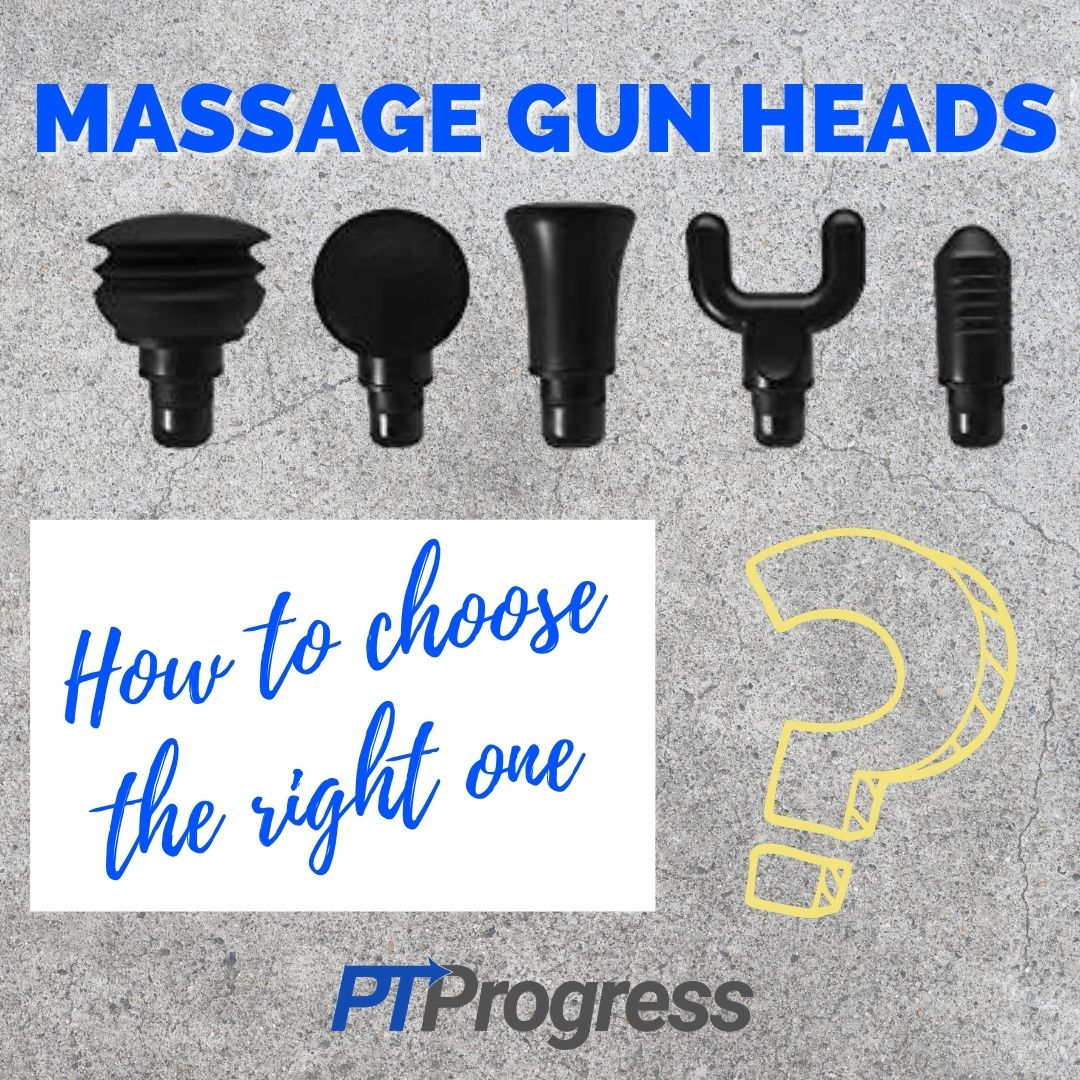
Why the Bullet Tip Beats All Other Attachments
The bullet attachment’s narrow, tapered shape concentrates force precisely where you need it—critical for reaching the piriformis through layers of glute tissue. Its small surface area creates higher pressure per square inch without requiring excessive downward force. When positioned correctly (angled slightly toward your sacrum), it bypasses the gluteus maximus to target the piriformis directly. Avoid flat or large attachments here—they distribute force too broadly, missing the deep muscle entirely.
When to Use the Fork Attachment for Nerve Relief
If you experience radiating symptoms, use the fork attachment along your spine instead of directly on the piriformis. Place the prongs on either side of your sacrum (never on the bone itself) at lowest speed. The dual-point pressure stimulates paraspinal muscles that influence nerve signals, providing indirect relief when direct piriformis treatment is too irritating. This technique reduces nerve hypersensitivity before attempting direct trigger point work.
Daily Treatment Protocol for Lasting Relief
Optimal Frequency: The 3-Minute Daily Rule
Treat your piriformis for no more than 3 minutes daily—broken into two 90-second sessions. Morning treatment prevents all-day sitting pain, while evening sessions address workout-related tightness. Exceeding this time creates microtrauma that worsens inflammation. For acute flare-ups, limit to 60 seconds twice daily until symptoms improve. Consistent short sessions work better than marathon treatments that trigger protective muscle guarding.
Synergistic Stretching Routine
Perform the seated figure-4 stretch immediately after massage gun treatment when muscles are most pliable. Hold for 30 seconds, then gently rock your knee toward and away from your chest 10 times. Follow with standing hip circles: lift your knee, rotate outward in slow circles 5 times each direction. This dynamic stretching maintains the mobility gains from percussion therapy, preventing rapid re-tightening.
Final Note: Proper piriformis treatment with a massage gun delivers sciatic pain relief within days when executed correctly—but misuse can worsen symptoms. Always prioritize precision over pressure, use the bullet attachment at low speeds, and never exceed 3 minutes daily on this delicate area. If pain persists beyond two weeks of consistent treatment, consult a physical therapist for personalized assessment. For immediate relief between sessions, try heat therapy followed by gentle glute bridges to maintain blood flow without strain.


