
That familiar ache after a tough workout or the nagging tension from sitting at your desk all day—you reach for your mini massage gun, but are you actually using it correctly? Many people grab these compact recovery tools hoping for instant relief only to wonder why they’re not getting the results they expected. The truth is, improper technique can turn what should be a therapeutic experience into wasted time or even cause injury. Knowing how to use mini massage gun properly transforms it from a trendy gadget into a powerful recovery ally that delivers targeted relief exactly where you need it.
Mini massage guns have revolutionized at-home muscle recovery with their portability and precision, but their effectiveness depends entirely on your technique. Unlike traditional foam rollers or full-size massage guns, these compact devices allow you to target specific trouble spots with surgical precision—whether it’s that stubborn knot in your shoulder or tight calves after a run. When used correctly, they increase blood flow, break up adhesions, and accelerate muscle recovery in minutes rather than hours.
By the end of this guide, you’ll know exactly how to position the device, select the right attachment, apply appropriate pressure, and avoid common mistakes that prevent you from experiencing the full benefits. You’ll transform from someone who merely owns a mini massage gun to someone who truly masters it for faster recovery and reduced muscle soreness.
Why Mini Massage Guns Outperform Full-Size Models for Targeted Relief

Mini massage guns deliver the same percussive therapy as their larger counterparts but with distinct advantages for specific recovery needs. Their compact size and lighter weight make them ideal for pinpointing smaller muscle groups that full-size models often miss—like the intricate muscles of your forearms, feet, or neck. Unlike bulkier devices that require significant arm strength to maneuver, mini versions allow you to maintain precise control with minimal effort, ensuring consistent pressure exactly where you need it.
The portability factor makes mini massage guns perfect for on-the-go recovery. Toss yours in your gym bag for post-workout relief or keep it on your desk to combat tension during long workdays. Their smaller motors typically operate more quietly too, letting you use them discreetly in shared spaces without disturbing others. While full-size models excel at broad muscle groups like quads and back, mini versions shine where precision matters most—making them an essential complement rather than a replacement in your recovery toolkit.
Critical Safety Steps Before Using Your Mini Massage Gun
Skipping proper safety precautions turns your recovery tool into a potential source of injury. These critical steps ensure you get therapeutic benefits without risking harm to delicate tissues.
Why Consulting a Professional Could Save You From Injury
If you’re managing chronic pain, recovering from an injury, or dealing with conditions like arthritis or osteoporosis, consult a healthcare provider before using your mini massage gun. Certain medical conditions make percussive therapy unsafe—like blood clotting disorders where increased circulation could dislodge dangerous clots, or nerve conditions where additional pressure might exacerbate symptoms. Even if you’re generally healthy, getting professional clearance prevents well-intentioned recovery attempts from causing serious setbacks.
Avoiding Danger Zones: Critical Areas to Skip With Your Device
Never apply your mini massage gun directly on bones, joints, tendons, or ligaments—these structures lack protective muscle tissue and can’t absorb percussive force safely. Steer clear of your spine, neck, collarbone, and any area with prominent veins or varicose veins where pressure could cause bruising or vascular damage. The delicate nerves running through your arms and legs are particularly vulnerable; if you feel tingling or numbness during use, stop immediately as this signals nerve irritation. Remember: muscles only—never bones or joints.
Timing Your Sessions to Prevent Overuse Damage
Start with shockingly short sessions—just 30-60 seconds per muscle group—to assess your body’s response. Even experienced users should never exceed 2 minutes on any single area, as prolonged exposure to percussive force can cause microtrauma, bruising, or inflammation that counteracts recovery benefits. For best results, treat your mini massage gun like a potent therapeutic tool rather than a toy—less frequent, properly timed sessions deliver better long-term results than marathon usage that leaves your muscles battered.
Step-by-Step Mini Massage Gun Technique for Immediate Relief
Mastering these five steps transforms your mini massage gun from a simple gadget into a precision recovery instrument that delivers noticeable results after every use.
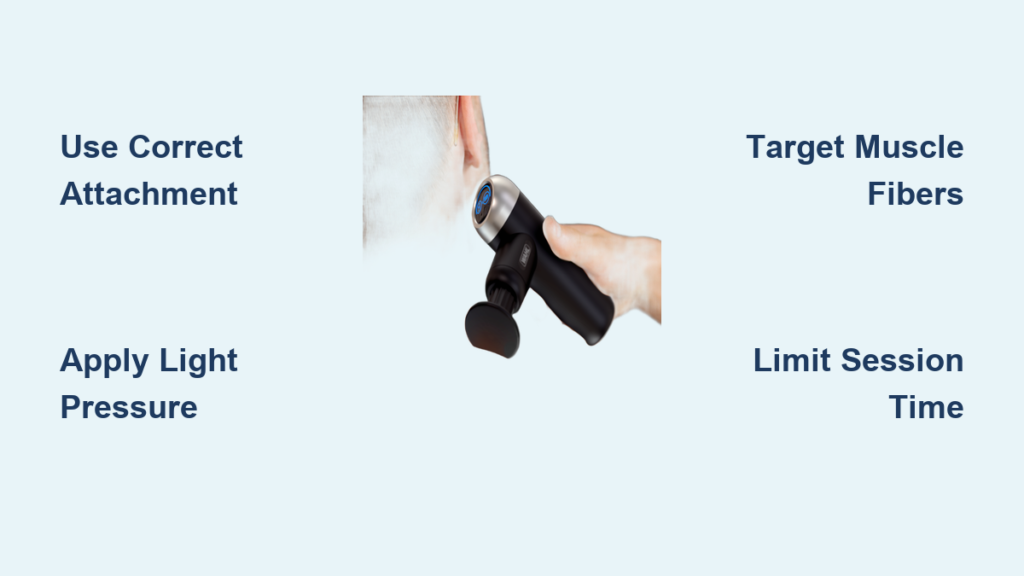
Choosing the Right Attachment for Your Specific Muscle Group
Your mini massage gun’s attachments aren’t interchangeable—they’re precision tools designed for specific anatomical needs. Use the large ball attachment for substantial muscle groups like quads, glutes, and back where broad surface contact delivers optimal penetration. Switch to the bullet or pointed attachment when targeting trigger points in smaller areas like forearms, hands, or feet where concentrated pressure breaks up stubborn knots. The fork or U-shaped attachment serves a specialized purpose—straddling your spine or other bony structures to relieve paraspinal muscles without direct contact on vulnerable areas. Using the wrong attachment wastes your effort; a flat head on your forearm won’t penetrate sufficiently, while a bullet tip on your glutes creates uncomfortable pinpoint pressure.
Applying Correct Pressure: Why Less Is More With Mini Massage Guns
This is where most users go wrong—applying excessive downward force that counteracts the device’s percussive action. Position the attachment lightly against your skin and let the gun’s weight do the work; adding extra pressure actually dampens the rapid pulsations that create therapeutic effects. Hold the device steady without pressing inward—you should feel the head moving naturally with each percussive pulse, not digging deeply into tissue. If you find yourself bracing against the wall or using significant arm strength to maintain contact, you’re applying too much pressure. Proper technique feels like a firm tapping sensation, not a deep tissue massage that leaves you wincing.
Targeting Muscle Groups: Direction, Timing, and Body Signals
Move the device slowly—about 1 inch per second—in the direction of your muscle fibers, not against them. For example, work vertically along your quadriceps rather than horizontally across them. Set a timer for 30-90 seconds per area; when you hit 60 seconds, check in with your body—does the tension feel released? If not, continue for another 30 seconds maximum. Stop immediately if you experience sharp, shooting pain (distinct from the “good hurt” of muscle release), as this indicates you’re irritating nerves or connective tissue. Focus on problem areas but don’t neglect surrounding muscles—for tight hamstrings, also treat your glutes and calves since tension often spans multiple connected muscle groups.
Proven Techniques to Maximize Mini Massage Gun Effectiveness

Warm Up First: Why 5 Minutes of Cardio Doubles Your Results
Never use your mini massage gun on cold muscles—this is like trying to smooth cold butter. A quick 5-minute walk, light cycling, or dynamic stretching increases blood flow and warms tissues, making them more responsive to percussive therapy. Warm muscles accept deeper penetration with less discomfort, allowing you to achieve better results at lower, safer intensity settings. Think of it as preheating your oven—you wouldn’t bake cookies in a cold oven, so don’t “bake” your recovery with cold muscles.
Front Body Focus: Unlocking Hidden Tension in Chest and Abdominals
Most users instinctively target their backs and legs while ignoring tension-packed front body areas. Your pectoral muscles often harbor tightness from desk work or driving, contributing to rounded shoulders and upper back pain. Spend 60 seconds on each pectoral muscle using the large ball attachment, moving horizontally across the chest. Similarly, your abdominals hold surprising tension—use the lowest setting with the large ball attachment, working vertically down each side of your core (avoiding the midline). Releasing these often-neglected areas creates dramatic improvements in posture and breathing that back-focused sessions alone can’t deliver.
Common Mini Massage Gun Mistakes That Cause More Harm Than Good
Spot Overuse: How Staying Too Long Creates Bruising and Nerve Issues
The most common error? Treating your mini massage gun like a magic wand that needs prolonged attention on “problem areas.” Spending more than 2 minutes continuously on one spot overwhelms tissue, causing microtrauma that triggers inflammation rather than reducing it. You’ll recognize this mistake by unexplained bruising or tenderness that worsens over the next 24 hours. Instead, work in short bursts: 60 seconds on the area, 30 seconds off to let tissues recover, then repeat once if needed. Your muscles respond better to multiple brief sessions than one marathon treatment.
Attachment Mismatch: Using the Wrong Head for Your Muscle Group
Many users default to one attachment for all situations, drastically reducing effectiveness. A bullet tip on your quadriceps creates uncomfortable pinpoint pressure without adequate surface coverage, while a large ball attachment on your forearm lacks the precision needed for small muscles. Keep your attachments organized by muscle group—large ball for quads/glutes, bullet for forearms/feet, fork for spinal muscles—and switch deliberately before each session. This simple habit transforms mediocre results into targeted relief that addresses your specific needs.
Essential Post-Massage Care to Amplify Recovery
Complete your mini massage gun session with immediate hydration—a large glass of water flushes metabolic byproducts released during therapy. Follow with dynamic stretching within 10 minutes while your muscles remain warm and pliable; this locks in the increased range of motion achieved during treatment. For best results, schedule your sessions post-workout rather than pre-workout, as percussive therapy temporarily reduces muscle activation capacity—perfect for recovery but counterproductive before performance. Consistently applying these techniques ensures each 5-minute session delivers maximum therapeutic value, turning your mini massage gun into the most efficient recovery tool in your arsenal. Remember: proper technique transforms a simple gadget into a precision recovery instrument that delivers real results.


