
Your Ninja Air Fryer 9-in-1 sits on the counter promising restaurant-quality results with minimal effort, but that touchscreen interface can leave you scratching your head when you just want crispy fries. After testing this appliance for six weeks, I discovered that understanding the nine distinct functions unlocks cooking possibilities far beyond simple air frying. Whether you’re reviving soggy pizza or dehydrating summer berries, this guide reveals exactly how to use your Ninja Air Fryer 9-in-1 to its full potential.
Unlike traditional appliances that perform one task, this 10.5-pound powerhouse replaces your toaster, oven, dehydrator, and more—all while using 75% less oil than deep frying. The key to success lies in knowing which function to select and how to adjust settings for perfect results every time. By the end of this guide, you’ll confidently navigate every icon on that touchscreen and transform ordinary ingredients into extraordinary meals.
Position Your Ninja for Optimal Performance
Place your Ninja Air Fryer 9-in-1 on a heat-resistant surface with at least 6 inches of clearance on all sides—this prevents overheating and ensures proper airflow through the vents. The stainless steel unit weighs 10.5 pounds, making it portable enough to store when not in use but heavy enough to stay stable during operation.
Plug directly into a dedicated wall outlet (no extension cords) since the 1800-watt motor requires full power. The moment you power on, the 1.3-inch touchscreen illuminates with all nine cooking functions arranged in a circular menu, ready for your selection.
Navigate the Touchscreen Like a Pro
That circular menu hides critical details most users miss on their first attempt. Each function has specific temperature ranges and special requirements that determine your success.
Air Fry: The Crisping Powerhouse
Tap the lightning bolt icon (375-400°F) for foods that need maximum crispness with minimal oil. This setting circulates super-heated air at high velocity around your food for that perfect golden exterior.
Hidden Shortcut: Double-tap any function to bypass the settings screen and load your last-used temperature and time—perfect when you’re making your favorite chicken wings for the third time this week.
Perfect Air Fry Settings Every Time

Air frying creates crispy exteriors while keeping interiors moist using just a fraction of the oil traditional frying requires. The 1800-watt system achieves this through rapid air circulation technology.
Foolproof Air Fry Technique
- Select Air Fry function and set to 375°F for most foods
- Place food in a single layer—overcrowding causes steaming instead of crisping
- Set timer according to food type (12-15 minutes for frozen fries)
- Shake basket when screen flashes—this critical step ensures even cooking
- Check doneness through the viewing window without opening the door
Three Air Fry Mistakes That Ruin Results
- Skipping preheat adds 3-4 minutes to cook time and reduces crispness
- Using too much oil creates smoke and splatter (1 tsp max for most foods)
- Ignoring rack position—thicker foods need top rack for better air circulation
Roast Vegetables with Caramelized Perfection
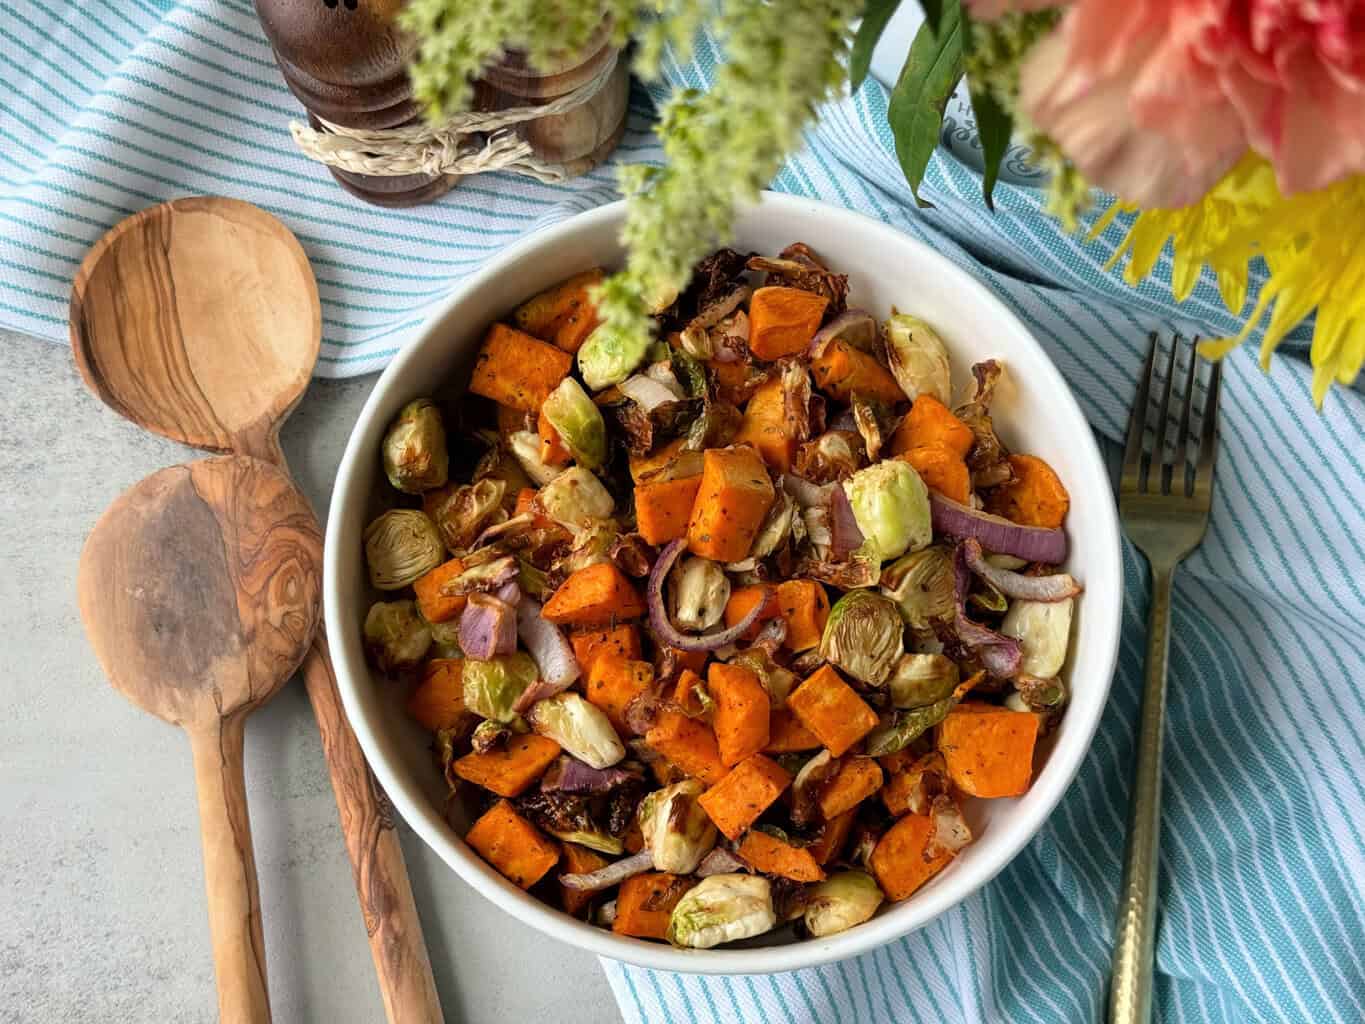
The Air Roast function (fan with flame icon) combines convection heat with air circulation to create restaurant-quality roasted vegetables in half the time of a conventional oven.
Professional Roasting Method
- Chop vegetables into uniform 1-inch pieces for even cooking
- Toss with just 1 tablespoon oil—excess oil causes steaming
- Select Air Roast at 400°F and set for 15-20 minutes
- No shaking required—the 360° airflow reaches all surfaces
Pro Tip: Dense vegetables like potatoes and carrots need 5-10 minutes longer than softer vegetables like zucchini or bell peppers. The viewing window lets you check progress without losing heat.
Broil for Restaurant-Quality Finishes
The broil function delivers intense top-down heat that transforms ordinary dishes into special occasion meals in minutes. This setting works best with the rack positioned in the top slot only.
Broiling Success Formula
- Use only broil-safe pans (metal, not glass)
- Watch closely—food can burn in under 60 seconds
- Set for 2-3 minutes for perfect cheese melting on casseroles
- Stop immediately when you see golden bubbles forming
When Broil Beats Air Fry
- Finishing lasagna with bubbly cheese
- Crisping chicken or fish skin
- Creating perfect melt-in-your-mouth burgers
- Toasting marshmallows for s’mores
Bake Cookies Without Oven Preheating
Traditional ovens waste 15-20 minutes preheating empty space. Your Ninja bakes immediately using precise convection control, saving both time and energy.
Foolproof Cookie Baking
- Select Bake function and reduce recipe temperature by 25°F
- Space cookies 2 inches apart on the wire rack
- Set timer for 8-10 minutes at 325°F (for standard chocolate chip)
- Check 5 minutes early—convection cooking speeds up baking
Warning: Dark pans create better browning in the Ninja than glass or ceramic, which can lead to undercooked centers if you don’t adjust time.
Toast and Bagel Functions Decoded
These breakfast-specific settings prevent burning while achieving your exact browning preference—something standard toasters often fail to deliver.
Toast Shade Guide
- Shade 1-2: Barely golden (2 minutes) for delicate pastries
- Shade 3-4: Light golden (3 minutes) for standard toast
- Shade 5-6: Medium brown (4 minutes) for artisan breads
- Shade 7: Dark brown (5 minutes) for chewy bagels
Bagel vs. Toast: Critical Difference
Bagel function applies more heat to the cut side while gently warming the rounded exterior—essential for proper bagel toasting. Toast function delivers even heat on both sides, ideal for regular bread slices.
Dehydrate Summer’s Bounty Year-Round
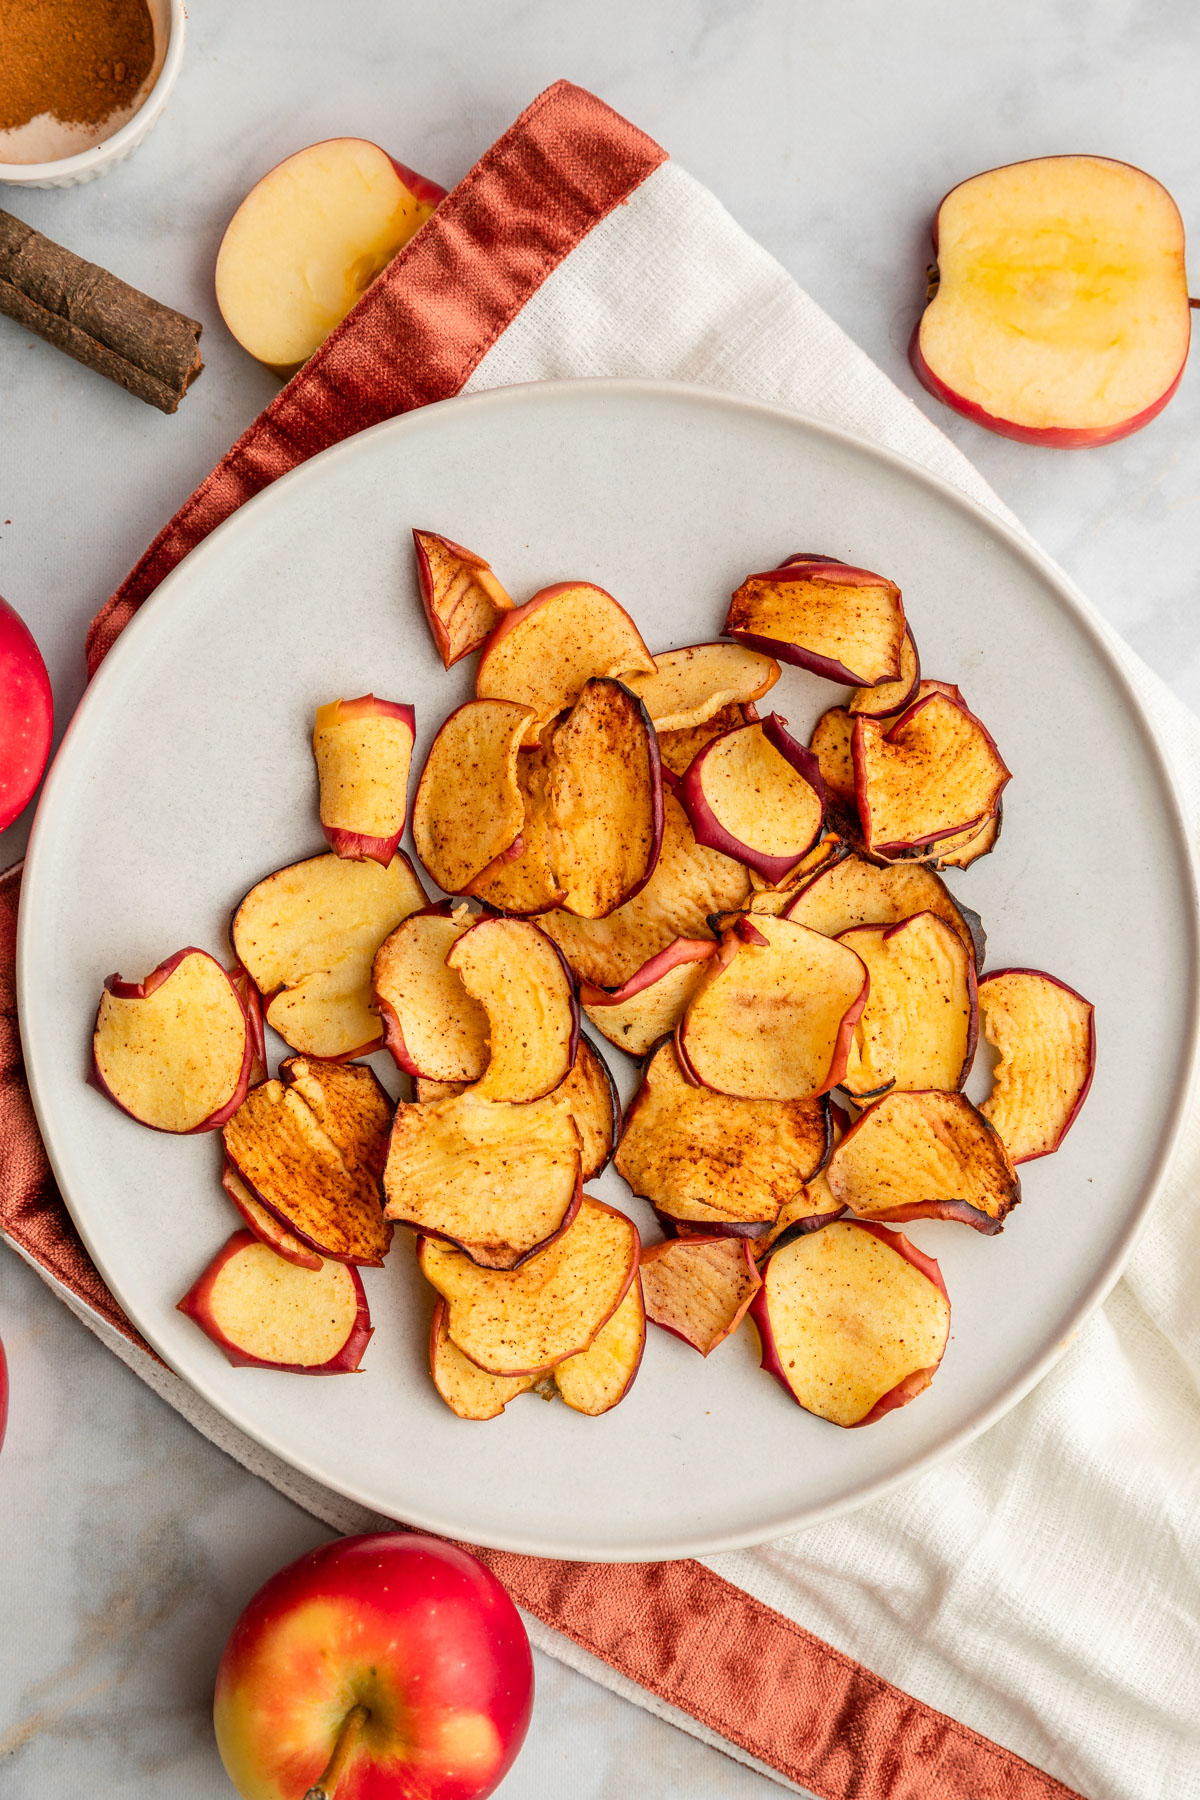
The dehydrate function (water drop icon) operates at low temperatures (105-195°F) to remove moisture while preserving nutrients and intensifying natural flavors.
Step-by-Step Dehydrating
- Slice foods uniformly 1/8-inch thick using a mandoline
- Arrange in single layers on dehydrator rack
- Set Dehydrate at 135°F for fruits or 160°F for jerky
- Check every 2 hours after the 4-hour mark
Food-Specific Dehydration Times
- Apple slices: 6 hours at 135°F
- Beef jerky: 7-8 hours at 160°F
- Fresh herbs: 2-3 hours at 125°F
Critical Warning: Never dehydrate meats above 160°F—this cooks rather than dries, creating unsafe food conditions.
Revive Leftovers Without Sogginess

The Reheat function (circular arrow) restores crispy textures to leftovers that would turn soggy in a microwave.
Leftover Revival Protocol
- Select Reheat at 300°F for most foods
- Set 3-4 minutes for pizza (crust stays crisp)
- Increase to 5 minutes for fried chicken
- Never reheat dishes containing raw eggs—use conventional oven instead
The Keep Warm function automatically activates after cooking cycles, maintaining 175°F for up to 30 minutes—perfect for serving but not for extended food holding.
Clean Your Ninja for Longevity
Proper cleaning prevents flavor transfer between cooking sessions and maintains optimal performance.
5-Minute Daily Cleaning Routine
- Unplug and let cool completely (never clean a hot unit)
- Remove crumb tray and wash with warm soapy water
- Wipe interior walls with damp cloth (no abrasive cleaners)
- Clean touchscreen with dry microfiber cloth only
Dishwasher-Safe Parts Guide
- Crumb tray: Top rack safe
- Air fry basket: Remove handle first
- Wire rack: Position horizontally in rack
Troubleshoot Common Issues Immediately
Touchscreen Freezes? Try This:
- Check power connection—loose plugs cause glitches
- Reset unit by unplugging for 30 seconds
- Clean screen with dry cloth—moisture creates false touches
Smoke During Cooking? Stop Immediately:
- Clean crumb tray—built-up debris burns at high temps
- Reduce oil usage—excess oil creates smoke
- Lower temperature 25°F for fatty foods like bacon
Uneven Cooking Results? Fix These:
- Don’t overcrowd cooking chamber—use single layer
- Shake or flip foods halfway through cooking
- Adjust rack position for proper airflow around food
Master your Ninja Air Fryer 9-in-1 by starting with simple air fry recipes, then gradually exploring each function. The key is understanding that this single appliance replaces your toaster, oven, and dehydrator—all while using less energy and creating less mess. Tonight, try air frying chicken wings at 375°F for 15 minutes with a single shake halfway, and you’ll never go back to traditional frying methods. With these precise settings at your fingertips, you’ll transform everyday ingredients into extraordinary meals with professional results—no culinary degree required.


