

That sleek Ninja Detect Power Blender sitting on your counter could be your ticket to restaurant-quality smoothies, soups, and sauces—if only you knew how to unlock its full potential. Many new owners struggle with the 10 Auto-iQ programs, the “Detect” technology that seems almost too smart, and the 1500-watt motor that promises professional results but delivers frustration when used incorrectly. You’re not alone—most people stick to one or two basic settings and never explore what this powerful machine can truly do.
This practical guide cuts through the confusion with specific, actionable steps that transform you from overwhelmed new owner to confident blender expert. By the time you finish reading, you’ll know exactly how to layer ingredients for smooth blends, when to override Auto-iQ settings for custom textures, and how to troubleshoot common issues like chunky smoothies or error messages. No more guessing—just perfect results every time you press start.
Ninja Detect Power Blender Setup: First-Time Assembly Guide
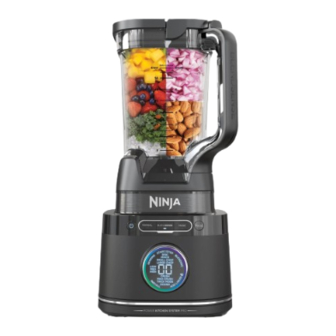
Your Ninja Detect DUO arrives ready for action, but proper initial setup prevents common frustrations down the line. The 72-ounce pitcher clicks onto the 1500-watt base with a simple clockwise twist until you hear a distinct click, while the 24-ounce single-serve cup snaps into place with a quarter-turn. Before blending anything, wash all removable parts in warm, soapy water—never submerge the motor base, which only requires a quick wipe with a damp cloth.
What’s in the Box: Complete Component Checklist
- 72-oz Total Crushing Pitcher with Stacked Blade Assembly (handles large batches)
- 24-oz Single-Serve Cup with Pro Extractor Blades (perfect for personal portions)
- 1500-Watt Motor Base with integrated Detect Technology sensor
- Spout Lid with removable center cap (allows adding ingredients mid-blend)
- 35-Recipe Inspiration Guide (keep this handy for beginner recipes)
Power-On Sequence and Container Detection
Plug in your base and watch the illuminated control panel come alive. The magic happens when you attach a container—the “Detect” sensor automatically identifies whether you’ve locked on the pitcher or single-serve cup and activates only the appropriate buttons. Try this test: with no container attached, none of the Auto-iQ buttons will light up. When you twist on the single-serve cup, only Extract and Smoothie options illuminate, while the pitcher enables all 10 programs. This isn’t just convenient—it prevents disastrous mismatches like running ice cream settings on your morning smoothie.
Decoding the Ninja Detect Control Panel: Button Functions Explained
Those glowing buttons aren’t random—they change based on what you’re blending and in which container. When the pitcher locks in position, you’ll see Auto-iQ programs for Frozen Drinks/Smoothies, Ice Cream, Puree, Dough, and more. Switch to the single-serve cup, and the panel automatically reconfigures to show only Extract and Smoothie options designed for personal portions. This adaptive interface ensures you never accidentally select an inappropriate setting.
Auto-iQ Programs vs. Manual Controls: When to Use Each
- Auto-iQ Programs: Pre-programmed cycles that automatically pulse, pause, and blend for perfect results (use for most recipes)
- Manual Speeds: Low, Medium, High settings for complete control (ideal for custom textures)
- Pulse Button: Delivers short bursts of power (perfect for chunky salsas or controlled chopping)
- Start/Stop Button: Begins or cancels any program (always press Stop before opening the lid)
How Detect Technology Prevents Common Blending Mistakes
The sensor in the motor base reads a small chip embedded in each container’s base. This intelligent system prevents you from accidentally running the full pitcher on single-serve settings, which would either under-blend or over-blend your ingredients. If you try to start a program with a poorly seated container, the blender won’t activate—saving you from messy spills and potential safety hazards. Always listen for that satisfying click when attaching containers to ensure proper detection.
Using Auto-iQ Programs for Perfect Smoothies Every Time
Each Auto-iQ program runs a specific sequence engineered by Ninja’s food scientists. The Frozen Drinks/Smoothies setting starts with powerful pulses to break down ice and frozen fruit, pauses to let ingredients settle, then finishes with a smooth blending cycle. The Ice Cream program alternates between slow churning and quick bursts to incorporate air while maintaining frozen consistency—no melting required.
Best Uses for Each Auto-iQ Setting
- Frozen Drinks/Smoothies: Thick smoothies with frozen fruit and ice (1-2 cups frozen ingredients)
- Ice Cream: Churns frozen bases into soft-serve consistency in under 2 minutes
- Puree: Creates silky soups, baby food, and hummus with no chunks
- Dough: Kneads bread and pizza dough in 30 seconds without overheating
- Extract: Single-serve program that breaks down seeds and stems for maximum nutrition
When to Override Auto-iQ for Custom Blending Control
Sometimes you’ll want to take manual control—like when your smoothie needs just 5 more seconds to reach perfection or your salsa is almost at the right consistency. Press Stop mid-cycle, then use Pulse or manual speeds to fine-tune your blend. The blender remembers where it left off, so you don’t waste ingredients or time restarting. Pro tip: For ultra-smooth nut butters, run the Dough program for 30 seconds, then switch to High speed for final smoothing.
Pitcher vs. Single-Serve Cup: Choosing the Right Container
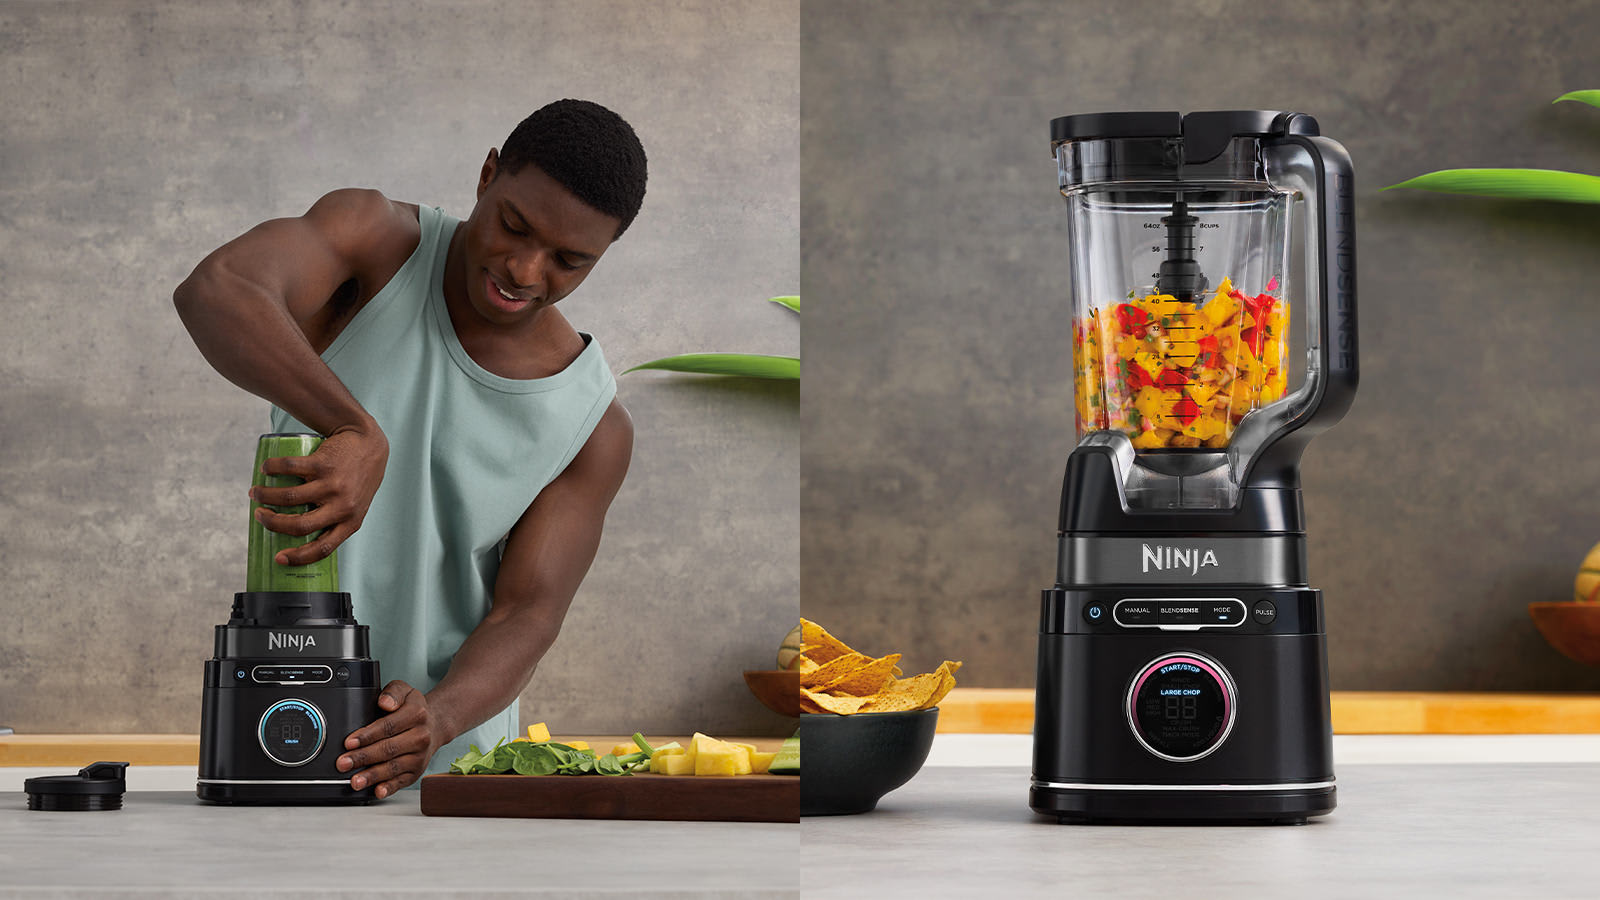
Your container choice dramatically impacts blending results. The 72-ounce pitcher creates multiple servings using its stacked blade assembly that pulls ingredients down from the top—ideal for family-sized smoothies or large-batch sauces. The 24-ounce single-serve cup generates a powerful vortex with its Pro Extractor Blades, making it perfect for tough ingredients like kale stems or chia seeds that need complete breakdown.
72-Ounce Pitcher: Ideal Uses and Capacity Limits
- Family-size smoothies (32-64 oz portions)
- Hot soups (use vented lid to allow steam escape)
- Large-batch sauces, dips, and salad dressings
- Ice crushing for parties (never exceed the max fill line)
- Critical tip: Never fill above the MAX line—overfilling causes leaks and poor blending
24-Ounce Single-Serve Cup: Perfect for On-the-Go Blending
- Precise portion control for calorie-counting
- Faster cleanup—blend, drink, and toss in dishwasher
- Superior performance on tough ingredients like flax seeds
- Fits most car cup holders for true portability
- Pro hack: Store your single-serve cup pre-filled in the fridge for morning smoothies—just add liquid and blend
The Right Way to Layer Ingredients for Smooth Blending
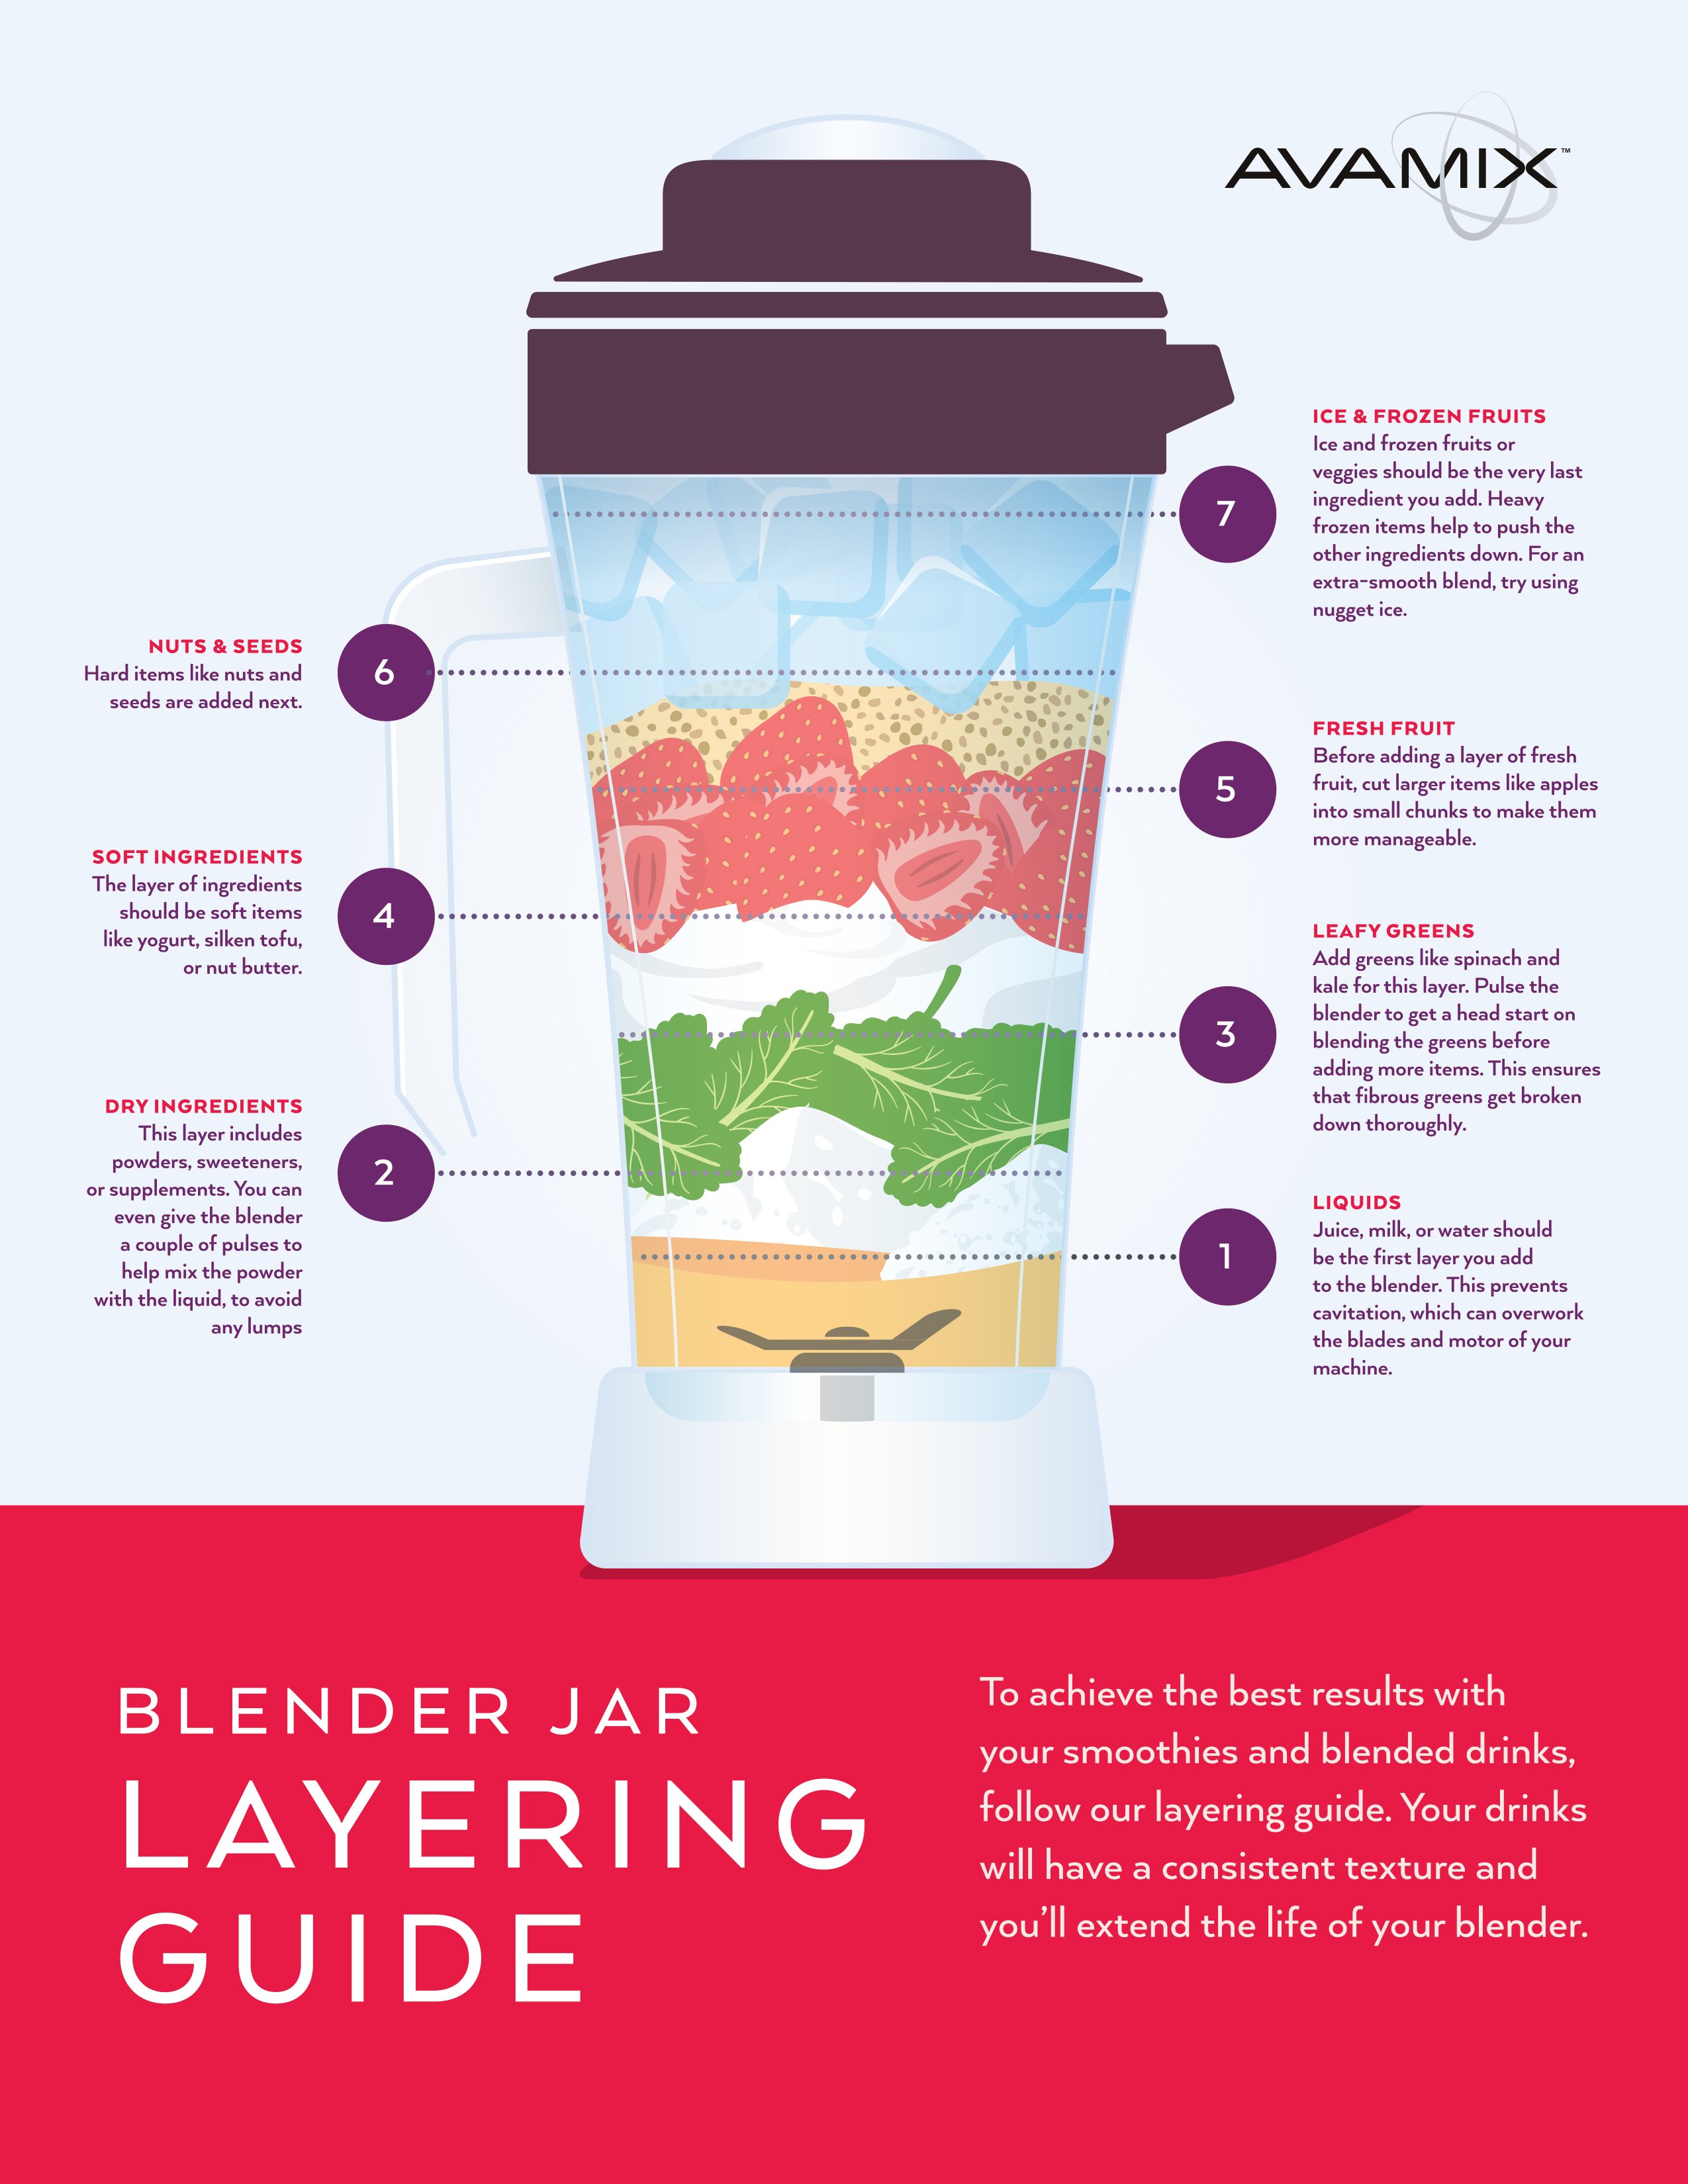
Ingredient order makes or breaks your blend quality. Liquids always go first to create the initial vortex that pulls down solids. Next add soft fruits and vegetables, followed by powders and seeds, then frozen items on top. This prevents the blades from spinning freely while frozen chunks sit untouched at the top—a common cause of chunky smoothies.
Step-by-Step Smoothie Layering Formula
- Liquids first: 1 cup almond milk, juice, or water (creates the blending foundation)
- Soft ingredients: Bananas, yogurt, fresh berries (blend easily into liquid base)
- Powders and seeds: Protein powder, chia seeds, nut butter (get incorporated before frozen items)
- Frozen items: 1-2 cups frozen fruit or ice (added last to maintain texture)
- Leafy greens: Pack spinach or kale on top (gets pulled down last for complete blending)
Handling Dense Ingredients Without Burning Out the Motor
For thick blends like nut butter or hummus, add ingredients slowly through the lid’s removable center cap while blending on Low. Start with just liquids and soft ingredients, then gradually add denser components. This prevents air pockets and ensures even processing without overworking the motor. If the blender struggles, stop immediately, redistribute ingredients with a spatula, and restart on a lower speed.
Troubleshooting Common Ninja Detect Power Blender Issues
When your smoothie turns out chunky despite following directions, check three critical factors: ingredient order (did you put liquids first?), container fill level (did you exceed the MAX line?), and blade assembly (is it fully seated?). The Detect system prevents most issues, but user error still accounts for 90% of common problems.
Fixing Texture Problems in Your Blends
- Too thick: Add more liquid through the lid while blending on Low
- Too thin: Add more frozen fruit or ice and restart the program
- Chunky frozen fruit: Use Pulse 3-4 times first, then run Auto-iQ Frozen Drinks
- Excessive foam: Blend on Low for final 10 seconds to dissipate air bubbles
Understanding and Resolving Error Codes
- E01: Overloaded—reduce ingredients by 20% and restart
- E02: Jammed blades—unplug, remove pitcher, clear obstruction with spatula
- Blinking lights: Container not properly seated—twist until you hear a distinct click
- No response: Check power connection and ensure safety interlock is engaged
Cleaning and Maintaining Your Ninja Detect for Longevity
The Ninja Detect cleans up faster than any high-powered blender thanks to dishwasher-safe parts and a sealed blade assembly. For daily cleaning, fill the pitcher halfway with warm water and a drop of soap, then run the Clean cycle for 30 seconds. Rinse thoroughly and air-dry—no disassembly required for routine maintenance.
Daily Quick Clean vs. Weekly Deep Cleaning
- After each use: Quick clean cycle or dishwasher (top rack only)
- Weekly: Remove blade assembly for thorough cleaning of gasket area
- Monthly: Wipe motor base with damp cloth (never submerge electrical components)
- As needed: Soak cloudy pitcher in baking soda solution (1 tbsp per quart of water)
Pro Maintenance Tips to Extend Your Blender’s Life
- Always rinse immediately after use—dried-on residue requires aggressive scrubbing
- Store with lid off to prevent odors and moisture buildup
- Replace blade assembly yearly for optimal performance (Ninja part #BDE-100)
- Check container seal for wear every few months and replace if cracked
Your Ninja Detect Power Blender rewards experimentation once you understand its rhythms. Start with the Auto-iQ programs—they’re engineered by food scientists who’ve tested thousands of ingredient combinations. As you gain confidence, use manual speeds to customize textures for your personal preferences. The Detect technology keeps you safe while the 1500-watt motor handles everything from delicate herbs to frozen fruit. Clean as you go, and this blender becomes your daily kitchen companion rather than a countertop decoration. Remember: perfect blending isn’t about fancy techniques—it’s about understanding how your machine works and working with it, not against it.


