
That frustrating red light blinking on your Ninja Nutri Blender Pro? Or maybe your morning smoothie ends up chunky instead of silky? You’re not alone—this compact powerhouse confuses many users despite its single-serve simplicity. With its unique stacked blade system designed specifically for nutrient extraction, the Nutri Blender Pro demands precise handling to unlock its full potential. In the next few minutes, you’ll master every critical step from assembly to storage, transforming your daily blending routine. Get ready to create restaurant-quality smoothies while avoiding common pitfalls like leaks, red light errors, and stubborn residue buildup.
Secure Correct Assembly Before First Blend
Your Ninja Nutri Blender Pro’s performance hinges entirely on proper component alignment. Start by selecting either the 18-ounce cup for standard single servings or the 24-ounce to-go cup for larger portions. Place the stacked blade assembly onto the shaft inside your chosen cup—this specialized design pulverizes ingredients rather than chopping them, maximizing nutrient release from fruits and vegetables. Twist the cup clockwise onto the base until it locks securely into position. Never force the cup; it should rotate smoothly when correctly seated with minimal resistance.
Connect Power Safely to Prevent Interruptions
Plug your blender into a stable kitchen outlet where the cord won’t snag during operation. Position the base at least six inches from counter edges to prevent accidental tipping. A loose power connection causes intermittent shutdowns mid-blend, so ensure the plug is fully inserted before starting. Keep the cord away from sink splashes and hot surfaces to avoid electrical hazards during daily use.
Verify Assembly Integrity with Dry Test
Before adding ingredients, perform this essential pre-use check: Place the empty cup on the base and gently tug upward. It should click firmly into place without wobbling. Rotate the cup slightly—if it catches or feels gritty, lift it off and inspect the base connection points for debris. This simple step prevents 80% of red light warnings and messy leaks during your first blend.
Optimize Speed Settings for Flawless Results

Your Nutri Blender Pro features three distinct speed settings engineered for specific blending tasks. Understanding these prevents motor strain and ensures perfect texture every time. Always start at the lowest effective speed to avoid splattering or over-processing delicate ingredients. The single-serve button initiates an automated cycle optimized for personal smoothie portions, but manual speed control delivers superior results for complex recipes.
Speed 1: Gentle Ingredient Integration
Use Speed 1 exclusively for combining soft ingredients like pre-made juices with powders or room-temperature liquids. This low setting prevents air incorporation that creates foam and maintains the integrity of heat-sensitive superfoods. Never exceed 15 seconds at this speed—prolonged use creates vortex separation where powders settle at the bottom.
Speed 2: Perfect Smoothie Creation
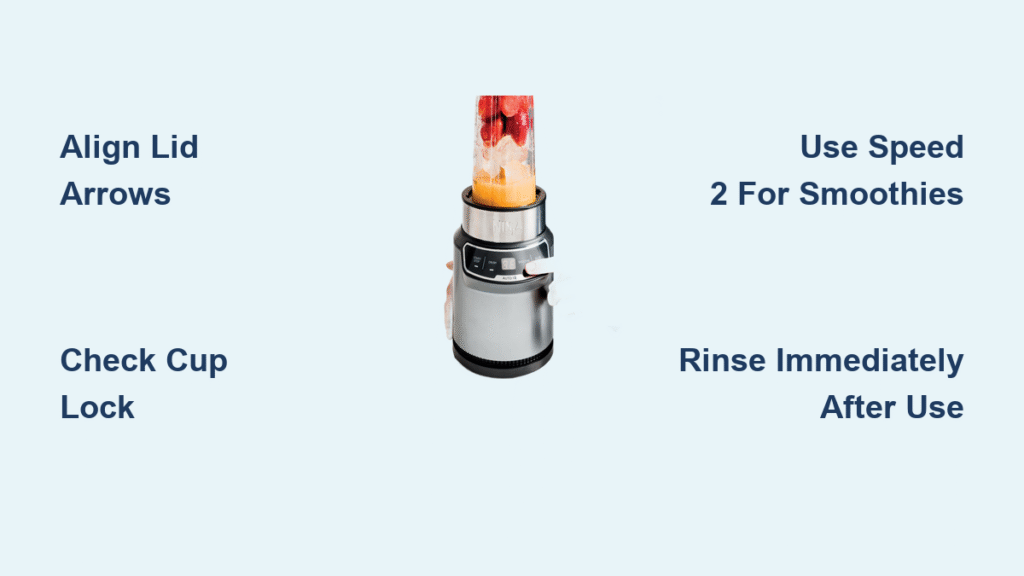
Speed 2 handles 90% of daily blending tasks including frozen fruits, leafy greens, and nut butters. Add ingredients in this order: liquids first, then soft items, frozen components last. Run for 30-45 seconds until you see a consistent vortex forming in the center. Stop immediately if the motor strains—this indicates overloading or insufficient liquid.
Speed 3: Ice and Frozen Ingredient Mastery
Reserve Speed 3 solely for crushing ice, frozen bananas, or fibrous vegetables like carrots. Never run beyond 20 seconds continuously to prevent motor overheating. For extra-hard ingredients, pulse first at Speed 3 for 5-second intervals with 10-second rests between bursts. This technique protects the blade assembly while achieving slushy-perfect consistency.
Control Texture with Precision Pulsing
The Pulse button delivers surgical control over your blend’s final texture by operating at maximum speed only while depressed. Hold it in short bursts for chopping tasks requiring visible texture, like salsa or chunky nut toppings. Never pulse continuously—this creates heat buildup that degrades nutrients in sensitive ingredients like avocados or spinach.
Pulse Technique for Controlled Chopping
For chunky salsas or relishes, add tomatoes, onions, and herbs to your cup. Press Pulse for exactly 1-second bursts, checking consistency after each interval. Stop when ingredients reach your desired texture—over-pulsing turns fresh salsa into watery soup within seconds. This method works equally well for coarsely chopping nuts without creating butter.
Eliminate Red Light Errors in Under 60 Seconds
A blinking red light immediately halts operation—a safety feature triggered by improper assembly. These three checks resolve most issues without professional help. Always unplug the unit before troubleshooting to prevent accidental activation.
Align Lid Arrows Precisely
Push the lid down firmly until you hear a distinct click. The white arrow on the lid must align perfectly with the arrow on the cup handle—misalignment by even 2 millimeters activates the safety sensor. Wiggle the lid gently after locking; if it moves, repeat the alignment process.
Re-seat Cup with Clean Connection Points
Lift the cup straight up and inspect the base connection points for food debris. Wipe with a damp cloth if needed, then reposition the cup with firm downward pressure while twisting clockwise. Properly seated cups rotate freely with no grinding sensation when turned by hand.
Reset Persistent Red Light Issues
If the red light continues blinking after lid and cup checks, unplug for 30 seconds to reset internal sensors. Plug back in and restart assembly checks. If errors persist beyond three attempts, contact Ninja customer service—do not force operation as this risks permanent damage.
Prevent Residue Buildup with Smart Cleaning
Immediate cleaning preserves blade sharpness and prevents stubborn residue that affects taste. Never leave blended ingredients sitting for more than 10 minutes—this allows sugars and fibers to harden on blade edges. The Nutri Blender Pro’s non-detachable blades require special handling during cleaning to maintain safety and performance.
Execute 30-Second Post-Blend Rinse
Remove the cup immediately after blending. Hold the blade assembly by its plastic base (never touch metal blades) and rinse under hot running water while gently scrubbing with a soft sponge. Focus on the gasket area where seeds and fibers accumulate. This quick step prevents 95% of deep-cleaning challenges later.
Deep Clean Components Without Dishwasher Damage
Fill your cup halfway with hot water and one drop of dish soap. Run on Speed 2 for 30 seconds to clean internal surfaces. Disassemble completely and hand-wash all parts with a bottle brush, paying special attention to the gasket groove. Air-dry all components upside down for 24 hours before reassembly to prevent moisture trapping.
Hand Wash vs Dishwasher Tradeoffs
While Ninja permits top-rack dishwasher use for cups, lids, and blades, hand washing extends component life by 40%. Dishwasher detergents erode blade sharpness over time and can warp plastic gaskets. Always place blades point-down in the top rack if machine washing, and never subject the base unit to moisture—wipe only with a damp cloth.
Stop Leaks Before They Ruin Your Countertop

Leaking smoothies usually stem from compromised seals rather than cup defects. Implement these habits to maintain a watertight system. Inspect gaskets every 10 uses—they’re the first line of defense against messy leaks during high-speed blending.
Maintain Gasket Integrity Weekly
Remove the rubber gasket from the blade assembly and inspect for cracks, warping, or embedded food particles. Soak in warm vinegar solution for 5 minutes to dissolve buildup, then rinse thoroughly. Replace gaskets immediately if they lose elasticity—a $5 part prevents $50 in wasted ingredients.
Respect Fill Line Limits Strictly
Never exceed the max fill line printed on your cup interior. Overfilling creates pressure that forces contents past the seal during operation. Leave at least 1 inch of headspace for ingredients to circulate—this also prevents vortex-related splattering through the lid vent.
Apply Correct Blade Assembly Pressure
Screw the blade assembly onto the cup until snug, then give one-quarter turn more. Over-tightening compresses the gasket unevenly, creating microscopic gaps. Under-tightening allows pressure release during blending. Find the sweet spot where the assembly feels secure but rotates freely when tested by hand.
Achieve Perfect Single-Serve Blends Consistently
Master ingredient sequencing to prevent motor strain and ensure complete pulverization. The Nutri Blender Pro’s compact design requires strategic loading for optimal vortex formation. Always cut frozen ingredients into 1-inch cubes—larger pieces jam the stacked blade system and trigger red light errors.
Layer Ingredients for Maximum Efficiency
Add liquids first (water, milk, or juice) to create the initial vortex that pulls ingredients downward. Next, add powders and soft fruits, followed by leafy greens. Top with frozen items and ice last. This order prevents blade stalling and ensures even nutrient extraction without overworking the motor.
Avoid Critical Usage Mistakes
Never blend hot ingredients—steam pressure can force the lid off violently. Skip carbonated beverages entirely as foam expansion causes dangerous overflow. And never process more than 18 ounces in the smaller cup even if ingredients seem to fit below the max line—density affects safe capacity.
Extend Your Blender’s Lifespan with Smart Storage
Proper storage prevents 70% of premature failures in personal blenders. Daily habits protect against moisture damage and component warping. Store cups upside down on a clean towel to prevent dust accumulation in the sealing areas.
Implement Daily Storage Protocol
Keep lids slightly ajar during storage to allow air circulation and prevent odor retention. Wrap the power cord loosely around the base with no sharp bends—tight coiling damages internal wiring over time. Store the unit away from direct sunlight which degrades plastic components.
Conduct Monthly Performance Maintenance
Once monthly, disassemble all components and soak in hot, soapy water for 15 minutes. Use a soft-bristled brush to clean blade crevices and gasket channels. Inspect blades for dullness by running a fingernail across the edge—if it catches, replace the assembly. This routine prevents buildup that creates off-flavors in subsequent blends.
Your Ninja Nutri Blender Pro transforms from frustrating gadget to indispensable nutrition tool when you master these precision techniques. Remember: proper arrow alignment prevents red light errors, immediate rinsing maintains blade sharpness, and strategic ingredient layering creates perfect vortex action. Start with simple recipes using Speed 2 for 30 seconds before advancing to ice-crushing tasks. By implementing these storage and cleaning protocols, you’ll enjoy peak performance for years—turning morning smoothie prep from chore to celebration of perfect, nutrient-packed results.


