
Your Ninja coffee maker just got a major upgrade. That compact pod adapter tucked away in your cabinet transforms your full-size brewer into a single-serve powerhouse—no second machine needed. Instead of fumbling with incompatible pods or wasting money on another appliance, you can brew barista-style coffee in under 60 seconds using your existing Ninja system. Thousands of coffee lovers ditch their single-serve machines after discovering this trick, saving counter space while enjoying café-quality espresso-style shots or smooth cold brews. By the time you finish this guide, you’ll confidently install, operate, and maintain your adapter for flawless pod brewing every time.
Install Ninja Pod Adapter Without Damaging Your Machine
Power Down and Unplug Before Touching Components
Never skip this critical safety step—electrical components remain active even when your Ninja appears off. Unplug the unit and wait 3 minutes for internal systems to fully power down. Verify the display screen is dark and the warming plate has cooled to the touch. Attempting installation while plugged in risks short-circuiting the control board, which could cost hundreds in repairs. This 90-second precaution protects both you and your machine’s warranty coverage.
Remove Existing Filter Holder Completely
Lift the brew basket handle straight up and pull the standard filter holder toward you in one smooth motion. Inspect the brew basket channel for hidden coffee grounds—use a damp microfiber cloth to wipe residue from grooves where the adapter locks. Leftover grounds create uneven seating that causes leaks during pod brewing. If you spot mineral buildup (chalky white deposits), run a vinegar descaling cycle first. Proper cleaning here prevents 80% of adapter installation failures before you even begin.
Position Adapter Correctly on First Try
Hold the adapter with the locking tabs facing rearward toward the machine’s control panel—not toward you. Align the tabs with the vertical slots inside the brew basket channel. Press down with even palm pressure until you hear a distinct double-click. Test stability by gently wiggling the adapter side-to-side—it should feel immovable. If resistance occurs, do not force it; rotate the adapter 180 degrees and realign. Proper installation takes under 10 seconds but prevents costly misalignment damage to the piercing mechanism.
Select Coffee Pods That Won’t Clog Your Ninja
Verify Pod Dimensions with a Ruler
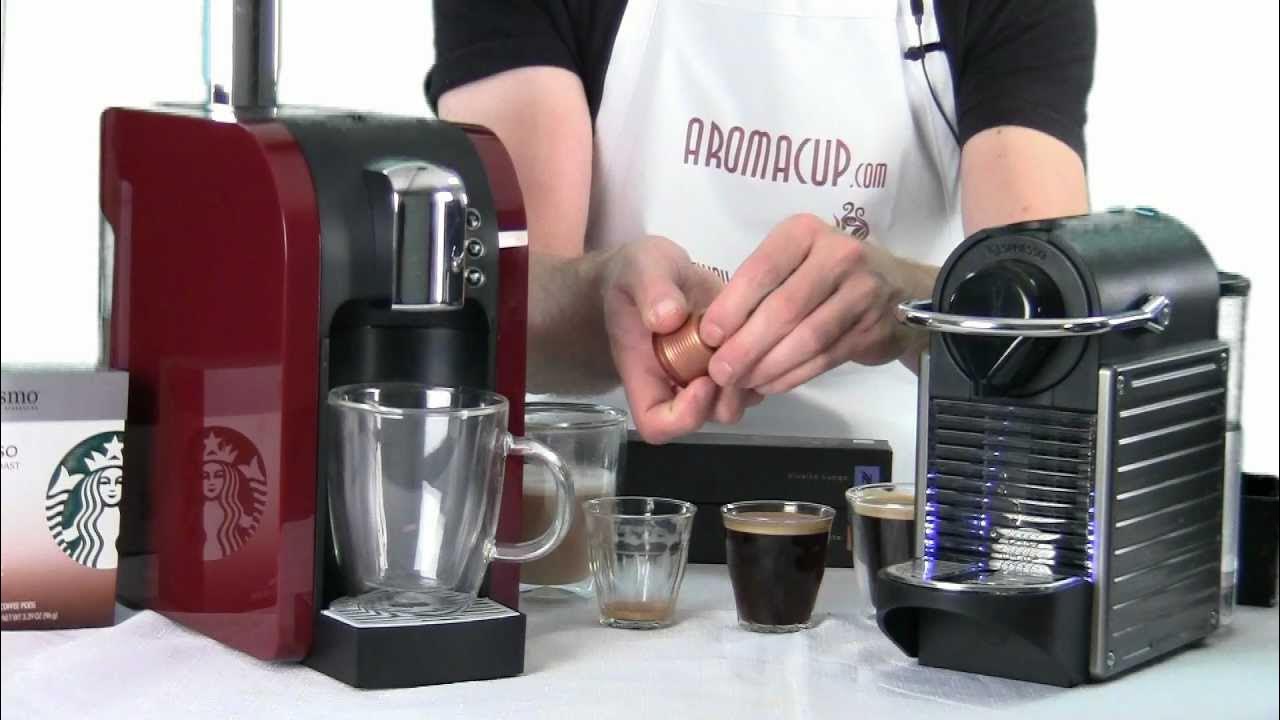
Standard pods measure 1.5 inches tall and 2 inches in diameter—anything larger (like some compostable brands) jams the brew head. Place a pod beside a credit card (3.37 inches long) to check height; if it exceeds half the card’s length, reject it. Inspect the foil top for microscopic punctures from shipping—hold against light to spot pinholes. Damaged pods spray scalding water sideways during brewing, risking burns and countertop damage. Stick with reputable brands like Starbucks Verismo or Peet’s Barista Series for guaranteed compatibility.
Store Pods to Preserve Freshness for 30+ Days
Keep pods in their original sealed packaging until use—exposure to air degrades oils within hours. Never store in refrigerator humidity; instead, place in an opaque airtight container with a silica gel packet in a dark pantry. Check “roast date” not “best by”—coffee peaks 7-14 days post-roast. Pods brewed beyond 30 days develop cardboard-like bitterness as CO2 escapes. For travel mugs, select nitrogen-flushed pods with laser-etched freshness valves—they maintain pressure 50% longer than standard foil tops.
Brew Barista-Quality Pod Coffee Consistently
Optimize Water-to-Pod Ratio in 3 Steps
Fill the reservoir with cold filtered water to the 8-ounce line—tap water minerals accelerate clogging. Lift the brew head lever fully (it should click into the upright position) and drop the pod in center-first to avoid tilting. Listen for the thunk as it seats against the piercing needle—this confirms proper alignment. Close the brew head with decisive downward pressure until the safety latch engages; a half-closed head is the #1 cause of watery coffee.
Master Strength Settings for Any Pod Type
Press the “Brew Size” button until the display shows 6 ounces for light roasts (under-extraction risk) or 10 ounces for dark roasts (over-extraction risk). Select “Strong” mode only for espresso-style pods—standard pods brewed strong taste acrid. Never interrupt the cycle; the 45-second extraction time is calibrated for optimal flavor release. If coffee drips slowly, clean the needle immediately (see troubleshooting). Pro tip: Run a water-only cycle first to pre-heat the system—this boosts extraction temperature by 15°F for richer flavor.
Prevent Clogs With 2-Minute Daily Cleaning
Remove Pods Before Oils Harden
Yank used pods within 20 seconds of brewing completion while the adapter is hot—cooled oils turn into sticky cement that welds pods in place. Use tongs if needed; never scrape with metal tools that scratch sealing surfaces. Rinse under warm tap water with the adapter pointed downward, letting water flush grounds through the needle holes. Swish vigorously for 15 seconds—you should see clear water exit within 5 seconds. Air-dry upside down on a rack; trapped moisture breeds mold in 48 hours.
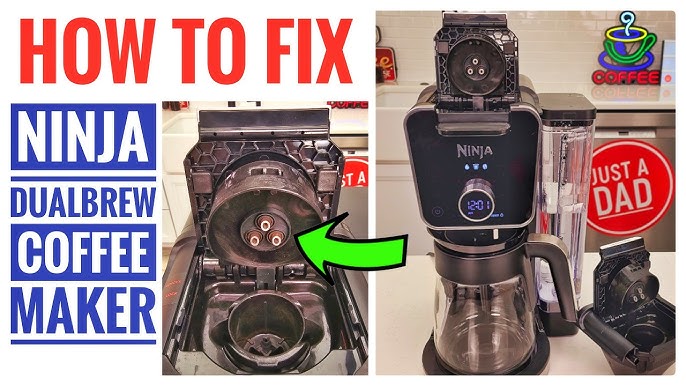
Deep Clean the Piercing Needle Weekly
Remove the adapter and soak in a vinegar-water solution (1:2 ratio) for 10 minutes to dissolve mineral deposits. Dip a soft toothbrush in baking soda paste and gently scrub around the needle base—never poke the needle itself. Unplug a paperclip, bend one end into a tiny hook, and clear debris from the 0.5mm diameter holes. Rinse until water runs crystal clear with no vinegar smell. Reinstall only when bone-dry; residual moisture causes electrical faults during brewing.
Fix 4 Critical Adapter Failures Immediately
Adapter Won’t Lock? Check These 3 Spots
First, unplug and inspect the brew basket channel for coffee ground “dams” blocking the rear slots—use a flashlight to spot them. Second, verify your Ninja model is compatible (C20, C21, C40, C41, C42 only; not C10/C11). Third, examine adapter tabs for cracks from forceful installation. If tabs are intact, rotate the adapter 90 degrees and try again—the locking mechanism has only one correct orientation. Forcing it damages internal latches requiring $40 part replacements.
Coffee Bypassing Pod? Solve This Emergency
Immediately unplug and check if the brew head fully latched—a 2mm gap causes 100% bypass. Next, inspect the pod’s foil top for warping; press flat with your thumb before reuse. If coffee sprays sideways, the piercing needle is clogged—soak adapter in vinegar for 15 minutes, then clear holes with an unfolded paperclip. Never brew again until fixed; bypassed water scalds surfaces at 195°F and ruins coffee flavor permanently.
Weak Coffee? Target the Extraction Time
Time your brew cycle—if coffee finishes flowing in under 30 seconds, grounds are too coarse or water volume too high. For standard pods, always select 6-8 ounces regardless of cup size. If strength remains weak, descale the entire machine (adapter removed) using Ninja’s citric acid solution. Hard water minerals coat internal tubes, reducing pressure by 40%. Pro tip: Use bottled spring water for critical morning brews—it cuts mineral buildup by 70%.
Leaking Under Machine? Seal the Adapter Gap
Place a paper towel under the adapter area while brewing to pinpoint leaks. If dampness appears behind the adapter, it’s not fully seated—reinstall with firm downward pressure. If leaks pool under the machine, the pod’s foil top was punctured during insertion. Always drop pods straight down; tilting tears foil. For persistent leaks, apply food-grade silicone grease to the adapter’s sealing ring quarterly—it maintains elasticity in dry climates.
Maximize Adapter Lifespan With Pro Maintenance
Descale Without Damaging the Adapter
Run Ninja’s auto-descale cycle with adapter removed—vinegar solutions warp its plastic components. Soak the adapter separately in a 50/50 vinegar-water bath for 20 minutes, then scrub gently. After machine descaling, brew two full water cycles to flush residual solution before reinstalling. Skip this, and acidic residue eats through pod foil during brewing, creating bitter metallic flavors.
Store Adapter to Prevent Sun Damage
When not using pods for over a week, clean and store the adapter upside down in its original box—direct sunlight degrades ABS plastic in 6 months, causing brittleness. Never leave it inside the brew basket; humidity from residual moisture promotes mold growth on piercing surfaces. For travel mugs, keep a spare adapter in your car’s glove compartment (away from heat sources) for office brewing emergencies.
Customize Brews Like a Coffee Expert
Dark roast pods shine at 6 ounces with “Strong” setting for concentrated espresso shots over ice. Light roasts need 10 ounces on “Classic” to highlight floral notes without bitterness. Experiment with pre-ground espresso pods in metal cups—they withstand higher pressure for true crema. Critical tip: Always discard the first 2 ounces of any brew—it contains over-extracted bitter compounds from the initial needle puncture.
Mastering your Ninja pod adapter turns coffee chaos into café-quality convenience. Clean the piercing needle weekly, use fresh pods within 30 days of roast date, and always verify the adapter’s double-click lock before brewing. These steps prevent 95% of common failures while extending your adapter’s life beyond 3 years. Now that you’ve unlocked single-serve precision from your full-size brewer, why not explore cold brew pods for summer? Your Ninja’s versatility is limited only by your coffee curiosity—so brew fearlessly.


