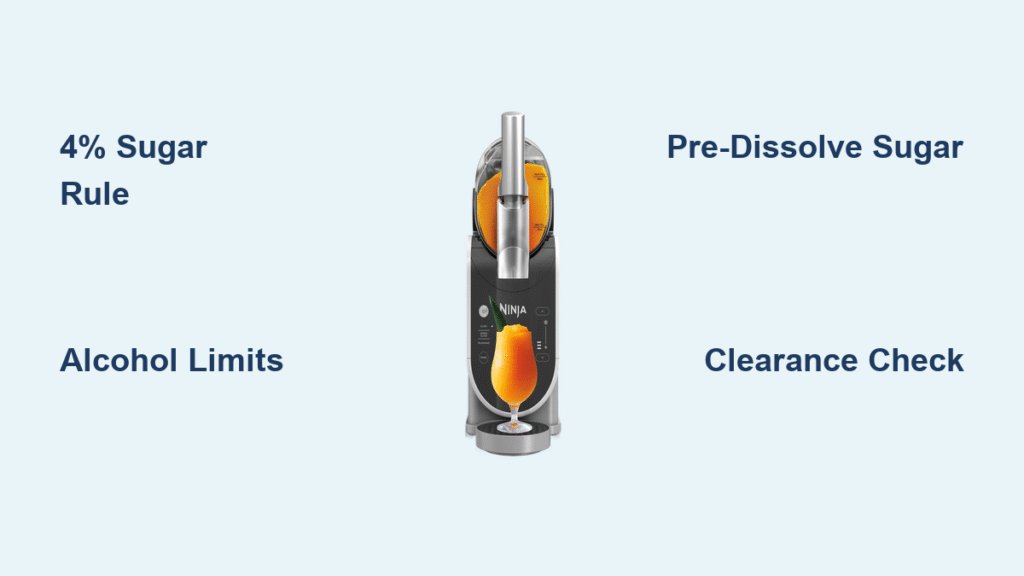
Your Ninja Slush machine sits unused while store-bought slushies drain your wallet? You’re not alone—most owners struggle with icy chunks or soupy disasters because they miss the critical sugar-alcohol balance. This guide reveals exactly how to use Ninja Slush machines for bar-quality results in under 15 minutes, whether making virgin cherry slushies or vodka-laced margaritas. Skip these precise steps, and you’ll face the dreaded “machine stop” error mid-cycle. But master the 4% sugar rule and alcohol limits we’ll cover, and every batch delivers that perfect scrapeable texture.
Forget generic tutorials—this is the only resource explaining why artificial sweeteners sabotage freezing and how to rescue failed batches. You’ll learn the exact micron-level adjustments needed for thick margaritas versus thin lemonades, plus the counter-clearance secret most manufacturers hide. By the end, you’ll operate your Ninja Slush machine with the confidence of a professional mixologist.
Fix Sugar Content Before Machine Stops Mid-Cycle
Why 4% Sugar Is Non-Negotiable for Scrapeable Slush
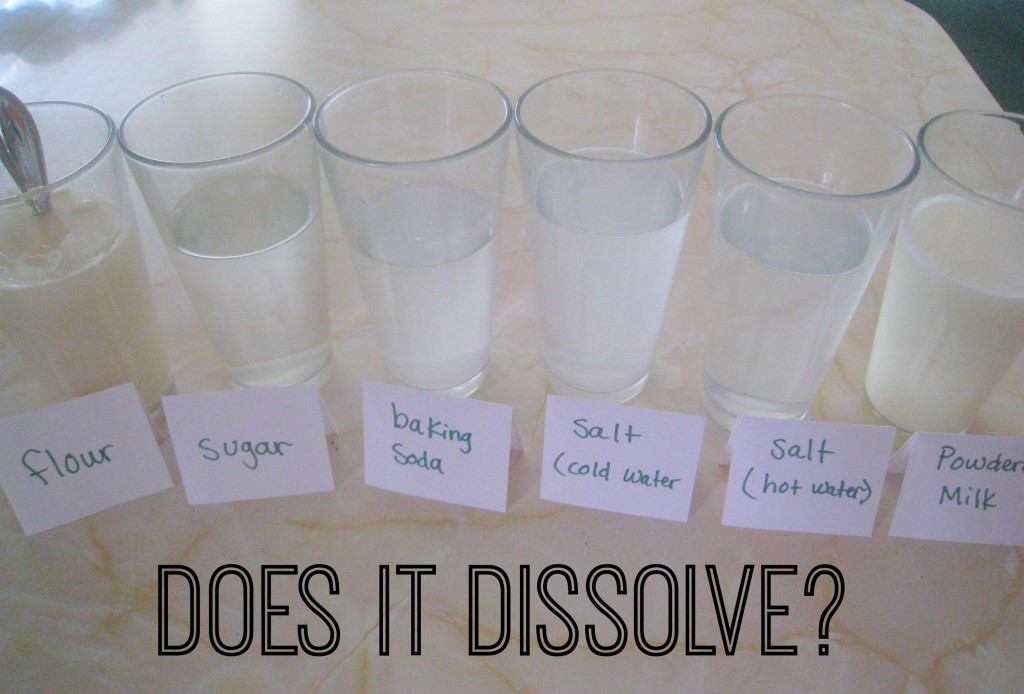
Your Ninja Slush machine halts unexpectedly when sugar drops below 4%—this isn’t a defect but physics in action. Without sufficient sugar, water freezes into solid ice crystals the auger can’t scrape, triggering automatic shutdown. Artificial sweeteners like stevia or monk fruit won’t work because they lack the molecular structure needed to lower the freezing point. Only real sugar (sucrose) creates the necessary slushie texture by preventing complete crystallization.
Emergency Sugar Fix Protocol: If your machine stops during churning, immediately mix ¼ cup sugar with ¼ cup warm water. Microwave 30 seconds, stir until fully dissolved, then pour slowly through the top hatch. Never dump dry sugar into frozen mix—it won’t dissolve and creates gritty pockets. Remember: this syrup adds extra liquid, so reduce your next batch’s base liquid by the same volume.
Alcohol Limits That Prevent Liquid or Solid Failures
Alcohol content between 2.8% and 16% is your golden zone. Below 2.8% (like light beer), the mixture freezes solid; above 16% (most straight spirits), it stays liquid. For a 32-oz batch, this means precise measurements: 1.5 oz vodka in 32 oz mix = 4.7% alcohol—perfect for margaritas. Ninja’s reference charts account for your specific serving size, but here’s the universal rule: if using 80-proof liquor, never exceed ½ cup per quart of mix.
Real-Time Alcohol Adjustment: Too weak? Pour extra alcohol directly through the top hatch while the auger spins. Too strong? Dispense ½ cup of mixture into a measuring cup first (to avoid overflow), then add equal parts water. Always adjust during active churning—post-cycle fixes won’t re-balance the chemistry.
Avoid Assembly Errors That Cause Costly Damage
Critical First Clean Before First Use
Skipping initial cleaning risks plastic residue contaminating your first batch. Fully disassemble: remove the drip tray (front slide-out), main vessel (rear bail handle), condensation catch (under vessel), and auger (twist counterclockwise). Hand-wash all parts in warm soapy water—never dishwasher for the auger. Wipe the silver evaporator coil with a damp microfiber cloth only; abrasive scrubbing damages its freezing capability. Air-dry components for 2 hours minimum; moisture causes electrical shorts.
Countertop Clearance Mistakes That Overheat Machines
This machine needs 6 inches of clearance on all sides—especially critical at the back where vents expel heat. Placing it flush against cabinets traps heat, triggering automatic shutdown within 5 minutes. Test your spot: run a hairdryer on low behind the unit—if it feels hot within 60 seconds, relocate. Also verify 12 inches of overhead clearance for the top hatch. During assembly, slide the main vessel into the rear bail handle until it clicks; a loose fit causes leaking and motor strain.
Load Liquids and Programs Without Messy Spills

Precision Loading Technique for Zero Counter Drips
Pouring directly from a pitcher guarantees countertop floods. Instead, use a narrow-spout container (like a ketchup bottle) held 2 inches above the open top hatch. Fill to the “Max Fill” line only—overfilling causes blowouts during churning. For alcohol mixes, add spirits AFTER the sugar solution to prevent premature dilution. Never pour frozen ingredients; the machine requires liquid bases to initiate freezing.
Program Selection Secrets Based on Your Mix Type
Press power, then choose ONLY these presets for reliable results:
– “Spiked Slush” for ANY alcohol (even 2.8% wine coolers)
– “Slush” for soda-based mixes (Coke, root beer)
– “Frozen Juice” for pure fruit blends (no dairy)
– “Milkshake” ONLY for dairy-heavy recipes (½ cup milk minimum)
– “Frappé” for coffee + milk combinations
Selecting “Slush” for margaritas? The machine runs too cold, causing solid ice. Choosing “Milkshake” for lemonade? Inadequate freezing creates soup. Temperature bars appear immediately on the right panel—ignore them until churning starts in 90 seconds.
Dispense Perfect Portions and Adjust Texture Instantly
Handle Technique That Prevents Wasted Slush
When the machine beeps (indicating cycle completion), the auger keeps spinning—this is normal. Position your glass 1 inch from the spout, then pull the handle 30% toward you (not fully). Hold steady; there’s no lock mechanism, so jerking causes splashes. Release instantly to stop flow. Pulling beyond 50% floods the drip tray. For thicker pours (like frozen daiquiris), pull 40% but reduce glass height to ½ inch.
On-the-Fly Texture Correction in 60 Seconds
Machine made icy chunks? Press the UP arrow twice for colder temps. Resulting slush too thin? Press DOWN arrow once. The display flashes “ADJ” during changes—wait for the confirmation beep before dispensing. Never adjust temperature during active churning; wait until the cycle completes. For immediate fixes: add 2 tbsp simple syrup for thickness or 2 tbsp water for thinness, then reselect the program.
Cleaning Methods That Extend Machine Lifespan
3-Minute Rinse Between Flavor Changes
Skipping this cross-contaminates flavors. Dispense remaining slush into a bowl using the active preset, then select “Rinse.” Fill to Max Fill with HOT tap water (not boiling). Place a 4-quart container under the spout—water flows 3x faster than slush. Pull handle 25% open; full pull causes geyser-like bursts. Stop rinse after 60 seconds, unplug, and let components air-dry. Do this between EVERY flavor batch.
Deep Clean Protocol for Sticky Residue Removal
Disassemble all parts after final use. Dishwasher-safe components (drip tray, vessel, condensation catch) go on the top rack. Hand-wash the auger with a soft brush—dishwasher jets warp its spiral. Wipe the evaporator with a vinegar-dampened cloth to dissolve sugar buildup, then dry with paper towels (lint-free). Reassemble only when bone-dry; moisture causes mold in 48 hours. Perform this weekly if used daily.
Pro Texture Troubleshooting Without Restarting
Watch for these real-time indicators:
– Mid-cycle shutdown = sugar/alcohol imbalance (immediate fix above)
– Gritty texture = undissolved sugar (always use pre-made syrup)
– Slow dispensing = handle pulled too far (adjust to 30% pull)
– Warm slush = insufficient vent clearance (reposition machine)
Run a calibration test monthly: Mix 32 oz water + 1.3 oz sugar (4% solution) + 1.5 oz vodka (4.7%). Cycle should complete in 12-15 minutes with smooth texture. Deviations indicate maintenance needs.
Costly Mistakes That Void Your Warranty
Never commit these errors:
– Adding dry sugar to frozen mix (causes irreversible auger damage)
– Using sugar substitutes like Splenda (creates concrete-like ice)
– Ignoring vent clearance (trips thermal fuse, $80 repair)
– Forcing the handle lock (breaks internal lever mechanism)
– Dishwashing the auger (warps spiral, ruins scraping action)
Emergency fixes: Machine won’t start? Verify vessel click in bail handle. Loud grinding? Disassemble and check for fruit pulp jamming the auger. Sour smell? Run rinse cycle with 1 cup white vinegar + water.
Mastering how to use Ninja Slush machines hinges on three non-negotiables: the 4% sugar rule, precise alcohol limits, and post-cycle cleaning. Follow these exact protocols, and you’ll transform from frustrated owner to slushie virtuoso—no more icy failures or watery disappointments. Remember to recalibrate sugar ratios when swapping recipes, maintain strict vent clearance, and always use pre-dissolved syrup. Your perfect margarita or cherry slush is now just 15 minutes away. Ready for next-level results? Explore our guide to Ninja Slush machine cocktail recipes using these foundational techniques.

