

Nothing ruins breakfast faster than burnt toast or an under-baked bagel. Whether you’ve just unboxed your first Ninja toaster or you’re still figuring out why your frozen waffles come out soggy, mastering this powerful kitchen appliance will transform your morning routine. This guide walks you through every function, button, and insider trick to get restaurant-quality results from your countertop. You’ll learn exactly how to use Ninja toaster settings properly to avoid common mistakes that lead to uneven browning or wasted food.
First-Time Setup and Safety Check
Unbox and Inspect All Parts
Remove every piece of packaging from your new Ninja toaster. Inside the box, you’ll find a crumb tray, baking pan, wire rack, and user manual. Check each component for damage—look for bent rack wires or cracked tray corners. Peel off all protective films from the heating elements and glass door. These plastic coatings can smoke during first use if left in place, so complete removal is critical before your first operation.
Complete Initial Cleaning
Wash the removable parts in warm, soapy water. The crumb tray, wire rack, and baking pan can handle a gentle scrub, but avoid steel wool. Dry everything completely before assembly. Wipe the interior walls with a damp cloth—never use abrasive cleaners that could damage the non-stick coating. Run the empty toaster at 450°F for 10 minutes to burn off any manufacturing residues. This crucial step prevents strange odors during your first actual cooking session.
Position Your Toaster Safely
Place your Ninja toaster on a flat, heat-resistant surface with six inches of clearance on every side. Never operate it under kitchen cabinets—the top vents release significant heat. Position it near an electrical outlet but avoid stretching the cord. Use a dedicated 15-amp circuit when possible to prevent tripping breakers during high-wattage broiling. Ensure the toaster sits level to prevent food from sliding during operation.
Control Panel Navigation
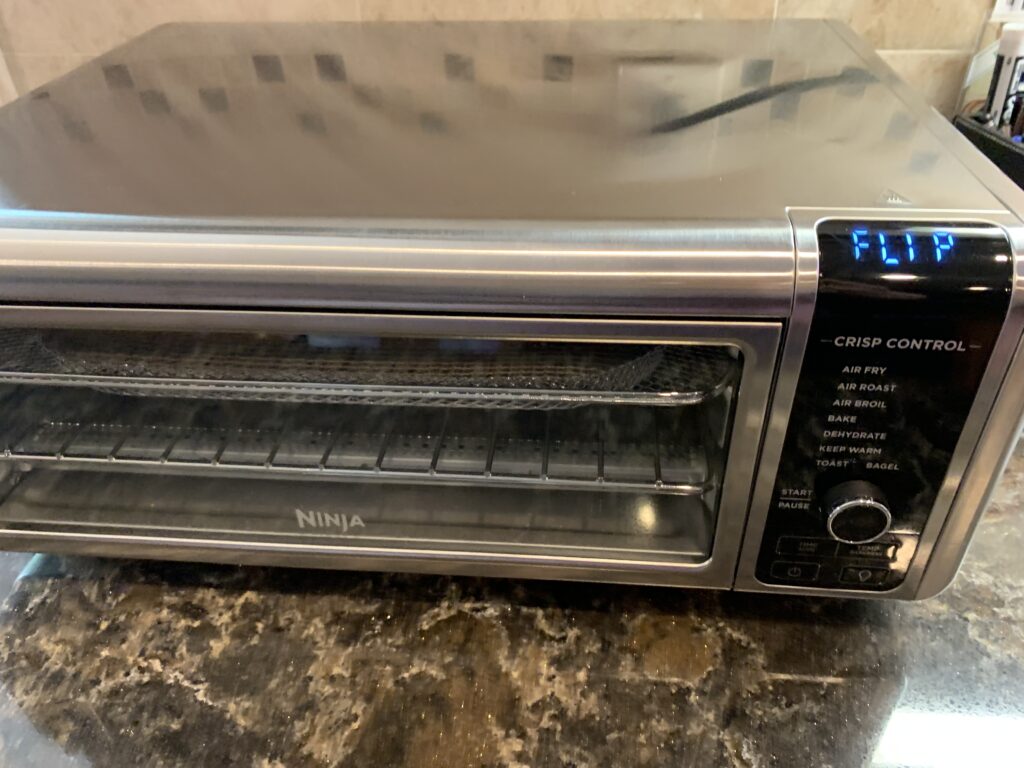
Master the Digital Display
The LED display shows three critical pieces of information: selected temperature, cooking mode, and remaining time. Buttons illuminate when active, making it easy to see your settings in dim morning light. The temperature range spans 150°F to 450°F, while the timer extends from 1 minute to 4 hours depending on your selected function. Learn to read this display quickly—your perfect toast depends on accurate settings.
Essential Button Functions
- Power: Hold for 3 seconds to prevent accidental activation
- Mode: Cycles through toast, bake, broil, bagel, reheat, warm, and defrost
- Temperature: Adjusts in precise 5°F increments
- Timer: Changes in 1-minute intervals up to 1 hour, then 5-minute jumps
- Shade Selector: 7 levels from barely warm (1) to nearly burnt (7)
- Frozen: Adds 30-45 seconds automatically for frozen items
Press and release these buttons deliberately—rapid tapping confuses the system. Always verify your settings on the display before pressing Start.
Perfect Toast Every Time
Standard Bread Toasting
Slide the wire rack into position 2 for standard bread slices. Place up to four slices centered on the rack—avoid crowding the edges. Close the door firmly until it clicks. Press the power button, select “Toast” mode, then choose your shade level. Press Start and wait for the completion chime. The automatic rack lift raises toast for easy removal. Pro tip: For consistent results, always use bread of similar thickness.
Bagel Mode Mastery
Select “Bagel” mode for perfectly toasted bagels every time. This setting activates only the inner heating elements, toasting the cut side while warming the outer crust. Place bagel halves face-up on the rack. Expect bagel mode to run 30% longer than standard toast—this prevents burning while achieving that perfect crunch. Never try to toast whole bagels; they’ll burn before the center heats through.
Frozen Item Success
Never defrost frozen waffles or bread before toasting. Place frozen items directly on the rack and press the “Frozen” button before starting. The toaster automatically extends cooking time by 30-45 seconds. This prevents burnt edges while ensuring the center heats completely. You’ll notice frozen waffles come out crisp outside and warm inside—no more soggy centers.
Advanced Cooking Functions
Bake Mode for Small Batches
Preheat your Ninja toaster for 5-10 minutes when using bake mode. The convection fan automatically engages for even heat distribution, perfect for small cookie batches or reheating casseroles. Use the included baking pan for cookies, and expect temperature accuracy within 5°F of your setting. Warning: Don’t open the door frequently—each peek adds 2-3 minutes to cooking time.
Broil Like a Professional
Move the rack to position 3 (highest level) for broiling. Preheat broil mode for 3-5 minutes before adding food. Place items on the broiling pan or wire rack, positioning them 1-2 inches from the top elements. Monitor closely—broiling works quickly, with most foods finishing in 2-8 minutes. Flip items halfway through for even browning. Cheese melts in just 60-90 seconds, so stay vigilant.
Reheat Without Overcooking
The reheat function uses gentle 300°F heat to warm leftovers without over-browning. Perfect for day-old pizza or pastries. This mode prevents the soggy results you get from microwaves while avoiding the burnt edges from regular toasting. For pizza, place slices directly on the rack for 3-4 minutes—you’ll get crispy crust without dried-out toppings.
Rack Position Secrets
Position 1 (Bottom Slot)
Use the bottom position for large items like casseroles or when slow, gentle baking is required. This position sits 4 inches from the heating elements, providing the most even heat distribution for longer cooking times. It’s ideal for reheating dense foods like lasagna that need thorough warming without surface burning.
Position 2 (Middle)
The middle position works best for standard toasting and most baking tasks. At 2.5 inches from the elements, this position balances browning with thorough cooking. Use this for everyday bread, English muffins, and reheating leftovers. Most users will find this the “sweet spot” for daily operations when learning how to use Ninja toaster features properly.
Position 3 (Top)
Reserve the top position for broiling and high-heat toasting. Only 1 inch from the elements, this position delivers intense, direct heat. Perfect for melting cheese on French onion soup or achieving the perfect pizza bagel. Caution: Food can burn in seconds here—never walk away during top-position cooking.
Daily Cleaning Protocol
Quick Post-Use Cleanup
Always let your toaster cool for 30-45 minutes before cleaning. Remove the crumb tray after every use and shake it over the sink or trash. Wipe any spillages immediately with a damp cloth—dried cheese or sauce becomes much harder to clean. The glass door stays hot longer than you expect, so use oven mitts for safety. This daily habit prevents buildup that could cause smoke during future use.
Weekly Deep Clean Routine
Unplug your toaster and let it cool completely. Remove the wire rack and baking pan for a thorough wash in warm, soapy water. The crumb tray is dishwasher-safe (top rack only). Wipe interior walls with a damp cloth and mild detergent. Clean the door glass with standard glass cleaner, avoiding the rubber door seal. Pay special attention to heating elements—use a soft brush to remove stubborn debris without damaging them.
Troubleshooting Common Problems

Uneven Browning Solutions
If your toast browns unevenly, first check that bread slices are similar thickness. Clean the crumb tray and interior walls—built-up debris affects heat distribution. Verify the rack sits level and isn’t warped. Try rotating the rack 180 degrees if one side consistently toasts darker. This simple fix solves 90% of uneven browning issues when using your Ninja toaster.
Smoke Issues During Operation
Cancel the cycle immediately and unplug if you see smoke. Check for food debris on heating elements—use a soft brush to remove. Ensure adequate ventilation around the toaster. If smoke continues after cleaning, contact customer service as this indicates a potential electrical issue. Never ignore smoke—it’s your toaster’s warning sign.
Energy Efficiency Hacks
Smart Batch Toasting
Toast multiple items at once instead of running several small cycles. The residual heat from the first batch actually helps the second batch toast faster. Use the keep-warm function (400-600 watts) instead of re-toasting items you’re not ready to eat. This approach saves up to 20% on energy when properly using your Ninja toaster daily.
Pro Tips for Specialty Items
Artisan Bread Techniques
Cut thick slices (3/4 to 1 inch) for artisan breads with tough crusts. Use lower shade settings (2-3) to prevent burning while achieving the right texture. Flip thick slices halfway through for even browning when using the middle rack position. You’ll get that perfect chewy interior with a crisp crust every time.
English Muffin Perfection
Split muffins completely before toasting for consistent results. Use higher shade settings (5-6) for the crispy texture English muffins are known for. Fork-split muffins toast more evenly than knife-cut ones because the rougher surface browns better. Watch closely—they burn quickly due to their high surface-area-to-volume ratio.
Safety Rules That Save Fingers
Burn Prevention Protocol
Always use oven mitts or tongs to remove food—the door glass stays hot long after cooking ends. Allow 30+ minutes cooling before touching interior surfaces. Keep children away during and after use. The rack lift feature prevents direct contact, but surfaces remain dangerously hot. Never reach into the toaster while it’s operating or cooling.
Your Ninja toaster can handle everything from Tuesday morning toast to Sunday brunch casseroles. Master these techniques, and you’ll wonder how you ever managed with a basic pop-up toaster. Start with simple toast to learn your preferred shade settings, then experiment with the advanced functions. With proper maintenance and these insider tricks, your Ninja toaster will deliver consistent, perfect results for years to come.


