
That first puff of aromatic smoke from your Ninja Woodfire Grill tells you something special is happening—this isn’t your grandfather’s smoker. Unlike traditional setups that require constant temperature monitoring and messy charcoal, your Ninja delivers authentic wood-fired flavor with the precision of an electric appliance. Whether you’re smoking your first rack of ribs or perfecting a brisket for game day, understanding how to use Ninja Woodfire smoker settings properly transforms ordinary meals into extraordinary culinary experiences.
The magic happens through Ninja’s unique Woodfire Flavor Technology, which uses wood pellets exclusively for flavor while electric heating elements handle temperature control. This hybrid approach means you get the best of both worlds: genuine smoke infusion without the frustrating guesswork of traditional smokers. In this guide, you’ll discover exactly how to load pellets correctly, set ideal temperatures for different foods, and avoid the common pitfalls that turn promising smoke sessions into disappointing dinners.
Essential Setup Before Your First Smoke Session
Verify Your Components Are Ready
Before firing up your Ninja Woodfire smoker function, confirm you have these critical components properly installed:
- Smoke box securely mounted on the unit’s right side
- Pellet scoop for consistent smoke delivery
- Appropriate cooking surface (grill plate or grates)
- Drip tray positioned to catch grease and drippings
If any piece is missing or improperly installed, stop immediately—using your Ninja without complete components leads to uneven cooking and potential safety hazards. Unlike traditional smokers where you improvise, the Ninja system requires all parts to work together for optimal smoke infusion.
Choose the Right Pellet Blend for Your Meal
Ninja offers two pellet varieties, each engineered for specific culinary results:
Robust Blend: Delivers deep, classic BBQ flavor perfect for beef brisket, pork shoulder, and chicken thighs. Reach for this when you want that unmistakable Texas-style barbecue punch.
All-Purpose Blend: Provides a milder, slightly sweet profile ideal for delicate fish, vegetables, or when subtle smoke won’t overpower lighter proteins.
Pro tip: As a beginner, start with the All-Purpose Blend for your first few smoke sessions. It’s more forgiving and helps you calibrate your smoke preference before advancing to the bolder Robust Blend.
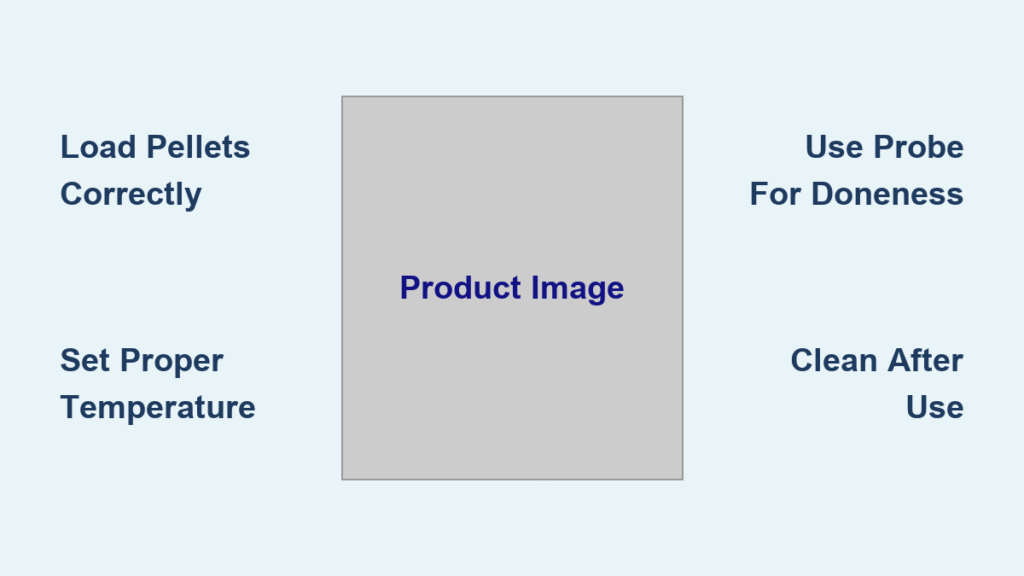
Load Pellets Like a Pro
- Measure precisely: Fill the pellet scoop completely and level off—this equals one standard smoke session
- Open smoke box: Lift the lid until it clicks open
- Pour carefully: Empty the scoop directly into the box, avoiding spillage
- Secure properly: Press the lid down firmly until you hear the latch engage
- Ignite correctly: Press the Woodfire Technology button once to prepare for smoking
Master Temperature Control for Perfect Smoke
Understand Your Ninja’s Temperature Range
Your Ninja operates between 105°F to 400°F during smoking—far wider than most electric smokers. This versatility lets you cold-smoke cheese at 105°F or power through weeknight chicken at 375°F with equal success.
Key temperature zones:
– 105-175°F: Cold smoking cheese, nuts, or finishing already-cooked meats
– 225-275°F: Traditional low-and-slow for brisket, pork shoulder, ribs
– 325-400°F: Fast smoking for chicken, turkey, or when time is limited
Skip the Preheating Hassle
Unlike traditional smokers requiring 30-45 minutes to stabilize, your Ninja starts smoking immediately. This time-saving feature means you can decide to smoke dinner after work and have it ready without the lengthy warm-up ritual.
Temperature setting sequence:
1. Select “Smoke” function
2. Dial in exact temperature using arrow buttons
3. Input cooking time or use probe mode (Pro models)
4. Press Start—the unit announces “Add Food” when ready
Step-by-Step Smoking Process for Beginners
Smoke Your First Meal Like a Pit Master
- Insert cooking surface: Place grill plate or grates based on your food type
- Load pellets: One full scoop for most foods, half-scoop for delicate items
- Select function: Press “Smoke” on the control panel
- Set parameters: 225°F for traditional smoking, adjust based on recipe
- Add food: When “Add Food” appears, load your seasoned items
- Resist peeking: Each lid opening adds 5-10 minutes to cook time
- Check doneness: Use probe thermometer for accuracy, not guesswork
Maximize Your Pro Model’s Probe System
For Pro/Pro Connect models, the built-in probe transforms smoking from an art to a science:
- Proper placement: Insert through thickest meat portion, avoiding bones
- Secure connection: Firmly insert probe into marked port on grill front
- Smart mode: Set target internal temperature instead of cooking time
- Protein selection: Choose beef, pork, or poultry for automatic doneness detection
- Completion alert: Your grill notifies when target temperature is reached—no timer needed
Example: Set 205°F for pulled pork shoulder. The grill runs until internal temp hits exactly 205°F, guaranteeing perfect texture every time.
Pellet Management for Long Smoking Sessions

Understand Your Burn Rate
One pellet scoop provides 30-90 minutes of smoke depending on temperature:
– Low temps (225°F): 60-90 minutes per load
– High temps (375°F+): 30-45 minutes per load
Refill Without Losing Heat
For cooks under 4 hours: No refill needed
For longer cooks: Monitor through viewing window and add pellets when smoke diminishes
Refill procedure:
1. Add pellets to box before current load extinguishes
2. Press ignite if pellets have burned out
3. Resume cooking—no temperature adjustment needed
Control Smoke Intensity Like a Pro
Heavy smoke foods: Brisket, pork shoulder, ribs—use full scoop
Medium smoke foods: Chicken, turkey—use 3/4 scoop
Light smoke foods: Fish, vegetables, cheese—use 2-3 tablespoons
Clean Up Like a Seasoned Ninja User
Immediate Post-Cook Steps
- Cool completely: Wait 30-45 minutes for safe handling
- Remove smoke box: Only after pellets are completely cool
- Ash disposal: Empty cooled ash into compost or trash
- Accessory soak: Place grill plate and accessories in warm, soapy water
- Grease management: Remove and wash drip tray thoroughly
Critical warning: Never use abrasive cleaners, steel wool, or dishwasher for grill plates—hand wash only protects the non-stick coating.
Avoid These Common First-Timer Mistakes

Prevent Over-Smoking Disasters
Problem: Food tastes bitter or acrid
Solution: Start with half-scoop pellets, increase gradually based on preference
Prevention: Remember you can always add more smoke, but can’t remove it
Correct Temperature Probe Errors
Mistake: Probing too close to bone
Result: False temperature readings leading to undercooked meat
Fix: Insert probe in thickest meat section, at least 2 inches from bone
Stop Capacity Overload
Sign: Uneven cooking, longer cook times
Solution: Leave 1-inch space between all food items
Rule: Better to cook in batches than cram everything at once
Safety First: Location and Fuel Guidelines
Outdoor Use Requirements
Mandatory: Use only in well-ventilated outdoor areas
Balcony friendly: Electric operation safe for apartment balconies
Never indoor: Carbon monoxide risk—absolutely prohibited indoors
Fuel Restrictions That Protect Your Investment
- Official pellets only: Third-party pellets void warranty and may damage unit
- No wood chips: Incompatible with smoke box design
- Pellet storage: Keep dry—moisture ruins pellets and creates ash buildup
Master your Ninja Woodfire smoker by starting simple: smoke a few chicken thighs at 375°F using All-Purpose Blend. Once you dial in the smoke level, progress to longer cooks like pork shoulder or brisket. Remember that your Ninja cooks 20-30% faster than traditional smokers due to efficient heat circulation and consistent temperature maintenance—reduce traditional smoker times by 25% for optimal results.
The beauty of this system lies in its forgiveness—consistent results come easily when you follow these proven techniques. For large cuts like brisket or pork shoulder, rest 30-60 minutes wrapped in foil after cooking for maximum tenderness. Treat smoke like salt: build flavor gradually rather than overwhelming your food. With practice, you’ll discover exactly how to use Ninja Woodfire smoker settings to create restaurant-quality smoked dishes in your own backyard, without the frustration of traditional smoking methods.


