
Your chef’s knife just mangled that tomato instead of slicing cleanly. The paper test ended in frustrated tearing, and you’re wasting precious cooking time wrestling with dull blades. That Ninja Knife Sharpener gathering dust in your drawer holds the solution—but only if you know exactly how to wield it. Skip the guesswork and costly professional services. This guide delivers the precise technique to transform your sharpening results, so you can glide through ingredients with professional precision starting today.
Most home cooks make critical mistakes with their Ninja sharpener, like using the wrong stage for their knife’s condition or applying inconsistent pressure. These errors leave blades unevenly sharpened or worse—permanently damaged. By mastering the three-stage system and perfecting your pull technique, you’ll restore that factory-fresh edge in under five minutes. Let’s turn your sharpening sessions from frustrating to flawless.
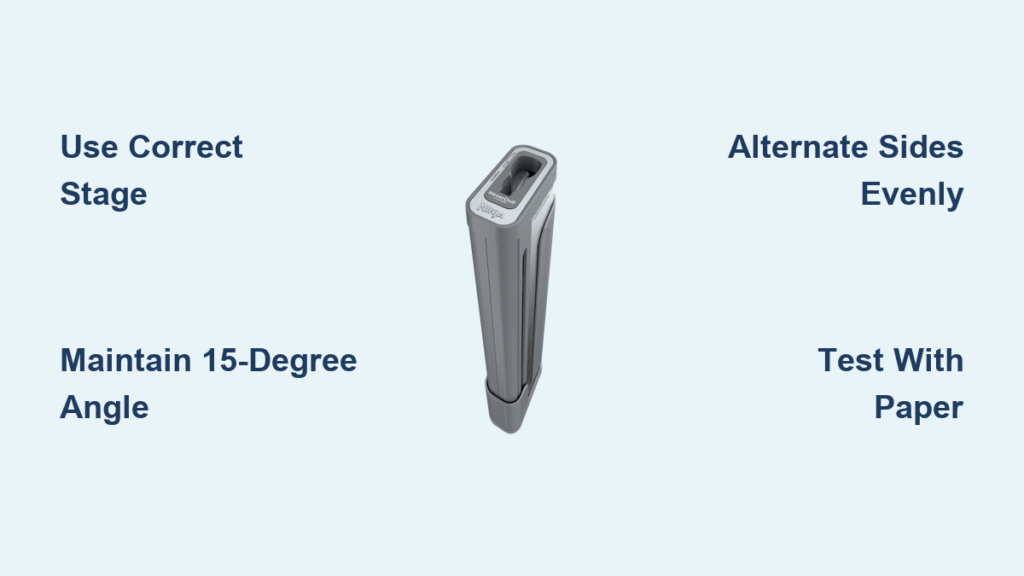
Quick Safety Setup for Flawless Results
Essential Workspace Prep
Place your Ninja Knife Sharpener on a dry, stable counter near your sink—metal filings need immediate cleanup. Position bright task lighting directly above to spot imperfections. Clear all distractions within arm’s reach: cutting boards, utensils, and cookbooks create dangerous slip hazards. Pro tip: Secure the unit with a damp paper towel underneath—it prevents dangerous sliding during aggressive pulls.
Protect Your Hands Like a Pro
Cut-resistant gloves aren’t optional for beginners. Even minor slips send thousands to the ER yearly. Keep your non-dominant hand locked on the sharpener handle—never brace the blade from below. Work deliberately; rushing creates uneven edges and safety disasters. Always sharpen clean, dry knives—food residue masks blade damage and causes slipping.
Pre-Use Knife Inspection Checklist
Hold blades under bright light to spot visible nicks or rolled edges—these demand Stage 1 attention. Perform the paper test: clean cuts mean Stage 3 maintenance, slight tearing indicates Stage 2, complete failure requires Stage 1. Critical check: Verify handle integrity—loose rivets or cracks make knives unsafe to sharpen. If your knife wobbles, stop immediately and repair or replace it.
Decode the Three Stages for Perfect Edges

Stage 1: Repair Severe Damage
The coarse diamond abrasives (300-400 grit) reset completely dull blades when knives fail the paper test. Use this stage only for visible damage or extreme dullness. Start with 3-5 passes per side, then retest. Warning: Overusing Stage 1 shaves years off your knife’s lifespan by removing excessive metal. Stop when paper cuts improve—don’t over-polish at this coarse stage.
Stage 2: Refine the Edge Like a Chef
Fine ceramic abrasives (1000-1500 grit) remove burrs and create working sharpness for daily cooking. Most home knives need this stage every 2-3 weeks. Make 5-7 passes per side, testing sharpness after every 3-4 passes. Pro tip: Listen for the change in sound—Stage 2 produces a smoother “shink” versus Stage 1’s gritty scrape. Stop when tomatoes slice cleanly without downward pressure.
Stage 3: Polish for Precision Cuts
Ultra-fine ceramic creates razor-sharp final edges for delicate tasks like herb chiffonade. Use this stage for weekly touch-ups between full sharpenings. Limit to 3-5 light passes per side—excessive use rounds the edge. Expert note: Stage 3 isn’t just for finishing; use it alone for maintenance sharpening when blades feel slightly dull but still pass the paper test.
Perfect Sharpening Technique in 3 Steps
Master the Grip for Consistent Angles
Hold the sharpener handle firmly with your non-dominant hand. The 15-17 degree angle is pre-set—no guesswork needed. Position yourself perpendicular to the counter, pulling knives toward your body. Critical detail: Keep your wrist locked—wrist movement creates uneven angles that ruin edges.
Execute the Pull for Full-Blade Contact
Start at the knife heel (where blade meets handle), inserting completely into the slot. Apply 3-5 pounds of pressure—imagine slicing a firm tomato. Pull smoothly in one continuous motion until the tip exits. Never ease pressure mid-stroke—this creates a sharp tip but dull heel. Visual cue: Watch for consistent metal filing color—dark shavings mean Stage 1 is working; fine gray indicates Stage 2/3.
Alternate Sides for Balanced Edges
Complete passes in pairs: one full pass right side, one left side. This prevents asymmetric edge development. After 3-4 pairs, retest sharpness. Common mistake: Skipping side alternation creates “scalloped” edges that snag food. Always maintain the same number of passes per side—never favor one edge.
Sharpen by Knife Type Like a Specialist

Chef’s Knives (8-10″)
Focus extra attention on the curved belly section—most home cooks neglect this high-use area. Use Stage 2 for routine maintenance, Stage 1 only for severe dullness. Make slightly longer pulls to cover the full curve, adjusting hand position mid-stroke to maintain pressure. Time-saver: Sharpen the straight tip section first, then the curved belly with separate motions.
Paring Knives (3-4″)
These small blades require extra finger awareness. Use Stage 3 exclusively for touch-ups—Stage 1 destroys delicate tips. Make controlled, short pulls: 2-3 passes per side often suffices. Safety tip: Grip the blade spine with thumb and index finger well above the cutting edge—never hold near the sharpener slot.
Serrated/Bread Knives
Never use standard slots—you’ll ruin the serrations. If your model has a serrated slot, use it sparingly on the flat side only. Insert each serration point individually, making one light pull per scallop. Reality check: Most serrated knives need professional sharpening—your Ninja sharpener is primarily for straight-edge blades.
Japanese Single-Bevel Knives
Sharpen only the beveled side (typically right for right-handed users). Use Stages 2 and 3 exclusively to preserve the traditional geometry. Tilt the knife 10-15 degrees to match the single-bevel angle. Critical reminder: Never sharpen the flat side—that destroys the specialized edge.
Test Your Results Like a Professional
Paper Test Mastery
A properly sharpened knife should slice clean strips from standard printer paper without tearing. Start with thin paper, progress to cardstock. Troubleshooting: If knives snag, return to Stage 2 for 2-3 more passes. If they cut cleanly but require heavy pressure, Stage 3 needs more attention.
Tomato Test Reality Check
Fresh tomatoes reveal true sharpness. Your knife should cut paper-thin slices without downward pressure or skin tearing. Warning: If the blade slides across the skin instead of cutting, Stage 2 needs reinforcement—Stage 3 alone can’t fix this.
Visual Inspection Technique
Hold the blade under bright light at a 45-degree angle. A sharp edge shows no visible light reflections—any shiny spots indicate dull areas. Pro method: Rotate the blade slowly; reflections move along the edge, pinpointing problem zones needing extra passes.
Fix Common Problems Fast

Knife Won’t Sharpen
Wrong stage selection causes 80% of failures. Very dull knives need Stage 1, moderately dull need Stage 2. Insufficient pressure prevents proper edge formation—apply steady 3-5 pounds of force throughout each stroke. Quick fix: Start over with Stage 1, then progress through all stages.
Uneven Edge Formation
Inconsistent pressure creates wavy edges. Focus on complete full-length passes with steady pressure. Check for damaged elements by running a straight edge across slot openings—gaps indicate worn abrasives needing replacement.
Removing Too Much Metal
Excessive Stage 1 use shortens knife life dramatically. Limit coarse passes to 3-5 per side, checking sharpness frequently. Use lighter pressure—let the abrasives do the work. Warning sign: Large, dark metal filings mean you’re removing too much material.
Safety Warnings That Prevent Injury
Never Sharpen These Items
Ceramic knives (except ceramic-safe models) will shatter explosively. Cleavers and axes are too thick for standard slots. Scissors and specialty tools have incompatible geometry—attempting sharpening damages both tool and sharpener.
Avoid Dangerous Testing
Never test sharpness on fingers, arms, or any body part. Use proper testing materials only. Critical rule: Store your Ninja Knife Sharpener in a locked drawer if children are present—its compact size makes it deceptively dangerous.
Respect Knife Longevity
Over-sharpening removes years from knife lifespan. Follow these frequencies: Stage 3 touch-ups every 2-3 uses, full Stage 2 sharpening every 7-10 days, Stage 1 only 2-3 times yearly. Professional tip: Use wood or plastic cutting boards—they preserve edges far longer than glass or stone.
Your Ninja Knife Sharpener transforms from intimidating gadget to essential kitchen ally with these proven techniques. Start with a moderately dull chef’s knife and Stage 2 to build confidence. Within minutes, you’ll experience the satisfaction of gliding through ingredients with precision-sharp blades. Master these steps, and you’ll never dread dull knives again—just grab your sharpener and restore professional results in minutes. Remember: sharp knives are safer knives, and with this guide, perfect edges are always within your reach.


