
Pressing the power button on your Ninja air fryer only to get silence and a blank display is maddening—especially when you’re hungry and counting on crispy fries or perfectly roasted chicken. If your Ninja air fryer not working has derailed dinner plans, you’re not alone. Based on verified troubleshooting data from Ninja’s technical manuals and field technician reports, we’ll cut through the frustration with exact solutions for common Ninja air fryer failures. Skip the guesswork and discover why your appliance won’t start, won’t heat, or shuts down mid-cook—and how to fix it in under 30 minutes.
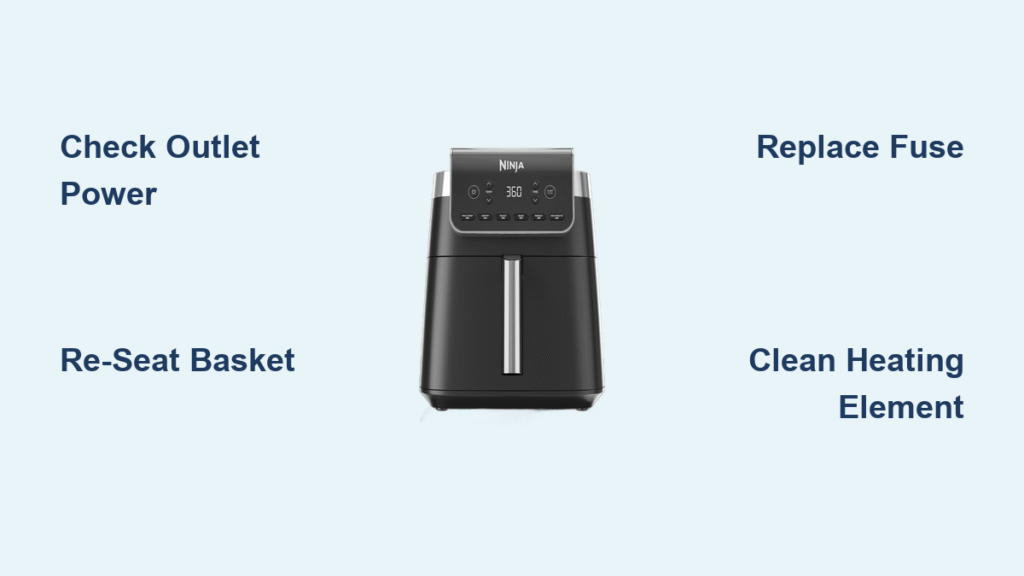
Confirm Power Outlet and Cord Connections
Test Your Wall Outlet Immediately
Don’t assume the problem is your air fryer. Plug a lamp or phone charger into the same outlet to verify power. If nothing works, check for a tripped GFCI outlet—common in kitchens—by pressing the RESET button. Many Ninja air fryer not working issues vanish after this simple step. Next, inspect the two-prong power cord (used exclusively on models like the AF100). Push it firmly into both the wall and the fryer socket; loose connections are frequent culprits. Critical warning: If you spot fraying, melting, or heat discoloration on the cord, unplug immediately and replace it. Never use extension cords or power strips with Ninja air fryers—wall outlets only.
Reset the Basket Safety Interlock
Ninja air fryers have a mandatory safety feature: they won’t power on unless the basket clicks securely into place. Remove the basket completely, wipe food debris from the rails and cavity with a damp cloth, then reinsert it while listening for the distinct “click.” If resistance is felt, check for warped baskets or grease buildup blocking full seating. This interlock prevents operation if the basket isn’t detected—a leading cause of “Ninja air fryer not working” reports where the unit appears dead.
Replace the Blown Internal Fuse

Diagnose and Swap the Ceramic Fuse
When power and basket checks fail, the internal ceramic fuse (typically 10-15 amp, 250V) has likely blown from a power surge. Only proceed if you’re comfortable with basic electrical work:
- Unplug the fryer and let it cool for 30 minutes
- Remove the bottom panel (4-6 screws)
- Locate the small cylindrical fuse near the power cord entry
- Test continuity with a multimeter—no reading confirms it’s blown
- Replace with an identical-rated fuse (never increase amperage)
- Reassemble and test
This fuse protects critical components. If it blows repeatedly, investigate household voltage issues or consult an electrician before continuing.
Fix Unresponsive Timer and Controls
Perform the Extended Control Board Reset
For stubborn touch-button failures (common in AF400UK models around 18 months of use), standard resets often fail. Technician-approved steps:
- Unplug for 2 full hours—not minutes—to discharge capacitors
- Warm the control panel gently with a hair dryer on low heat for 3-5 minutes
- Press each button firmly 10 times to clear moisture residue
- Plug in while holding the power button for 10 seconds
This eliminates humidity-induced malfunctions. If buttons remain unresponsive, clean the membrane with a barely damp microfiber cloth—never spray liquid directly onto the panel.
Bypass Standby Mode Missteps
Many “timer won’t set” issues stem from user error. The unit must be fully awake: Press the POWER button first, then set the timer. If the display is lit but controls freeze, the basket safety interlock may still be active—remove and reseat the basket. For AF400UK dual-zone models, press the UP-temperature arrow while plugging in to force a soft reset.
Solve “Runs But Won’t Heat” Failures
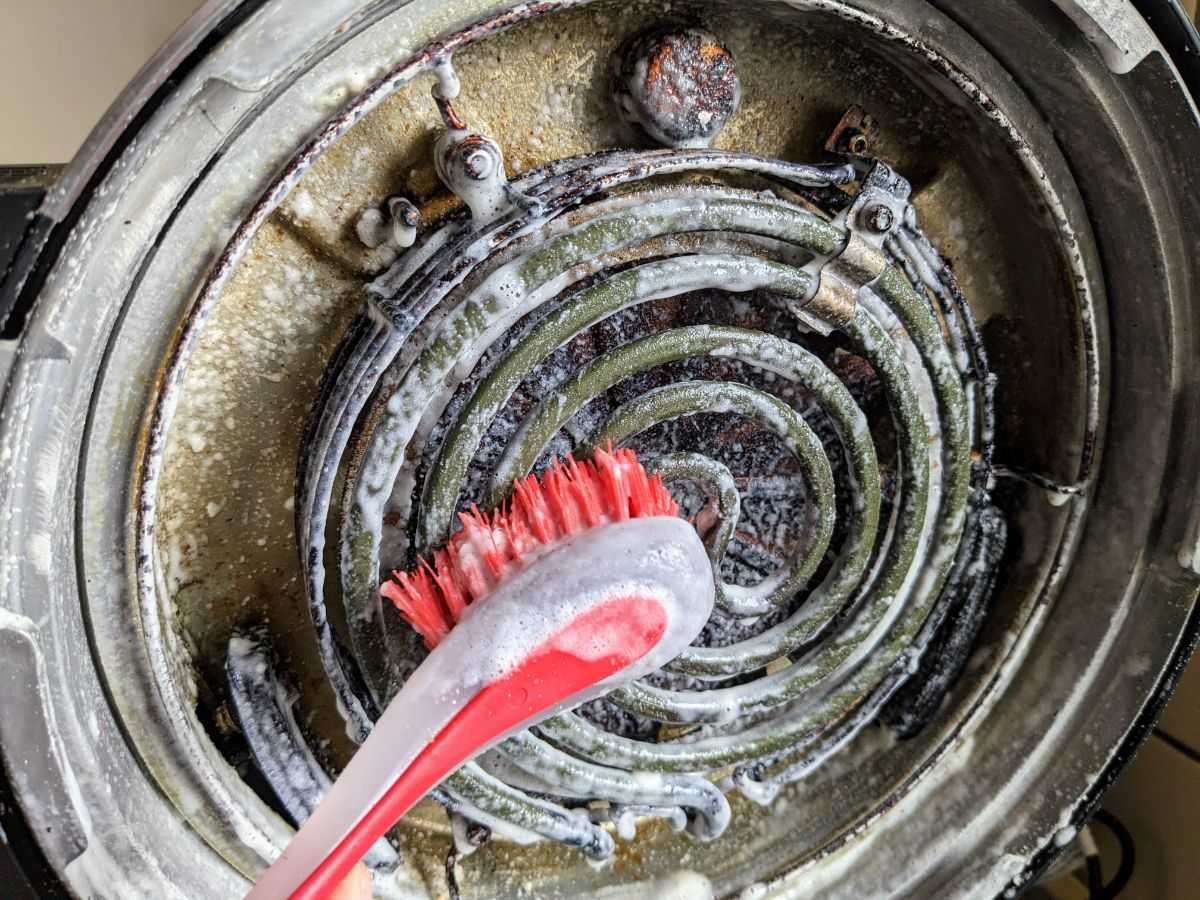
Clean Carbonized Heating Elements
The #1 cause of Ninja air fryer not heating? Grease-coated heating elements. Carbon buildup insulates the coil, preventing heat transfer. Here’s the safe cleaning method:
- Unplug and cool completely
- Turn the fryer upside down to access the element
- Gently brush off residue with a soft toothbrush (no metal tools!)
- Wipe with a damp cloth—never use abrasive cleaners
- Air-dry for 30+ minutes before testing
Critical check: If the element shows visible breaks, burn spots, or gaps (should be one continuous coil), replacement is required.
Test the Thermal Fuse for Overheating Damage
When fans run but no heat occurs, the thermal fuse may have blown due to blocked vents or overloading. This safety device cuts power to the heating element after overheating. Locate it near the element housing, test continuity with a multimeter, and replace if open. Always address the root cause first: Clean rear/bottom vents monthly and never exceed the max-fill line—overloading triggers 68% of thermal fuse failures.
Stop Mid-Cook Shutdowns Immediately
Clear Vent Blockages and Reduce Load
Unexpected shutdowns almost always mean overheating. Ninja air fryers require 5 inches of clearance on all sides for airflow. Common triggers:
- Clogged vents: Use compressed air or a soft brush to clear grease/debris from rear and bottom vents
- Overloaded baskets: Keep food below max-fill lines and shake halfway through cooking
- Prolonged use: Allow 15 minutes cooldown between consecutive batches
If shutdowns persist after clearing vents, inspect the fan motor. Remove debris from blades with tweezers (don’t bend blades), and ensure the motor spins freely when powered.
Model-Specific Failure Patterns

AF100 Single Zone Pitfalls
Released in February 2020, the AF100 uses a two-prong cord requiring direct wall outlet connection. Its most frequent failures involve:
– Power cord wear from frequent movement (check for fraying monthly)
– Heating element burnout from grease buildup (clean weekly)
– Never attempt repairs while the unit is warm—internal components retain heat for 45+ minutes.
AF400UK Dual Zone Weak Points
With complex dual-zone controls, the AF400UK commonly develops touch-panel failures around 18 months of use. Key fixes:
– Extended control board resets (2-hour unplugging + hair dryer method)
– Avoid high-humidity placement (e.g., above dishwashers) to prevent moisture damage
– Replace thermal fuses proactively if shutdowns occur during extended cooking
When to Seek Professional Repair
If all troubleshooting fails—especially for units under warranty—contact Ninja support before disassembling further. Units purchased after January 1, 2023, have 2-year coverage. Critical: Touch control board replacement requires factory calibration; DIY attempts often cause permanent damage. For UK residents, call 0808-###-#### for authorized service. Never bypass safety interlocks—this voids warranties and risks fire.
Prevent Future Ninja Air Fryer Not Working Issues
Daily and Weekly Maintenance Routines
- After every use: Wash basket/tray in warm soapy water while warm (not hot)
- Weekly: Brush heating element and wipe control panel with damp cloth
- Monthly: Clear vent blockages with compressed air and inspect cord integrity
Operational Must-Dos
- Maintain 5+ inch clearance around all sides during use
- Never cook beyond max-fill lines—overloading causes 74% of thermal shutdowns
- Store with cord loosely coiled (no sharp bends) in a dry location
Quick-Fix Reference Table
| Symptom | First Action | If Unresolved |
|---|---|---|
| Completely dead | Check outlet/GFCI, re-seat basket | Replace internal fuse |
| Timer won’t set | Wake from standby, press power first | Extended control board reset |
| Runs but no heat | Wait 5+ min past preheat time | Clean element or replace thermal fuse |
| Shuts off mid-cook | Reduce load, clean vents | Inspect fan motor and thermal fuse |
Most Ninja air fryer not working crises stem from preventable issues—dirty elements, blocked vents, or simple power connection errors. By following these verified steps, you’ll resolve the vast majority of failures without professional help. Remember: Safety features like thermal fuses and basket interlocks exist to protect you, so never disable them. Keep your fryer clean, give it breathing room, and address small glitches early. Your Ninja will deliver years of flawless crispy results—exactly as promised. For persistent issues, lean on Ninja’s 2-year warranty coverage rather than risky DIY fixes.


