
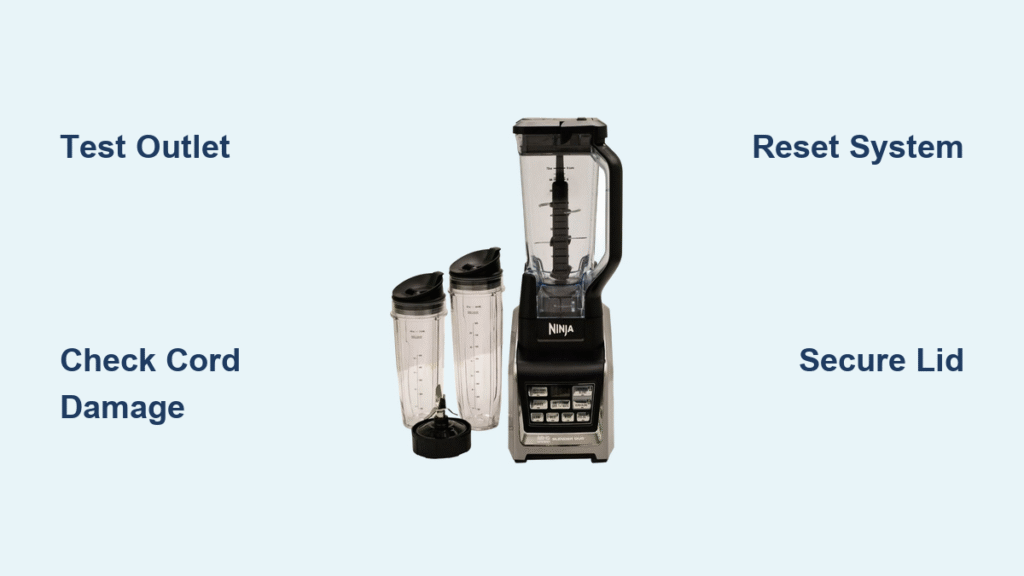
Your Ninja Auto-iQ Blender Duo refuses to start just as you’re pouring in ingredients for your morning smoothie. The power button flashes red, the motor sputters then dies, or those Auto-iQ programs won’t activate despite perfect assembly. Before you assume you need a replacement, know that 90% of Ninja blender failures stem from preventable issues you can fix in under 15 minutes. Whether you own a BL640, BL641, BL642, BL680A, or BL682 model, this guide delivers targeted solutions for complete power loss, blinking error lights, and unresponsive Auto-iQ programs—no technician required.
Diagnosing Complete Power Failure in Your Ninja Auto-iQ Blender

Why Your Blender Shows Zero Signs of Life
When your Ninja Auto-iQ Blender Duo won’t power on—no lights, no sounds, no display activity—start with these critical checks before assuming internal failure. First, test your outlet with a phone charger; if the charger doesn’t work, the problem isn’t your blender. Next, inspect the entire power cord length for hidden damage: kinks near the base connection, exposed copper wires, or fraying where it bends. Wiggle the cord gently while plugged in—if the blender flickers to life, you’ve found an internal break requiring cord replacement.
Essential power source verification:
– Plug into a different room’s outlet (avoid sharing circuits with refrigerators or microwaves)
– Reset tripped GFCI outlets in kitchens/bathrooms
– Confirm outlet switch isn’t accidentally turned off
– Try a direct wall outlet (not power strips or surge protectors)
Solving Intermittent Power Cutoffs During Blending
If your blender starts strong then suddenly stops mid-cycle, overheating protection is likely triggering after 45-60 seconds of continuous operation. This safety feature activates when processing dense ingredients like frozen fruit or nut butters. Immediately unplug the unit and allow 20 minutes of cooling time before retrying with smaller batches. If the problem persists across multiple outlets, check for loose internal connections—a telltale sign is the blender working only when you press down firmly on the container.
Fixing Lid and Container Assembly Failures
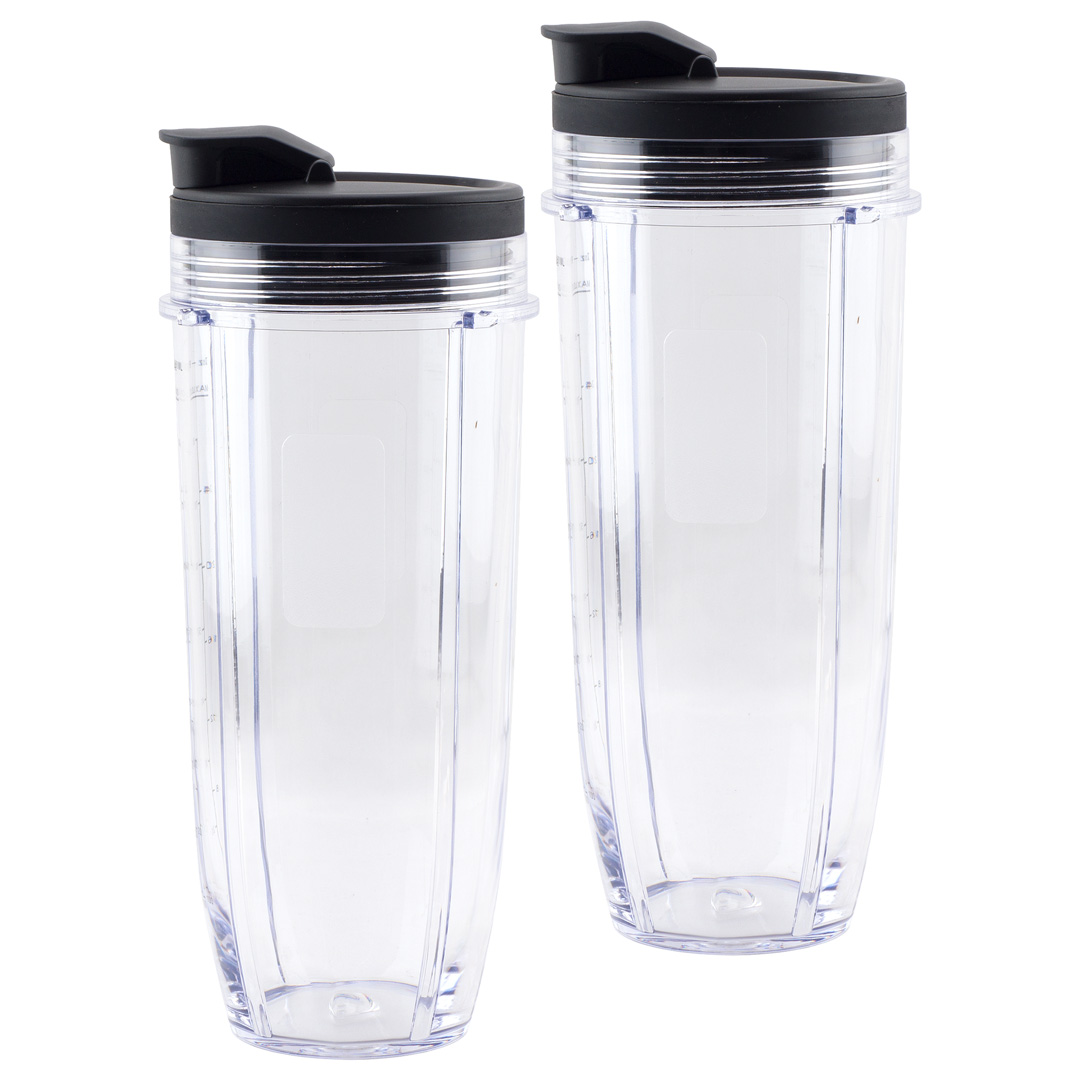
Why Your Nutri Ninja Cup Leaks During Extract Mode
Leaks from your Nutri Ninja cup almost always trace back to damaged extractor blade seals or improper assembly. Remove the cup and inspect the rubber gasket around the blade assembly for cracks, warping, or food debris trapped underneath. If the seal appears worn or flattened, replace it immediately (Ninja part # 46070-070-00). When reassembling, hand-tighten the blade assembly only until snug—overtightening distorts the seal. Never use the extractor blade with the pitcher; it only works with Nutri Ninja cups.
Critical leak prevention steps:
1. Clean the cup rim with a soft brush to remove residue
2. Verify the blade assembly clicks securely into the cup base
3. Fill no higher than the max line (3/4 full for liquids)
4. Start on low speed before increasing power
Container Seating Errors That Trigger Blinking Lights
A slow-blinking red light means your container isn’t seated correctly on the motor base. For BL640/642 models, the container handle must face left; on BL680/682 models, it faces right. Place your palm flat on the container and press down firmly while twisting clockwise until you hear a distinct click. If it still won’t lock, clean the metal contact points on both the container base and motor unit with a vinegar-dampened cloth—mineral buildup often interrupts electrical signals. Wipe dry completely before retesting.
Resolving Auto-iQ Program Malfunctions
Smoothie Program Failure: The Ingredient Loading Fix
When your Smoothie Auto-iQ program won’t start, improper ingredient layering is the culprit 80% of the time. Begin with 1 cup liquid (water, milk, or juice), then add soft ingredients like yogurt or bananas, and finally add frozen items. Never exceed the max fill line—overloading stalls the motor instantly. If error lights persist, unplug for 45 seconds to reset the Auto-iQ system, then restart with a 50% smaller batch. Note that fibrous greens like kale require extra liquid to prevent jamming.
Extract Program Not Recognizing Your Nutri Ninja Cup
The Extract program fails when sensor contacts are dirty or the cup isn’t fully threaded. Hold the cup base and rotate it clockwise until it stops—you should feel resistance, not just hand-tight. Use a cotton swab dipped in rubbing alcohol to clean the three small contact points on the cup’s bottom. Ensure you’re using the extractor blade (with raised center nub), not the standard stacked blade. Process small batches of leafy greens only—large kale stems or apple cores will trigger immediate shutdowns.
Decoding Ninja Blender Error Lights
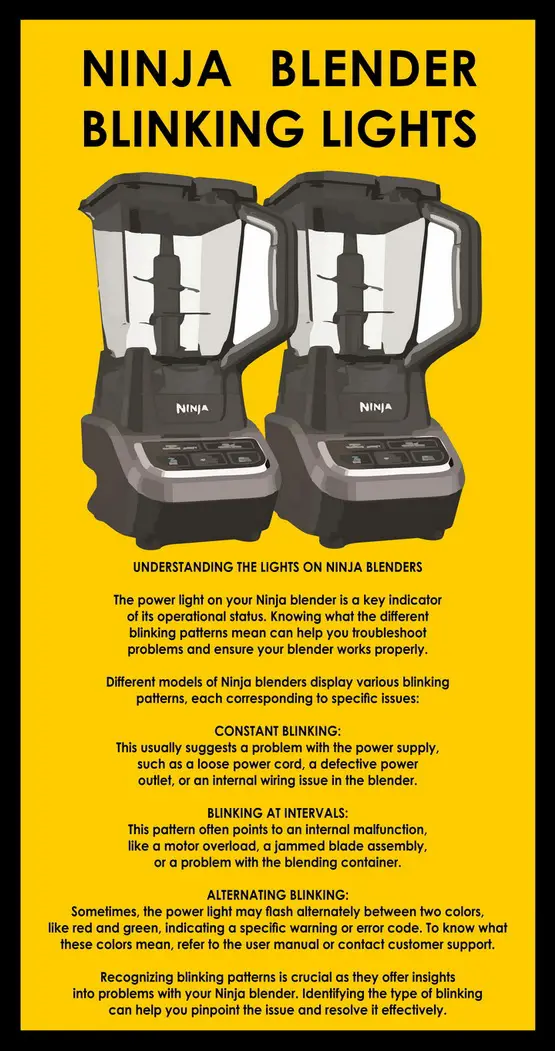
Blinking Red Light Patterns and Solutions
Fast-blinking red light (2+ flashes per second) means the lid isn’t locked securely. Remove the lid and check for cracks in the locking tabs or food debris wedged in the hinges. Clean with a toothpick, then reattach with firm downward pressure until you hear a double-click. Slow-blinking light (1 flash per second) indicates container misalignment—reseat it as described in the container seating section. If lights blink continuously after reassembly, unplug for 2 minutes to fully reset the control board.
Solid Red Light: Motor Overload Emergency Protocol
A solid red light means your motor is overheating or overloaded. Stop immediately—continued use risks permanent damage. Unplug the unit and check for blade obstructions by shining a flashlight through the container. If jammed, fill with warm soapy water and let soak for 10 minutes before gently rotating the blades with the cleaning brush. Always allow 90 seconds of cooling time between Auto-iQ cycles, and never blend more than 2 cups of frozen ingredients at once.
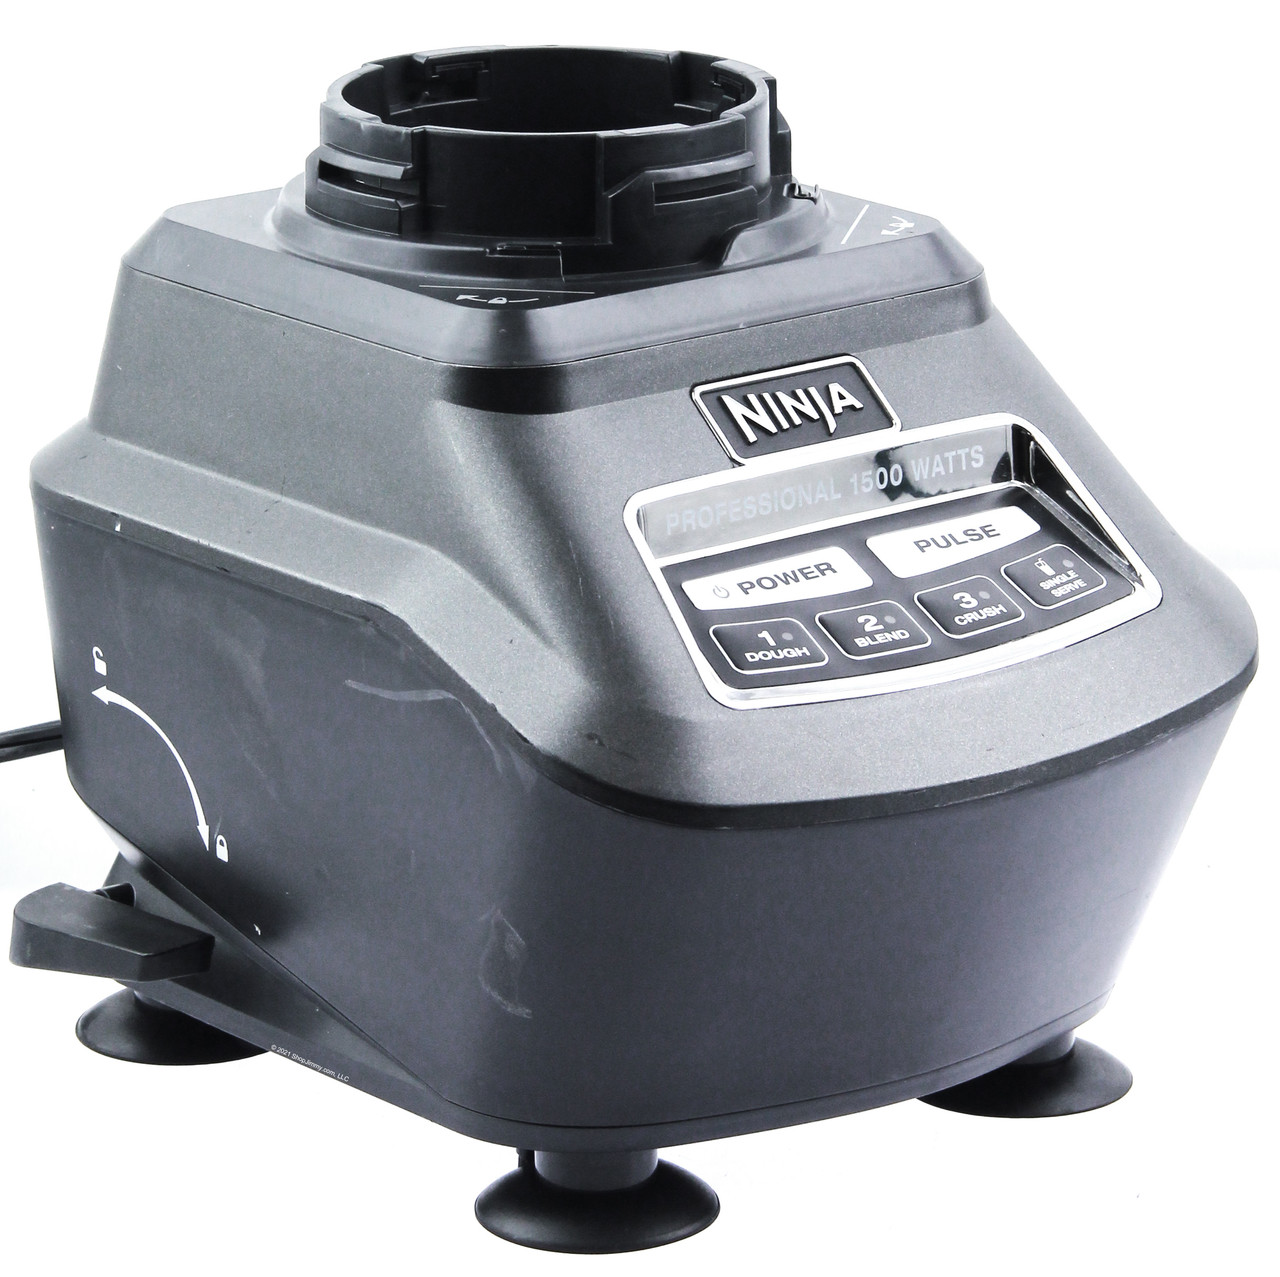
Control Panel and Motor Performance Fixes
Reviving Unresponsive Auto-iQ Buttons
Sticky or unresponsive buttons usually stem from spilled smoothie residue seeping under the control panel. Unplug the blender, then dampen a microfiber cloth with vinegar-water solution (1:1 ratio). Wipe around button edges without soaking the panel—never spray liquid directly. For stuck buttons, gently depress with a toothpick while wiping the perimeter. Test each button individually after drying for 20 minutes. If only specific Auto-iQ programs fail, note which ones (e.g., “Dough works but Smoothie doesn’t”) for targeted troubleshooting.
Weak Blending Power: The Ventilation Check
When your blender runs but won’t crush ice, blocked motor vents are the likely cause. Unplug the unit and inspect the 12 ventilation slots around the base’s bottom edge—dust bunnies or countertop crumbs often clog them. Use a soft-bristled toothbrush (dry) to sweep debris outward from the center. Never operate the blender within 4 inches of walls or cabinets; maintain 6 inches of clearance on all sides for airflow. Test with 2 cups water only—if it blends smoothly, ingredient overload was the issue.
Container-Specific Emergency Fixes
Nutri Ninja Cup Not Threading Onto Base
If your cup won’t lock onto the motor base, check for hairline cracks at the threaded connection point—these prevent full seating. Hold the cup up to bright light and rotate slowly; cracks appear as thin black lines. If damaged, replace the cup immediately (Ninja part # 46070-060-00). For clean cups, align the cup’s fill line with the base’s handle before twisting. Apply firm downward pressure while rotating clockwise—you should feel it “drop” into place at the correct position.
Pitcher Blade Jamming During Frozen Blends
When blades stop mid-cycle during frozen drinks, food debris is wedged under the blade assembly. Never reach under blades while attached! Instead, fill the pitcher with warm water and 1 drop dish soap, let soak 15 minutes, then use the included cleaning brush to gently rotate blades counterclockwise. For stubborn jams, add 2 ice cubes and pulse manually 3 times to dislodge debris. Always rinse immediately after use—dried smoothie residue causes 70% of jams.
Systematic Diagnostic Checklist
3-Step Power Failure Test (Takes 5 Minutes)
- Outlet verification: Test with a lamp in the same outlet
- Cord inspection: Check for damage within 6 inches of base connection
- Reset test: Unplug for 60 seconds, then try manual pulse function
Assembly Failure Identification
- Lid issue: Fast-blinking red light + container wobbles slightly
- Container issue: Slow-blinking light + no click when pressing down
- Blade jam: Grinding noise followed by solid red light
Critical Maintenance to Prevent Future Failures
Daily Prevention Routine
- Rinse containers immediately after use—dried residue jams blades
- Wipe motor base contacts with dry cloth before storage
- Store lids separately to prevent gasket warping
- Never immerse base in water—damp cloth only
When to Contact Ninja Support
Seek professional help if you notice burning smells after cleaning, visible arcing/sparks, or multiple error codes with proper assembly. Have your model number (found on base bottom) and receipt ready—Ninja’s 1-year warranty covers motor/base failures. For persistent issues, request a certified technician—unauthorized repairs void coverage.
Final Repair Verification: After completing these steps, your Ninja Auto-iQ Blender Duo should power on instantly, with Auto-iQ programs activating smoothly. If problems persist after testing all containers and blade assemblies, internal motor failure is likely. Remember: 85% of “broken” blenders are simply misassembled or overloaded. By maintaining clean contact points, respecting capacity limits, and allowing proper cooling time, you’ll avoid 9 out of 10 failures. Keep this guide handy—it solves Ninja Auto-iQ Blender Duo not working issues faster than customer service wait times.


