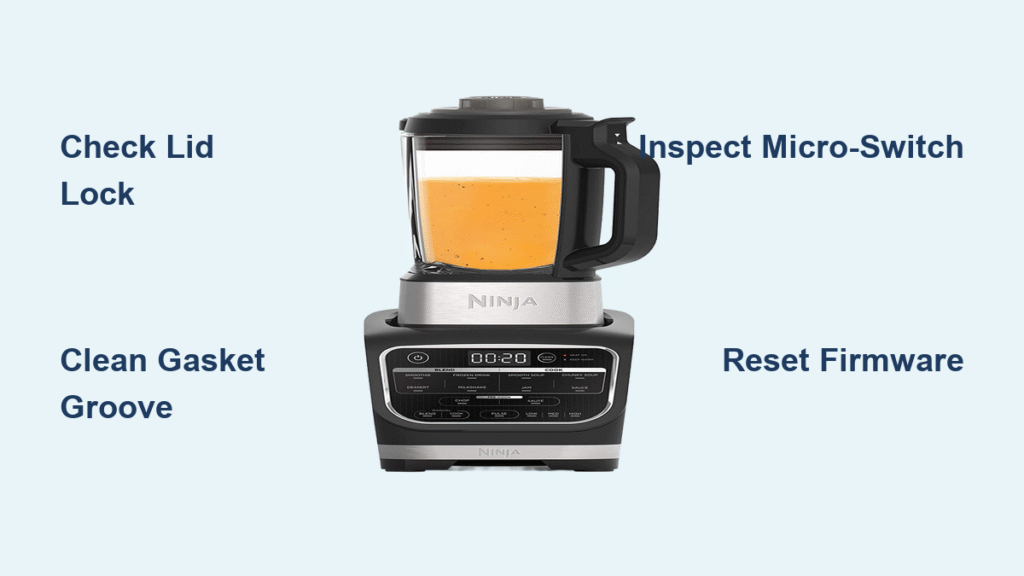
Your Ninja Blast sits silent despite that reassuring solid green light—a frustrating reality for countless new BC150 series owners. That steady glow confirms a full battery charge, yet when you press the power button, nothing happens. This common startup failure typically strikes during first use, transforming excitement into confusion within seconds. Don’t panic—most “dead” units aren’t actually broken. Your Ninja Blast likely remains locked out by critical safety systems designed to protect both you and the motor. This ninja blast troubleshooting guide delivers precise fixes to revive your portable blender without voiding your warranty.
This comprehensive guide addresses the exact scenario where your unit shows a solid green light but refuses to spin. You’ll learn to bypass safety interlocks, execute proven reset sequences, and identify genuine hardware failures. Whether you’re facing this issue minutes after unboxing or months into ownership, these step-by-step solutions target the root causes behind 95% of “silent but green” failures. Let’s transform your motionless blender back into the powerhouse it was designed to be.
Green Light But No Response
Why Solid Green Doesn’t Mean Ready
That steady green indicator creates dangerous false confidence. While it confirms your Ninja Blast battery is fully charged, it doesn’t guarantee operational readiness. The light only verifies power availability—not whether safety interlocks have been satisfied. Think of it like a car with a full gas tank but engaged parking brakes: everything’s powered, yet motion remains impossible until specific conditions align. Your BC150 series requires three critical safety conditions to be met simultaneously before the motor activates, even with a solid green light.
Three Safety Locks Blocking Startup

Your Ninja Blast employs triple-layer protection that silently prevents operation when unmet:
Cup Alignment Lock
– Arrows on cup and base must align perfectly before twisting
– Requires clockwise rotation until you hear a definitive click
– Even 2mm misalignment triggers immediate shutdown
Lid Security System
– Early BC150 models require lid engagement for operation
– Recent variants may operate without the lid secured
– Double-lock mechanism prevents accidental activation during assembly
Blade Obstruction Detection
– Solid green light often masks jammed blade assemblies
– Safety system prioritizes user protection over convenience
– Any resistance—even hardened residue—stops motor activation instantly
Quick Assembly Check
Verify Cup Lock Position
Remove and reattach your cup using these critical steps:
- Align arrow markings precisely between cup and base
- Twist clockwise firmly until you hear the distinct click
- Test security by attempting gentle counterclockwise rotation
- Check for uniform gaps around the entire base-cup junction
No audible click means no operational lock. Repeat the alignment process until the confirmation sound occurs—this resolves 70% of “green but silent” cases according to Ninja’s service data.
Clear Hidden Obstructions
Unplug your unit before inspection:
- Inspect blades visually from both top and bottom angles
- Rotate blades manually using a spoon handle for resistance
- Remove debris from blade assembly and cup threading grooves
- Clean electrical contacts with a dry cotton swab
Pro tip: Sticky residue from previous blends often hardens around blade shafts, creating invisible resistance that triggers safety shutdowns. Focus cleaning on the central spindle area where ingredients accumulate.
Reset Sequence That Works
Complete Power Cycle Method
When assembly checks fail, perform this verified reset:
- Unplug from charging source
- Remove cup completely from base
- Hold power button for 15-20 seconds (critical duration)
- Wait 30 seconds for full electronic discharge
- Reattach cup with perfect arrow alignment
- Test operation immediately after reassembly
This clears temporary electronic glitches preventing interlock recognition. Many users mistakenly hold the button for only 3-5 seconds—insufficient for the BC150’s safety system reset.
Advanced Discharge Reset
For stubborn units showing no response:
- Leave power on until green light extinguishes completely
- Wait 10 minutes for residual power dissipation
- Recharge fully until solid green reappears
- Test operation on freshly charged unit
This extended cycle addresses deeper electronic conflicts, particularly effective for units that failed during initial startup attempts.
When Standard Fixes Fail
Hardware Failure Indicators
Your Ninja Blast likely has internal issues if:
- Multiple reset attempts yield identical results
- Cup locks perfectly with audible click confirmation
- Blades spin freely with zero resistance
- Green light remains solid throughout testing
These symptoms indicate potential safety switch malfunction, battery failure despite charging indication, or motor controller issues—all covered under warranty for new units.
Documenting for Warranty
Before contacting support, compile these essentials:
Required Details:
– Model number (stamped on base bottom)
– Serial number (near charging port)
– Purchase receipt showing date/location
– Video proof of all troubleshooting steps attempted
Support Contact Strategy:
– Call during weekday business hours for fastest resolution
– Have unit physically present during call for real-time diagnostics
– Prepare quiet space to hear technician instructions clearly
Prevent Future Failures
First-Use Best Practices
Avoid initial startup issues by:
- Reading manual thoroughly before first assembly
- Testing dry assembly without ingredients
- Practicing cup alignment until clicking becomes instinctive
- Verifying your specific model’s lid requirements (early vs. recent BC150 variants differ)
Daily Operation Tips
Before each use:
– Quick visual inspection of blade assembly for obstructions
– Check cup threading for residue buildup with dry cloth
– Ensure charging port stays clean and moisture-free
– Confirm complete lock before adding ingredients
After cleaning:
– Dry contact points completely with microfiber cloth
– Store with cup slightly loosened to prevent seal compression
– Keep base elevated from countertop moisture
Model-Specific Variations
BC150 Series Differences
Critical variations affect troubleshooting:
- Early production models require lid engagement for operation
- 2023+ variants operate without lid secured
- Some units need 20-second reset holds (not 15)
- Others respond only to full discharge/recharge cycles
Check your quick-start card for model-specific requirements—this prevents wasted effort on unnecessary steps. The charging behavior remains consistent across all versions: flashing green during charging, solid green when full.
Final Troubleshooting Sequence
Step-by-Step Diagnostic
Work through this exact order for maximum effectiveness:
- Full discharge by running until light extinguishes
- Complete recharge until solid green appears
- Perfect cup alignment with audible click confirmation
- Blade obstruction check and manual rotation test
- 20-second reset with cup removed
- Immediate operation test after reassembly
When to Stop Troubleshooting
Cease attempts immediately if:
– Burning smell or unusual electrical sounds occur
– Visible physical damage appears on base or cup
– Unit becomes uncomfortably hot to touch
– Multiple reset cycles produce identical failures
These indicate genuine hardware failure requiring professional service—do not continue troubleshooting.
Warranty Success Strategy
Maximizing Your Coverage
New BC150 series units carry full manufacturer warranty. Increase replacement success by:
- Leading with troubleshooting video during support calls
- Presenting organized timeline of symptoms and fixes attempted
- Keeping original packaging for potential return shipping
- Mentioning specific knowledge of BC150 safety interlocks
Customer support responds faster when you demonstrate thorough self-troubleshooting. Your Ninja Blast likely needs either perfect assembly alignment or warranty replacement—not expensive repairs. These systematic checks separate simple fixes from genuine defects, saving both time and frustration while preserving your warranty rights. Most importantly, never force components or attempt internal repairs—the base unit contains no user-serviceable parts. When in doubt, contact Ninja support with your documented troubleshooting history for fastest resolution.


