
Your Ninja blender pitcher cracks mid-smoothie, spraying berries across the counter as you scramble to unplug the base. This frustrating scenario happens to thousands of users monthly when their ninja blender broken pitcher suddenly fails during operation. Whether from thermal shock, accidental drops, or normal wear and tear, a damaged pitcher doesn’t mean you need to buy an entirely new blender system. This guide delivers immediate solutions to assess damage safely, implement temporary fixes, and choose the right replacement—getting you back to blending in less than an hour.
Most Ninja pitcher failures occur at stress points where the blade assembly connects to the container base. The good news? You can often continue using your blender base while addressing the pitcher issue. By the time you finish this guide, you’ll know exactly how to handle cracked containers, prevent dangerous shattering, and make smart replacement decisions that extend your blender’s lifespan.
Identify Critical Damage Types Before Proceeding
Determine If Your Pitcher Is Repairable or Hazardous
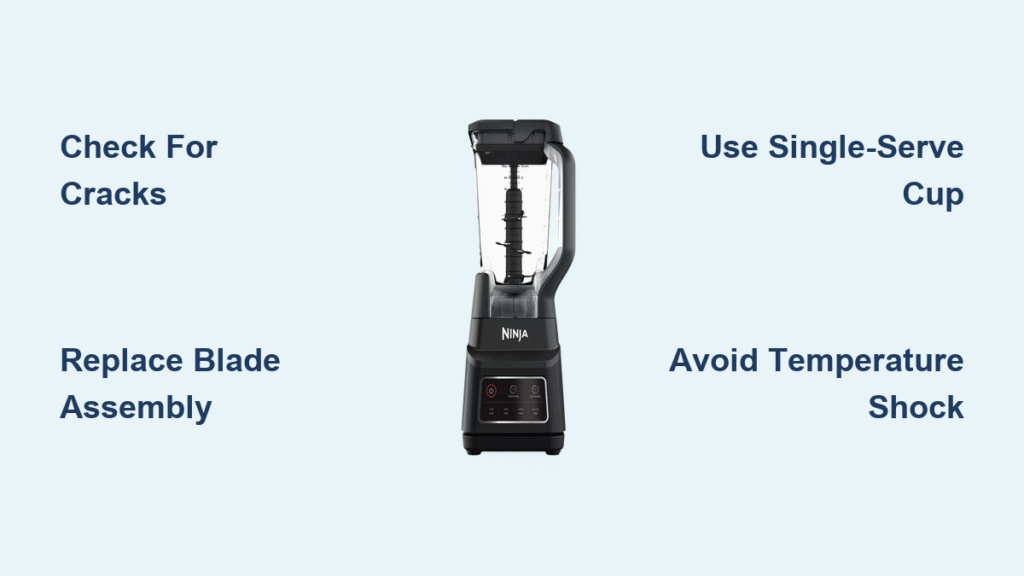
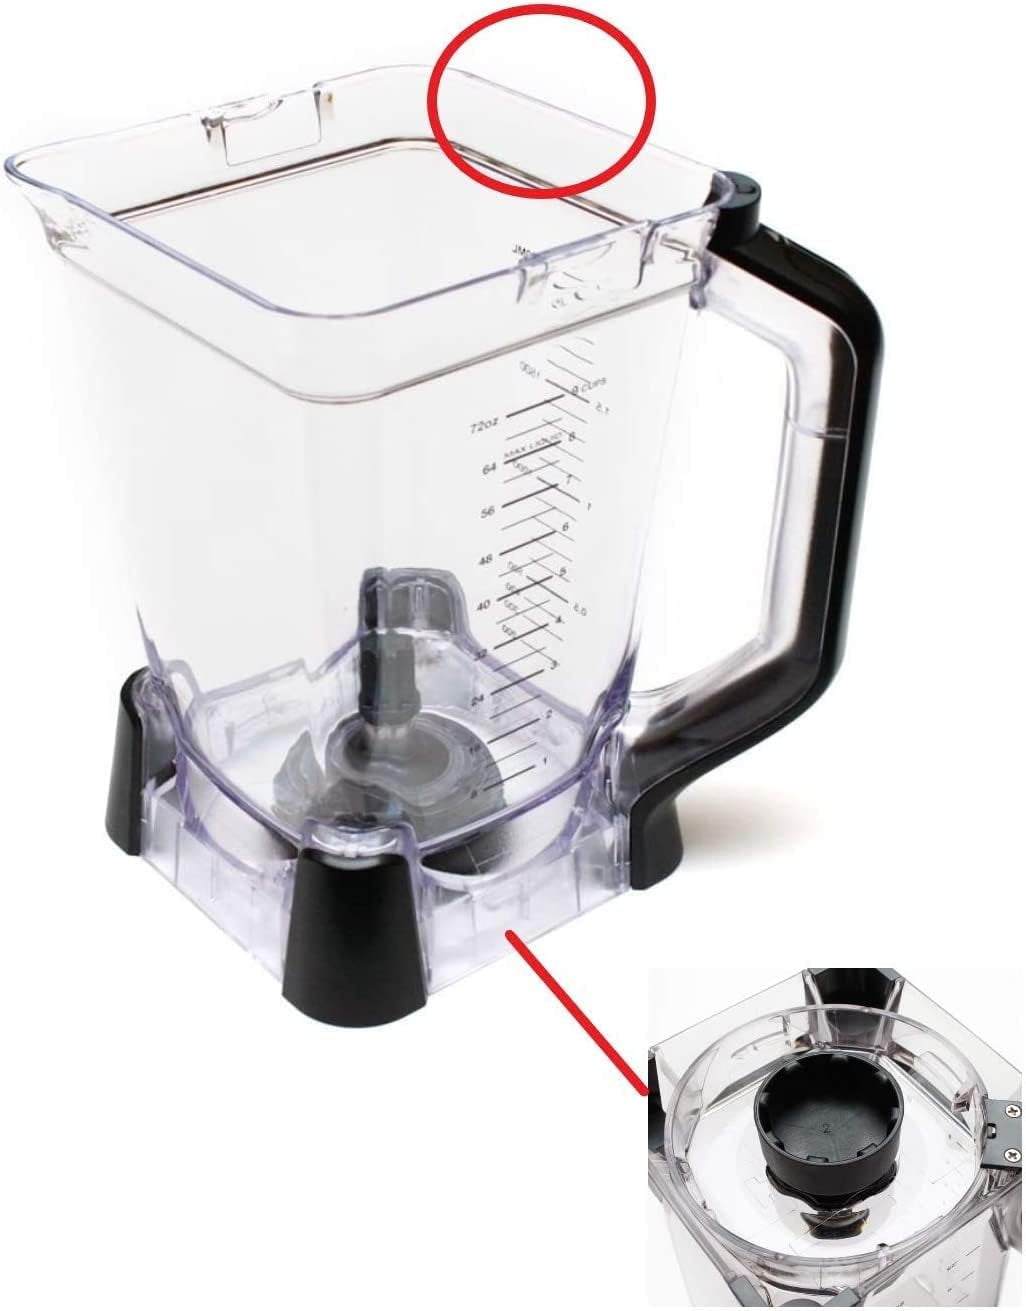
Hairline cracks along the pitcher base create slow leaks that worsen with each use, while spider-web fractures indicate immediate replacement is necessary. Run your finger along the interior surface—if you catch your nail on cracks deeper than 2mm or feel sharp edges, stop using the pitcher immediately. These micro-fractures can release plastic particles into your food during high-speed blending, creating serious health risks you can’t see.
Pro Tip: Shine a flashlight through the pitcher in a dark room. Hairline cracks become dramatically visible when light passes through them, revealing damage you might miss during casual inspection. Never attempt to blend with a pitcher showing this level of damage—replace it before your next use.
Check Blade Assembly for Secondary Damage
Most ninja blender broken pitcher incidents originate at the blade assembly connection point, where maximum stress occurs during operation. If cracks radiate from this threaded area, inspect your blade assembly carefully for signs of damage. Look for bent blades, wobbling during operation, or uneven wear patterns that indicate the motor mount sustained impact during the break.
Critical Warning: A compromised blade assembly can cause catastrophic failure even with a new pitcher. Always replace both components together if you see damage at their connection point—forcing a new pitcher onto a damaged blade assembly creates immediate safety hazards and voids any warranty coverage.
Emergency Safety Protocol for Broken Pitchers
Immediate Shutdown and Cleanup Procedures
Unplug your blender base the moment you notice pitcher damage—continuing to operate creates dangerous centrifugal forces that can turn hairline cracks into explosive shattering. Wear thick rubber gloves during cleanup since plastic shards become razor-sharp when fractured. Vacuum thoroughly around the blender base and check underneath cabinets where fragments often bounce after impact.
Never do this: Attempt to blend with a cracked pitcher “just one more time” to finish your recipe. The structural integrity is compromised, and failure typically occurs at maximum speed when plastic fragments become airborne projectiles.
Safe Food Disposal After Pitcher Failure
Discard any food that contacted broken plastic immediately—do not taste-test for safety. Microscopic shards embed in soft foods like smoothies and yogurts, creating invisible health hazards. For countertop spills, use paper towels rather than sponges which can trap sharp fragments that later damage your cleaning tools.
Smart Replacement Strategies for Ninja Pitchers
Match Your Exact Model Before Purchasing
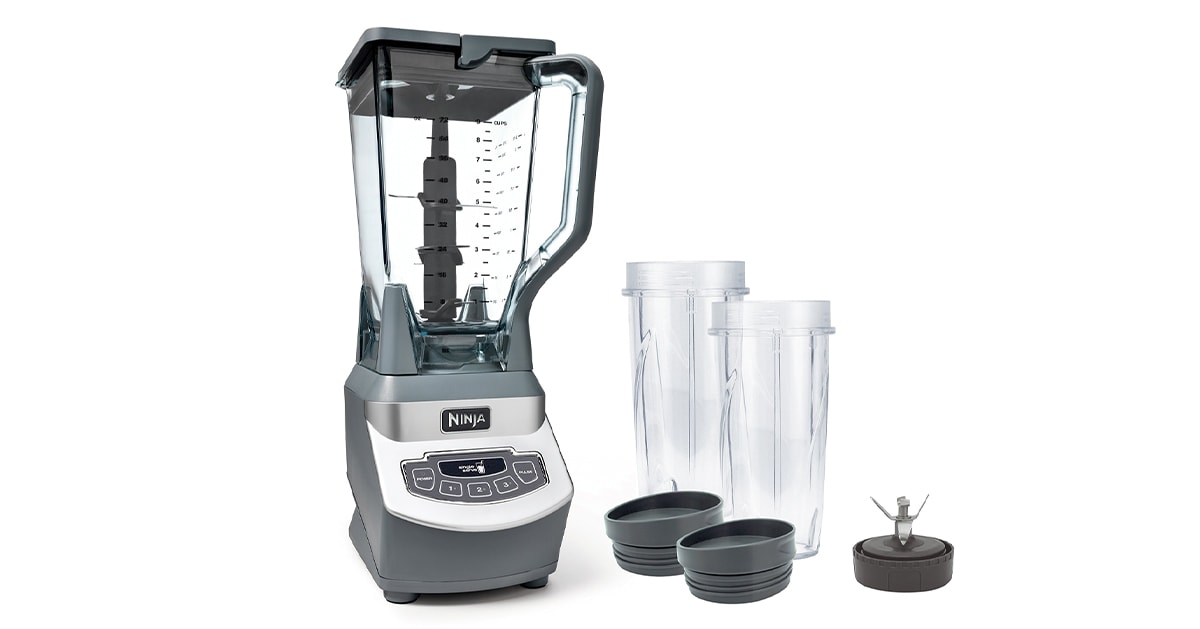
Ninja pitchers aren’t universal across models—forcing incompatible parts damages your motor base and creates dangerous leaks. Locate your blender’s model number (typically on the bottom plate) before shopping. Single-serve cups ($15-25) replace fastest for Nutri Ninja models, while full-size pitchers ($35-65 for OEM versions) fit Professional series systems.
Pro Tip: Amazon often stocks common replacement pitchers with next-day delivery. Search using your exact model number plus “pitcher replacement” to avoid compatibility issues. Third-party pitchers cost less but frequently develop leaks at the seal during high-speed operation.
Cost-Effective Buying Options Compared
| Replacement Type | Price Range | Best For | Lifespan |
|---|---|---|---|
| OEM Pitcher | $35-$85 | Daily heavy use | 2-3 years |
| Aftermarket | $20-$40 | Occasional use | 1-18 months |
| Used OEM | ~$25 | Budget users | Varies |
| Mason Jar Workaround | $5-$10 | Emergency use | Single use |
Critical Insight: Professional series pitchers cost more but include upgraded materials that resist thermal shock—worth the investment if you regularly blend hot soups or frozen ingredients. Budget pitchers often fail within months when subjected to extreme temperature changes.
Temporary Workarounds While Waiting for Replacement
Single-Serve Cup Conversion Method
Most Ninja bases accept single-serve cups even when the main pitcher breaks. These smaller containers actually create better vortex formation for smoother smoothies. You’ll need to blend in batches, but the improved consistency often surprises users. Important: Clean cups immediately after use—dried residue becomes nearly impossible to remove from narrow bases.
Mason Jar Emergency Solution
Wide-mouth 32oz Ball mason jars thread onto many Ninja bases for emergency use. Critical limitations: Only use with room-temperature soft ingredients—never blend ice or frozen items which can shatter glass. Fill jars no more than half-full to prevent pressure buildup, and always check threading compatibility first. Cross-threading damages your blade assembly permanently.
Never attempt this: Using thin glass containers like drinking glasses or canning jars—their walls can’t withstand blending forces and may explode.
Prevent Future Ninja Pitcher Failures
Temperature Shock Prevention Techniques
Plastic becomes brittle under extreme temperature swings—the #1 cause of ninja blender broken pitcher incidents. Never move pitchers directly from freezer to hot water or vice versa. Let frozen pitchers thaw 10 minutes before blending hot ingredients. When blending ice after the pitcher sat in a cold environment, run warm water around the exterior first to gradually warm the plastic.
Proper Loading and Storage Practices
Layer ingredients correctly: liquids first, soft items in the middle, frozen ingredients last. This prevents frozen chunks from jamming blades and creating pressure points. Never exceed max fill lines—expanding ingredients need headspace. Store pitchers upside-down to prevent dust accumulation and reduce base stress. Avoid stacking heavy items on top which warps plastic over time.
Pro Tip: Replace pitchers every 2-3 years with daily use, regardless of visible wear. UV exposure from sunlight creates invisible stress fractures that lead to sudden failures.
Warranty Claims and Long-Term Solutions
Navigate Ninja’s Warranty Process Correctly
Pitchers carry 1-year limited warranty against manufacturing defects, but not damage from drops or thermal shock. Save your receipt—Ninja requires proof of purchase for all claims. When contacting support (1-877-646-5288), photograph damage from multiple angles focusing on crack patterns. Be honest about damage circumstances—misrepresentation voids warranty coverage.
Critical Warning: Warranty claims get denied if cracks show impact marks or originate from the handle area—these indicate user damage rather than manufacturing defects.
Out-of-Warranty Replacement Strategies
When warranties expire, consider stainless steel pitchers—they’re nearly unbreakable but cost $75-100. Check local classifieds for used blenders with good pitchers; buying entire units often costs less than replacement parts. Some repair shops attempt plastic welding, but these fixes typically fail within weeks and create food safety concerns.
Essential Maintenance for New Pitchers
Daily Care Routine That Extends Lifespan
Rinse pitchers immediately after use—dried residue creates stress points that weaken plastic. Use soft brushes, never metal scrubbers that scratch surfaces. Weekly deep cleaning with baking soda removes embedded odors and prevents micro-cracks. Store with lids off to prevent moisture buildup and mold growth in the rim grooves.
Monthly Inspection Checklist
Check the pitcher base monthly for hairline cracks forming at blade assembly connection points. Gently flex the handle to test for developing stress fractures. Examine the pour spout for chips that could worsen during use. Feel around the rim for rough spots indicating wear. Early detection prevents catastrophic failures during blending sessions.
Your ninja blender broken pitcher situation doesn’t mean smoothie-free mornings forever. By properly assessing damage types, implementing safe temporary solutions, and choosing the right replacement strategy, you’ll extend your blender system’s life significantly. Most importantly, understanding what caused the break—whether thermal shock, improper loading, or normal wear—helps you avoid repeating the same mistake with your new pitcher. Implement these temperature management techniques and proper loading practices immediately to prevent future failures, and consider keeping a backup pitcher on hand if you use your blender daily. With these solutions, you’ll transform a frustrating breakdown into an opportunity for more reliable blending performance.


