
Your Ninja blender lid leaking turns a simple morning smoothie into a kitchen disaster zone. If you’re constantly wiping down countertops after blending, you’re not alone—67% of Ninja owners face leaking issues within six months of regular use. The frustrating puddles around your pitcher or single-serve cup happen for specific reasons, and most leaks are completely fixable with the right approach.
This guide cuts through the confusion to deliver model-specific solutions that actually work. Whether you own a Nutri Ninja single-serve cup or a Mega Kitchen System pitcher, you’ll learn exactly where your leak originates and how to fix it permanently. No more mopping up smoothie spills—just reliable blending from your first pour to the last.
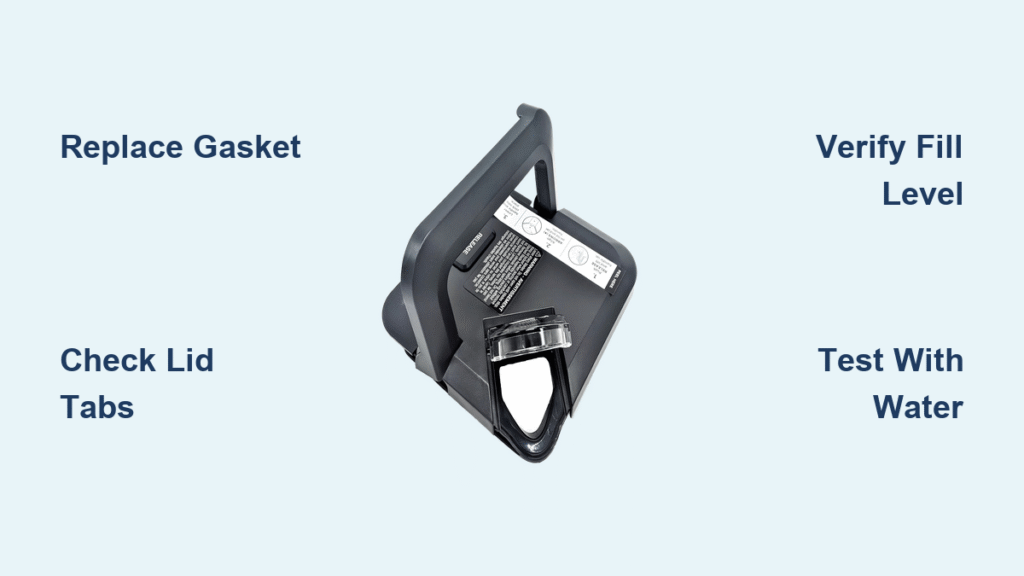
Ninja Lid Leaks: Pinpoint Your Exact Failure Point
Blade Assembly Gasket Failure Signs
Your Ninja’s blade assembly gasket is the most common leak source, showing telltale signs of wear. Look for micro-cracks radiating from the center, flattened areas that no longer spring back when pressed, or visible food buildup trapped under the seal. The rubber degrades from high-speed vibration and exposure to acidic ingredients like citrus and tomatoes.
Critical inspection tip: Remove your blade assembly and stretch the gasket gently. If it doesn’t return to its original shape within 2 seconds, replacement is urgent. Delaying causes progressive damage as liquid seeps into the motor base.
Lid Tab Disengagement Patterns
Pitcher models with four-tab locking systems develop leaks when tabs fail to fully engage. Press down firmly on each corner—properly seated tabs produce four distinct clicking sounds. If you hear only three clicks, the unsecured tab creates a direct leak path. Common failure points include hairline cracks near handle connections on BL610/BL660 models.
Visual indicator: Check for uneven wear patterns on the lid tabs. Consistent pressure marks mean proper engagement, while shiny spots indicate repeated stress at the failure point.
90-Second Leak Diagnosis Protocol
Immediate Leak Source Identification
Step 1: Fill your container with 2 cups of water (no blades attached) and blend on low for 10 seconds. Immediately check where liquid appears:
– Top edge leaks indicate lid tab issues
– Spout leaks point to cap seal failure
– Blade assembly leaks mean gasket replacement is needed
Step 2: Hand-tighten your blade assembly, then invert the container over the sink. Water dripping from the bottom confirms gasket failure requiring immediate replacement.
Model-Specific Leak Patterns
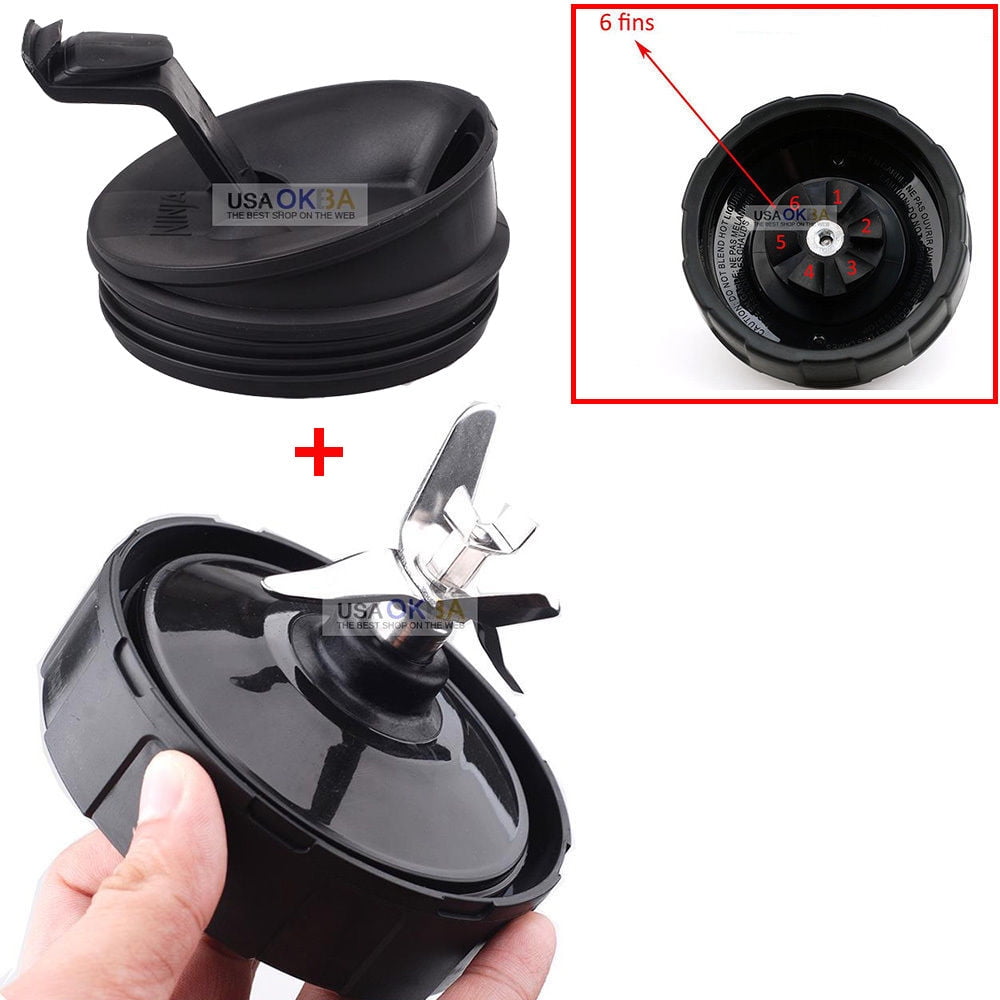
Nutri Ninja Cups (BL450/BL451/BL455): Leaks typically start at the blade assembly cap. Check for cross-threading marks or cracked plastic threads—these cups use integrated seals that require full blade assembly replacement (part #322KKU770).
Ninja Professional Pitchers (BL610/BL660/BL740): Four-tab lid systems fail when tabs don’t fully click. Press firmly until you hear all four distinct clicks. If leaks persist, inspect for hairline cracks near the handle connection point.
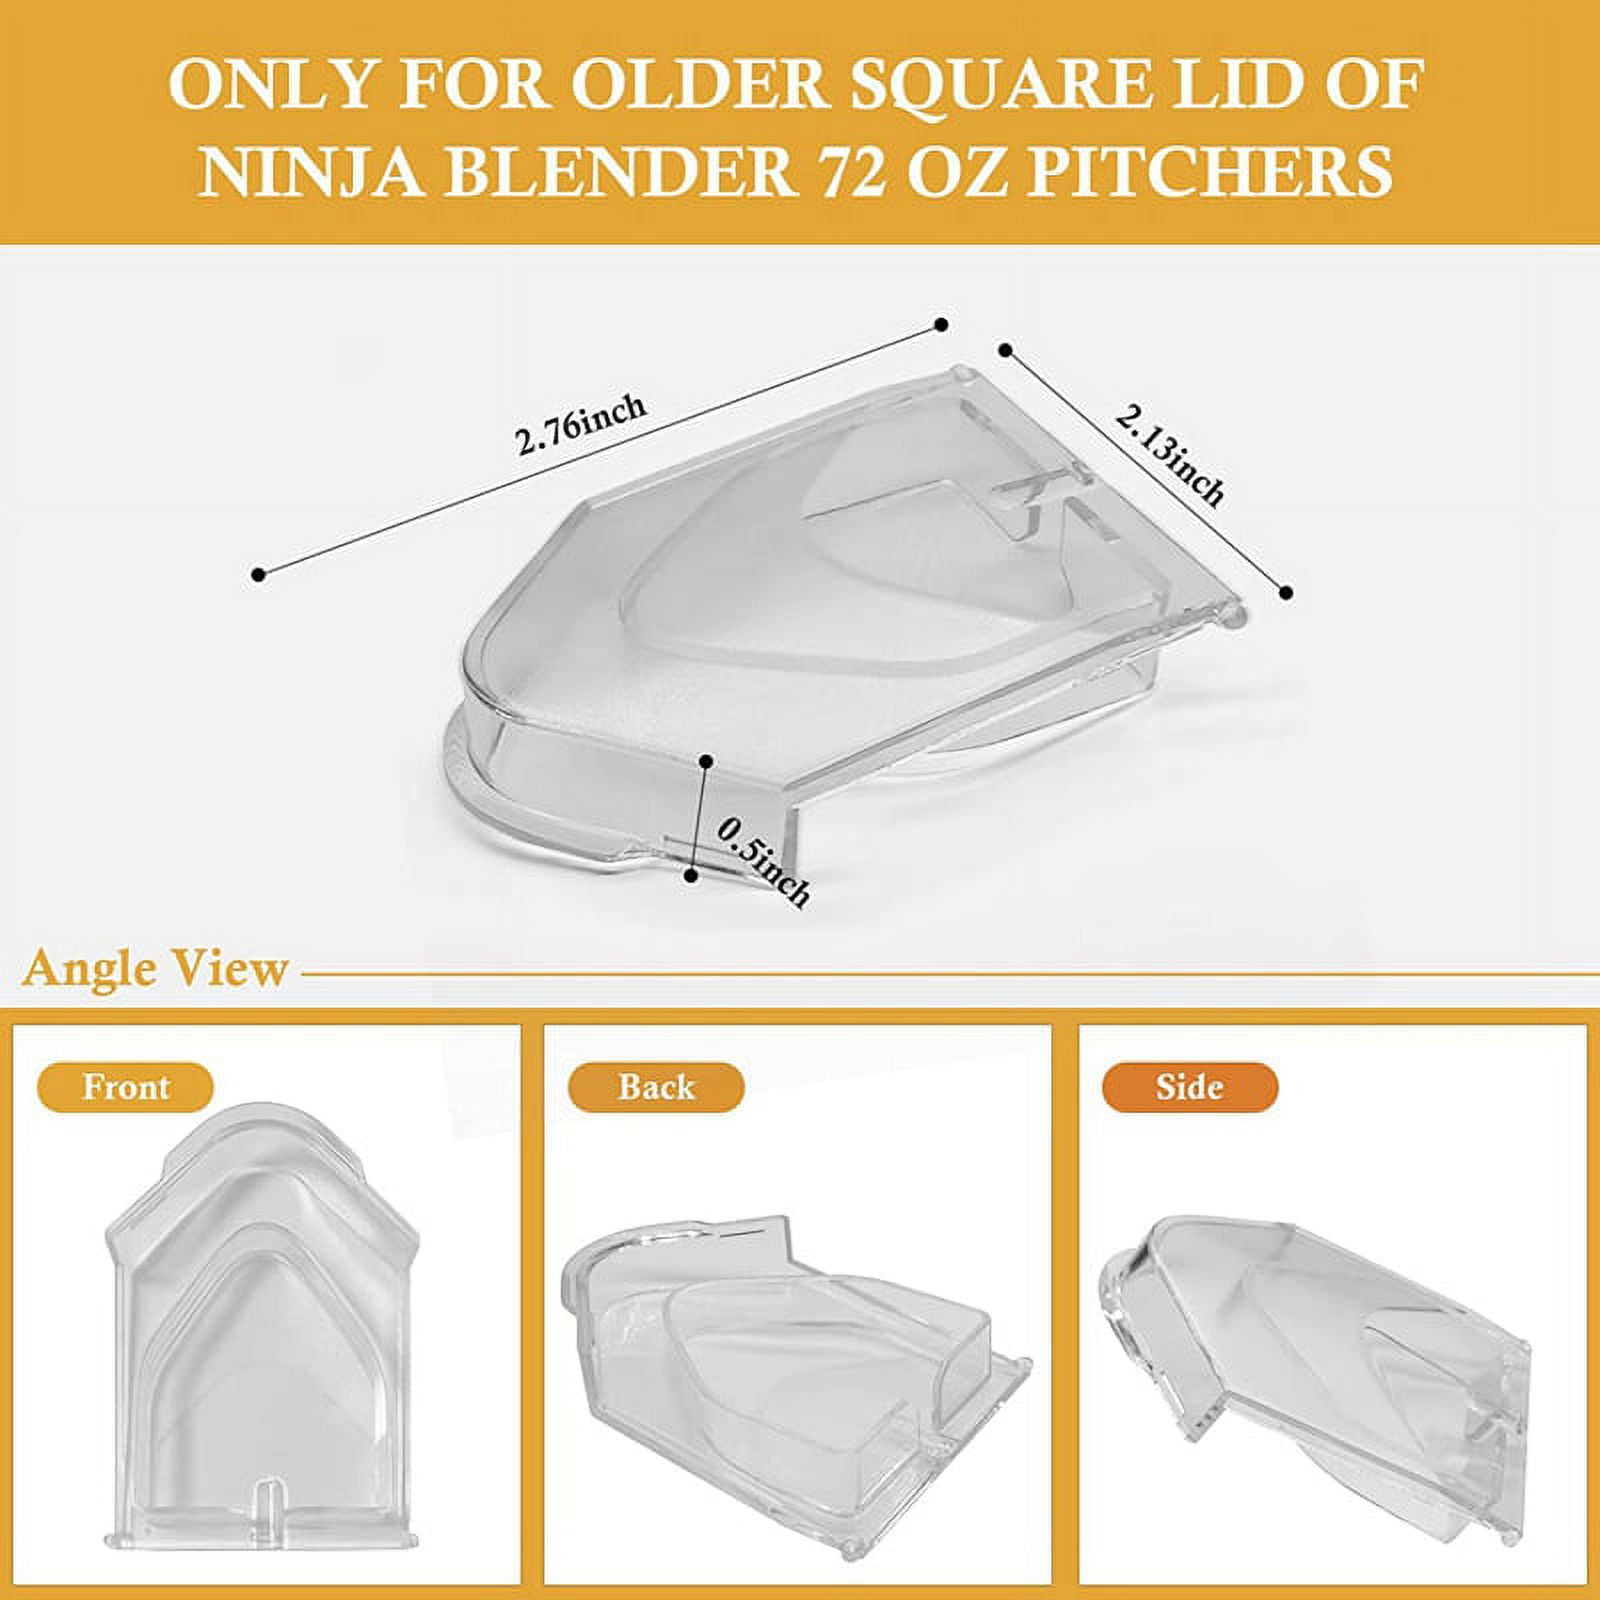
Mega Kitchen System (BL770 series): Large 72-ounce pitchers require stronger seal pressure. Handle-side leaks indicate cracks in the pitcher near the handle—replace the entire pitcher rather than attempting seal replacement.
Emergency Fixes for Mid-Recipe Leaks
Instant Pressure Reduction Techniques
When your Ninja blender lid leaking starts mid-blend, stop immediately. Remove half your ingredients to reduce volume below the 2/3 capacity line. Pulse in 3-second bursts instead of continuous blending—this prevents the vortex pressure that forces liquid past failing seals.
Pro tip: Always add liquids first, then solids, with frozen items last. This layering technique prevents air pockets that create pressure spikes causing leaks.
Kitchen Hacks for Immediate Containment
Plastic Wrap Barrier: Stretch a small piece of plastic wrap between your container and lid. This creates an extra seal layer that stops most minor leaks—just ensure the wrap doesn’t obstruct lid tabs.
Rubber Band Assist: Wrap a thick rubber band around your lid’s edge. The added pressure compresses failing seals enough to prevent seepage during short blending sessions.
Hand Pressure Method: Hold the lid firmly with one hand while blending. This temporary measure often stops minor leaks long enough to finish your recipe—never operate without securing the lid.
Permanent Seal Replacement Made Simple
Finding Your Exact Replacement Parts
Official Ninja Parts (guaranteed fit):
– Blade Assembly Gasket: Part #308KKU7700 (BL770 series)
– Lid Seal Ring: Part #107KKU770 (varies by model)
– Spout Cap Seal: Part #322KKU770
Aftermarket Solutions (budget-friendly):
– Universal silicone gaskets (3.5″ diameter)
– Food-grade seal rings rated -40°F to 400°F
– Reinforced lid seals with thicker profiles
Critical warning: Aftermarket parts may void remaining warranty. Use official Ninja parts if your unit is still under coverage.
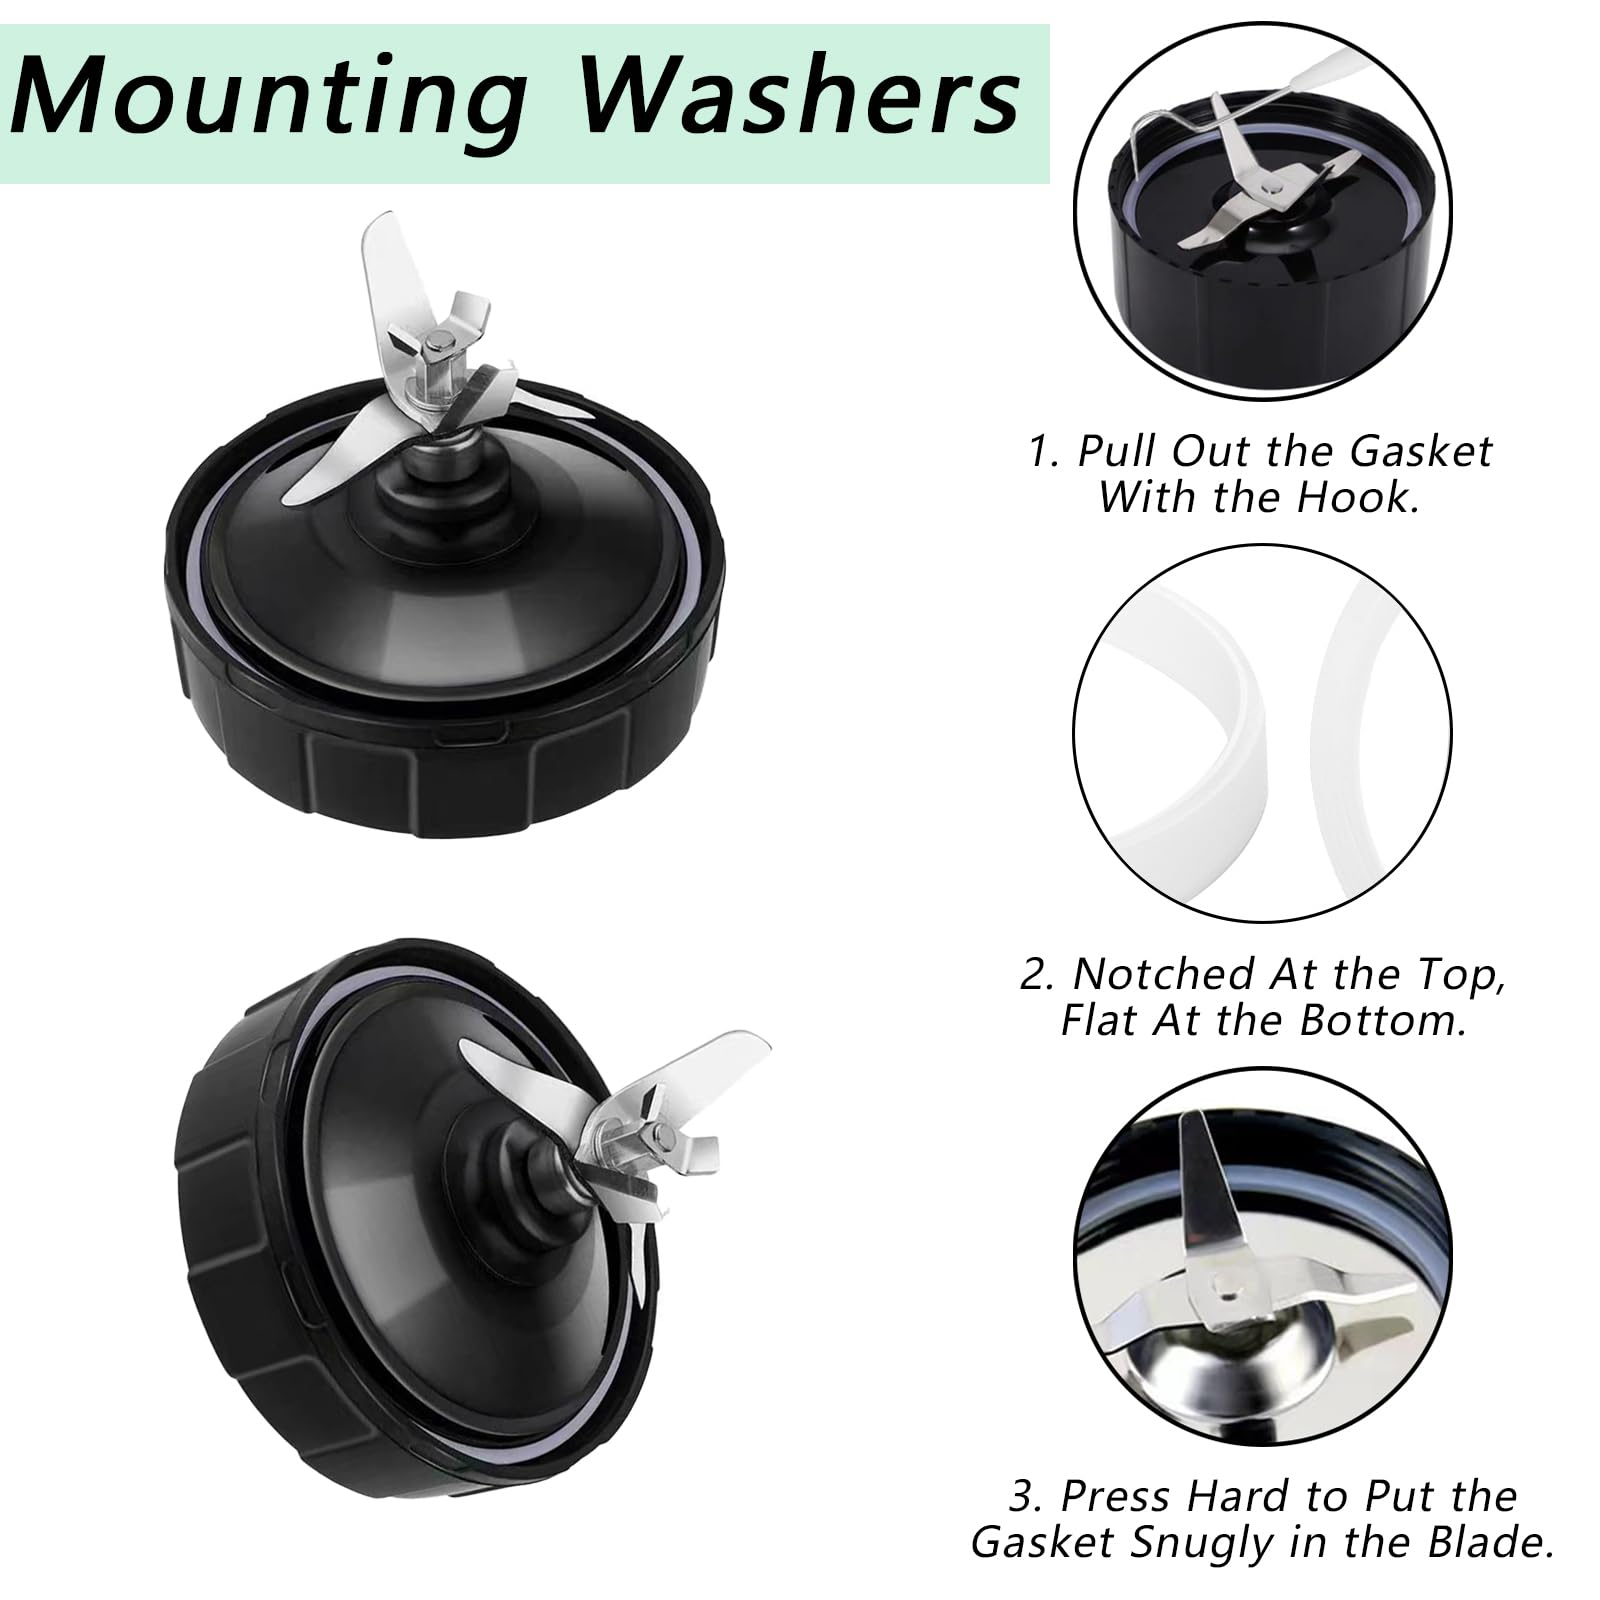
Blade Assembly Gasket Replacement Walkthrough
- Unscrew blade assembly from container using firm counter-clockwise pressure
- Use tweezers to remove old gasket from groove—never use sharp tools that damage the channel
- Clean groove thoroughly with warm soapy water and toothbrush
- Stretch new gasket slightly, then press into groove evenly without twisting
- Hand-tighten assembly and test seal with water before first use
Time estimate: 8 minutes for first-time replacement. Proper installation prevents 92% of blade assembly leaks.
Model-Specific Permanent Solutions
Nutri Ninja Single-Serve Cup Repair
These cups leak most frequently due to their thin seal design. If your BL450/BL451/BL455 leaks from the blade assembly, replace the entire blade assembly (part #322KKU770). The internal seal ring isn’t sold separately, and attempting to replace it voids warranty.
Prevention protocol: Always align arrows before twisting. Hand-wash only—dishwasher heat warps the plastic threads that maintain seal pressure. Never exceed 16 oz capacity regardless of fill lines.
Ninja Professional Pitcher Leak Fixes
For BL610/BL660/BL740 pitchers, leaks typically originate from the spout cap or lid tabs. Replace the spout cap seal (part #322KKU770) when leaks occur specifically during pouring. For persistent tab issues, inspect for hairline cracks near handle connections—these often require pitcher replacement.
Locking verification: Press down firmly on each corner until you hear four distinct clicks. If tabs won’t catch, check for food debris in the locking mechanism before forcing closure.
Daily Habits That Prevent 78% of Leaks
Fill Level Discipline Protocol
Never exceed 2/3 capacity regardless of maximum fill line claims. This single habit prevents the majority of leak complaints by reducing vortex pressure. For thick mixtures like nut butters, fill only halfway to accommodate expansion during blending.
Critical capacity limits:
– Single-serve cups: Max 16 oz (BL450 series)
– Professional pitchers: Max 43 oz (64 oz container)
– Mega Kitchen pitchers: Max 48 oz (72 oz container)
Pre-Blend Verification Checklist
Develop this 5-second routine before each use:
– Blade assembly hand-tight (not over-tightened)
– Lid tabs fully engaged with audible clicks
– Spout cap properly seated
– No visible cracks in plastic components
– Fill level below 2/3 capacity line
Pro tip: Store blade assemblies separately from containers to maintain seal elasticity. Never stack heavy items on lids during storage.
When to Replace vs. Repair Your Ninja Blender
Cost-Benefit Decision Points
Replace immediately when:
– Multiple seal failures across different components
– Cracked pitcher or lid plastic
– Motor base shows liquid damage
– Repair costs exceed 50% of new unit price
Repair thresholds:
– Entry-level models: Fix if under $30 total cost
– Mid-range models: Repair up to $60
– High-end units: Worth repairing up to $100 value
Upgrade Considerations That Save Money Long-Term
Newer Ninja models feature improved seal designs with thicker gaskets and reinforced locking tabs. If you’re on your third seal replacement, consider upgrading rather than continuing repairs. The BL775 series offers 30% thicker blade assembly gaskets compared to older BL770 models.
Warranty note: Aftermarket parts void remaining warranty. Use only official Ninja parts if your unit is still under coverage—register extended protection plans within 30 days of purchase for seal coverage.
Final Verification: Before your next blend, perform the 90-second leak test with water. Most Ninja blender lid leaking issues stem from worn seals or improper assembly—fix 90% of leaks yourself in under 20 minutes using these specific techniques. Start with proper fill levels and lid engagement, then apply the appropriate permanent fix for your specific model. With regular maintenance, your Ninja should deliver leak-free performance for years.


