
Your Ninja Professional BL610 suddenly won’t close, trapping you in blender limbo with a flashing red light and unfinished smoothie ingredients. That lid refusing to click shut isn’t just annoying—it’s a critical safety failure that completely disables your appliance. The good news? 90% of “Ninja blender not closing” issues stem from two fixable problems you can resolve before your coffee gets cold. This guide reveals exactly how to diagnose alignment errors, clear hidden obstructions, and spot dangerous cracks—saving you unnecessary part orders or service calls.
When your BL610 lid won’t lock, the motor won’t engage no matter how many times you hit the power button. This isn’t a random glitch—it’s your blender’s dual safety system doing its job. The lid must fully engage with the pitcher and the pitcher must lock to the base. Break either connection, and the red light flashes as a warning. Most closure failures happen because food debris lifts the blade stack, arrow misalignment prevents tab engagement, or impact damage fractures critical plastic components. Skip the guesswork—let’s get your blender operational again.
Ninja BL610 Lid Alignment Fixes That Work Immediately

The most common “Ninja blender not closing” culprit is simple misalignment. Those molded arrows on your lid and pitcher aren’t decorative—they’re precision guides for the locking mechanism. Get this wrong by even 2mm, and the tabs won’t engage.
Arrow Matching Technique That Guarantees a Click
Forget just dropping the lid on. Proper alignment requires this three-step ritual every single time:
1. Hold the lid 2 inches above the pitcher with your non-dominant hand
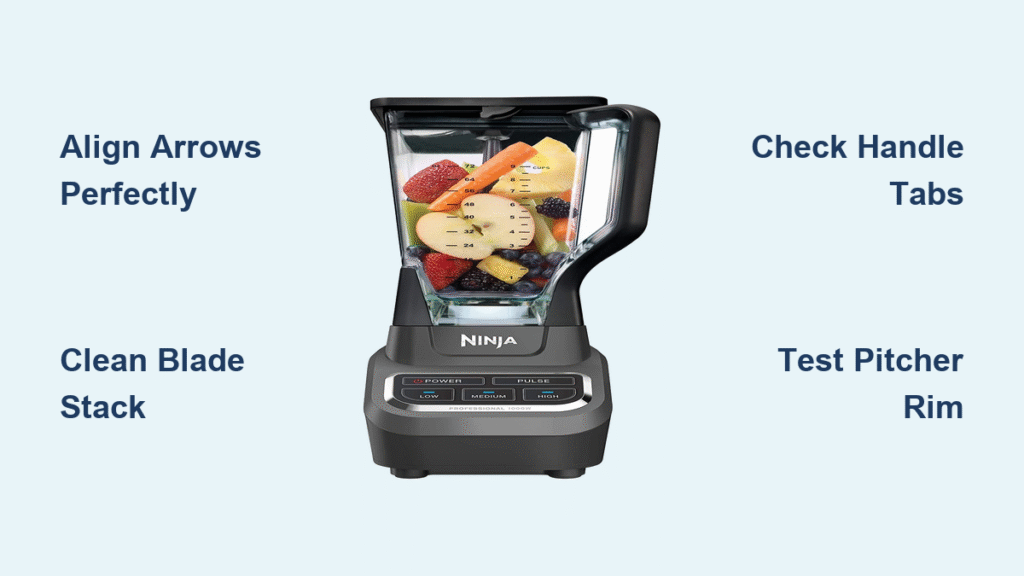
2. Rotate the lid until all four corner arrows perfectly mirror the pitcher’s rim arrows
3. Press straight down with your palm centered on the handle—no twisting
Pro tip: Place your index finger on one arrow pair as you lower the lid. If it shifts, start over. You should hear a sharp, metallic click within 1-2 seconds of steady pressure. No click? The blade stack is likely obstructed.
Blade Stack Debris Removal Checklist
A single sunflower seed lodged under the blade stack can lift it 3mm—enough to prevent lid closure. Before assuming mechanical failure, perform this 60-second inspection:
– Shine a phone flashlight into the blade stack opening
– Look for seeds, fibrous kale strands, or dried smoothie residue
– Use a bottle brush (never a knife!) to dislodge material from the central shaft
– Rinse with hot water while rotating the blade assembly
Critical mistake: Skipping this step after making nut butter or frozen fruit blends. Oily residues and ice crystals are notorious for jamming the mechanism. If debris persists after cleaning, check for handle damage.
Identifying Irreparable Lid Damage Requiring Replacement
When alignment and cleaning fail, mechanical damage is likely. Unlike minor issues, these problems won’t resolve with better technique—they demand part replacement. Don’t waste time forcing a broken lid shut; recognize these red flags immediately.
Broken Handle Lock Diagnostic Test
The lid handle contains tiny plastic pawls that snap into place when pressed. Impact from drops shatters these fragile tabs. Confirm failure by:
1. Pressing the handle slowly while watching the underside
2. Looking for plastic tabs that should protrude downward (they’ll be missing or wobbly)
3. Noting if the handle depresses fully without resistance
Urgent warning: If you feel no “stop” when pressing the handle, stop using the blender. Operating with a broken lock risks the lid blowing off during high-speed blending—especially with hot liquids. The OEM lid (part #3560KKU780) costs $12-15 and installs in 10 seconds.
Pitcher Rim Crack Detection Protocol

Hairline cracks along the rim are often invisible but catastrophic. Perform this foolproof test:
1. Run your thumbnail along the inner rim edge (not the outer lip)
2. Feel for subtle ridges or “catches” indicating micro-fractures
3. Fill pitcher ¼ with water, attempt to lock lid, then invert over sink
4. Any water seepage = immediate replacement needed
Why this matters: A compromised rim won’t seal under pressure. At 28,000 RPM, centrifugal force can eject hot soup at 15+ mph. Replace the pitcher (part #1103KKU780, $28-34) if you detect any leakage—no exceptions.
Pitcher-to-Base Issues Mimicking Lid Closure Failure
Sometimes your Ninja blender not closing is actually a base seating problem. The BL610’s dual safety system requires both connections—lid-to-pitcher and pitcher-to-base. Fail either, and you get identical flashing red lights.
Base Locking Sequence for Proper Engagement
Follow this exact procedure to eliminate false alarms:
– Position pitcher so flat sides match base guide lines (not the curved sections)
– Press down firmly while rotating clockwise until you hear two distinct clicks
– Verify by trying to lift the pitcher—it should resist movement
Debris trap alert: Food particles as small as a grain of rice can lodge in the base drive gear. Unplug the unit, then wipe the recessed gear area with a damp toothpick. Never use metal tools—they’ll scratch the alignment tabs.
BL610 Safety Switch Logic Decoded

Understanding how the safety system works prevents misdiagnosis. Your Ninja Professional uses two independent switches:
– Lid micro-switch: Activated only when handle depresses fully (requires intact pawls)
– Base interlock: Engages when pitcher rotates into final locked position
Both switches must close simultaneously to complete the circuit. If your lid clicks shut but the motor still won’t run, the pitcher isn’t fully seated on the base. Check for warped pitcher bases or worn drive gears—not lid issues.
Ninja Blender Not Closing: 4-Step Diagnostic Flow
Follow this sequence before ordering parts. Most fixes take under 3 minutes:
| Step | Critical Action | Success Signal | Failure Response |
|---|---|---|---|
| 1 | Clean blade stack opening with bottle brush | No debris visible | Repeat cleaning with warm soapy water |
| 2 | Match all 4 arrows, press handle center | Sharp click, lid resists lifting | Proceed to Step 3 |
| 3 | Inspect handle underside for missing tabs | Tabs intact, move freely | Replace lid assembly (Part #3560KKU780) |
| 4 | Water fill test on pitcher rim | Zero leakage when inverted | Replace pitcher (Part #1103KKU780) |
Cost-Smart Replacement Strategy
Don’t overpay for parts. Match your failure to these exact solutions:
- Lid-only replacement ($12-15): Only when handle tabs are broken and pitcher rim passes water test
- Pitcher with lid ($28-34): Essential for cracked rims—includes new blade stack
- Complete upper assembly ($39-45): Smart choice if both components show wear (saves 20% vs. separate parts)
Pro tip: Always buy OEM parts (Ninja part numbers listed above). Third-party lids often have misaligned tabs that cause recurring “Ninja blender not closing” issues.
Preventing Future Lid Closure Failures
Make these habits part of your routine to avoid repeat problems:
– Post-blend ritual: Rinse pitcher and lid within 5 minutes—hardened residue jams mechanisms
– Monthly stress test: Press handle 10x while inspecting for cracks (whitening plastic = imminent failure)
– Storage rule: Never stack items inside the pitcher—this warps the rim over time
Critical shortcut: Place a rubber band around the lid handle when storing. This maintains pawl tension and prevents deformation.
When to Immediately Stop Using Your Blender
Shut down and unplug if you detect:
– Visible cracks in pitcher or lid handle housing
– Handle depresses with zero resistance
– Water leakage during fill test
– Stress whitening (milky discoloration) near locking tabs
Continued use with these failures risks severe injury from ejected contents. No temporary fixes exist—replace damaged parts before next use.
Final Verification Before Blending
Before pressing “Power,” run this 15-second safety check:
1. Confirm pitcher is locked to base (two clicks)
2. Verify arrow alignment with no gaps
3. Press lid handle firmly—listen for solid click
4. Gently tug lid upward—it should not budge
Most “Ninja blender not closing” emergencies resolve with proper arrow alignment and debris clearance. For mechanical damage, replacement parts restore full functionality for under $35—far cheaper than a new blender. Implement the daily cleaning habits outlined here, and your BL610 will lock securely for years. When in doubt, remember: if it doesn’t click, don’t blend. Your safety depends on that simple rule.


