

Tired of store-bought snacks loaded with preservatives and hidden sugars? Your Ninja Foodi’s dehydrator function transforms simple ingredients into healthy, flavorful treats with minimal effort. Forget complicated setups—these ninja foodi dehydrator recipes deliver restaurant-quality results using just your multi-cooker and fresh produce. We’ve tested dozens of combinations to bring you the most reliable methods that work consistently across different Ninja Foodi models.
You’ll master the exact temperature settings, slicing techniques, and timing that create perfectly crisp apple chips every time. This guide reveals why 150°F outperforms the standard 135°F recommendation and how to scale recipes from single servings to family-sized batches without compromising quality. Whether you’re preparing healthy snacks for kids or preserving garden bounty, these ninja foodi dehydrator recipes unlock your appliance’s full potential.
Why Your Ninja Foodi Apple Chips Need 150°F Instead of 135°F
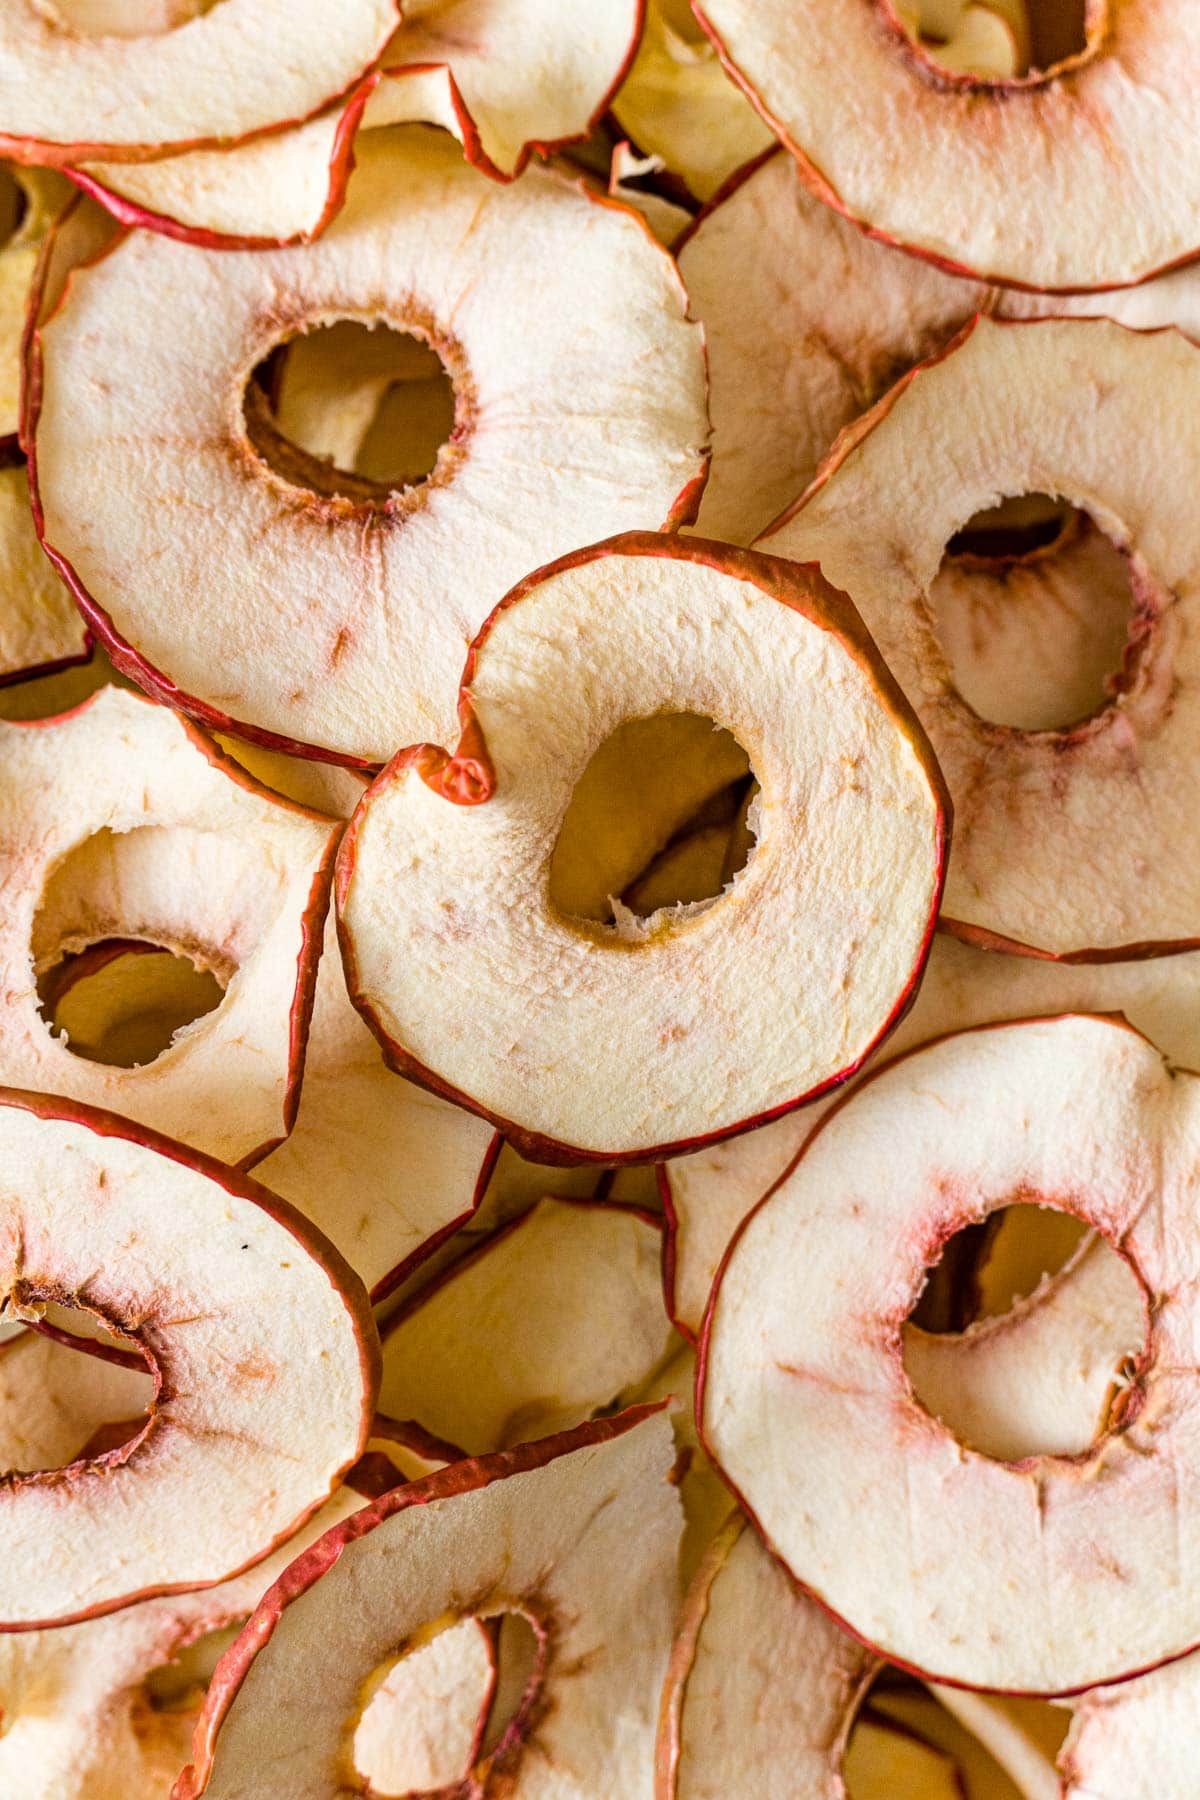
Skip the trial-and-error phase with this temperature breakthrough. While the Ninja Foodi Dehydrate Chart suggests 135°F for fruits, extensive testing proves 150°F creates superior apple chips in the same 8-hour timeframe. The higher temperature accelerates moisture removal without burning, yielding consistently crisp results rather than leathery or unevenly dried slices.
Watch for these visual cues during dehydration:
– First 2 hours: Slices appear moist with visible condensation on lid
– Hours 3-6: Noticeable shrinking and color darkening
– Final hour: Chips detach easily from racks with dry, brittle texture
Lower temperatures often leave residual moisture that causes chips to soften within hours of removal. The 150°F setting ensures complete dehydration while preserving natural apple flavor—no added sugar or preservatives needed. This precise temperature works equally well for bananas, pears, and most stone fruits.
8-Hour Set-and-Forget Apple Chip Method That Never Fails
Follow these exact steps for foolproof results while you’re at work or sleeping. This ninja foodi dehydrator recipe serves as your foundation for all fruit dehydration projects.
Exact Equipment Setup for Maximum Airflow
Gather these essentials before starting:
– Ninja Foodi Multi-Cooker with dehydrator function
– All included wire racks (minimum 2 for proper stacking)
– Mandoline slicer set to 1/8-inch thickness
– Airtight glass storage container
– Mixing bowl for post-dehydration seasoning
Stacking racks properly is critical—place the solid bottom rack first, then add wire racks with apple slices. Never exceed four total racks to maintain consistent airflow. The center of your Ninja Foodi gets hottest, so rotate rack positions halfway through dehydration for large batches.
Step-by-Step Apple Preparation Process
- Wash two red apples thoroughly under cool running water
- Slice crosswise into uniform 1/8-inch rounds (leave cores intact)
- Arrange single layers with slight overlap (slices shrink 30% during drying)
- Fill all available rack space without crowding (max 25% overlap)
Thinner slices create brittle chips perfect for snacking, while 1/4-inch slices yield chewier results ideal for oatmeal topping. For consistent thickness, use a mandoline with cut-resistant gloves—uneven slices cause mixed textures in your final batch.
Dehydration Settings That Guarantee Crisp Results
Close the Ninja Foodi lid completely and press the dehydrate button. Set temperature to 150°F and timer for 8 hours—no adjustments needed. The beauty of this ninja foodi dehydrator recipe is its timing flexibility: start before bed for morning snacks or before work for evening treats.
Critical mistake to avoid: Don’t check progress during dehydration. Each lid opening adds 15-20 minutes to total drying time and creates moisture pockets. Trust the process—the 8-hour mark delivers perfect results every time.
How to Prevent Soggy Banana Chips in Your Ninja Foodi

Bananas follow the same process as apples but require slight modifications for optimal results. Use firm, yellow bananas with minimal brown spots for best texture.
Banana-Specific Adjustments
- Slice thickness: 1/4-inch rounds (thicker than apples to prevent sticking)
- Temperature: Maintain 150°F for 8 hours
- Doneness test: Cool one chip completely before checking texture
Unlike apples, bananas benefit from a light lemon juice dip (1 tbsp lemon juice to 1 cup water) to prevent browning. Pat slices dry before placing on racks—excess moisture extends drying time. Check at 7 hours for chewier texture or 8 hours for crisp results.
Pro tip: Place parchment paper under banana slices if using older racks with wider wire spacing. This prevents slices from falling through while maintaining airflow.
Storage Secrets for Maximum Crunch Retention
Your ninja foodi dehydrator recipes only deliver perfect results with proper storage techniques. Follow these guidelines to extend shelf life:
Airtight Container Protocol
Transfer cooled chips to glass jars or BPA-free containers with rubber seals. Press out excess air before sealing—oxygen exposure causes softening within hours. Add a silica gel packet (food-safe) to absorb residual moisture, but never use rice grains as they can introduce contaminants.
Critical cooling step: Let chips reach room temperature for 30-60 minutes before sealing containers. Trapped warmth creates condensation that ruins crispness overnight. The “crunch test” before storage ensures you’re sealing properly dehydrated chips.
Freshness Timeline You Can Trust
- Days 1-2: Maximum crispness and flavor intensity
- Day 3: Slight softening begins at edges
- Day 4+: Noticeable moisture absorption (re-dehydrate for 1 hour to restore)
Don’t make large batches expecting long-term storage—smaller, frequent batches guarantee peak quality. The 2-apple recipe yields 4 servings perfect for 2-3 days of snacking.
Troubleshooting Common Dehydrator Failures

Fix these issues without restarting your entire batch:
Soft Chips After Full Dehydration Cycle
Increase temperature to 160°F for remaining time if chips feel leathery. Check slice thickness—1/4-inch slices require 10-12 hours total. Rotate racks every 2 hours for even drying in multi-rack setups. Humid environments may add 1-2 hours to total time.
Sticking Prevention Techniques
Lightly spray racks with non-stick cooking spray before loading slices. For high-sugar fruits like pineapple, use parchment paper cut to rack size. Never use oil directly on Ninja Foodi racks as it damages non-stick coating over time.
Uneven Drying Solutions
Space slices with consistent 1/4-inch gaps between pieces. Rotate rack positions every 2 hours for batches using 3+ racks. Top racks dry faster—place thicker slices on upper levels and thinner ones below.
Next-Level Ninja Foodi Dehydrator Recipes to Try
Master these fruit variations using your perfected technique:
Pear and Peach Dehydration Guide
- Slice thickness: 1/8-inch for pears, 1/4-inch for peaches
- Temperature: 150°F for 7 hours
- Special note: Peel peaches first to prevent tough skins
Vegetable Chip Success Formula
Reduce temperature to 135°F for vegetables:
– Zucchini: 1/8-inch rounds, 10 hours
– Kale: Remove stems, 6 hours
– Bell peppers: Thin strips, 8 hours
Your ninja foodi dehydrator recipes collection starts with perfect apple chips but expands to dozens of healthy snacks. Remember the core principles: precise 1/8-inch slicing, 150°F temperature setting, and 8-hour timing for most fruits. Always consult your Ninja Foodi Dehydrate Chart for specific adjustments with different produce.
Pro maintenance tip: Wash racks immediately after use with warm, soapy water and soft brush—dried residue becomes difficult to remove. Store accessories together for quick recipe setup next time. With these ninja foodi dehydrator recipes mastered, you’ll never buy expensive store-bought snacks again. Start with today’s apple chip method and watch your kitchen transform into a healthy snack factory.


