
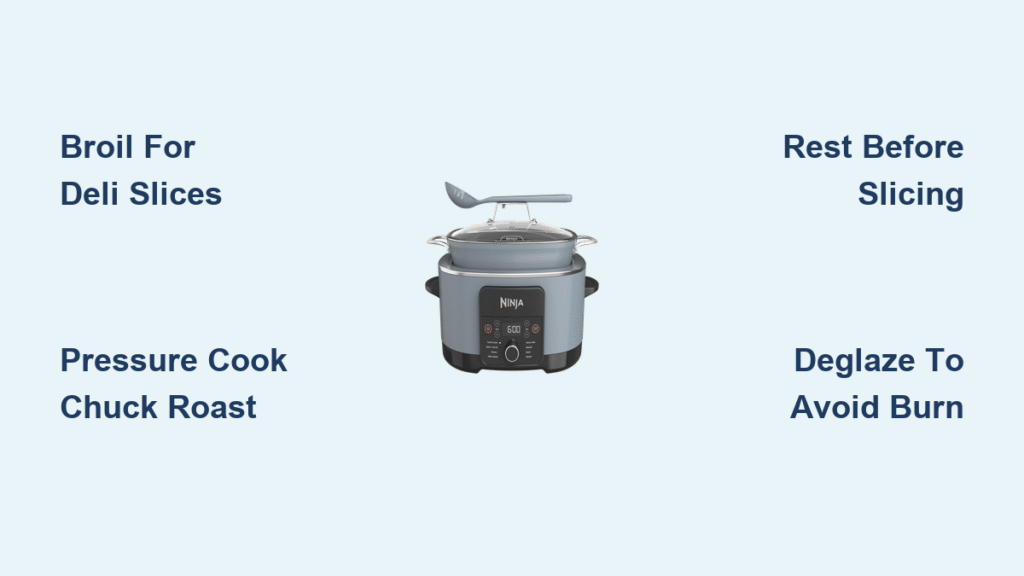
Your Ninja Foodi just became the secret weapon for roast beef that rivals your favorite deli—no oven smoke alarms, no thermometer anxiety. Picture this: a 3 lb top round emerging perfectly medium-rare after 25 minutes under the broiler, resting while you whip up au jus from the pan fond. Or chuck roast so tender it collapses at the fork’s touch, swimming in rich gravy made in the same pot. This Ninja Foodi roast beef recipe guide cuts through the confusion with four battle-tested methods, each tailored to your cut and craving. You’ll learn why skipping the tempering step guarantees gray edges, how to dodge “Burn” messages, and why resting time isn’t optional.
Forget one-size-fits-all recipes. Your success hinges on matching the cooking method to your beef’s anatomy—lean cuts demand dry heat and precise temps, while collagen-rich roasts need liquid and low-and-slow pressure. We’ve decoded the exact timing for every Foodi model using real-world tests, so whether you’re meal-prepping sandwich meat or hosting Sunday dinner, you’ll nail it on the first try.
Pick Your Beef Battle: Lean Cuts vs. Collagen Warriors

Top Round for Razor-Thin Deli Slices
Top round’s tight grain and minimal fat make it the deli king—but only if you avoid moisture. Skip liquid entirely and use broil or air-crisp modes to sear the surface fast. A 3 lb roast needs exactly 25 minutes under the broiler (rack on low position), then 20 minutes off-heat resting to hit 135°F for medium-rare. Critical move: Chill leftovers overnight before slicing—cold meat yields paper-thin cuts without shredding. Never pressure-cook top round; the steam turns it rubbery.
Chuck Roast for Effortless Shredding
Chuck’s marbling melts into silk under pressure, but it demands liquid and time. Sear first on sauté mode (2 minutes per side), then add ½ cup red wine and ½ cup broth—never water alone. Seal the lid and cook at HIGH pressure for 60 minutes per 3 lb roast. Pro warning: Natural release for 30 minutes is non-negotiable; quick-releasing makes it tough. When fork-tender at 200°F, shred into the reduced cooking liquid for instant pot roast. Skip this method for slicing—you’ll end up with beef confetti.
Eye of Round: The Weeknight Compromise
Don’t waste this budget cut on dry heat. Pressure-cook at HIGH for 90 minutes with 1 cup broth to reach 190°F for shredding, or stop at 150°F after 60 minutes for sliceable results. Visual cue: Check tenderness by twisting two forks—if they slide apart easily, it’s shredding-ready. For sandwiches, chill completely before slicing against the grain. This cut’s lean nature means skipping the sear risks dryness; always brown first.
Pre-Cook Setup: 5 Steps That Prevent Disaster

- Temper for 90 Minutes – Cold centers stay raw while edges overcook. Pull beef from the fridge early; room-temperature meat cooks evenly.
- Blot Until Bone-Dry – Pat every inch with paper towels. Moisture = steamed meat, not seared crust.
- Salt 2 Hours Ahead – Coat generously with kosher salt (1 tsp per pound). This penetrates deep, not just the surface.
- Sear or Skip? – For pressure cooking, sear first to build fond (deglaze with wine to prevent burns). For broiling, skip searing—it’s redundant.
- Measure Liquid Precisely – Pot roasts need only ½–1 cup liquid; dry roasts need zero. Too much = boiled beef.
Broil Method: Deli-Style Roast Beef in 45 Minutes
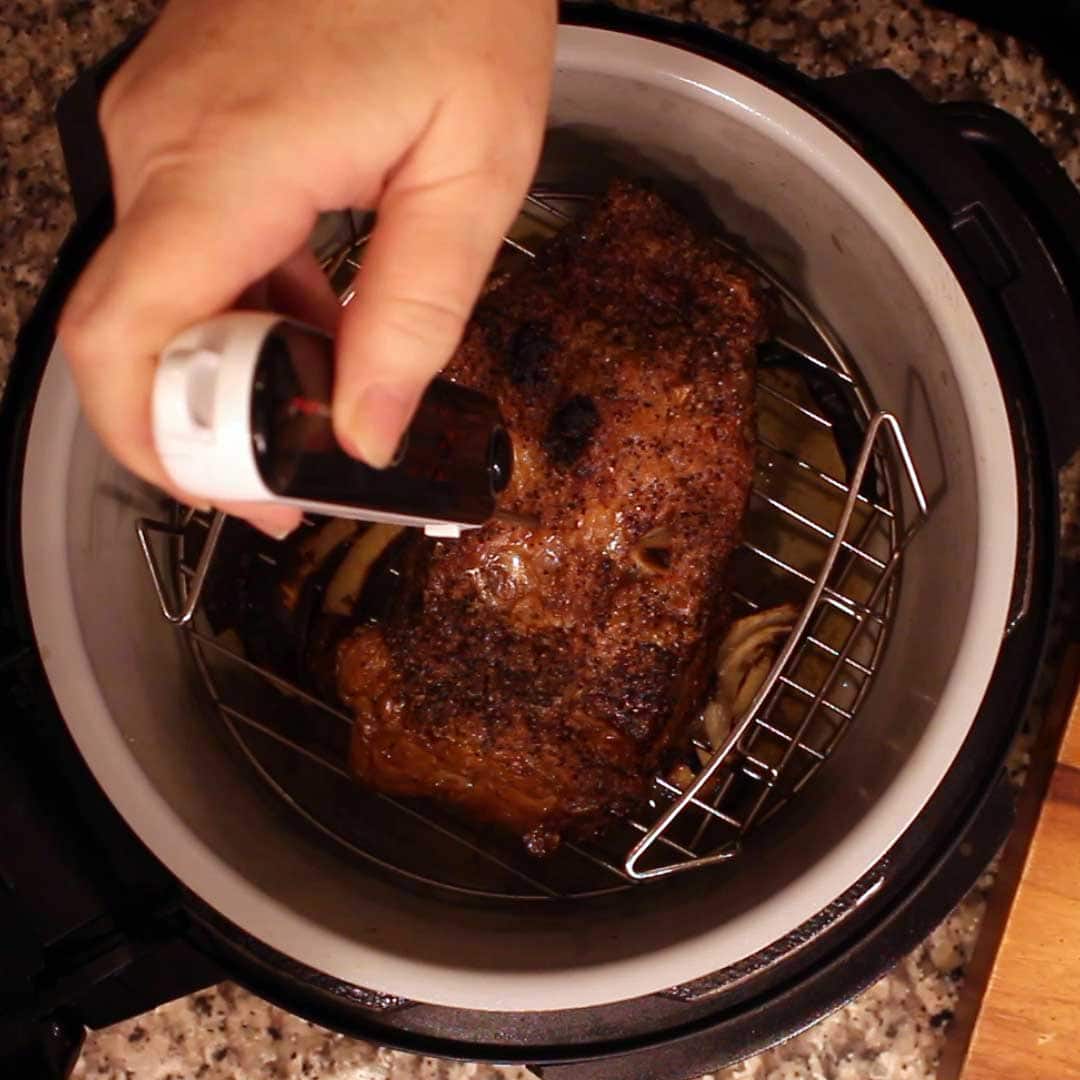
This is your path to next-day sandwich glory. Preheat the broiler for 10 minutes with the rack in the lowest position. Place the seasoned top round directly on the rack—no tray. Broil 25 minutes for 3 lb (add 8 minutes per extra pound), flipping halfway. Turn the unit OFF immediately and leave the lid closed for 20–25 minutes; carry-over heat pushes it from 125°F to perfect 135°F. Rest 10 minutes before slicing against the grain.
Au jus shortcut: Pour ¾ cup beef broth into the pot, sauté on high for 2 minutes while scraping the browned bits. Strain and serve alongside. Never skip resting—cutting too soon turns your masterpiece into a juice puddle.
Pressure Pot Roast: Chuck That Melts in 90 Minutes
Sear chuck roast 3 minutes per side on sauté mode until deeply browned. Deglaze with ½ cup red wine, scraping every bit of fond. Add ½ cup broth, 1 chopped onion, 4 garlic cloves, 2 thyme sprigs, and 1 bay leaf. Seal the lid and set to HIGH pressure for 60 minutes (90 for eye of round). Natural release for 30 minutes—this relaxes muscle fibers.
Gravy rescue: If liquid is thin after cooking, sauté on high for 2 minutes, then whisk in a slurry of 2 Tbsp cornstarch + 2 Tbsp cold water. Cook 6 minutes until glossy. Burn alert fix: Always deglaze thoroughly after searing—any stuck bits trigger error messages.
Air-Crisp Roast: Crispy Crust, Blushing Center
Preheat air-crisp to 390°F for 5 minutes. Place seasoned sirloin tip on a foil sling (crimp edges upward) to avoid sticking. Cook 65 minutes for 3 lb (flip at 30 minutes), until 135°F for rare. Stopwatch rule: If browning too fast at 40 minutes, tent loosely with foil. Rest 15 minutes under foil—this lets juices redistribute.
Why foil? It catches drips while allowing air circulation. Never use the mesh basket; it steams the meat. For extra-crisp skin, rub with 1 tsp oil before cooking.
British Topside Roast: Sunday Dinner in 75 Minutes
This high-heat method mimics UK pub roasts. Bake at 428°F for 30 minutes, then drop to 392°F. For medium-rare (135°F), cook 15 more minutes; medium (145°F) needs 30. Thermometer essential: Check at 45 minutes total. Rest 30 minutes wrapped in foil—this raises temp 5°F and firms the texture.
Visual tip: Look for a deep mahogany crust. If edges blacken early, tent with foil but keep the center exposed. Never skip the rest—it turns gray meat rosy.
Carving Secrets: Slices That Don’t Tear
- Rest Minimums: 10 minutes for small roasts, 30 for large. Cutting too soon = dry beef.
- Grain Direction Test: Place your knife perpendicular to visible muscle lines.
- Thickness Cheat Sheet:
- Sandwiches: 1/8 inch (chill first)
- Dinner plates: 1/4 inch
- Sliders: 3/16 inch
Pro move: Use a long, thin slicing knife and one smooth motion—no sawing. Serve with horseradish cream or roasted veggies cooked simultaneously on the reversible rack.
Troubleshooting: Fix These Fast
| Symptom | Instant Fix |
|---|---|
| Tough after pressure | Re-seal and cook HIGH pressure 15 more minutes, then shred |
| “Burn” message | Deglaze pot with ¼ cup broth before sealing lid |
| Dry air-crisp result | Wrap in foil last 10 minutes; lower temp to 360°F next time |
| Gray edges | Always temper meat 90+ minutes before cooking |
Leftover Hacks: Reinvent in 10 Minutes
- Day 2: Shred cold beef into quesadillas with pepper-jack cheese and caramelized onions.
- Day 3: Make hot sliders: pile thin slices on rolls, dip in quick au jus, top with melted provolone.
- Freeze Smart: Portion into 1-cup packs for stir-fries or stroganoff—thaws in 20 minutes.
Store in airtight containers up to 5 days. Never reheat in the microwave—use the Foodi’s steam function for 3 minutes to revive moisture.
Perfect Ninja Foodi roast beef isn’t magic—it’s matching method to meat and respecting the science. For next-day sandwiches, broil top round and chill overnight. For gravy-drenched Sunday feasts, pressure-cook chuck with wine and herbs. One rule binds them all: rest before slicing. Try the broil method tonight—you’ll have deli-quality beef before takeout arrives. Then, master the pressure pot roast for your next family dinner. Either way, you’re serving beef worth bragging about.


