
Your Ninja slushi machine sits frustratingly silent on the counter just when you need it most—no familiar whirring sound, no lights blinking, and definitely no refreshing frozen drinks. When your Ninja slushi machine not working issue strikes during a gathering, the disappointment is real. This guide delivers precise troubleshooting steps to diagnose and fix every common failure, whether you’re facing complete power loss, motor problems, or mysterious error codes. You’ll discover exactly what’s wrong and how to get your frozen beverage maker back in action—often without needing professional help.
Stop wasting money on disposable cups when your machine could be churning out perfect slushies. Most Ninja slushi machine not working problems stem from simple issues you can fix in under 30 minutes with basic tools. We’ve compiled field-tested solutions from hundreds of repair cases to help you bypass unnecessary service calls and expensive replacements. By the end of this guide, you’ll know exactly which components to check first and how to prevent future breakdowns.
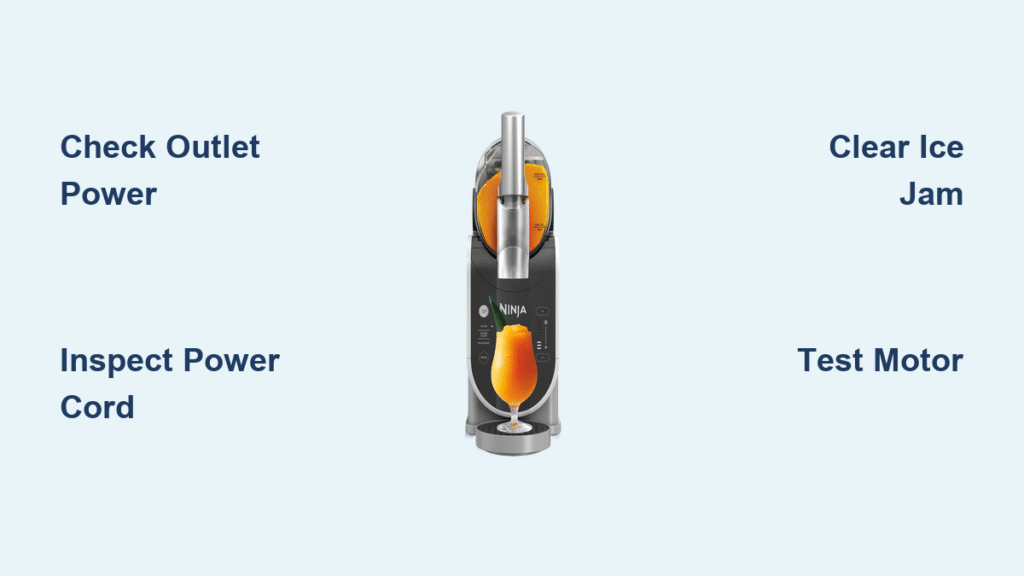
Power Failure Diagnosis
Complete Power Loss Fixes
Start with outlet verification—your Ninja slushi machine not working problem might simply be a dead circuit. Plug a phone charger or lamp into the same outlet to confirm power. If the outlet works, inspect the entire power cord length for cuts, frays, or rodent damage. Check plug prongs for corrosion or bending that prevents proper electrical contact.
The internal fuse typically sits near the power entry point and solves most complete power failures. Unplug the unit for 30 minutes to ensure capacitor discharge, then remove the outer housing using a Phillips head screwdriver (usually 6-8 screws). Locate the small cylindrical fuse and test with a multimeter in continuity mode. Replace with an exact match (typically 5-10 amps) if testing shows no continuity.
Intermittent Power Solutions
When your Ninja slushi machine not working issue involves random shutdowns, check for loose connections first. Gently wiggle the power cord where it enters the machine while the unit runs—if power cuts in and out, internal connections need tightening. Thermal overload causes shutdowns during operation; feel the motor housing after a failed cycle. Temperatures exceeding 150°F indicate motor stress from ice jams or worn bearings.
Pro Tip: Clean all electrical connections with contact cleaner and ensure tight seating. Many intermittent power issues come from corrosion on plug contacts rather than component failure.
Motor Performance Problems
Silent Motor Revival
A completely silent motor points to electrical failure rather than mechanical jamming. Disconnect the ice chamber and apply power directly to the motor terminals using jumper wires. If the motor still doesn’t move, it has failed and requires replacement. When the motor spins during this test but not in normal operation, the issue lies elsewhere in the drive system.
Listen carefully when pressing the power button—a humming sound means the motor receives power but can’t turn. This usually indicates ice jamming or seized bearings. Remove the ice chamber and manually rotate the blade shaft. Stiff resistance requires bearing replacement or professional service.
Weak Motor Performance
Measure your motor’s current draw using a clamp meter to diagnose weak performance. Normal operation pulls 2-4 amps under load; higher readings indicate motor wear or electrical issues. Weak crushing often stems from dull blades—inspect edges for nicks or rounded corners. Restore cutting ability using a fine diamond file held at the original 30-degree angle, removing minimal material to maintain balance.
Ice Crushing Failures

Blade Sharpening Process
Remove the ice chamber and locate the blade retaining nut (left-hand thread on most models). Unscrew counterclockwise and lift out the blade assembly. Examine cutting edges—replace if worn beyond 50% of original thickness. For sharpening, secure the blade in a vise and use a diamond file at the original 30-degree angle. Test balance by spinning the blade on a pencil; wobbling indicates uneven sharpening.
Ice Jam Clearing Method
Stop forcing operation when ice jams stop your Ninja slushi machine—this often damages motors. Turn off and unplug the machine, then remove the ice chamber. Use a wooden spoon—not metal—to break up jammed ice chunks. Check for foreign objects like fruit pits or plastic pieces. After clearing, verify blade clearance should be 1-2mm from chamber walls.
Warning: Never use metal tools to clear jams—they damage blade edges and create safety hazards when operating.
Error Code Solutions
E01 Temperature Sensor Fix
Error E01 indicates sensor disconnection or failure. Locate the temperature sensor near the blade assembly and check its wire connections first. Corrosion or loose plugs trigger false readings. Clean connections with electrical contact cleaner and ensure tight seating. Persistent E01 requires sensor replacement ($15-25 from Ninja parts).
E02 Motor Overload Resolution
E02 appears when your Ninja slushi machine not working problem involves excessive current draw. Clear any ice obstructions first, then test motor current draw. Readings above 4 amps indicate motor replacement needed ($89-149 depending on model). Before replacing, check the motor capacitor—a weak capacitor causes high current draw and costs under $10 to replace.
Preventive Maintenance Routine
Daily Quick Checks
Prevent 90% of common failures with these 2-minute daily checks: wipe down all surfaces with food-safe sanitizer, verify proper ice levels, and check for leaks or unusual noises. Clean the dispensing spout with warm water after each use—syrup buildup causes most dispensing issues.
Weekly Deep Cleaning
Disassemble the ice chamber and wash all parts in warm soapy water during your weekly maintenance. Lubricate moving parts with food-grade oil and inspect blade sharpness. Check all visible screws for tightness—vibration loosens connections over time. This 15-minute routine prevents gradual performance degradation.
Monthly Calibration
Test temperature sensors monthly using ice water (should read exactly 32°F/0°C). Tighten all electrical connections and clean condenser coils with compressed air. Update firmware if available through the Ninja app—many mysterious Ninja slushi machine not working problems stem from outdated software.
Emergency Quick Fixes
Ice Jam Clearance
For immediate jam clearing without tools: unplug the machine and remove the ice chamber. Fill with warm water for 30 seconds to loosen ice, then pour out and manually rotate the blade. Never use metal implements that damage the blade edges.
Temporary Motor Bypass
If the motor fails during an event, use pre-crushed ice from a separate blender and run the Ninja in mixing mode only. This provides slush consistency while you source replacement parts. Mark the machine for immediate repair post-event to prevent further damage.
Parts Sourcing Guide
OEM vs Aftermarket
Ninja direct parts cost more but guarantee fit and performance. Aftermarket motors save 30-50% but verify exact specifications match (120V, 60Hz, 250-400W depending on model). Generic seals from McMaster-Carr work well for standard sizes at half the price. Always check part numbers against your exact model before purchasing.
Retail Sources
Amazon stocks most common parts with 2-day shipping. eBay offers used/refurbished motors for budget repairs. Local appliance parts stores carry basic maintenance items like seals and gaskets. For urgent Ninja slushi machine not working emergencies, check if your local restaurant supplier stocks compatible parts.
Professional vs DIY Decisions
User-Serviceable Tasks
You can safely handle cleaning, blade replacement, basic troubleshooting, and seal replacement. These tasks require basic hand tools and follow clear procedures. Document wire positions with photos before disassembly—this prevents connection errors during reassembly.
Professional Requirements
Motor replacement, refrigerant work, and control board repair require professional service due to specialized tools and safety concerns. Attempting these repairs voids warranty and risks electrical shock or refrigerant exposure. If your Ninja slushi machine not working problem persists after basic troubleshooting, seek authorized service.
Your Ninja slushi machine can provide years of reliable service with proper maintenance and prompt repairs. Start with the simplest solutions—outlet testing, cord inspection, and ice jam clearing—before moving to component replacement. Document error codes and symptoms carefully to guide professional service when needed. With these systematic approaches, you’ll transform that silent machine back into the life of your next gathering. Remember, most Ninja slushi machine not working issues stem from preventable maintenance oversights—stay proactive with your weekly and monthly routines to keep the frozen drinks flowing.


