
Your paper shredder sits silent and unresponsive just when you need it most—another stack of sensitive documents waiting to be destroyed. When a paper shredder jams and won’t turn on, it’s not just inconvenient; it creates a security risk as confidential information piles up. This frustrating double-problem—mechanical jam plus electrical failure—is actually one of the most common shredder issues, and it’s almost always fixable without professional help. Most “dead” shredders are actually in safety lockout mode triggered by the jam itself. In this guide, you’ll learn exactly how to diagnose and resolve both the jam and power failure, getting your shredder back to work in under an hour.
Immediate Safety Steps Before Touching Your Jammed Shredder
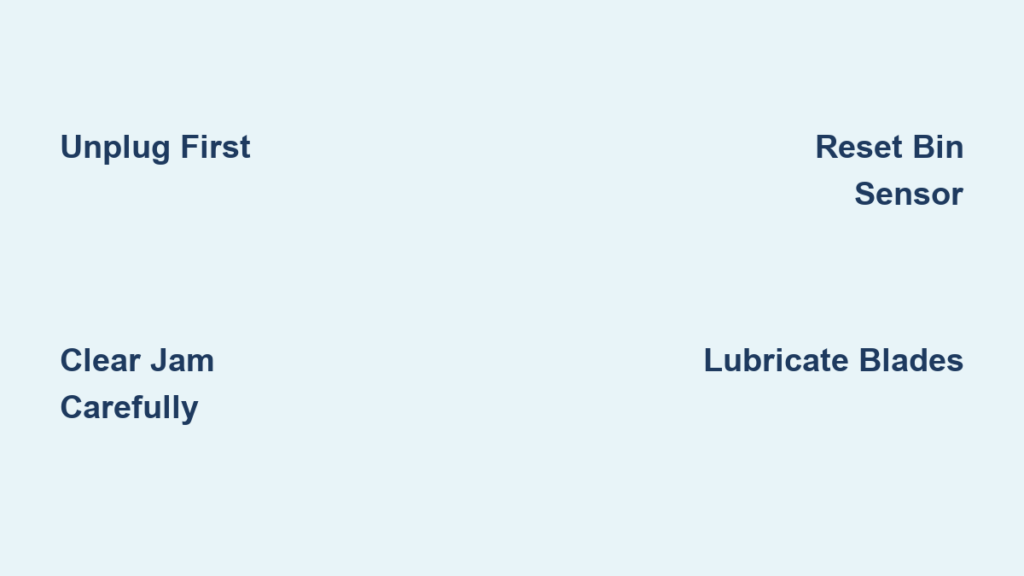
Before attempting any repair, prioritize safety to avoid electrical hazards or blade damage. Unplugging the shredder is non-negotiable—many users skip this critical step when frustrated, risking serious injury from unexpected motor activation. Visually inspect the power cord for frays or cuts that could indicate an electrical fault beyond simple jamming. Check your outlet by plugging in another device to rule out circuit issues. Many users waste time troubleshooting the shredder when the problem is actually a tripped GFCI outlet or circuit breaker.
Critical Power Disconnection Procedure
Always unplug the shredder completely before any intervention. Don’t rely on just turning off the power switch, as internal components may still be energized. Wait 30 seconds after unplugging to allow any residual electrical charge to dissipate. This prevents accidental activation during jam removal and protects sensitive circuitry from potential short circuits during troubleshooting.
Identifying Model-Specific Safety Features
Consult your manual to locate any model-specific safety mechanisms that could be engaged. Some high-end shredders have multiple interlock sensors that cut power when triggered. Check for a transparent safety guard over the cutting heads—many models won’t power on if this guard is loose or improperly positioned. Understanding your specific shredder’s safety architecture prevents wasted effort on unnecessary disassembly.
Manual Jam Removal: Getting Paper Out Without Damaging Blades
When your paper shredder jammed won’t turn on, clearing the obstruction is the first critical step toward restoring functionality. Most jams occur at the cutting head entrance where paper feeds into the blades. Never force paper through—this worsens jams and damages precision-cutting heads. Instead, use proper techniques that work with your shredder’s design rather than against it.
Using the Reverse Function Properly
Hold the reverse button for 3-5 seconds, not just a quick tap. Many users press the reverse button too briefly, failing to give the mechanism time to engage. Apply gentle forward pressure on the paper while reversing to help guide it out smoothly. If your shredder has an auto-reverse feature, feed a lubricating sheet through first to reduce friction before attempting jam clearance.
Manual Crank Technique for Stubborn Jams
Locate the manual reverse crank (typically stored on the unit or in the waste bin). Insert it into the designated socket, usually at the rear of the shredder. Turn counter-clockwise with steady, moderate force—never force it. If resistance suddenly increases, stop immediately to avoid gear damage. For deep jams, alternate between manual cranking and using needle-nose tweezers to extract visible paper fragments.
Precision Tools for Small Paper Fragments
Shine a flashlight directly into the feed slot to locate stubborn fragments. Use needle-nose tweezers to grasp paper edges and pull straight up—never side-to-side, which can damage blades. For inaccessible pieces, straighten a large paperclip into a hook tool. Gently rotate the paperclip to catch and extract small shreds. Avoid metal tools near cutting heads; use plastic tweezers when possible to prevent nicks in hardened steel blades.
Diagnosing Why Your Shredder Won’t Power On After Clearing the Jam
Clearing the jam doesn’t always restore power—your shredder may remain in safety lockout mode. This is normal behavior, not a separate malfunction. Most modern shredders incorporate multiple safety systems that disable power until specific conditions are met after a jam event. Understanding these systems prevents unnecessary disassembly and wasted effort.
Bin Sensor Reset: The Most Common “No Power” Culprit
Remove and firmly re-seat both the waste bin and shredder head assembly. Many users clear the jam but fail to properly re-engage the bin sensor, which disables power if not correctly positioned. Listen for a distinct “click” when reseating components—this confirms sensor engagement. Wipe sensor contacts with a dry cloth to remove paper dust that could interfere with electrical connections.
Power Source and Cord Troubleshooting Checklist
Test the outlet with another appliance to verify power. Check that the power cord is fully inserted into both the outlet and shredder housing. Inspect the cord for damage, especially near connection points where bending occurs. For models with removable power supplies, ensure the low-voltage connector is properly seated. Check for tripped circuit breakers or GFCI outlets that may have activated during the jam event.
Testing the Overload Protector Reset Timeline
Unplug the shredder and wait 45-60 minutes before attempting to restart. Thermal overload protectors need significant cooling time after triggering. Many users repeatedly try to power on too soon, resetting the cooldown timer each time. During this period, perform maintenance like lubrication to maximize efficiency when power returns. If the shredder works after cooling but jams immediately again, insufficient lubrication is likely the root cause.
Paper Sensor and Safety Interlock Fixes That Restore Power
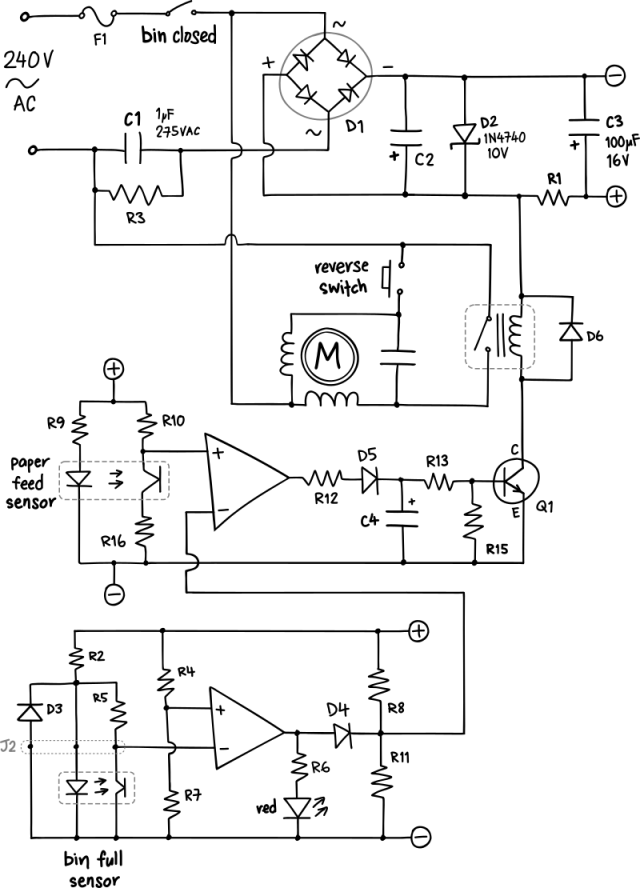
Paper sensors are the silent guardians that prevent jams but can mistakenly keep your shredder disabled after clearing an obstruction. These delicate components detect paper presence and thickness, shutting down the motor when abnormalities occur. A single fiber of paper left in the sensor area can make your shredder think a jam still exists.
Clearing Debris from Jam Sensors
Use compressed air to blow out the paper feed slot, holding the can upright to prevent moisture discharge. Spray at a 45-degree angle to dislodge hidden particles without forcing debris deeper. Follow with a cotton swab dampened with isopropyl alcohol to clean sensor surfaces—never use water. Test sensor functionality by slowly feeding a single sheet through after cleaning.
Re-Seating the Shredder Head for Proper Alignment
Remove the shredder head completely from its mounting position. Wipe all contact points with a dry cloth to remove paper dust buildup. Reinstall with firm, even pressure until you hear or feel all alignment pins click into place. Improper head alignment is a frequent cause of persistent “no power” symptoms after jam clearance.
Proper Lubrication After Jam Clearing to Prevent Recurrence
Lubrication isn’t just maintenance—it’s critical jam prevention. Paper dust creates static and friction that causes immediate re-jamming after clearing an obstruction. Proper lubrication restores smooth operation and prevents future “jammed won’t turn on” scenarios by reducing the strain that triggers safety mechanisms.
Correct Oil Application for Maximum Effectiveness
Use only manufacturer-recommended shredder oil—never cooking oil or generic lubricants. Apply 1-2 drops on a dedicated lubrication sheet or regular paper. Feed through the shredder while it’s running to distribute oil evenly across cutting heads. For cross-cut shredders, run 2-3 lubrication sheets to ensure full coverage of complex blade patterns.
Preventing Future “Jammed and Won’t Turn On” Situations
The best fix is preventing jams before they occur. Many recurring jam issues stem from improper usage habits rather than mechanical failure. Understanding your shredder’s limitations and operating within them eliminates most “dead shredder” scenarios before they start.
Paper Loading Techniques That Prevent Overloads
Shred in smaller batches—never exceed 60-70% of your shredder’s maximum sheet capacity. Mix document types in each batch to prevent uniform paper edges from catching. Feed paper at a slight angle rather than perfectly straight to reduce simultaneous blade engagement. For thick stacks, alternate between regular paper and lubrication sheets to maintain smooth operation.
Warning Signs of Impending Jam Failures
Listen for changes in motor sound—a higher pitch indicates increasing strain. Watch for slower paper feed speeds before complete jamming occurs. Feel for unusual vibration that signals misalignment or foreign objects. These early warnings give you time to stop, reverse, and prevent the hard jam that triggers safety lockouts.
When to Call a Professional Instead of DIY Repair
While most “paper shredder jammed won’t turn on” issues are user-fixable, some situations require professional attention. Knowing when to stop prevents costly damage and safety risks. If you detect a burning smell, visible smoke, or sparks during operation, unplug immediately and seek professional service—these indicate serious electrical faults beyond simple jam clearing.
For models under warranty, unauthorized disassembly typically voids coverage. Consult the manufacturer’s support line before opening the housing. If your shredder repeatedly jams despite proper use and maintenance, the cutting mechanism may be worn beyond repair, making replacement more cost-effective than professional servicing. Always weigh repair costs against new unit prices—many basic shredders cost less to replace than to professionally repair.


