
That urgent document sitting on your desk won’t shred itself, and your paper shredder just stares back at you, refusing to pull in even a single sheet. When your paper shredder not feeding properly, it disrupts your workflow, creates security risks with sensitive documents piling up, and threatens to derail your entire day. Before you throw money at a replacement, understand that 90% of paper feeding issues can be resolved with basic troubleshooting—most taking less than 15 minutes to fix. Whether you’re dealing with a jammed office shredder or a home model that’s suddenly stopped pulling paper, this guide delivers the exact steps to diagnose and solve your specific problem without technical expertise.
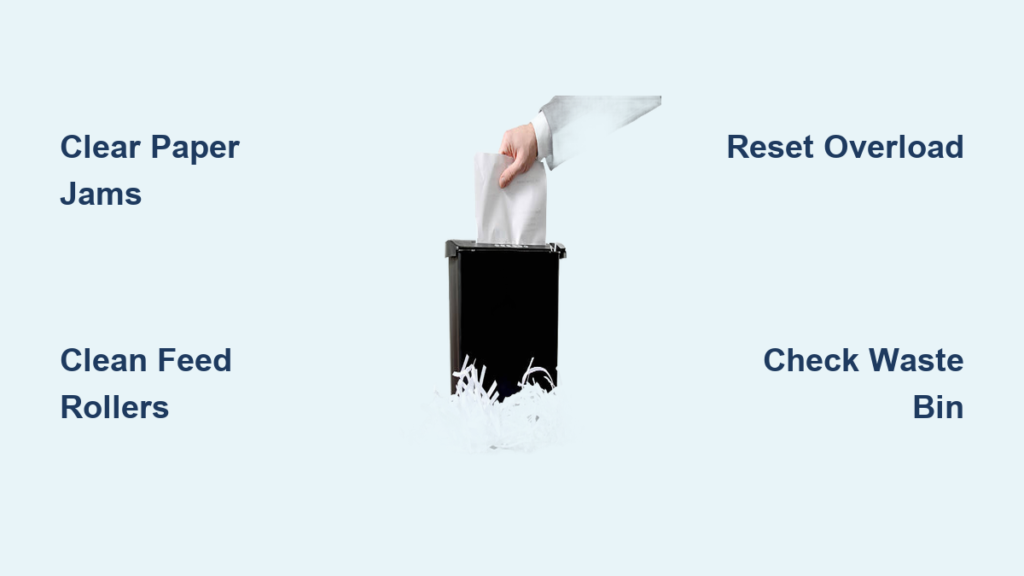
A paper shredder not feeding paper typically stems from one of five common culprits: paper jams, dirty rollers, overload protection activation, full waste bins, or improper lubrication. The good news? Each has a straightforward solution that doesn’t require specialized tools or technical knowledge. By following this systematic approach, you’ll not only fix your immediate problem but also learn maintenance techniques to prevent future feeding issues. Let’s get your shredder back to smoothly processing documents before your next important meeting.
Clearing Paper Jams Blocking the Feed Path

When your paper shredder not feeding documents properly, a paper jam is the most likely culprit—especially if you recently shredded thick stacks or mixed paper types. Immediately unplug the unit before attempting any clearance, as this prevents accidental activation during troubleshooting. For cross-cut and micro-cut shredders, open the feed slot cover to visually inspect where paper is stuck between the rollers and cutting blades. Strip-cut models often show visible paper edges at the feed opening when jammed.
How to Safely Remove Stubborn Paper Jams
Forcing paper out can worsen jams by tearing sheets and leaving fragments deeper in the mechanism. Instead, follow this precise method:
- Engage reverse function first – Press and hold your shredder’s reverse button (usually marked with a counter-arrow symbol) for 10-15 seconds to back paper out naturally
- Manually rotate gears if needed – Turn the shredder upside down and locate the manual reverse knob (often on the bottom) to gently rotate cutting blades backward
- Extract paper with needle-nose pliers – Grip paper firmly but gently, pulling straight outward with steady pressure—never twist or yank
- Verify complete clearance – Shine a flashlight into the feed path to ensure no paper fragments remain before attempting to restart
Pro Tip: If your shredder accepts staples, check for metallic objects causing the jam—these require careful removal with tweezers to avoid damaging cutting blades.
Restoring Grip to Slippery Feed Rollers
When your paper shredder not feeding paper but spinning normally, dirty or worn feed rollers have likely lost their traction. Over time, paper dust creates a slick coating on rubber rollers, while office environments introduce sticky residues from hand lotions or environmental factors that further reduce grip. This issue often appears gradually—you might notice the shredder struggling with thicker paper before completely failing to pull in documents.
Deep Cleaning Techniques for Maximum Roller Traction
- Unplug the shredder and locate the feed rollers (typically visible through the paper entry slot or by removing the waste bin)
- Dampen a microfiber cloth with 90% isopropyl alcohol—never use water or household cleaners which can damage rubber components
- Wipe each roller thoroughly while rotating it manually to access the entire surface
- For extreme cases, use a cotton swab dipped in alcohol to clean between roller grooves where paper dust accumulates
Warning: If rollers show deep cracks or significant wear, replacement is necessary—attempting to clean severely damaged rollers will only create more feeding problems.
Resetting Overloaded Thermal Protection Safely
When your paper shredder not feeding paper and emitting a burning smell or hot odor, the thermal overload protection has activated—a critical safety feature preventing motor burnout. This commonly occurs after shredding excessive paper stacks, thick cardstock, or through continuous operation without breaks. Never bypass this safety feature, as doing so risks permanent motor damage requiring full unit replacement.
Proper Thermal Reset Procedure
- Unplug the shredder immediately and allow it to cool completely for 20-30 minutes—rushing this step causes repeated overload trips
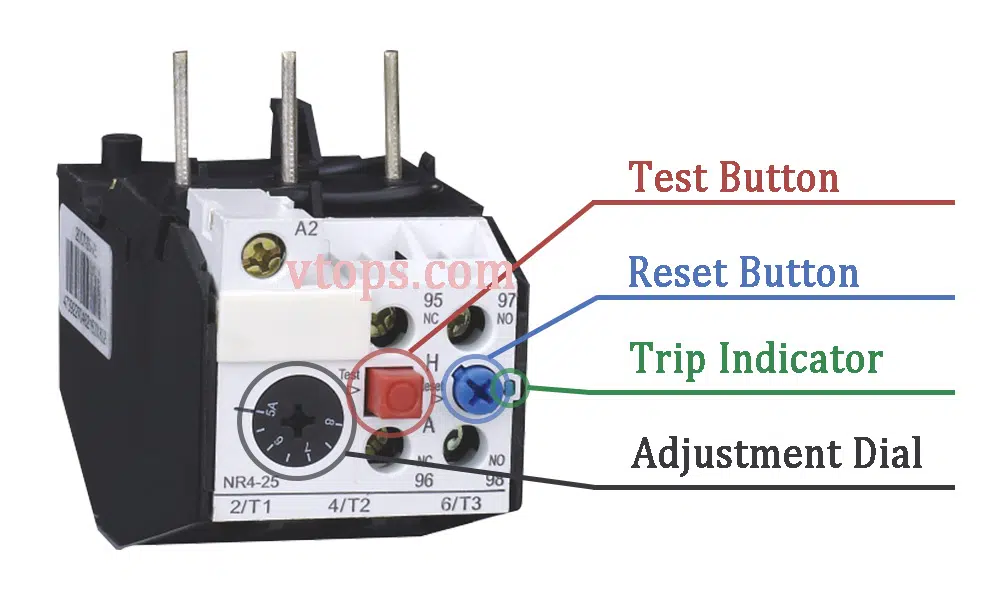
- Locate the reset button (typically red or black, found on the bottom or back panel)
- Press and hold the reset button for 5 seconds while the unit remains unplugged
- Plug in and test with a single sheet of paper before resuming normal operation
Expert Note: If your shredder trips overload protection repeatedly with normal paper loads, internal components may be failing—consult a professional repair service before causing further damage.
Ensuring Proper Waste Bin Placement and Capacity
A surprisingly common reason for paper shredder not feeding paper is an improperly seated or overfilled waste container. Modern shredders include safety sensors that disable feeding when the bin is full or not correctly positioned to prevent paper overflow and potential damage. This issue often appears suddenly after emptying the bin, as users frequently fail to reseat it completely.
Correct Bin Installation Verification Steps
- Remove the waste bin and check for paper fragments obstructing the sensor area (typically small tabs or slots inside the bin compartment)
- Clean any debris from sensor points with a dry toothbrush
- Reinsert the bin with firm downward pressure until you hear a distinct “click” indicating proper seating
- Test with minimal paper—never force paper into a shredder that won’t feed when the bin appears correctly installed
Time-Saver: Place small alignment marks on both the bin and housing to ensure perfect repositioning every time you empty it.
Reviving Non-Responsive Shredders with Electrical Checks
When your paper shredder not feeding paper and showing no signs of power (no lights, sounds, or movement), electrical issues require immediate attention. Before assuming motor failure, methodically eliminate simpler causes that account for 75% of “dead” shredders.
Critical Power Verification Sequence
- Test the outlet independently by plugging in another device—many office spaces have switched outlets that appear live but are controlled by wall switches
- Inspect the entire power cord for hidden damage, especially at connection points where kinking commonly occurs
- Check for internal circuit breakers on higher-end models that trip during power surges
- Verify power switch position—some models have dual switches (main power plus operational mode) that both must be engaged
Important: If your shredder works in another outlet but not the original, you’ve identified a circuit problem—consult an electrician rather than using extension cords which create fire hazards.
Optimizing Cutting Blade Performance with Proper Lubrication
Improperly lubricated blades create excessive friction that prevents smooth paper feeding—a problem that worsens gradually until your paper shredder not feeding paper consistently. Using incorrect lubricants (like cooking oil) actually attracts paper dust, creating a gummy residue that further impedes feeding.
Correct Lubrication Protocol for Smooth Feeding
- Use only shredder-specific oil—never substitute household lubricants which damage cutting mechanisms
- Apply lubricant using the reverse feed method: place oil on the non-printed side of paper to prevent oil from contacting rollers
- Feed 1-2 lubrication sheets or oiled papers through the shredder monthly, or after every bin emptying for heavy users
- Never lubricate jammed shredders—clear jams first, then lubricate to prevent future issues
Pro Tip: Keep lubrication sheets visible near your shredder—this creates a visual reminder to maintain your machine before feeding problems develop.
Preventing Future Paper Feeding Failures with Maintenance Routine
The most effective solution for paper shredder not feeding paper is preventing the issue through regular maintenance. Establish this 60-second routine after each shredding session:
- Empty the waste bin before it reaches ¾ capacity
- Run 1-2 lubrication sheets through the mechanism
- Wipe feed rollers with a dry microfiber cloth
- Verify proper bin reseating with the distinctive “click” confirmation
Final Note: When feeding issues persist despite proper troubleshooting, internal gear damage may require professional repair—often more cost-effective than replacement for quality machines. By implementing these fixes and maintenance habits, you’ll transform your uncooperative shredder into a reliable document security tool that feeds smoothly for years to come. Keep this guide handy for quick reference the next time your paper shredder not feeding paper threatens your productivity.


