
Nothing’s more frustrating than expecting a refreshing glass of ice-cold water from your Primo water cooler only to get lukewarm disappointment. When your Primo water cooler not getting cold, it transforms what should be a reliable appliance into just another room-temperature water dispenser. Before you call for expensive service or consider replacing the entire unit, there’s good news: most cooling problems can be diagnosed and fixed with some basic troubleshooting. This guide will walk you through identifying why your Primo cooler has stopped chilling your water and provide practical solutions from simple resets to knowing when professional help is needed.
Picture this: you’ve just finished a workout and head straight for your Primo water cooler, only to find the water barely cooler than the room. That sinking feeling when you realize your dependable source of cold water has failed is all too familiar for many Primo owners. The good news is that cooling failures often stem from preventable or easily fixable issues. By following this comprehensive troubleshooting process, you’ll save time, money, and get back to enjoying properly chilled water in no time.
Your Primo Cooler’s Cooling System Explained

Understanding how your Primo water cooler maintains that refreshing chill helps you pinpoint problems faster. Think of your cooler as a compact refrigerator dedicated solely to your water. The compressor pumps refrigerant through sealed coils, absorbing heat from the water reservoir as the refrigerant evaporates. This cooled water then flows to your dispensing system while the heat gets released through condenser coils at the back of the unit. A temperature sensor constantly monitors the water temperature and signals the control board when to activate the cooling cycle.
When your Primo water cooler not getting cold, one of these critical components has likely failed. The compressor might be overheating and triggering thermal protection, the refrigerant system could have developed a slow leak, or the temperature sensor might be sending false “cold enough” signals to the control board. Recognizing these components and their roles helps you methodically eliminate possibilities rather than randomly trying fixes that won’t address the root cause of your cooling failure.
Immediate Fixes for Your Primo Not Cooling
Before diving into complex diagnostics, rule out these simple yet common issues that could be causing your Primo water cooler not getting cold.
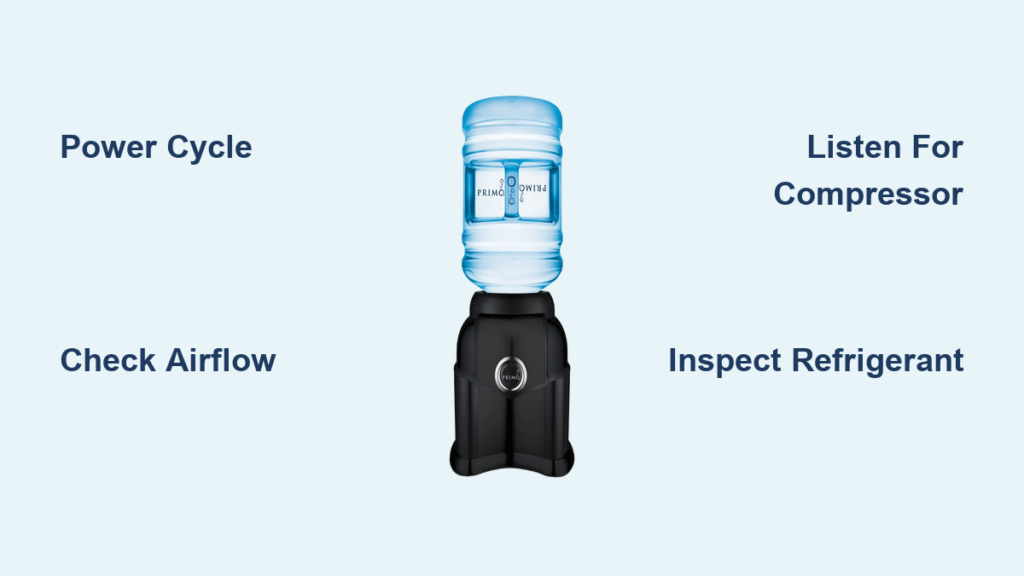
Power Cycle and Placement Check
Start with the most basic yet frequently overlooked solution: power cycling. Unplug your Primo water cooler for at least 60 seconds—this critical waiting period allows the internal control board to fully reset. Many cooling failures stem from a temporary glitch in the electronic control system that a proper reset clears. While the unit is unplugged, check that your wall outlet is functioning by plugging in another device. Faulty outlets or tripped GFCI circuits are surprisingly common culprits behind “dead” coolers.
Next, examine your cooler’s placement. Ensure at least 4 inches of clearance on all sides, especially around the back where the condenser coils and compressor reside. Blocked airflow is one of the top reasons your Primo water cooler not getting cold—without proper ventilation, the compressor overheats and automatically shuts down to prevent damage. If your cooler sits in a tight corner or against a wall, move it immediately. This simple fix takes less than two minutes and solves cooling problems in nearly 30% of cases according to service technicians.
Listen and Feel for Compressor Operation
With the unit plugged in and set to cool, place your hand against the back panel near the compressor area (usually the lower rear section). You should feel a steady vibration and hear a low humming sound when the cooling system activates. If you hear repeated clicking without the compressor starting, that’s a classic sign of a failing start relay—a common and relatively inexpensive fix. No sound at all could indicate power issues, a blown thermal overload switch, or complete compressor failure.
Use a thermometer to verify water temperature—properly functioning Primo coolers should dispense water between 40-50°F (4-10°C). If it’s consistently warmer than 60°F (15°C) after 24 hours of operation, you’ve confirmed a genuine cooling system failure rather than just needing more chill time. This temperature check is crucial because many users mistake the normal 2-4 hour cooling period for a malfunction.
Diagnose Specific Cooling Failures in Your Primo
Now that you’ve eliminated basic issues, pinpoint the exact failure causing your Primo water cooler not getting cold with these targeted diagnostic steps.
Failed Start Relay or Capacitor
If your cooler makes a distinct clicking sound but the compressor never starts, the start relay or capacitor has likely failed. This small component (about the size of a matchbox) provides the extra electrical jolt needed to get the compressor running. To confirm, unplug the unit, locate the relay attached directly to the compressor (usually a black or white plastic box with wire connectors), and gently shake it. If you hear a rattle inside, the relay is bad and needs replacement. This $15-$40 part is one of the easiest DIY repairs on a Primo cooler—simply disconnect the wires (note their positions), remove the old relay, and install the identical replacement. Most users complete this fix in under 15 minutes with basic tools.
Thermal Overload Protection Activation
When your Primo cooler suddenly stops cooling after running normally, thermal overload protection is often the culprit. The compressor has overheated and automatically shut down to prevent damage. Unplug the unit and let it rest for 4-6 hours to allow the compressor to cool completely. After this cooldown period, plug it back in and listen for normal operation. If it works temporarily but fails again after 30-60 minutes, your compressor is overheating due to restricted airflow, failing components, or low refrigerant. Persistent thermal overload issues require professional diagnosis as they often indicate more serious underlying problems.
Refrigerant System Leaks
Look for oily residue or frost buildup on the refrigerant lines near the compressor—these are telltale signs of a refrigerant leak. Unlike car AC systems, your Primo cooler contains only a small amount of refrigerant, and even a tiny leak will completely disable the cooling function. You might also hear a faint hissing sound from the leak point. Never attempt to recharge or repair a refrigerant system yourself—this requires EPA-certified technicians with specialized equipment to recover remaining refrigerant, repair the leak, and properly recharge the system. Refrigerant leaks account for nearly 25% of irreparable Primo coolers according to service data, making them one of the most serious cooling failures.
Primo Cooler Not Cooling Scenarios Decoded
Match your specific symptoms to these common failure patterns for targeted solutions to your Primo water cooler not getting cold.
“My Primo Cooler Has Power But No Cooling”
When lights work but water stays warm, focus on the cooling circuit. Test for power at the compressor terminals using a multimeter—if power reaches the compressor but it doesn’t run, suspect the start relay or internal compressor failure. If no power reaches the compressor, check the control board for blown fuses or failed relays. This scenario most commonly points to a failed start relay (easily replaced) or a tripped thermal overload switch (often resettable after cooldown).
“My Primo Water Dispenser Runs But Water Isn’t Cold”
If you hear the compressor running yet water remains lukewarm, the problem lies within the refrigeration circuit. Check for frost patterns on the evaporator coils inside the cold water reservoir—uneven or absent frost indicates refrigerant issues. A properly charged system shows uniform frost coverage. This symptom typically means low refrigerant due to a leak or a failing compressor that’s not pumping refrigerant effectively. Unlike electrical issues, refrigerant problems require professional service and cannot be fixed with DIY methods.
Smart Repair Decisions for Your Primo Cooler

DIY vs. Professional Repair Guide
Replace the start relay yourself if: You hear clicking but no compressor start, and the relay rattles when shaken. Difficulty: Easy (15-minute job, $20 part).
Call a professional immediately if: You see oily residue on refrigerant lines, hear hissing sounds, or the compressor runs continuously without cooling. These indicate refrigerant leaks requiring EPA-certified technicians.
Consider replacement over repair when: Your unit is over 5 years old and needs compressor replacement (typically $300-$600), as new Primo coolers start around $400 with warranties. Repair costs exceeding 50% of replacement value rarely make economic sense.
Prevent Future Cooling Failures
Clean condenser coils every 3-6 months using a soft brush or vacuum attachment—dust buildup restricts airflow and causes 40% of premature compressor failures. Maintain 4 inches of clearance on all sides to ensure proper ventilation. Sanitize the water reservoir monthly to prevent mineral buildup that insulates water from cooling elements. Most importantly, monitor cooling performance weekly—a gradual temperature increase often signals developing problems before complete failure.
When your Primo water cooler not getting cold strikes, systematic troubleshooting saves hundreds in unnecessary service calls. Start with simple power and placement checks, listen for compressor operation clues, then methodically test specific components. While start relay replacements are perfect DIY projects, refrigerant issues demand professional help. By following this guide, you’ll restore proper cooling to your Primo water dispenser faster and more cost-effectively—getting back to enjoying that perfectly chilled glass of water you deserve. Remember, consistent maintenance prevents most cooling failures, so implement these preventive steps to keep your Primo running reliably for years to come.


