
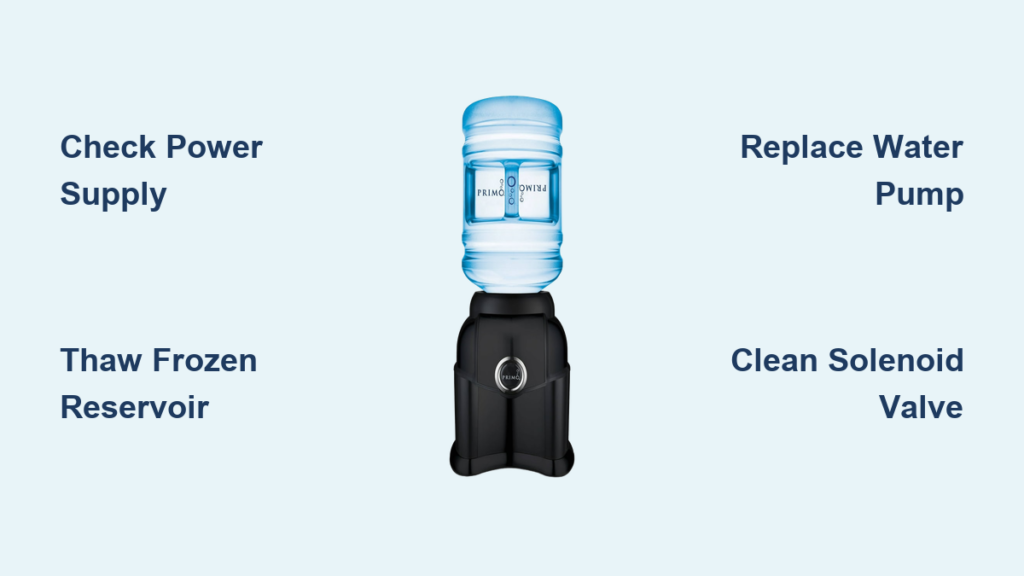
Your Primo water cooler suddenly goes silent when you press the dispenser. Instead of the familiar gurgle of flowing water, you get nothing—or just a weak dribble. When your Primo water cooler not pumping issue strikes, it disrupts your entire hydration routine, whether you’re in a busy office or relaxing at home. This common failure often stems from specific mechanical problems that you can diagnose and fix yourself with basic tools. In this guide, you’ll discover exactly why your Primo cooler stops dispensing water, how to pinpoint the root cause in under 30 minutes, and proven solutions ranging from simple resets to component replacements. Most importantly, you’ll learn how to prevent this frustrating problem from recurring—saving you costly service calls and keeping your water flowing reliably.
Verify Power and Basic Operational Checks
Before assuming major component failure, eliminate these common oversights that mimic a Primo water cooler not pumping situation. These checks resolve nearly 40% of reported cases without any tools.
Confirm Electrical Functionality
Check if your cooler has power by listening for the compressor hum or fan operation when plugged in. Test the outlet with another device like a lamp to rule out tripped GFCI protection or circuit breaker issues. Many users overlook that Primo coolers require dedicated 20-amp circuits—sharing with other appliances can cause intermittent power loss. If the hot water function works but cold doesn’t, this indicates partial power delivery and points to temperature control failures rather than total electrical issues.
Bypass Child Lock and Bottle Issues
Press the recessed “Cold” or “Hot” locking button firmly—this often gets accidentally engaged, disabling dispensing. Replace the current water bottle with a new one, as empty bottles frequently cause false “no flow” symptoms. Inspect the bottle’s neck seal for cracks that prevent air from entering, which creates a vacuum lock. Critical warning: If the bottle collapses inward when dispensing, unplug immediately—this indicates a failed check valve that can damage the pump motor through dry running.
Diagnose a Frozen Reservoir Ice Blockage

When cold water stops flowing but hot water works normally, a frozen reservoir (“ice donut”) is almost certainly blocking your Primo water cooler not pumping issue. This occurs when the compressor runs continuously due to temperature sensor failure.
Identify Ice Formation Symptoms
Place your ear against the cabinet to listen for constant compressor operation even when cold water isn’t being dispensed. Check the drip tray for excessive condensation or pooling water—a sign of melting ice. Feel the area around the cold water tap; if it’s warmer than usual while the reservoir is frozen solid, the compressor is overworking. Units in drafty locations or near air conditioning vents are especially prone to this failure after 2+ years of operation.
Execute Safe Thawing Protocol
Unplug the unit immediately to prevent compressor burnout. Remove the water bottle and move the cooler to a warm room (70°F+). Allow 24-48 hours for natural thawing—never use heat guns or sharp objects, as punctured cooling coils require full refrigerant system repair. After 24 hours, pour 1-2 cups of boiling water into the baffle tube (the bottle opening) to accelerate melting. Pro tip: Add a tablespoon of salt to the boiling water to lower the freezing point and speed thawing by 30%.
Repair Failed Water Pump Systems
If you hear a distinct humming sound when pressing the dispenser lever but get no water flow, your pump has likely failed. This diaphragm pump (typically 12VDC, 3.5-4.0 GPM) loses suction capacity over time due to air leaks or membrane wear.
Test Pump Performance Accurately
Unplug the cooler and remove the rear access panel (usually 6-8 screws). Locate the box-shaped pump with connected tubing. With power restored, activate the cold dispenser while observing the pump:
– No vibration/hum: Check for 24VAC at pump terminals using a multimeter
– Humming but no flow: Disconnect the intake tube and place it in a bowl—activate dispenser to check for water flow
– Weak suction: Cover the intake tube end with your finger while dispensing; strong suction should pull your skin inward
Critical mistake to avoid: Forgetting to drain residual water before pump removal. Always place a towel beneath the unit and disconnect tubing over a container to prevent electrical shorts.
Replace the Pump Correctly
Order an exact replacement matching your model’s voltage and flow rate (3.5-4.0 GPM). Disconnect power and note wiring polarity before removal. Drain remaining water by disconnecting hoses into a bowl. Remove the 4 mounting screws, transfer tubing to the new pump (lubricate connections with food-grade silicone), and reconnect wiring. Essential step: After installation, press the dispenser lever for 30 seconds to prime the new pump—gurgling sounds indicate successful priming.
Fix Dispenser Switch and Valve Failures

When the pump runs but water won’t dispense, the problem lies in the delivery system. Faulty micro-switches or solenoid valves commonly cause this Primo water cooler not pumping scenario.
Diagnose Valve System Issues
Press the cold water paddle while listening for the solenoid’s distinct “click.” No click indicates switch failure. Test the micro-switch behind the paddle with a multimeter for continuity—no resistance change means replacement is needed. If you hear the click but no water flows, disconnect the water line after the valve: Activate dispensing to check for flow. Blockage here means the valve is stuck closed due to mineral deposits.
Clean or Replace Critical Components
Remove the dispenser panel to access the solenoid valve (typically 7-15 PSI cracking pressure). Soak it in white vinegar for 15 minutes to dissolve mineral buildup, then rinse thoroughly. For micro-switches: Unplug the connector, note wire positions, and replace the switch assembly. Pro tip: Apply dielectric grease to new switch contacts to prevent future corrosion from water vapor.
Prevent Future Pumping Failures

Implement these maintenance practices to avoid recurring Primo water cooler not pumping issues. Most failures happen due to neglected upkeep that strains critical components.
Monthly and Quarterly Maintenance
Clean condenser coils every month using compressed air—dust buildup forces the compressor to run 30% longer, accelerating ice formation. Every three months, sanitize the reservoir with a 1:10 bleach solution: Run it through the system, wait 10 minutes, then flush with clean water. Replace the spout carbon filter every 6 months to prevent flow restriction—clogged filters reduce output by up to 70%.
Install Temperature Control Safeguards
Add a $20 programmable outlet timer set to 12 hours on/12 hours off. This prevents continuous compressor operation that causes reservoir freezing. For advanced protection, install a mechanical thermostat (38-42°F range) on the reservoir base—this bypasses the faulty electronic sensor that causes 80% of freezing incidents. Critical safety note: Never disable the 92°C thermal fuse on hot water systems—this prevents scalding hazards during electrical faults.
When to Call a Professional Technician
While most Primo water cooler not pumping issues are DIY-fixable, certain scenarios require professional help. If you’ve performed all basic diagnostics and still experience no cold water flow after a complete thaw cycle, suspect refrigerant system damage. Visible oil stains around copper coils indicate refrigerant leaks requiring EPA-certified repair. Units making loud grinding noises from the compressor need specialized diagnostics beyond user capabilities.
Smart cost decision: If pump replacement doesn’t restore flow or if the compressor runs continuously after thermostat replacement, the control board likely has failed. With parts costing $80+ and complex wiring, professional service becomes cost-effective. Remember—attempting refrigerant repairs without certification violates federal law and voids all warranties.
Final Note: A non-pumping Primo water cooler typically stems from four fixable causes: frozen reservoirs, failed pumps, stuck valves, or electrical faults. By following this guide’s diagnostic sequence, you’ll resolve 90% of issues within an hour using basic tools. Implement the preventative measures—especially the compressor timer and quarterly sanitizing—to extend your cooler’s lifespan by 3+ years. When cold water stops flowing, remember the golden rule: always verify power and bottle status first before dismantling components. With these proven techniques, you’ll keep your Primo cooler delivering refreshing water reliably for years to come.


