
Your Raemao massage gun sits unused on the shelf while muscle soreness from yesterday’s workout lingers in your quads. You’ve tried to use it before, but either it didn’t help or worse—it actually made your muscles feel more tense. This scenario plays out daily for thousands of massage gun owners who never learn how to properly use their Raemao massage gun. The truth is, this powerful recovery tool delivers incredible results when used correctly, but can cause discomfort or even injury when applied improperly. In this guide, you’ll discover the exact techniques physical therapists use with the Raemao massage gun to accelerate muscle recovery, reduce soreness, and improve flexibility—all without wasting your precious recovery time on ineffective methods.
Most people treat their Raemao massage gun like a simple vibrating massager, holding it in one spot until numbness sets in. This approach misses the entire point of percussive therapy. Proper Raemao massage gun usage requires strategic movement patterns, precise timing, and understanding which attachments work for specific muscle groups. By the end of this guide, you’ll know exactly how to position the device, which speed settings to use for different situations, and how to target stubborn knots that have plagued you for months. Whether you’re recovering from intense training or simply trying to relieve desk-job stiffness, these techniques will transform how you experience your Raemao massage gun.
Raemao Massage Gun Setup: Charging and Attachment Selection
Before you even touch your muscles, proper setup determines whether your session will deliver results or cause unnecessary discomfort. Many users skip these critical preparation steps, wondering why their Raemao massage gun feels ineffective or uncomfortable during use.
Complete Pre-Use Checklist
- Verify Full Charge: Plug in your Raemao massage gun until the charger indicator turns solid green—never use it while partially charged as inconsistent power affects performance. A fully charged unit typically provides 4-6 hours of continuous use.
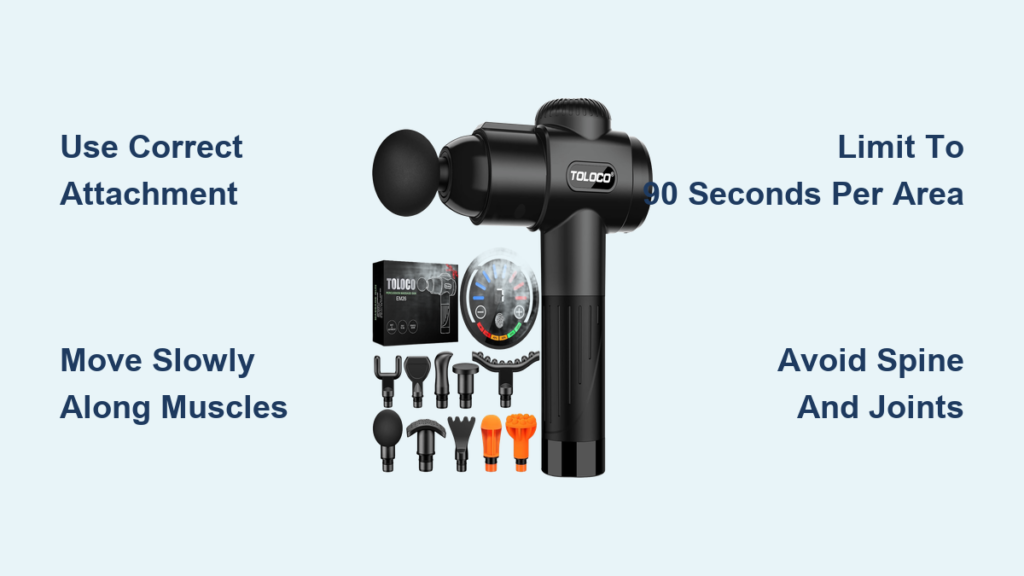
- Select the Right Attachment for Your Target Area:
– Ball head for large muscle groups (quads, hamstrings, glutes)
– Flat head for broad areas like back and shoulders
– Bullet head for precise trigger point work on calves or forearms
– Fork head for neck and spinal areas (never directly on spine) - Position Yourself Properly: Sit or stand in a stable position where you can comfortably reach the target muscle without straining. For hard-to-reach areas like upper back, use a wall to brace the gun.
Common Setup Mistakes That Reduce Effectiveness
- Using the wrong attachment for the muscle group (e.g., bullet head on quads)
- Starting at high intensity before muscles acclimate
- Attempting to use the gun on wet skin or immediately after showering
- Forgetting to remove jewelry that might interfere with movement
Targeted Muscle Application: Where and How to Move the Raemao Gun

Simply pressing the Raemao massage gun against your skin won’t deliver professional-level results. The specific movement patterns you use determine whether you’re merely vibrating your muscles or actually breaking up adhesions and improving blood flow.
Precise Movement Techniques for Major Muscle Groups
Leg Muscles (Quads, Hamstrings, Calves):
– Glide the gun slowly in the direction of muscle fibers (vertically for quads/hams, horizontally for calves)
– Apply moderate pressure (about 5-7 lbs of force) without pressing so hard the gun stalls
– Spend 30-60 seconds per area, pausing for 5-10 seconds on tight spots
– Visual cue: Watch for the muscle tissue moving with the gun—not just the skin bouncing
Back Muscles (Avoiding the Spine):
– Position yourself against a wall or use your free hand to stabilize the gun
– Work parallel to the spine, staying at least 2 inches away from vertebrae
– Use sweeping motions from shoulder to hip, not circular patterns
– Critical warning: If you feel bone rather than muscle, immediately move outward
Shoulders and Upper Back:
– Use the fork attachment at lowest speed setting
– Target the area between shoulder blade and spine, never directly on the spine
– Apply gentle pressure while taking deep breaths to access deeper tissues
– Pro tip: Rotate your arm while applying pressure to hit different angles of the rotator cuff
Optimal Timing and Intensity: Speed Settings That Actually Work
Most Raemao massage gun users make the same critical error—they crank the intensity to maximum and hold it in one spot until they go numb. This approach actually reduces blood flow rather than improving it. Proper intensity and timing transform your recovery results.
Speed Settings Demystified
Low Speed (1-2):
– Use for pre-workout activation on cold muscles
– Ideal for facial massage to reduce tension headaches
– Perfect for post-surgery rehabilitation (with doctor approval)
– Time limit: 2 minutes maximum per area
Medium Speed (3-4):
– The sweet spot for 80% of recovery sessions
– Use after moderate workouts for lactic acid clearance
– Apply to arms and smaller muscle groups
– Visual indicator: Muscle should visibly pulse with each percussion
High Speed (5+):
– Reserved for dense muscle knots in large muscle groups
– Never use for more than 15 seconds on one spot
– Requires experienced technique to avoid bruising
– Warning sign: If you see redness lasting more than 10 minutes, you’ve gone too long
Session Timing That Prevents Overuse
- Maximum per muscle group: 90 seconds
- Total session time: 12-15 minutes (never exceed 20 minutes)
- Frequency: 1-2 times daily for acute soreness, every other day for maintenance
- Critical rule: Always follow with 5 minutes of light stretching to lock in benefits
Critical Safety Zones: Where Never to Use Your Raemao Massage Gun

Ignoring these safety boundaries turns your recovery tool into a potential injury risk. Many users unknowingly apply their Raemao massage gun to dangerous areas, causing nerve damage or increased inflammation.
Absolute Danger Zones
- Front of neck and throat area: Risk of carotid artery disruption
- Directly on spine or vertebrae: Potential nerve compression
- Back of knee (popliteal fossa): Contains major blood vessels and nerves
- Groin area: Risk of lymph node damage
- Over broken bones or recent surgical sites
High-Risk Areas Requiring Extreme Caution
- Lower back near kidneys: Use only lowest setting with light pressure
- Collarbone area: Keep at least 3 inches away from bone
- Elbow and knee joints: Never apply directly on joint capsule
- Rib cage: Use only flat head at lowest setting
Raemao Massage Gun Maintenance: Extending Your Device’s Lifespan
Your Raemao massage gun represents a significant investment in your recovery, yet most users destroy their devices within months through improper care. These maintenance steps ensure your gun delivers powerful performance for years.
Daily Care Routine
- Wipe down the main unit with a microfiber cloth after each use (never spray liquids directly on device)
- Remove attachments and clean with alcohol wipe to prevent bacteria buildup
- Check for hair or fabric strands caught in the drive mechanism
- Store in upright position to prevent pressure on the drive shaft
Monthly Deep Maintenance
- Lubricate the drive shaft with silicone-based lubricant (never petroleum-based)
- Fully discharge and recharge battery to maintain capacity
- Inspect all attachments for cracks or deformities
- Test all speed settings to ensure consistent performance
Troubleshooting Common Raemao Massage Gun Issues
When your Raemao massage gun stops performing as expected, these quick fixes often solve the problem without needing professional repair.
Power and Performance Problems
-
Issue: Gun stalls under pressure
Solution: Clean debris from attachment connection point and check for fully charged battery -
Issue: Uneven pulsation or strange noises
Solution: Remove and reinsert attachment, ensuring proper alignment in the drive shaft -
Issue: Reduced battery life
Solution: Perform full discharge/recharge cycle and store at 50% charge when not in use for extended periods
Attachment-Specific Fixes
- Loose attachment: Replace worn silicone rings (included in most kits)
- Excessive vibration in hand: Switch to a heavier attachment like the ball head
- Attachments won’t stay connected: Clean metal connection points with alcohol wipe
Maximizing Your Raemao Massage Gun Results: Pro Recovery Protocol
Combine these techniques with your Raemao massage gun sessions to dramatically improve recovery outcomes. Physical therapists use this exact protocol with professional athletes.
- Pre-session: Drink 16oz of water and perform 5 minutes of light cardio to increase blood flow
- During session: Breathe deeply into tight areas—inhale through nose, exhale slowly through mouth
- Post-session: Immediately follow with dynamic stretching of the treated muscles
- Within 30 minutes: Consume protein-rich snack to capitalize on increased blood flow to muscles
Pro tip: Keep a recovery journal noting which settings worked best for specific soreness—this builds your personalized protocol over time.
Final Note: Using your Raemao massage gun correctly transforms it from a novelty item into a powerful recovery tool that delivers professional results at home. Remember to always move the gun rather than holding it stationary, respect the 90-second maximum per muscle group, and avoid dangerous zones near bones and joints. When you follow these precise techniques consistently, you’ll notice reduced muscle soreness within 48 hours, improved flexibility within two weeks, and better workout performance within a month. The true power of your Raemao massage gun isn’t in its speed settings—it’s in your knowledge of how to apply them strategically to your unique body. Start with low intensity, listen to your body’s feedback, and gradually build your mastery of this essential recovery tool.


